
So let’s begin with the cockpit, right – as every other aircraft model begins… Well, AMK actually gives you instruction on building the cockpit in 10th step, but the quality of the details was so high, I’ve decided to skip the first 9 steps (don’t worry, I’ll come to them later) and start with step 10 (and a tiny bit of 11).

I’ve decided to give a test drive to relatively new paint company – Mr.Paint from Slovakia. I only bought Cockpit Turquoise Green, Tire – Rubber (off black) and Wheel Hub Green.

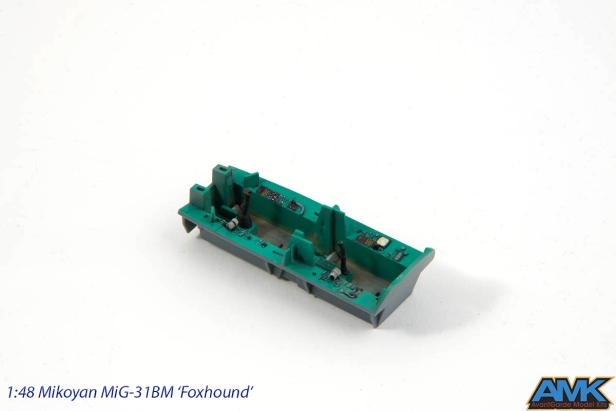
Cockpit paint went on smoothly, looks great and it dries in just a few minutes – great experience. The floor was painted with ModelMaster Dark Gull Grey enamel.

Combination of Mr.Paint paints – cockpit green and tire black. Displays were painted with Gloss Black.

And now came the reason for a little delay on my progress updates. Painting all the switches, handles, buttons and other tiny bits in the pit. I am not one of those modellers that just make a couple of white, red and yellow dots and call it done. Researching photos found on the internet and comparing them with plastic parts (which match 99%, kudos to AMK!), appropriate colours were used. When finished, dark wash was applied to accentuate the shadows and define the edges.

The main problem in getting the reference photos were the side vertical panels – some artistic license was used on parts, I didn’t have any photos of.


And the pit is more or less finished. Some pigments were used on the floor at rudder pedals to simulate some wear and dust, that appears in those corners.

Instrument panels finished. They are molded absolutely beautiful. Putting a flat photo-etched printed IP over this kind of detail would be a sacrilege! The only problem on AMK’s side I see here, is that they did not include any instrument decals. A gorgeous looking cockpit like they made would look a bit weird with a number of black discs, wouldn’t it? Luckily, Airscale make a generic Soviet instrument decal set. It is not perfect, but sure looks great when finished.


And that’s basically it. Yeah, the seats are still missing and some detail around the HUD will still be added, but in a nutshell, I am now ready to start building the fuselage. Word of caution! The fit of the parts in the cockpit is so tight that even a little paint on mating surfaces will cause problems during final assembly. Dry-fit the parts before assembly and if needed, sand the parts to fit.

Love that cockpit! 🙂
Thank you, Radleigh!
Nice work Seb, as always!
Thanks, Ed!