Here we go – a double build with my buddy Mitja Oberč of GWH 1:72 F-14D Tomcat. The aim of this build is kind of two-fold – by doing a sort of mini group build, we will try to encourage each other towards the finished model but also at the same time evaluate or review the models we are building. We will both be using aftermarket decals for VF-101 Grim Reapers – Mitja will be doing the low-vis bird and me, the high vis one. Also the final configuration will be different (closed vs open wings, etc.) so the review part will be more thorough. And here is the first part of the build – as usual – the cockpit!
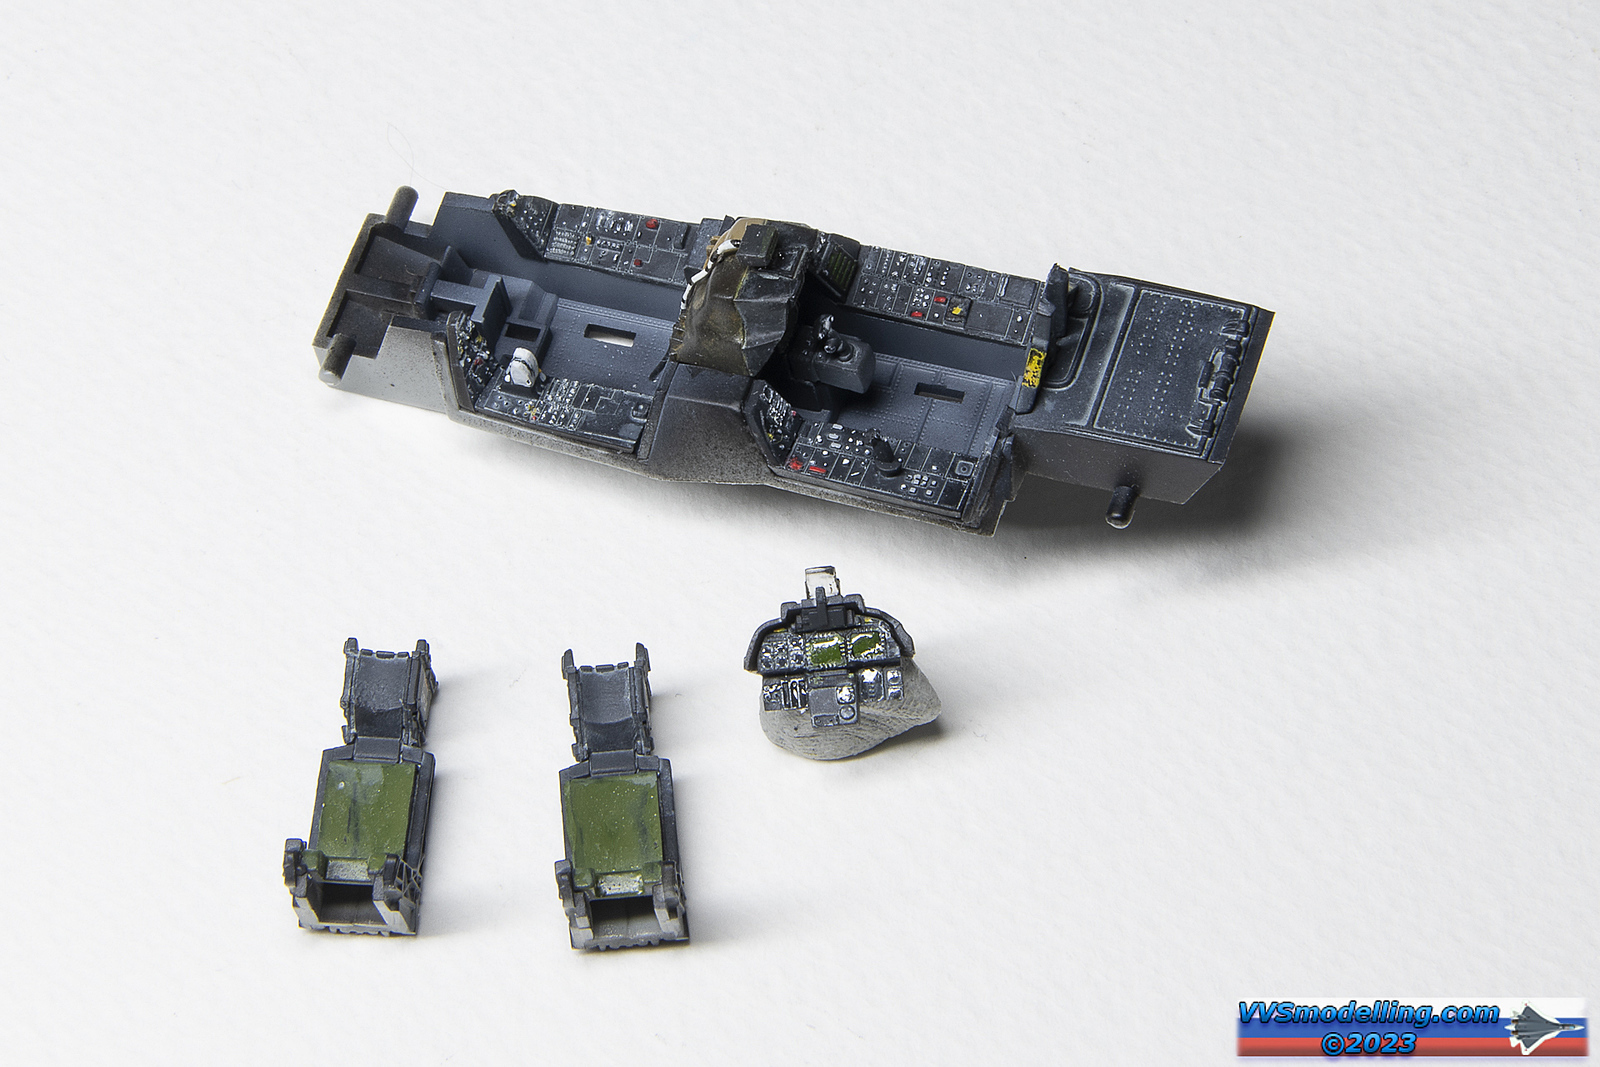
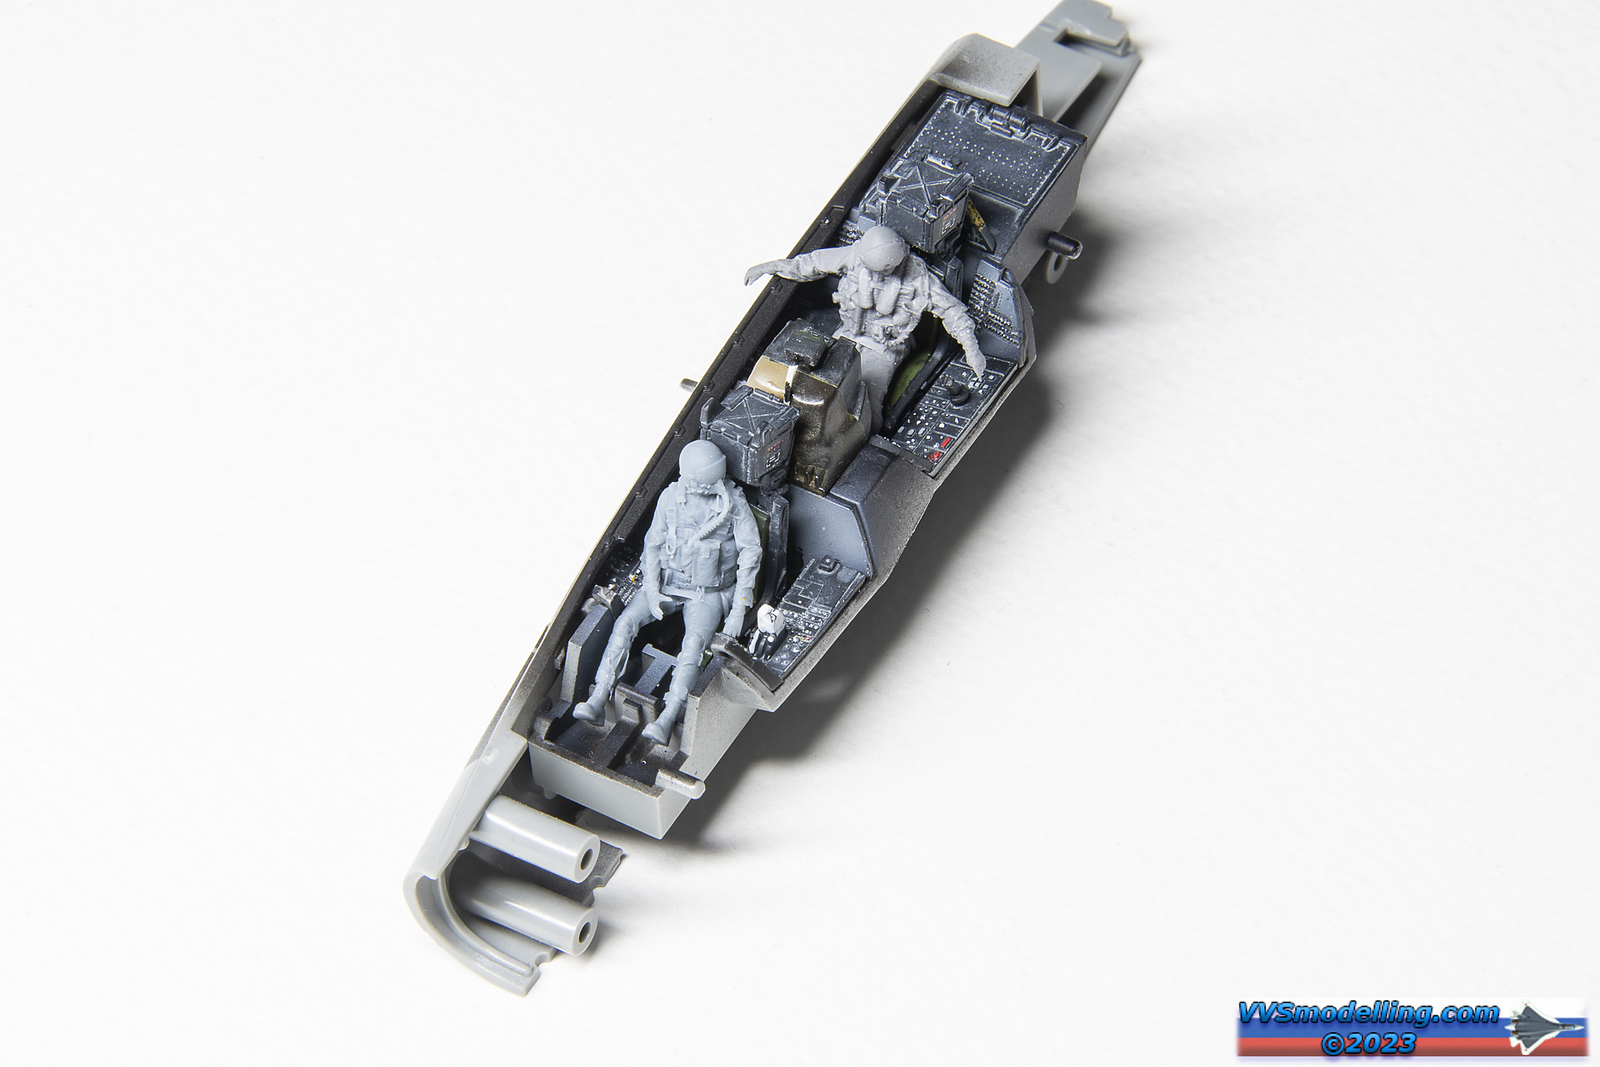
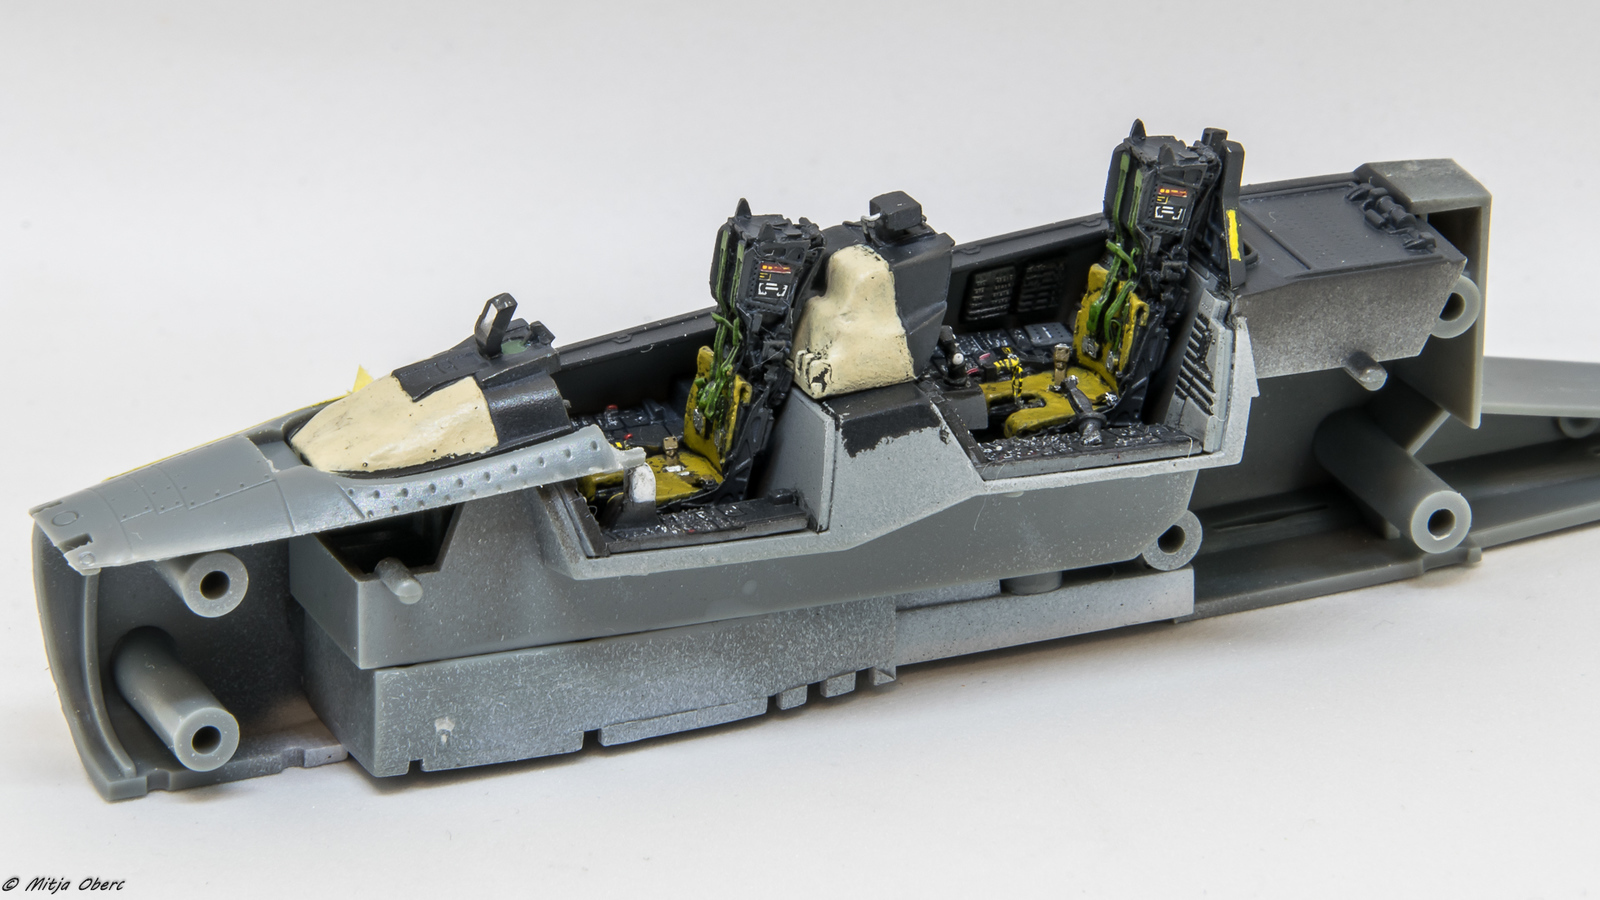
I will be doing the open cockpit with flight crew in the pit (figures by Reedoak) so I’ve decided to use the kit seats. They are pretty plain and could have been better but will suffice once the pilots are on. Mitja opted for aftermarket seats which come with more detail and seatbelts.
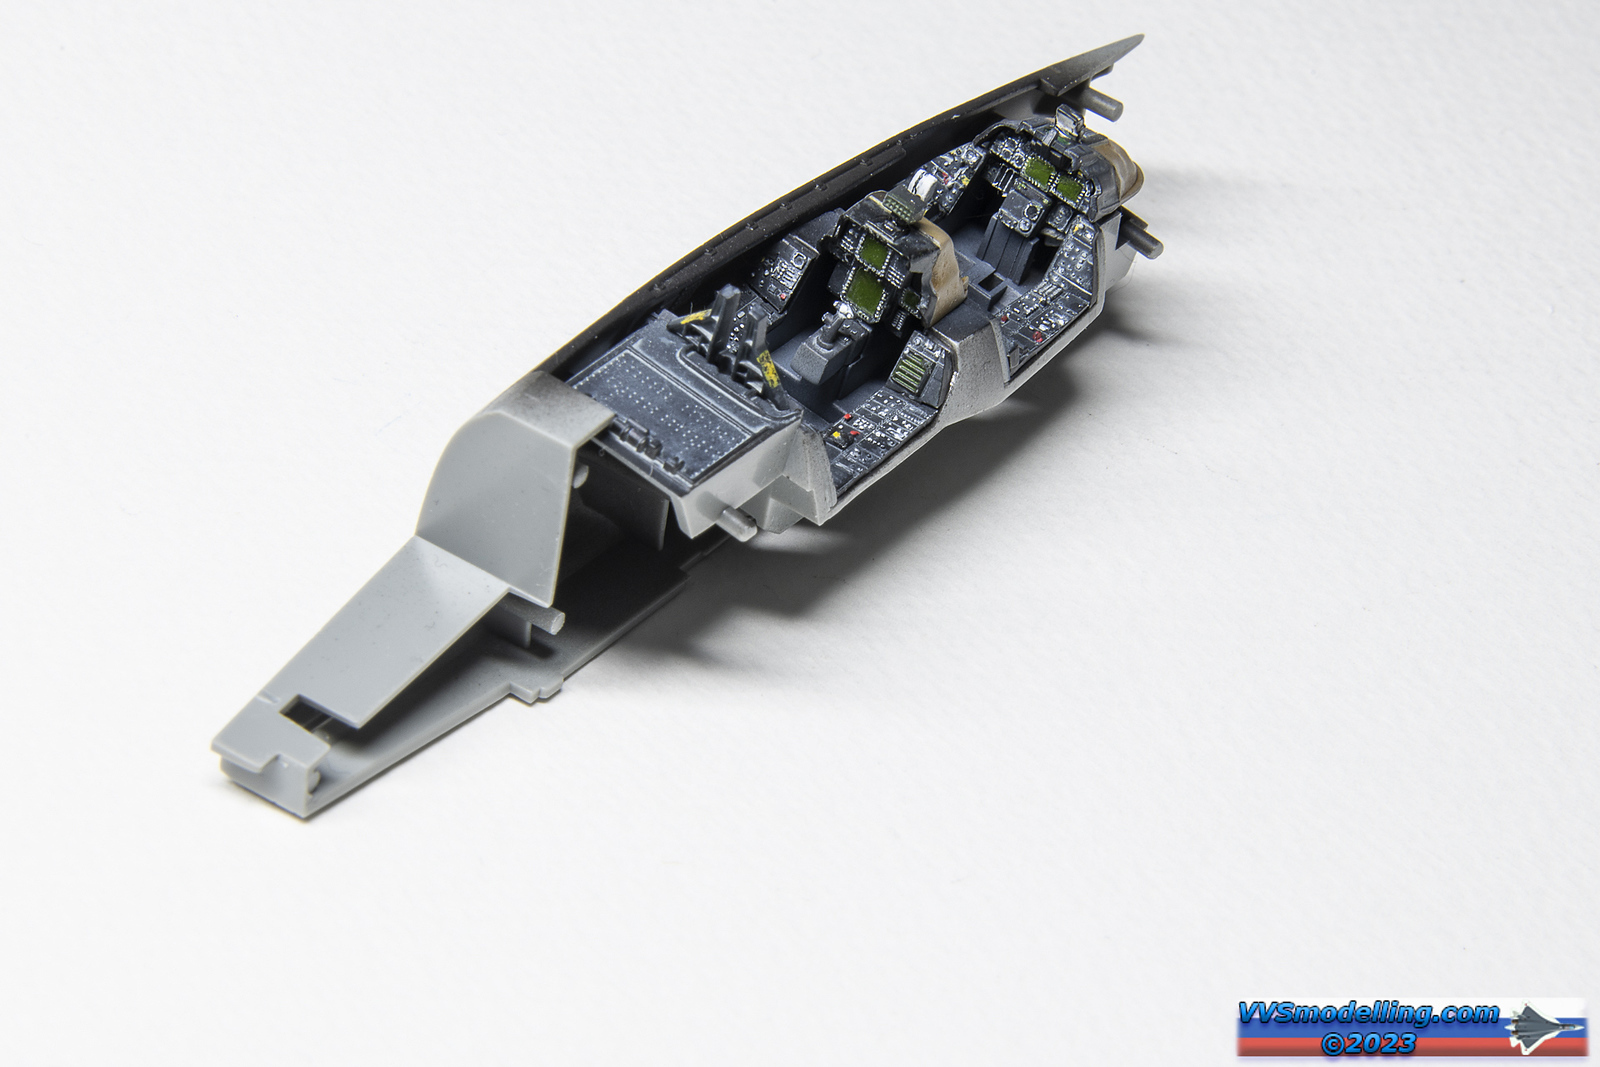
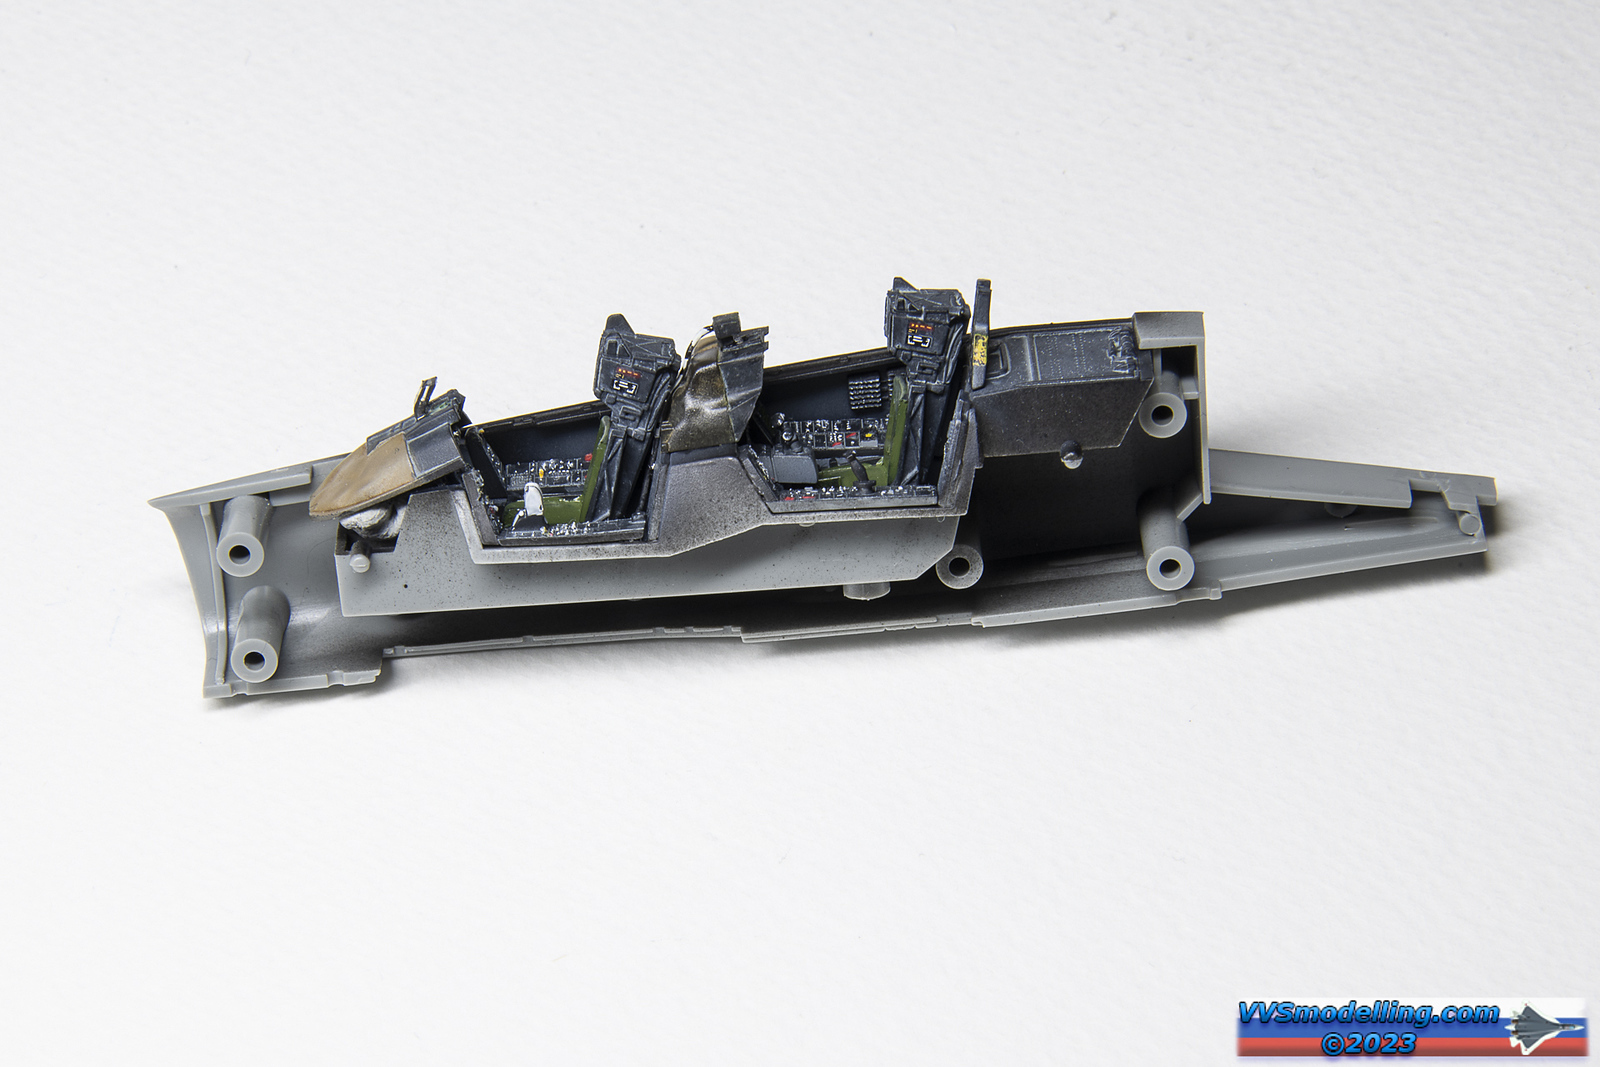
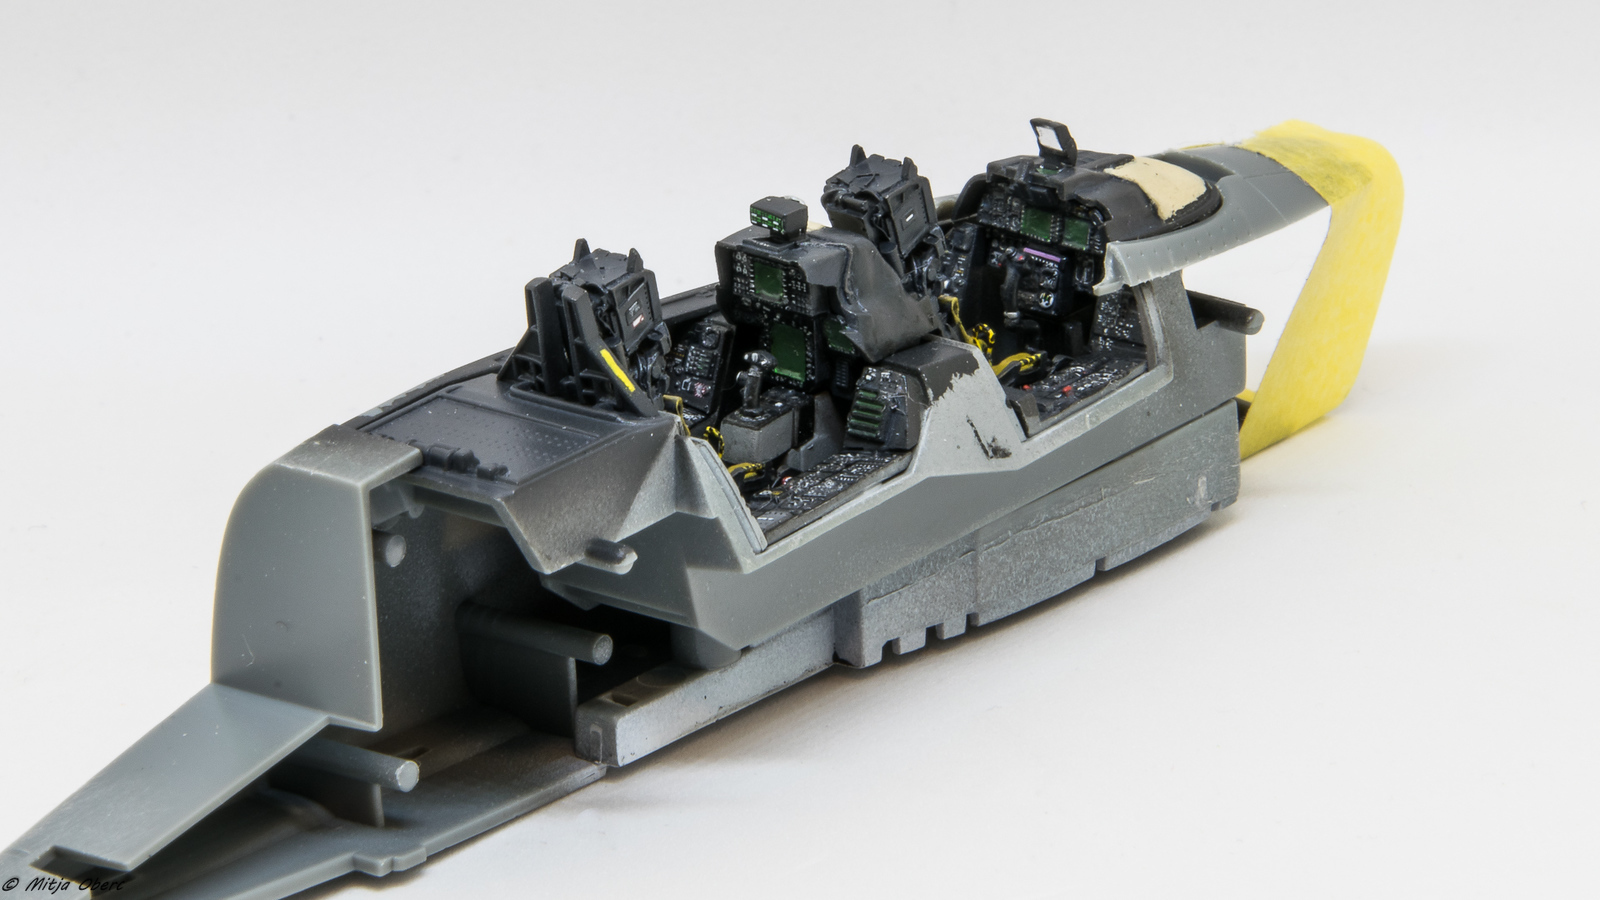
The cockpit itself is done really great. I am well familiar with the layout of the Tomcat’s cockpit and I can assure you, accuracy of the switches is 99%. Maybe the detail could have been raised a little bit more, but with careful painting the office will look great. Mitja decided to use the included decals which are also one of the best I have seen so far and are a quick way to finish the pit (if you don’t wanna paint all those hundreds of knobs). But (there’s always but, ain’t it?) there’s also a lack of any kind of details on the rear bulkhead behind the pilot – you’ve got the intricate rivet details on the cockpit floor which will disappear forever when you install the seats yet the busy bulkhead full of wiring and air conditioning ducts is left bare. Weird.
And here’s perhaps the weirdest thing about the cockpit and not mentioned by any review I have read on the internet – RIOs instrument panel shroud is too narrow! And we are not talking a millimetre here – more like 6mm! The shroud should go from the edge to the edge of cockpit yet in this model, there’s is a gap of about 3mm on each side of the cockpit making the whole thing look really narrow. This also leaves a question what dimension is wrong – is the RIOs panel too small or is the cockpit too wide?
My model:
Mitja’s:

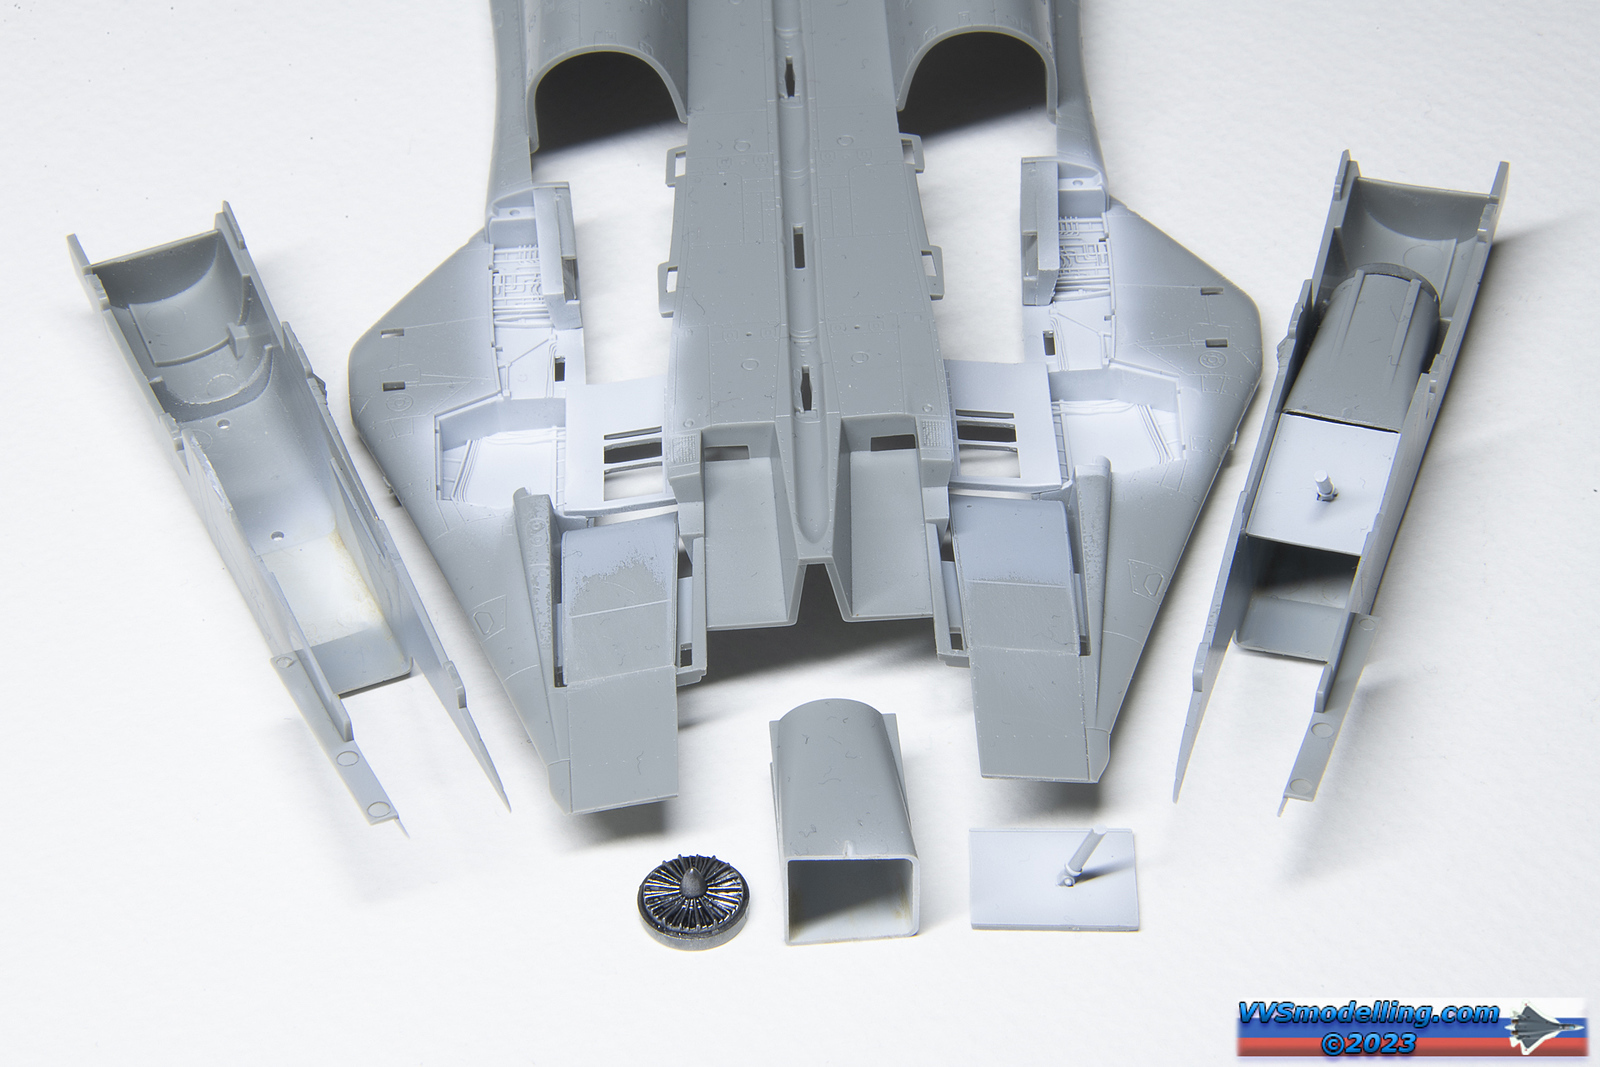
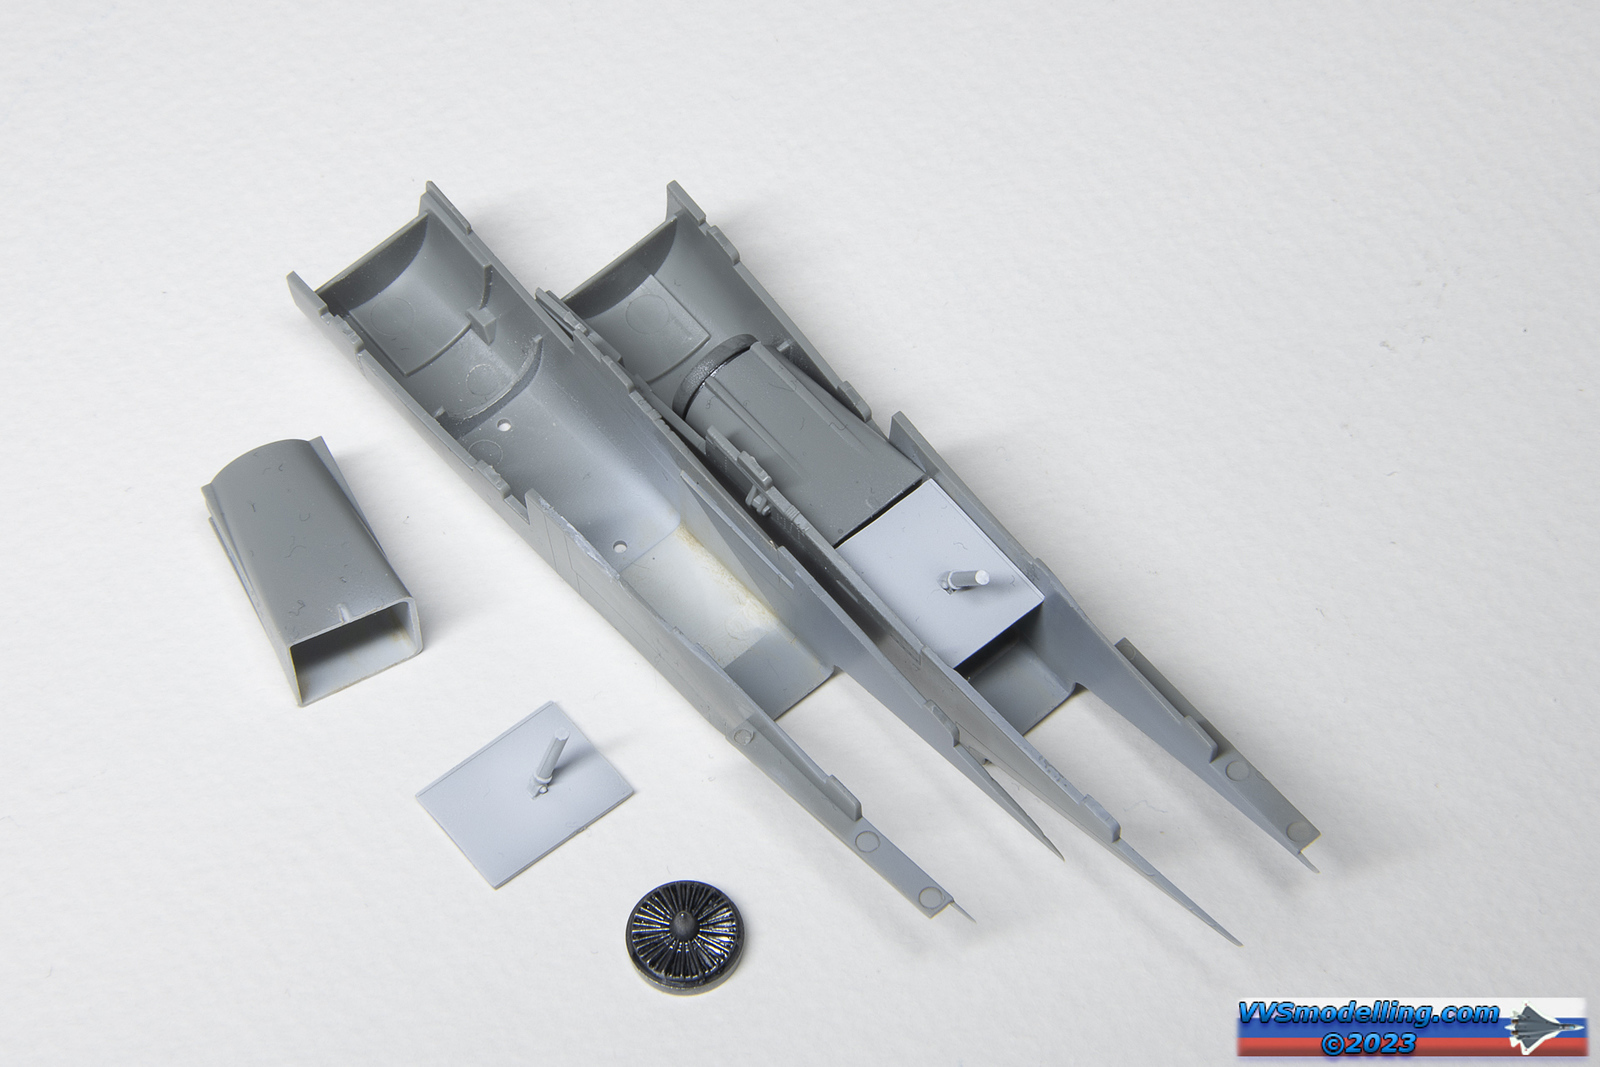
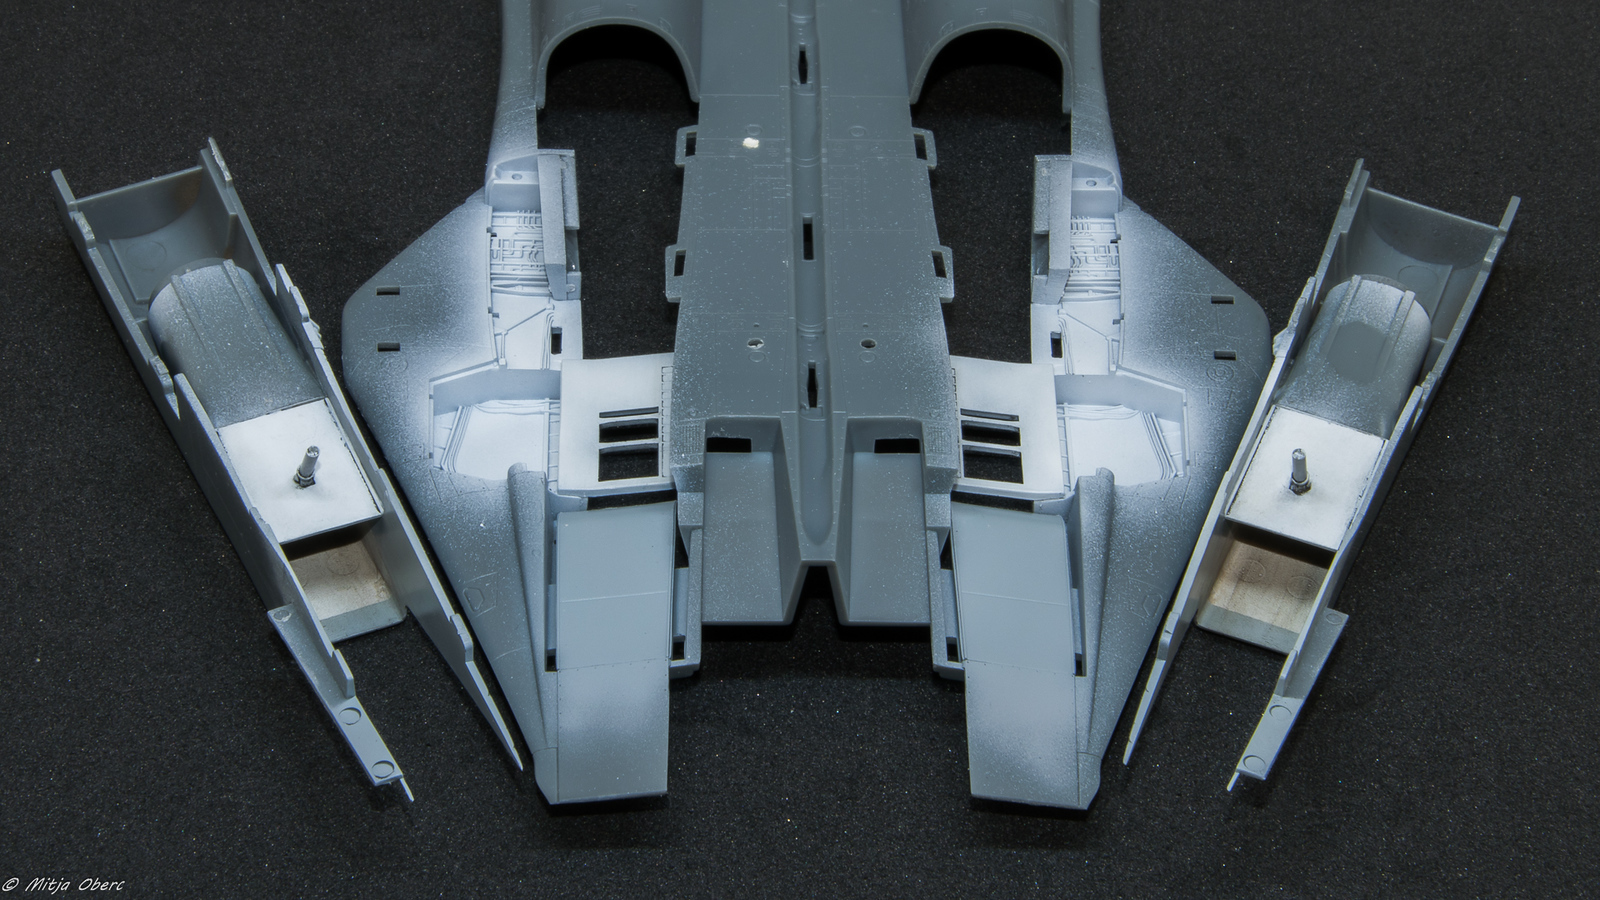
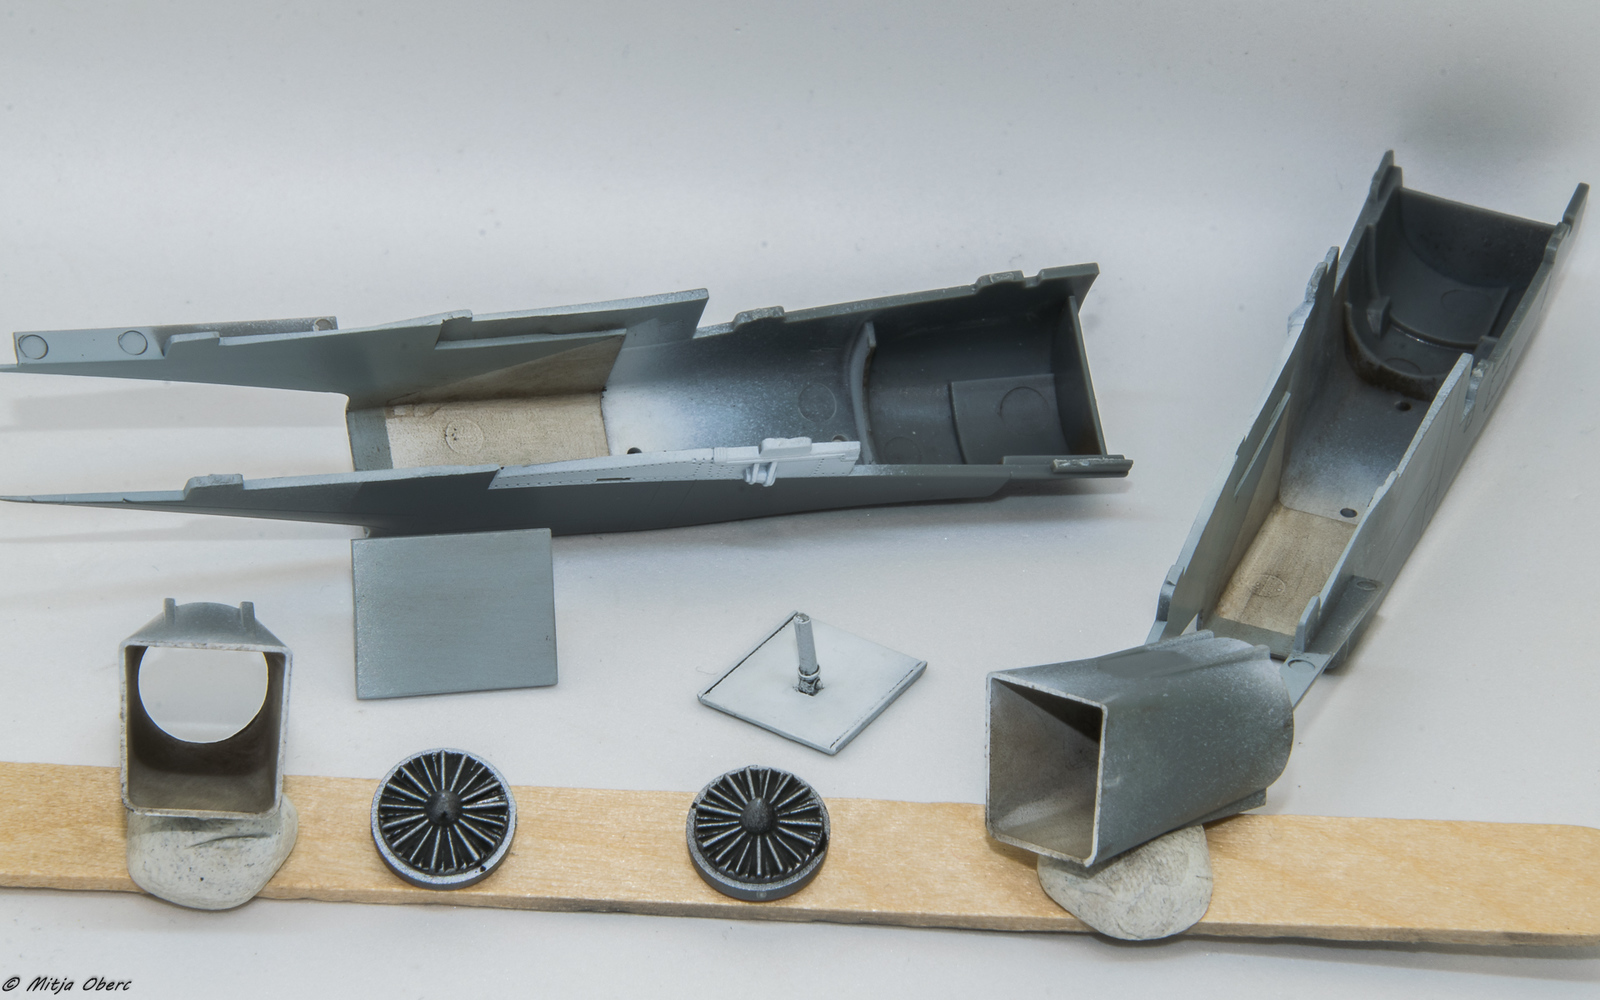
Intakes are moulded really nice and in one piece as you can see (slide mould technology), but as a result, you will have some slight raised edges that need to be sanded off – be gentle and you won’t loose and surface details. There are two side-by-side pin marks at the bottom inner part of the intake – I did some puttying and sanding to them, just to reduce the edges but they won’t be visible on the completed model anyway.
There’s also some texture on the inner sides of the intakes – I reckon as a result of moulding but as the real thing isn’t smooth either and as those imperfections aren’t really visible, I’ve just decided to let them be.
The inner sides get dirty, tan to sandy look and we both went with it, with Mitja getting it a little more dirty than I did, but there really ain’t no right or wrong here.
My model:
Mitja’s:
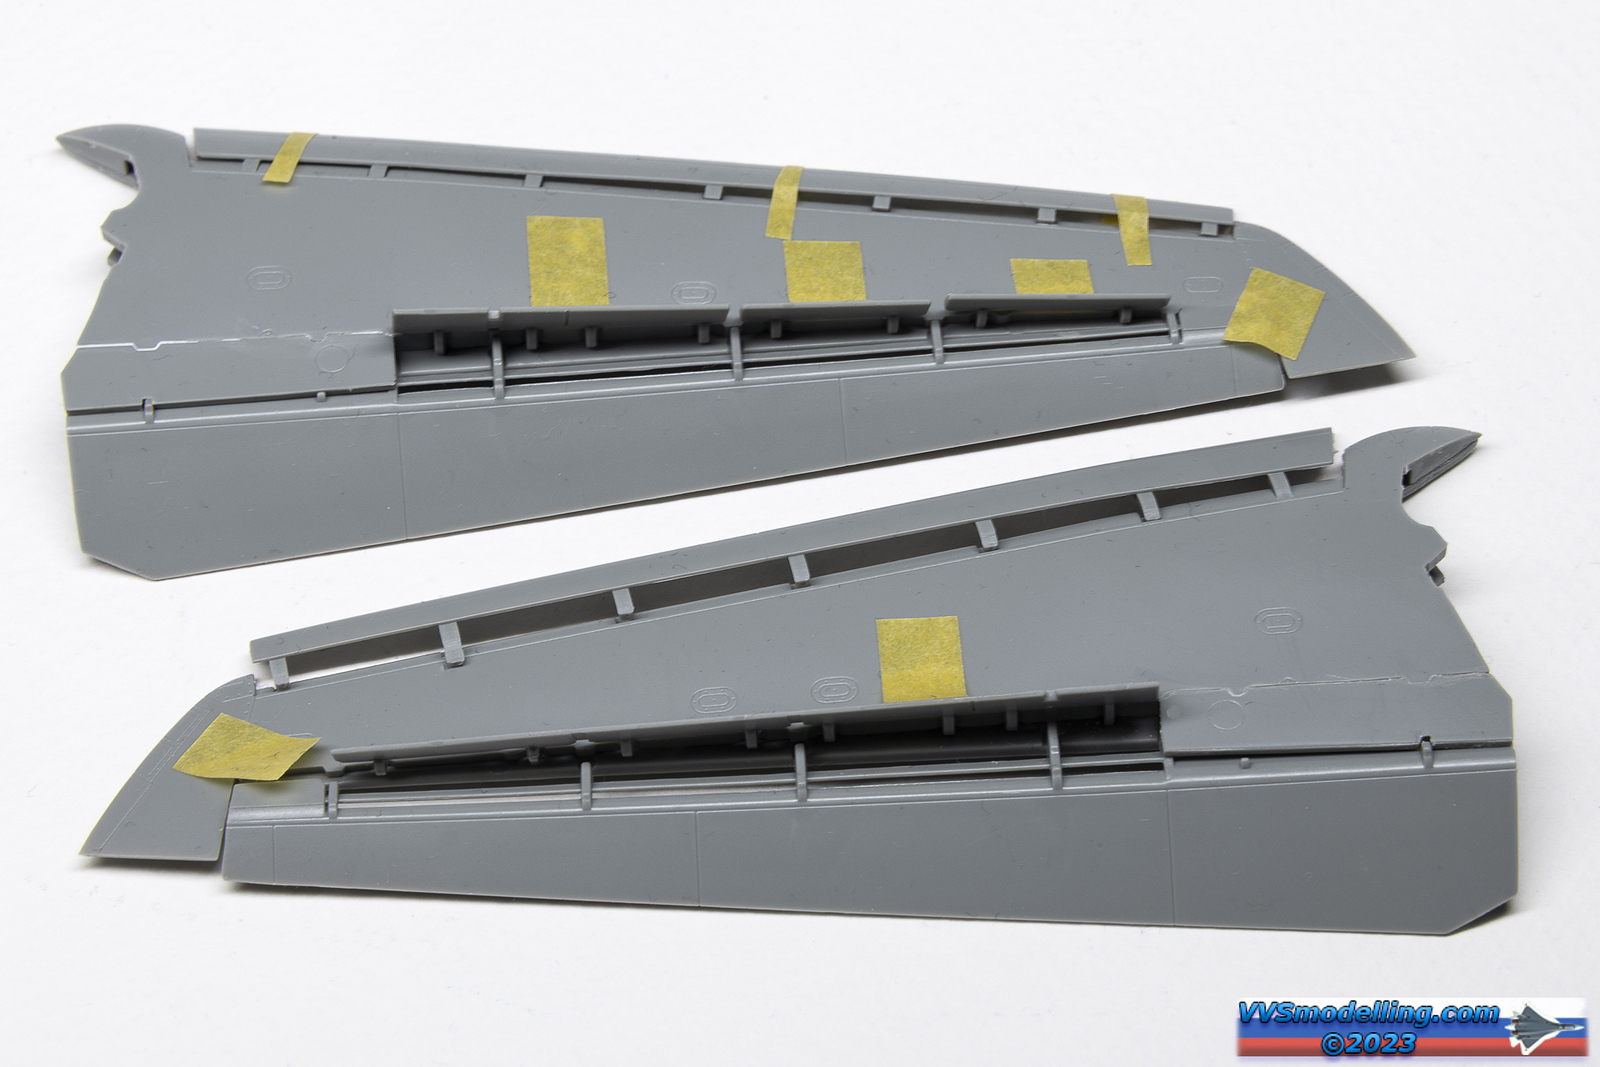
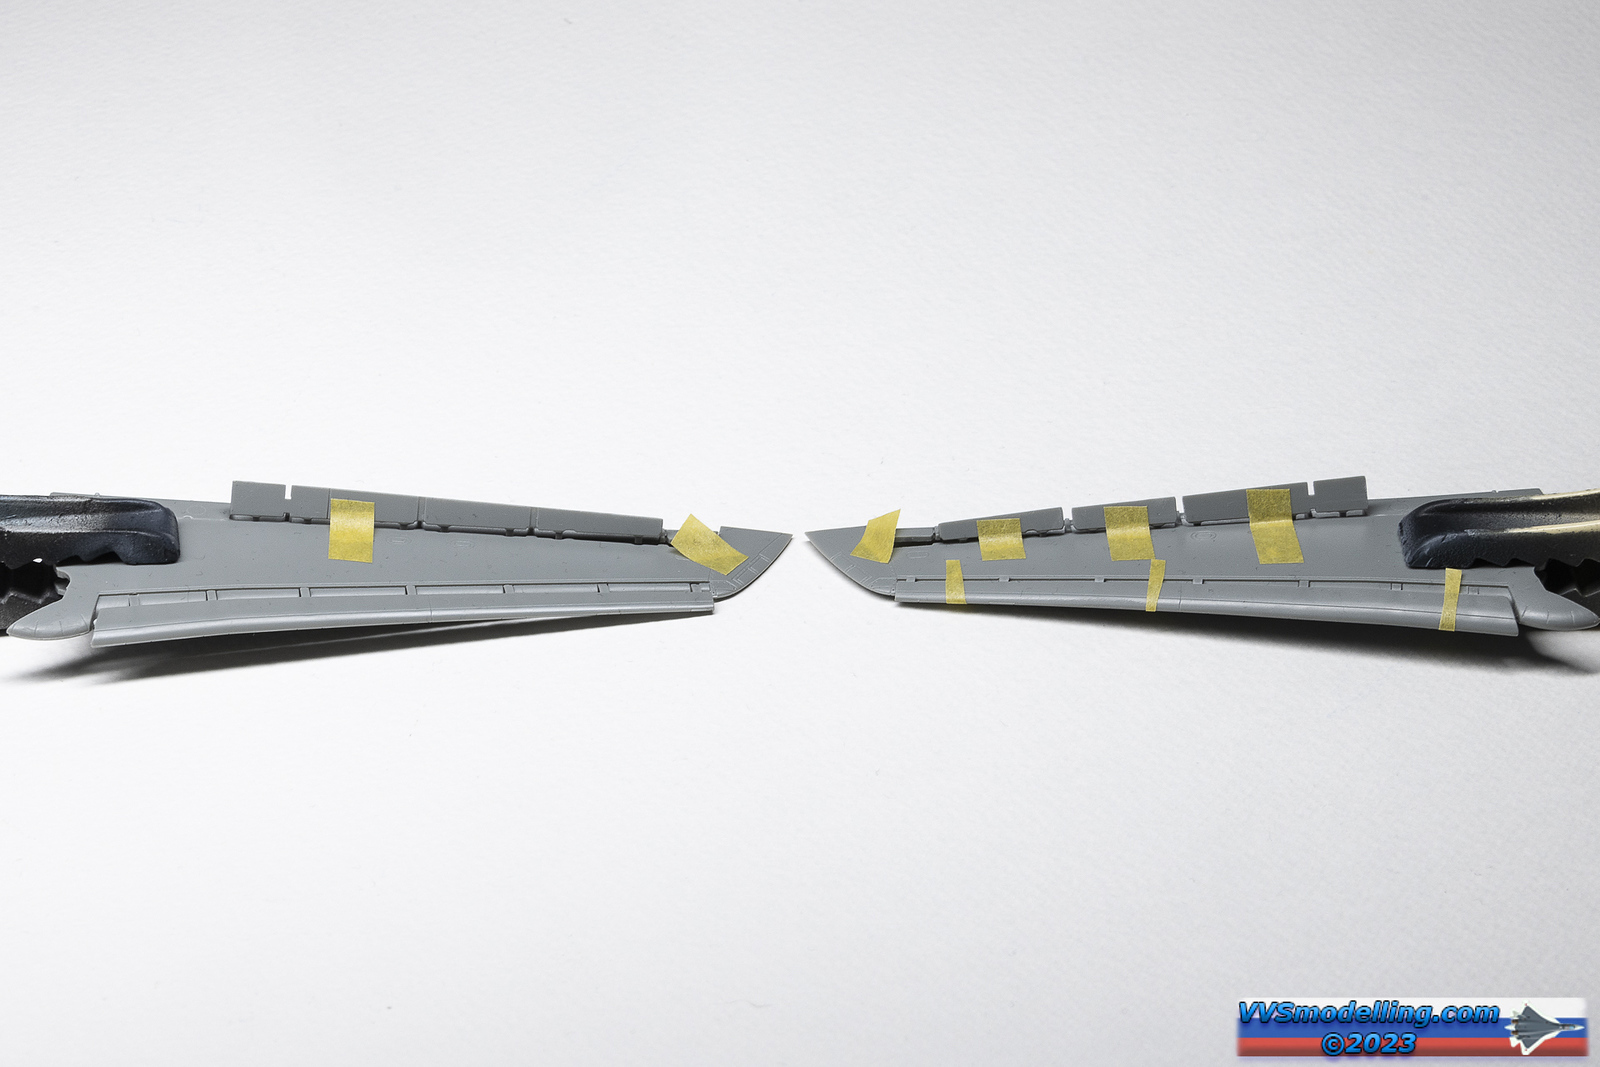
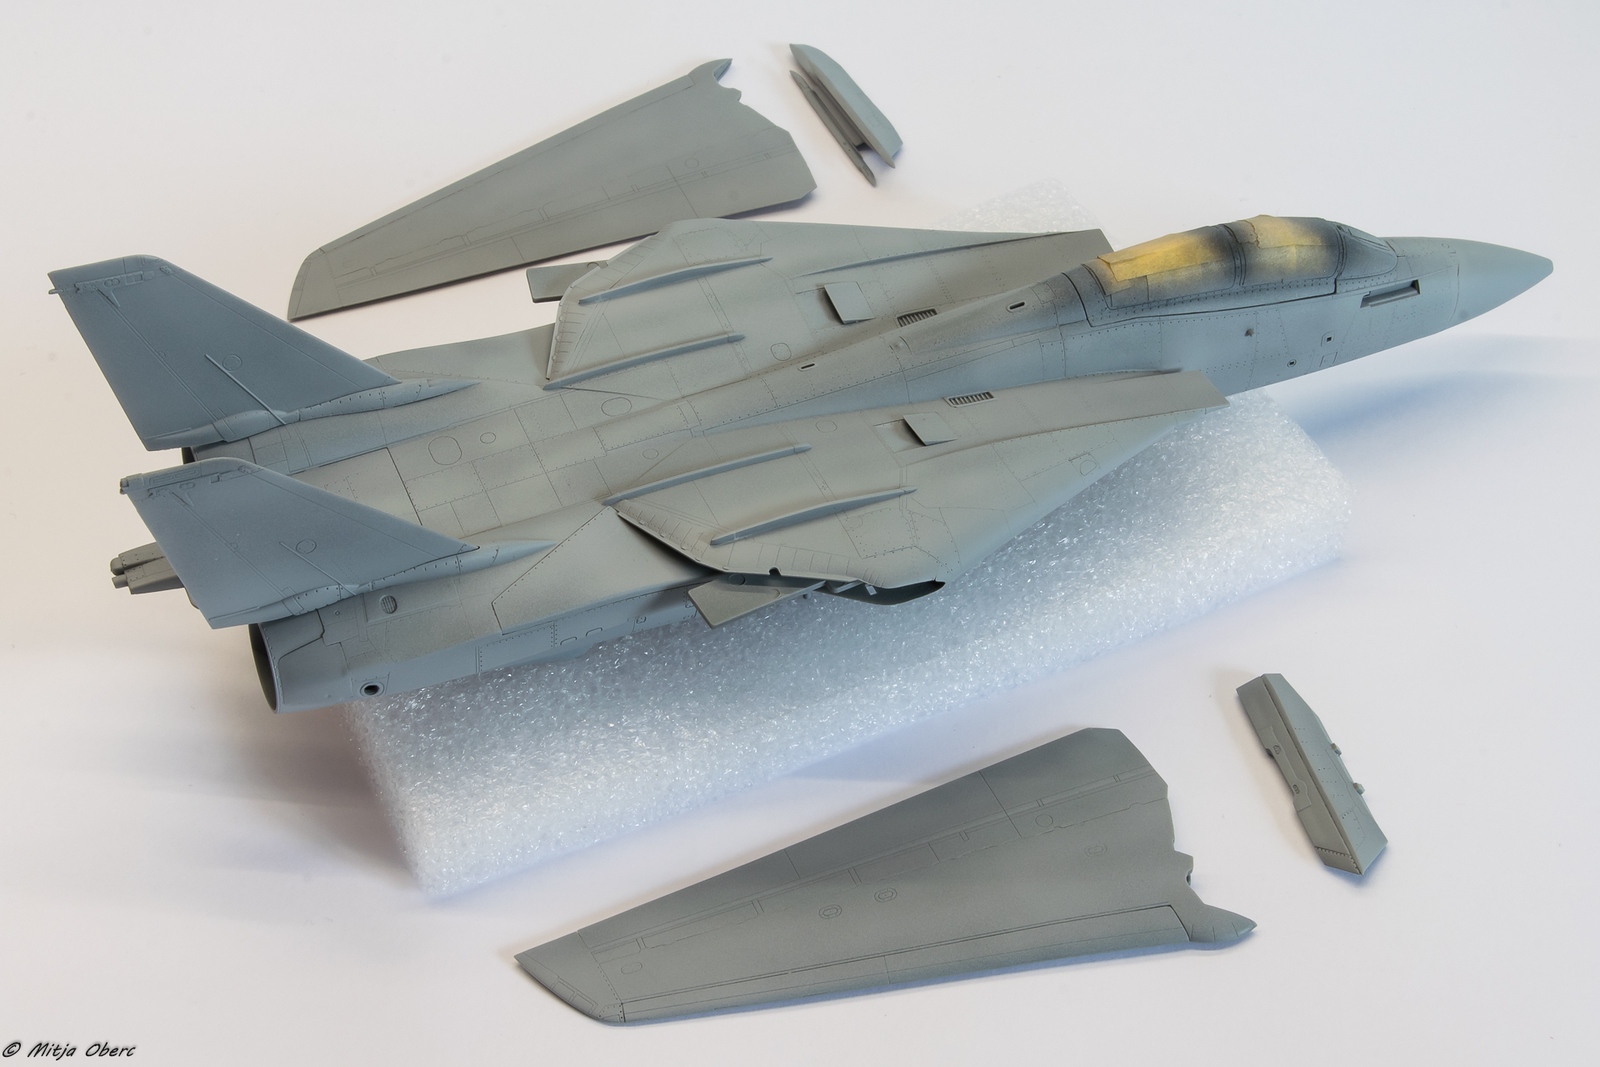
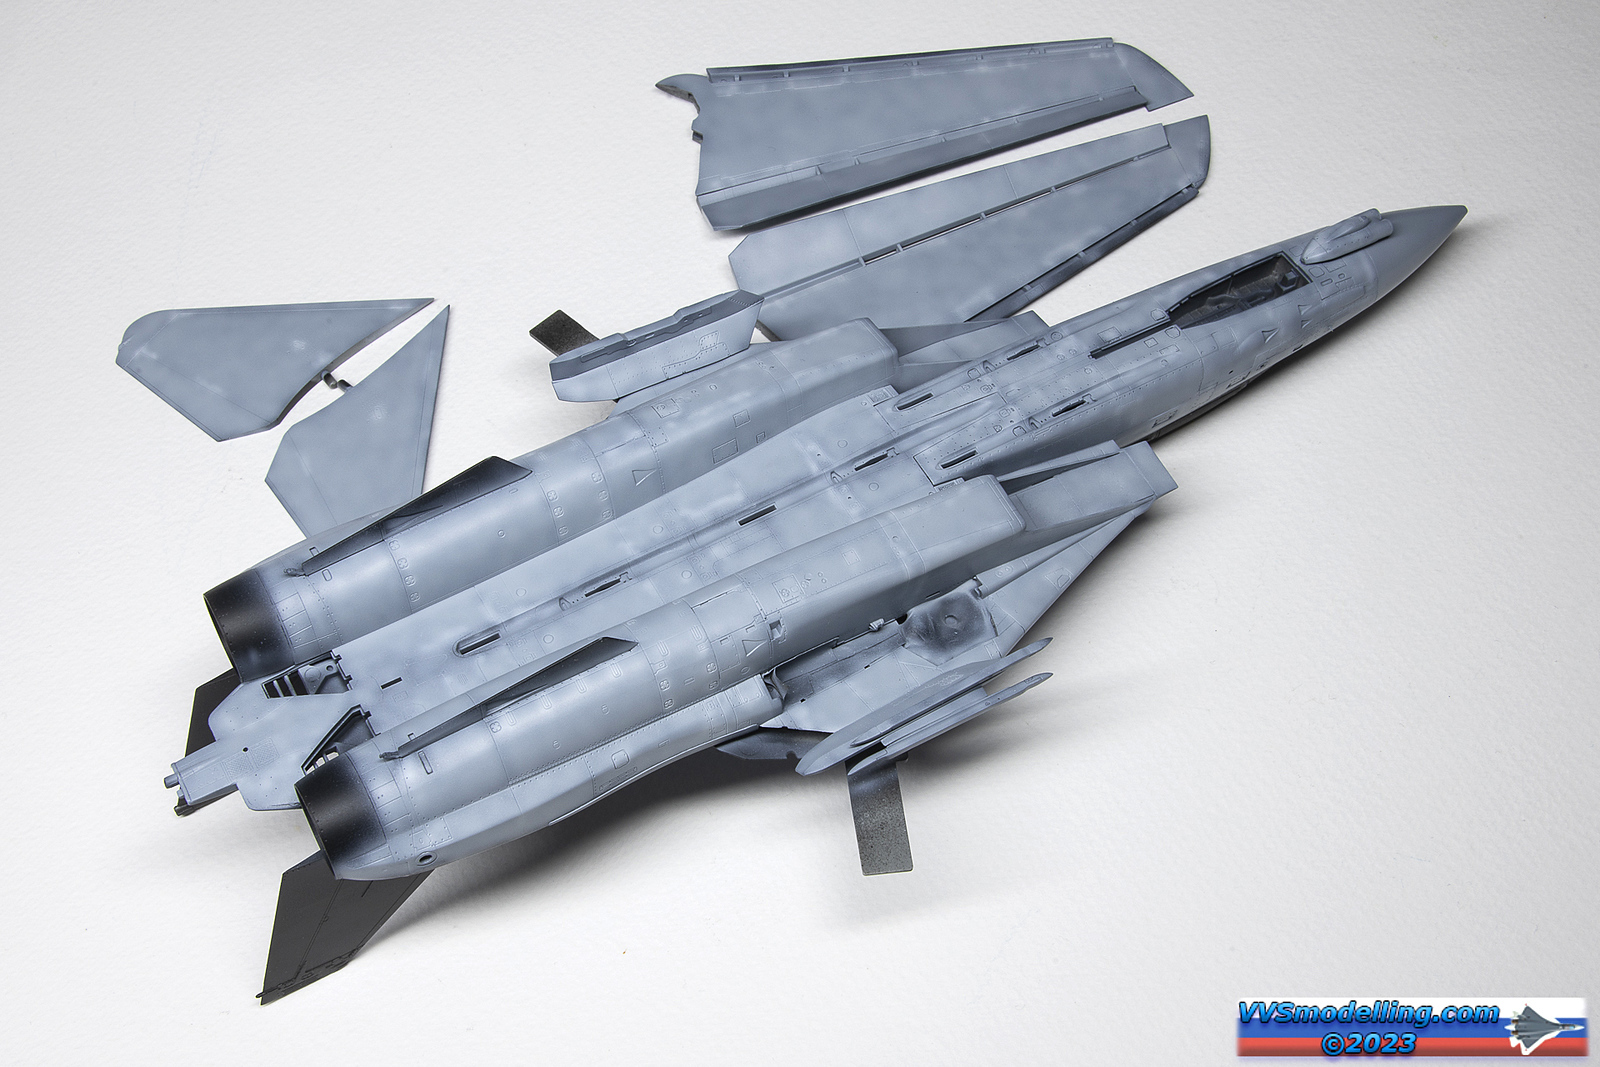
You have either/either option to build the wings in clean configuration or dirtied up with deployed flaps, slats and spoilers. Mitja opted to go for clean wings configuration and unfortunately experienced quite a lot of seams due to the overcomplicated design of the wings themselves, as can be clearly seen in the photos.
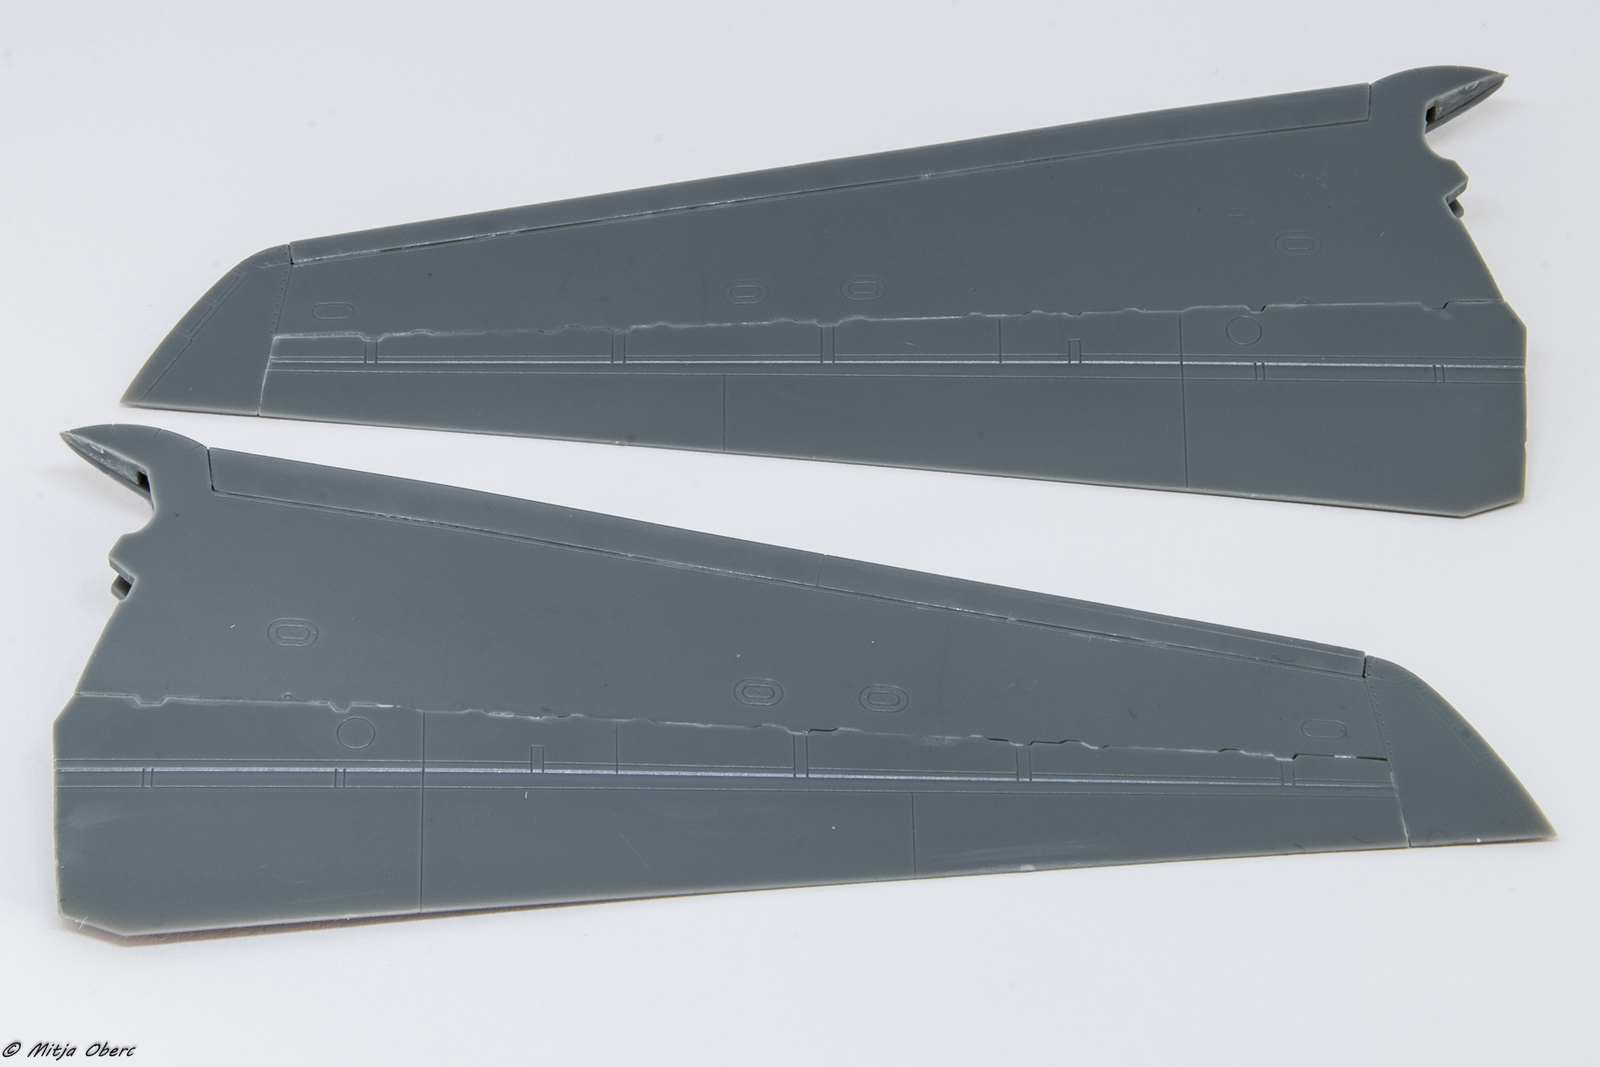
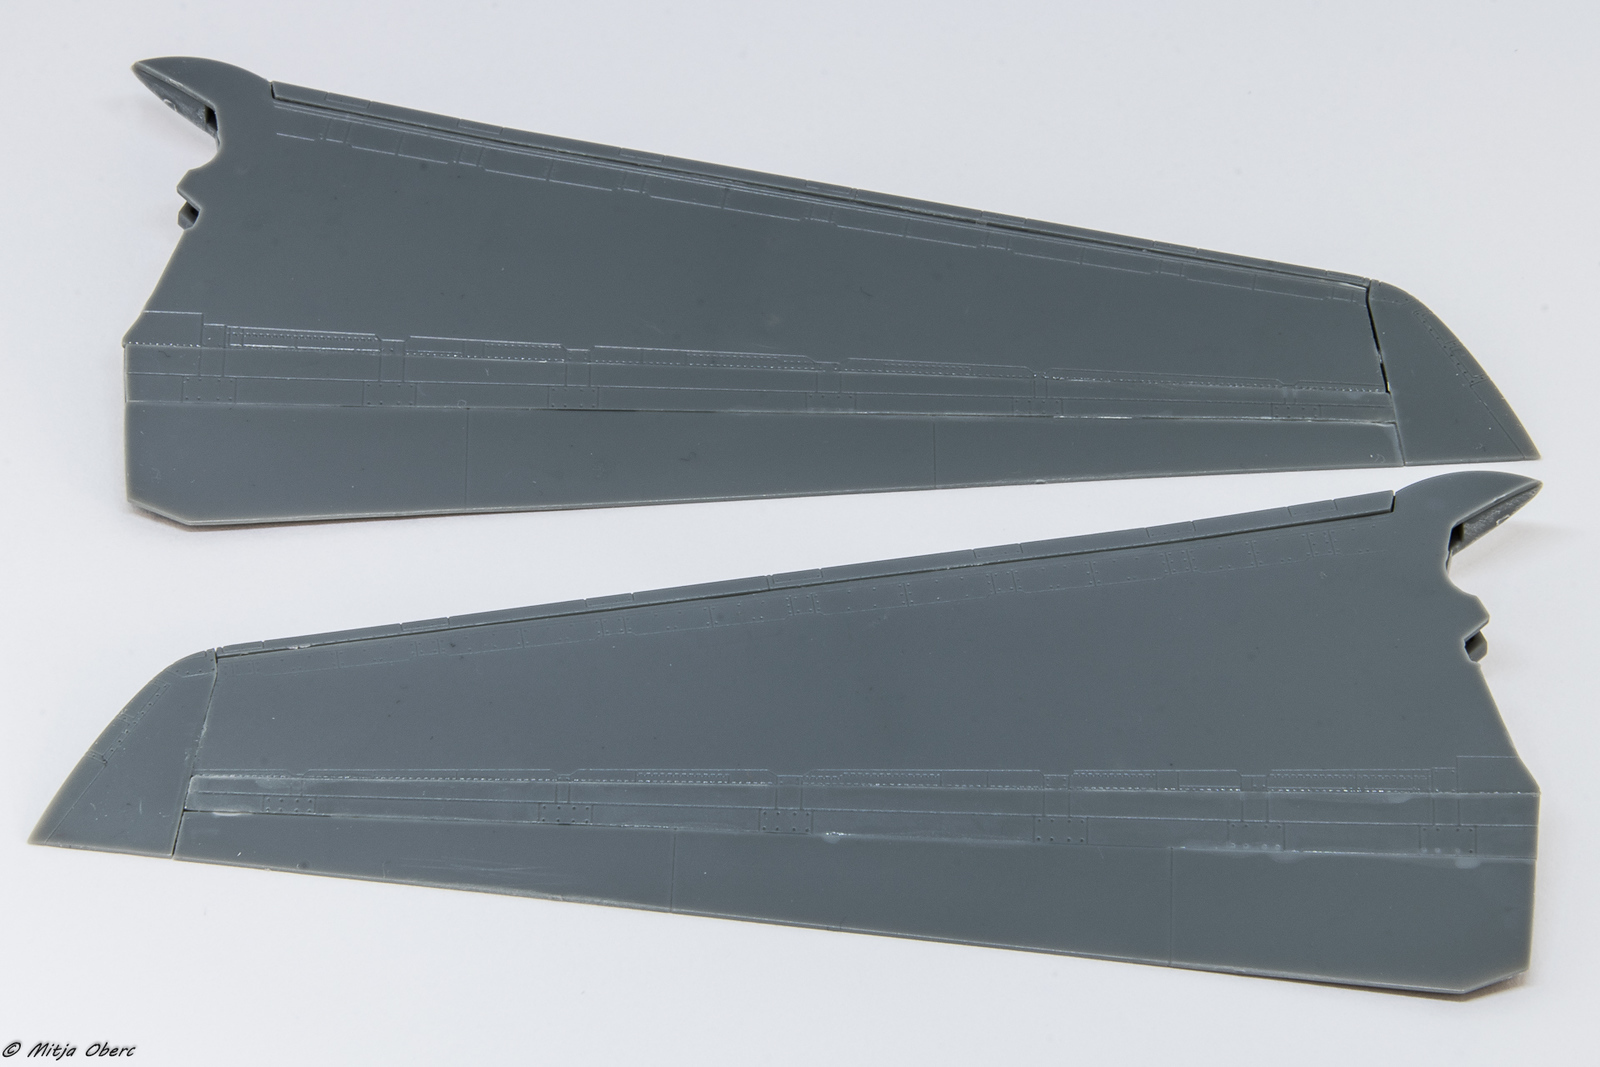
I went for the dirty config and while the fit wasn’t as bad (some cleaning of the seams is still necessary) I’ve noticed a couple of errors. The first one is that the spoilers are moulded as a single piece, yet in real life, they were made out of four segments – the inner ones were close together, which can pass with a panel line in this scale, but there was a significant gap between the outboard ones. Luckily it is an easy and quick fix. The other error is the slats. As they are deployed out of the box, they are way overextended. I partially fixed this by shortening the slat guides a bit, bringing the slats closer to the wing and much improving the overall look. As you can see in the photos, despite the rather ill-dry-fitting, the modification already looks way better than the out of the box solution.
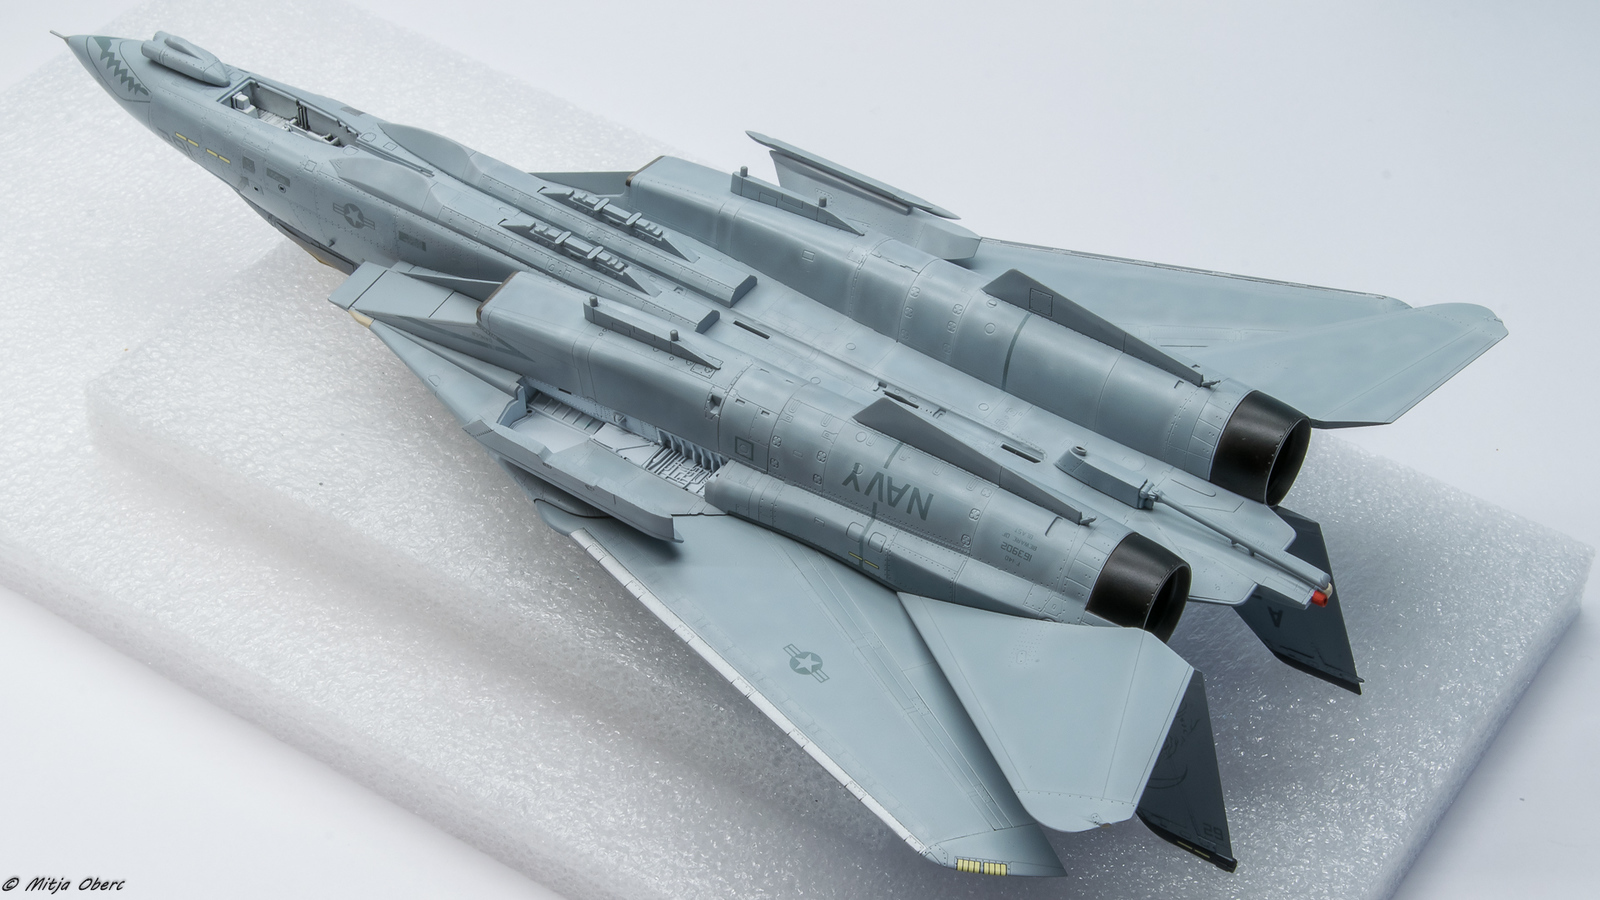
Our both aircraft carried double Sidewinder pylons on port side and a LANTIRN pylon without Sidewinder attachment on starboard side. This meant that we had to do some additional work – remove the Sidewinder attachment on starboard side and scratchbuild the lower ‘Winder adapter on station 1b. To my knowledge no kit provides this double Sidewinder adapter. The set of photos shows Mitja’s work.

Kit pylons
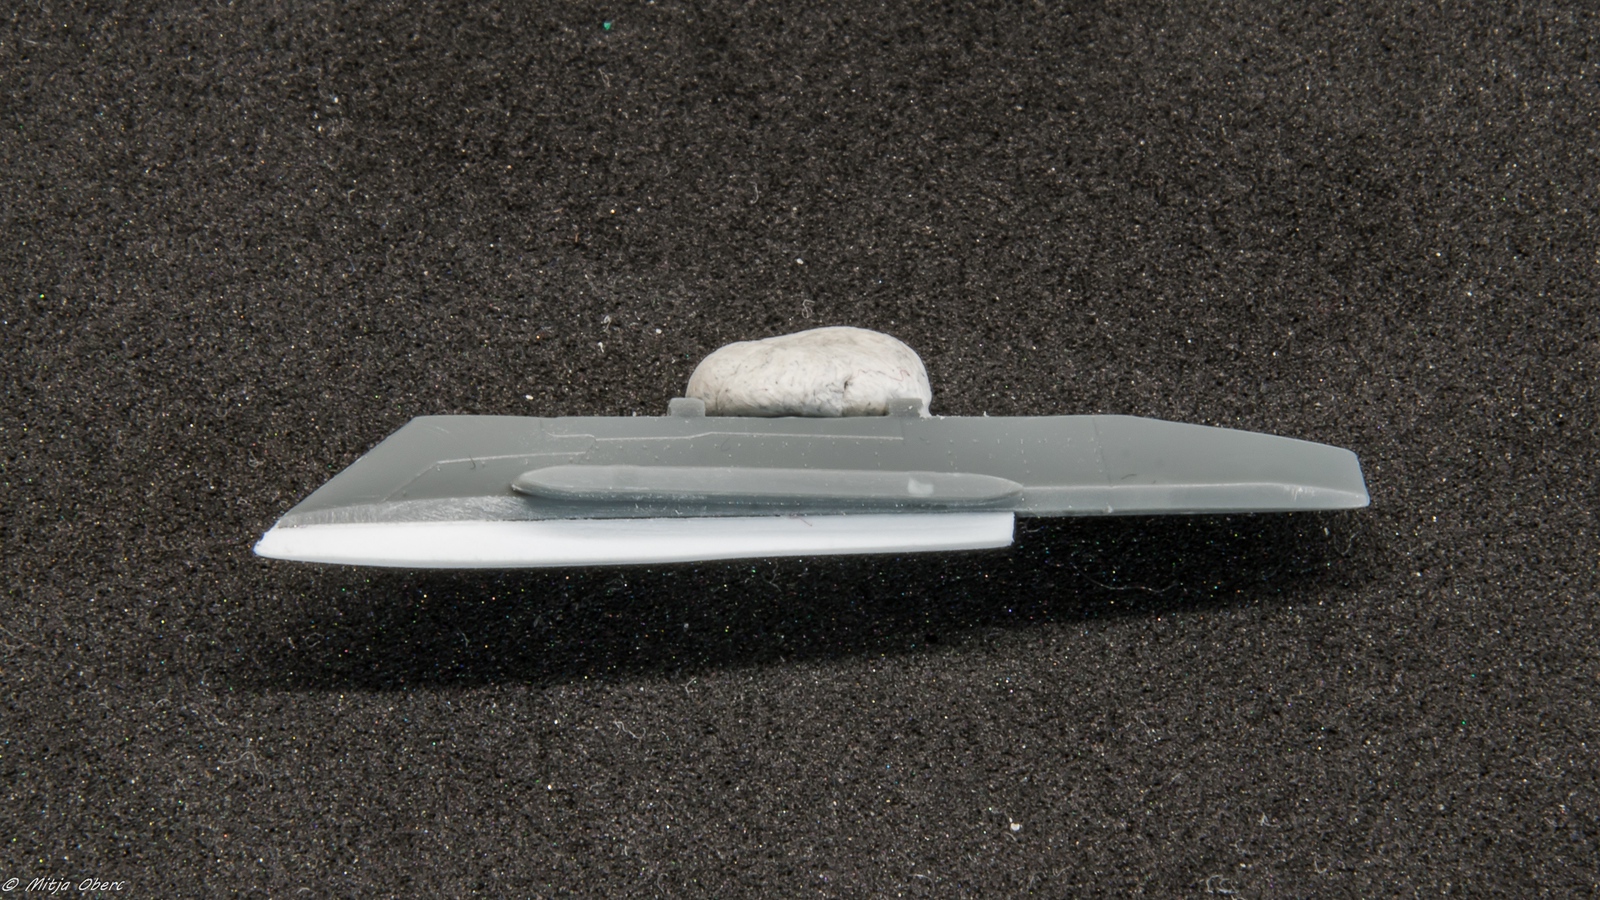
Scratchbuilt lower Sidewinder adapter

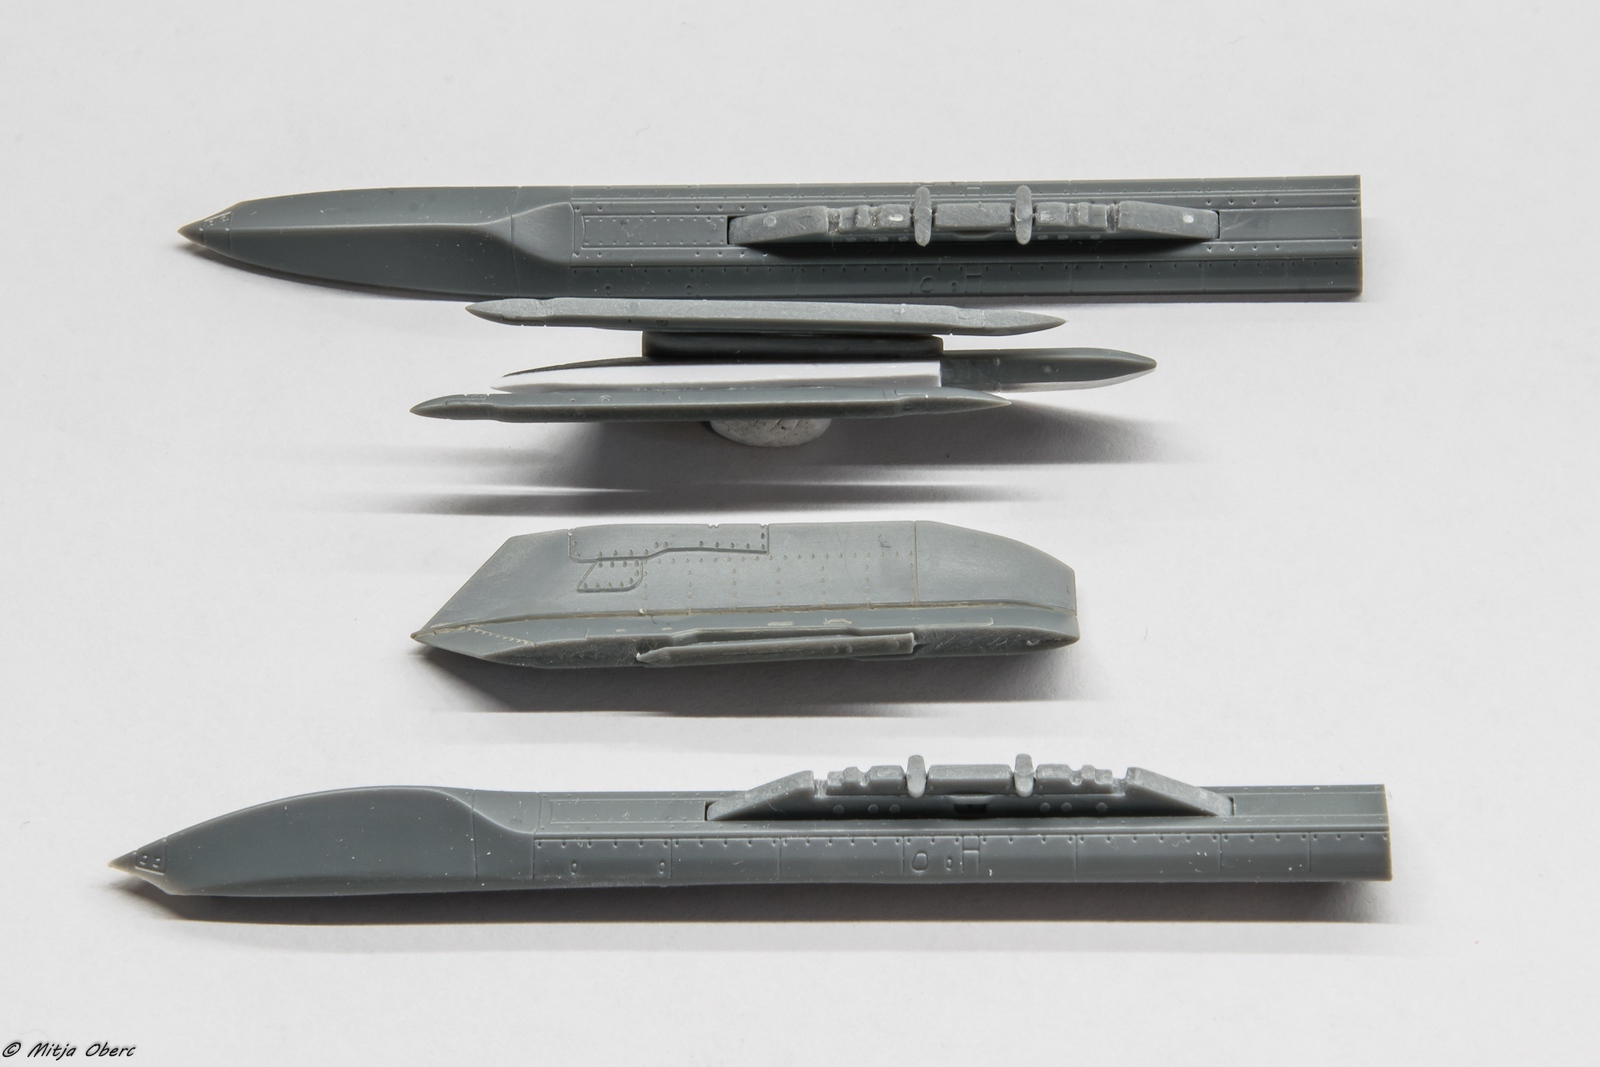
And finished weapon pylons for his bird.
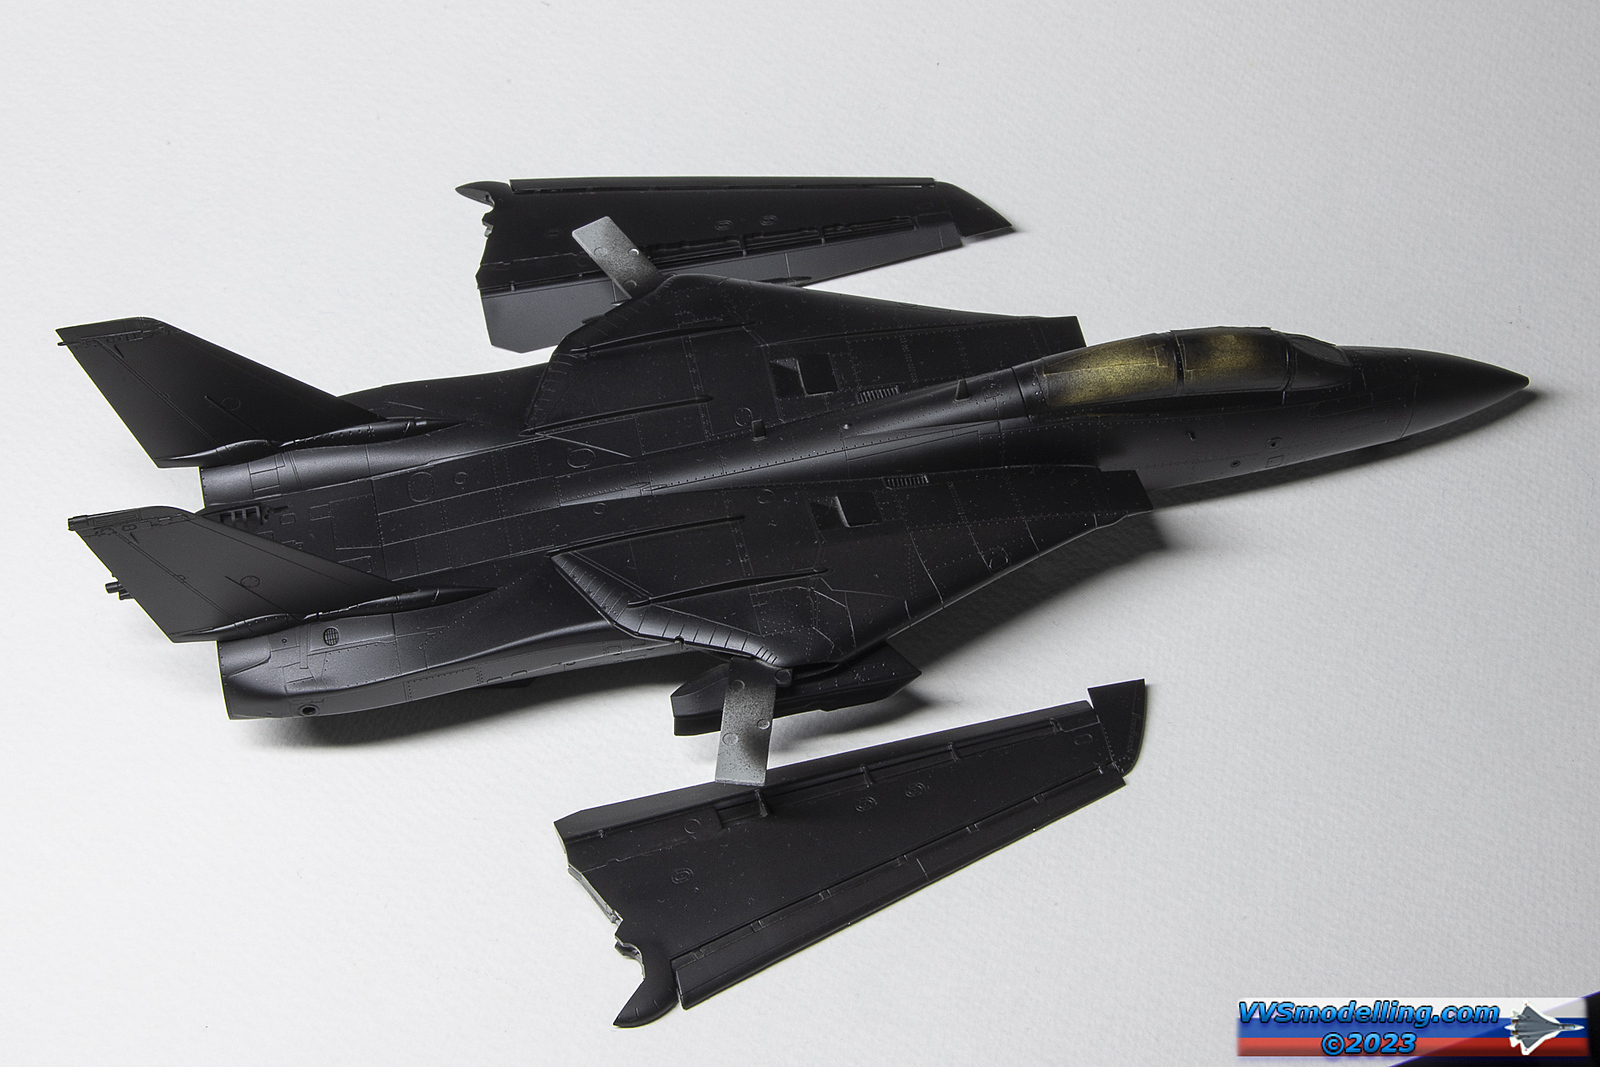
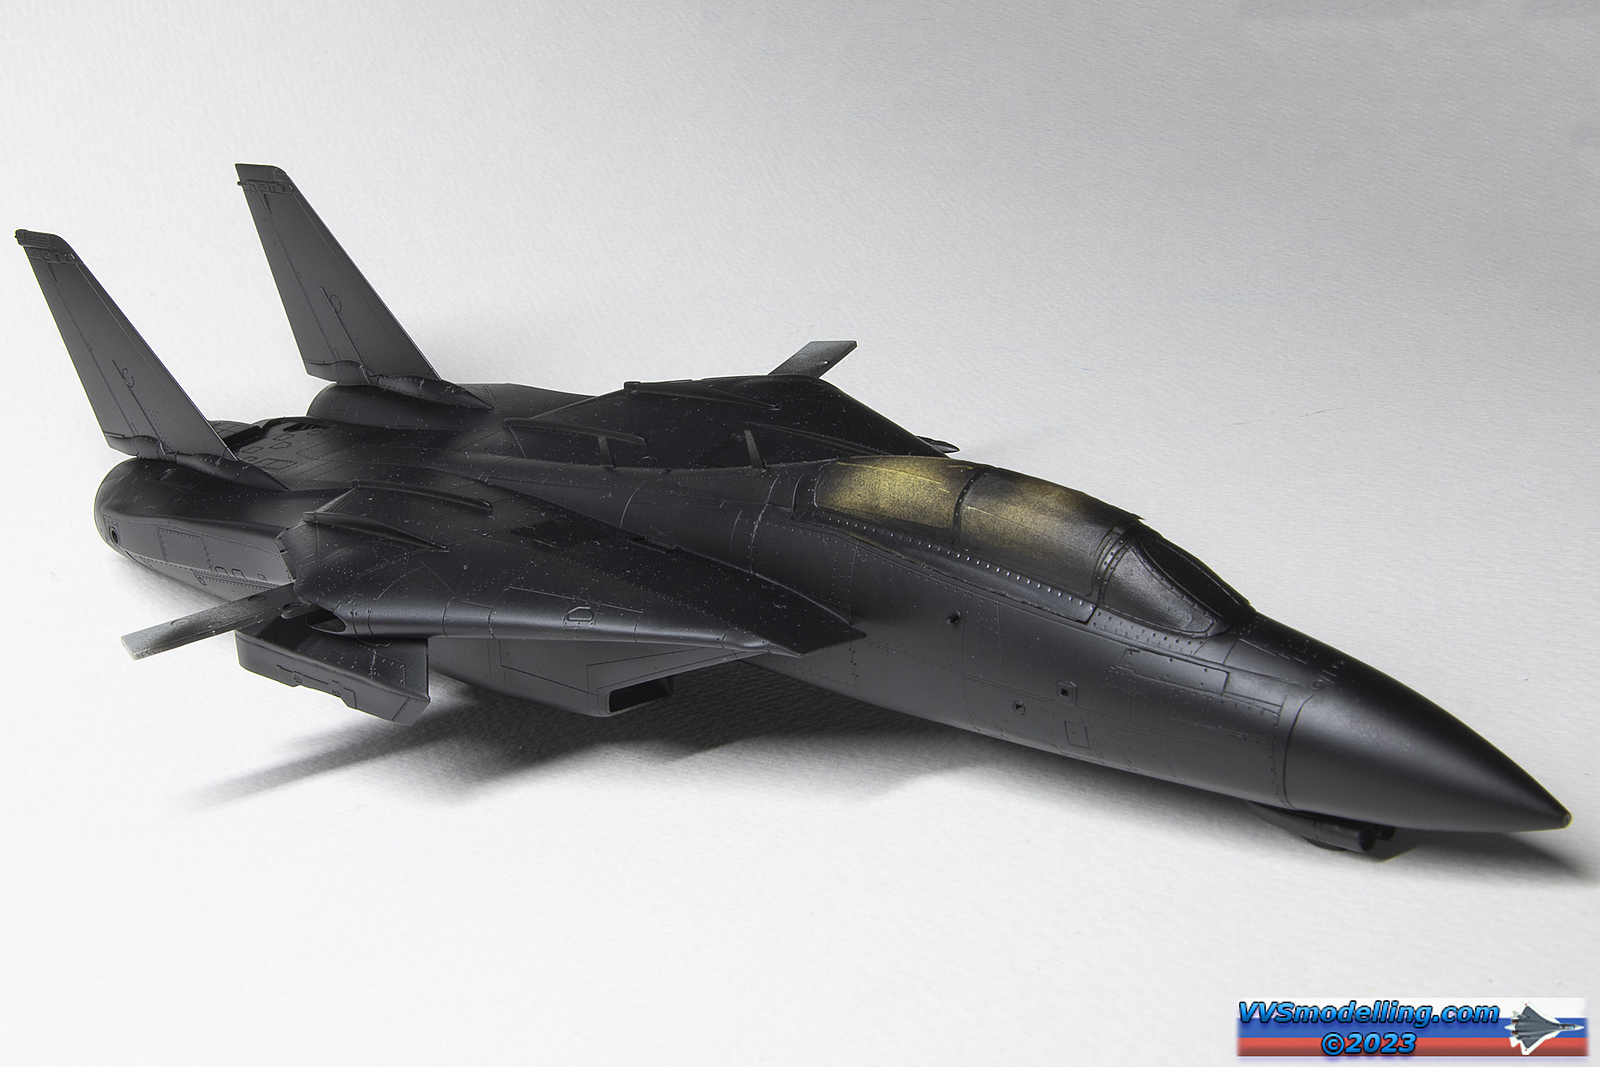
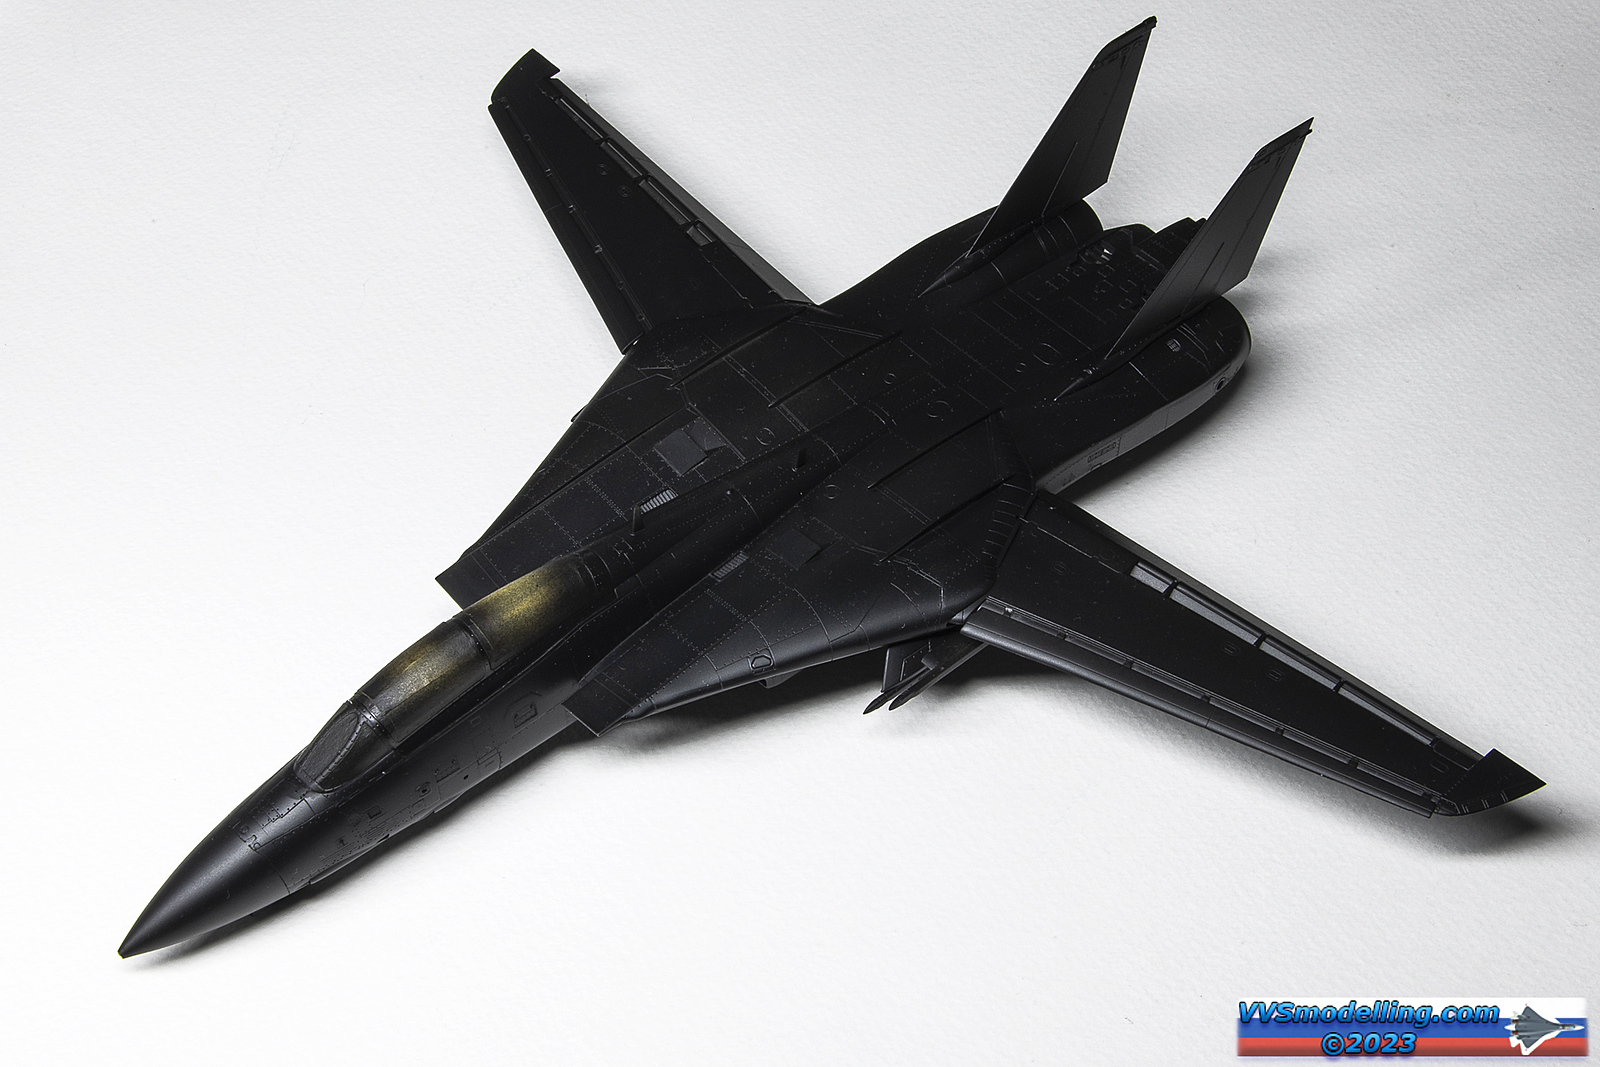
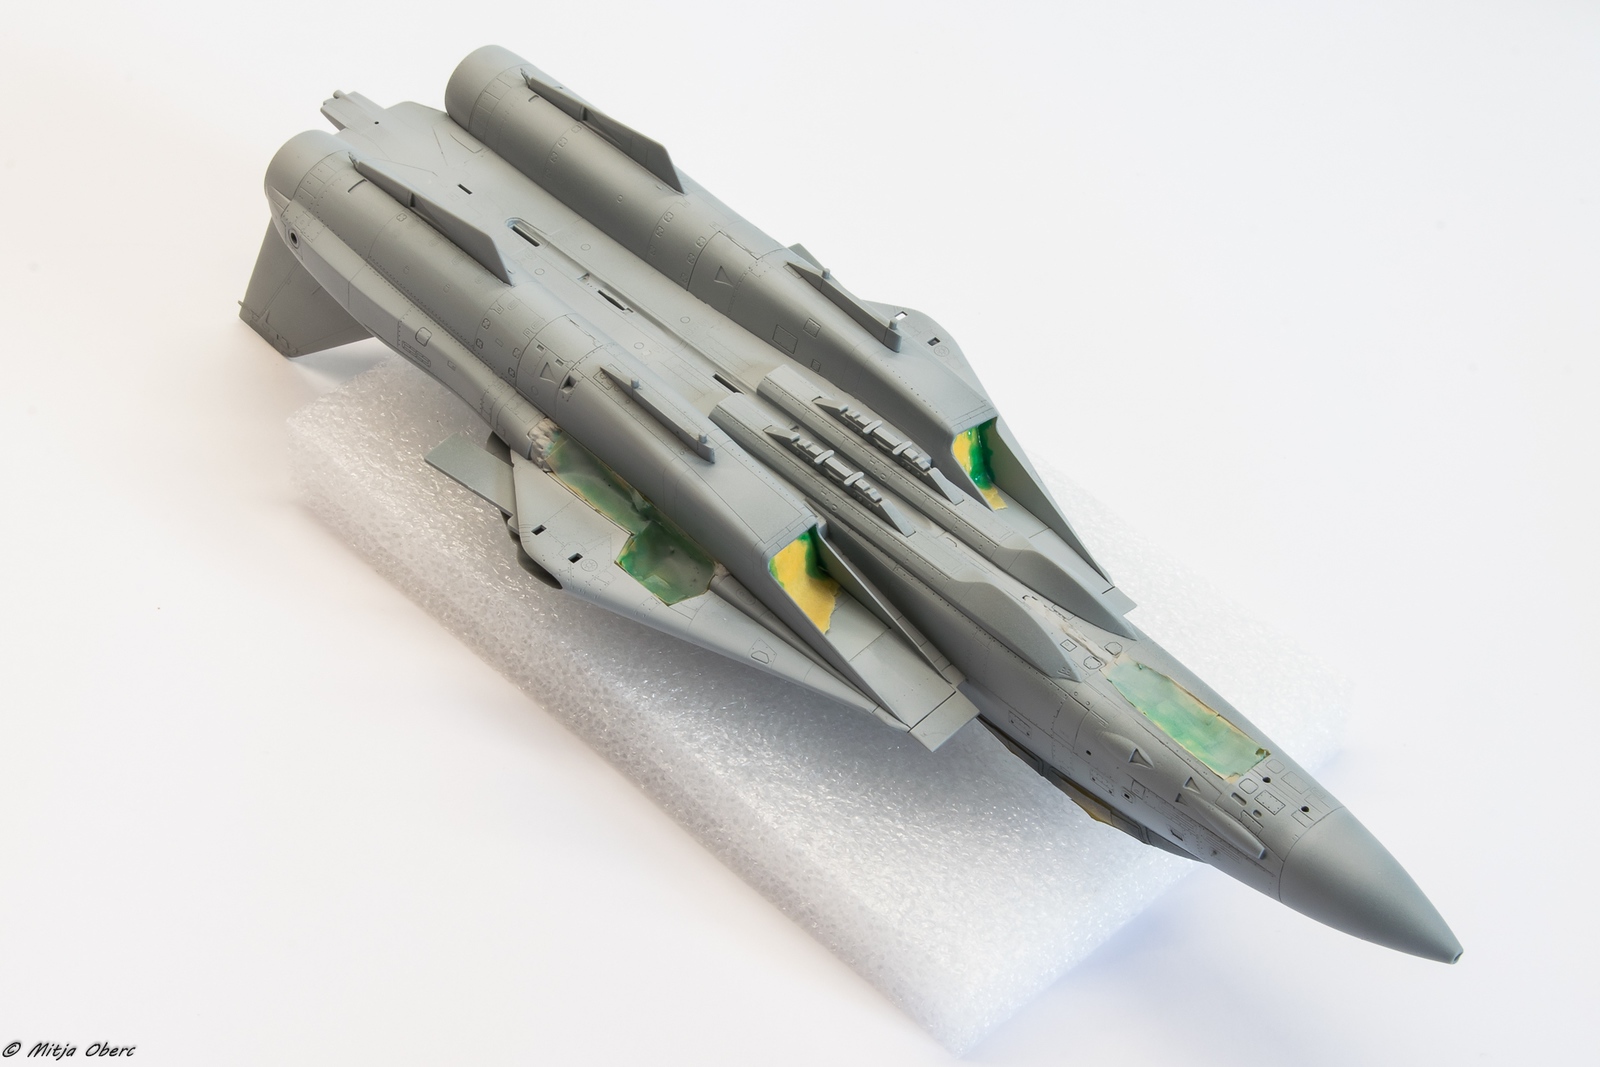
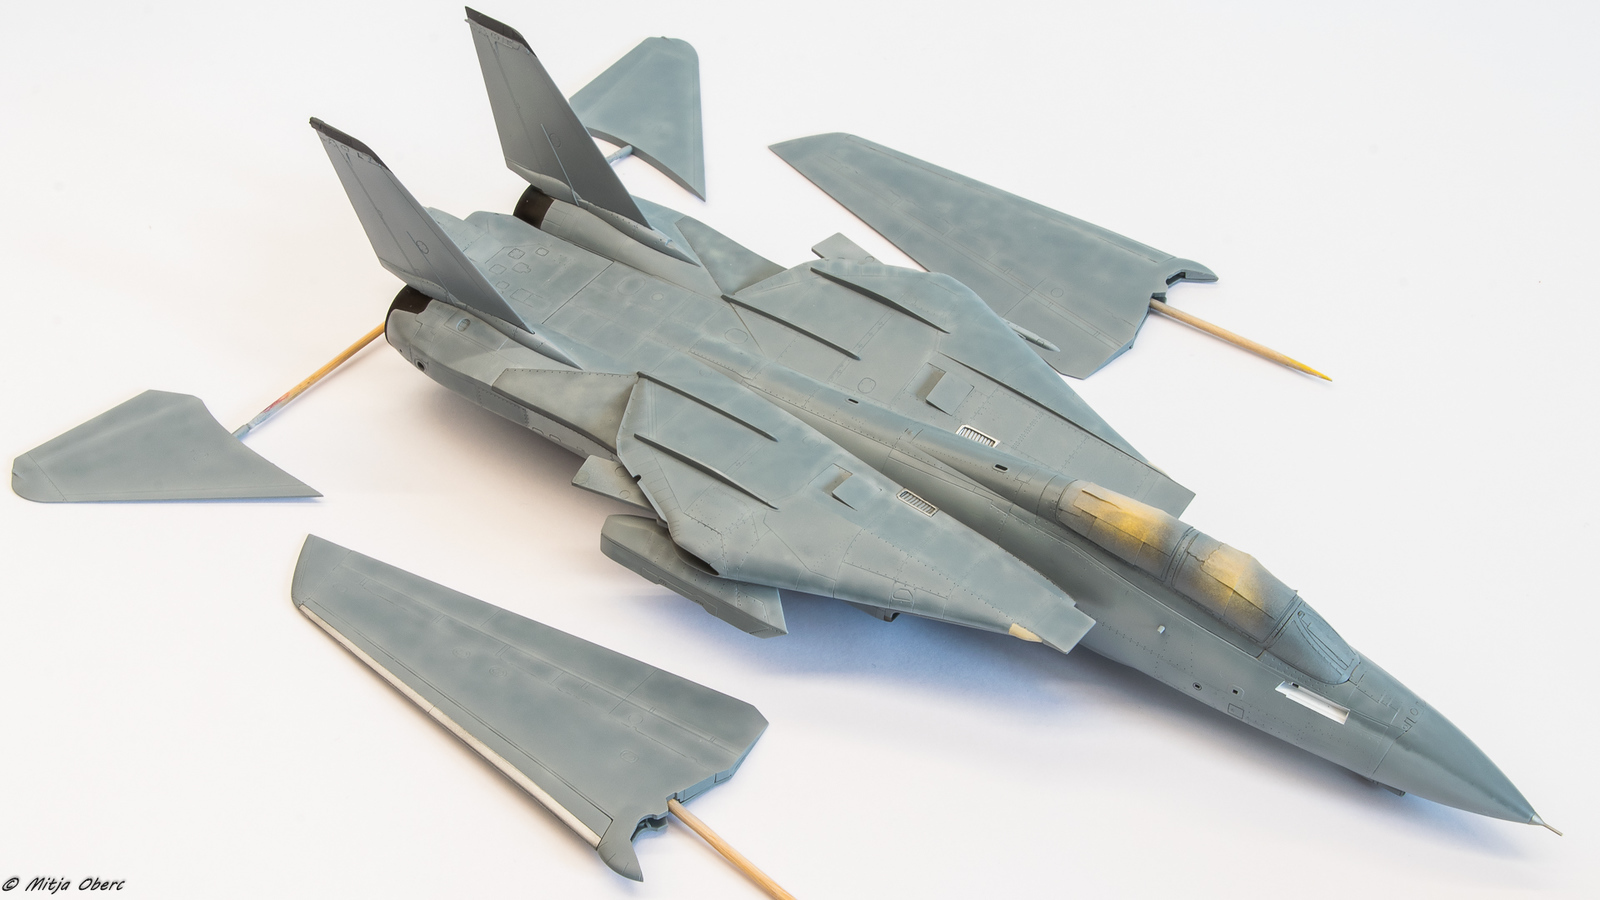
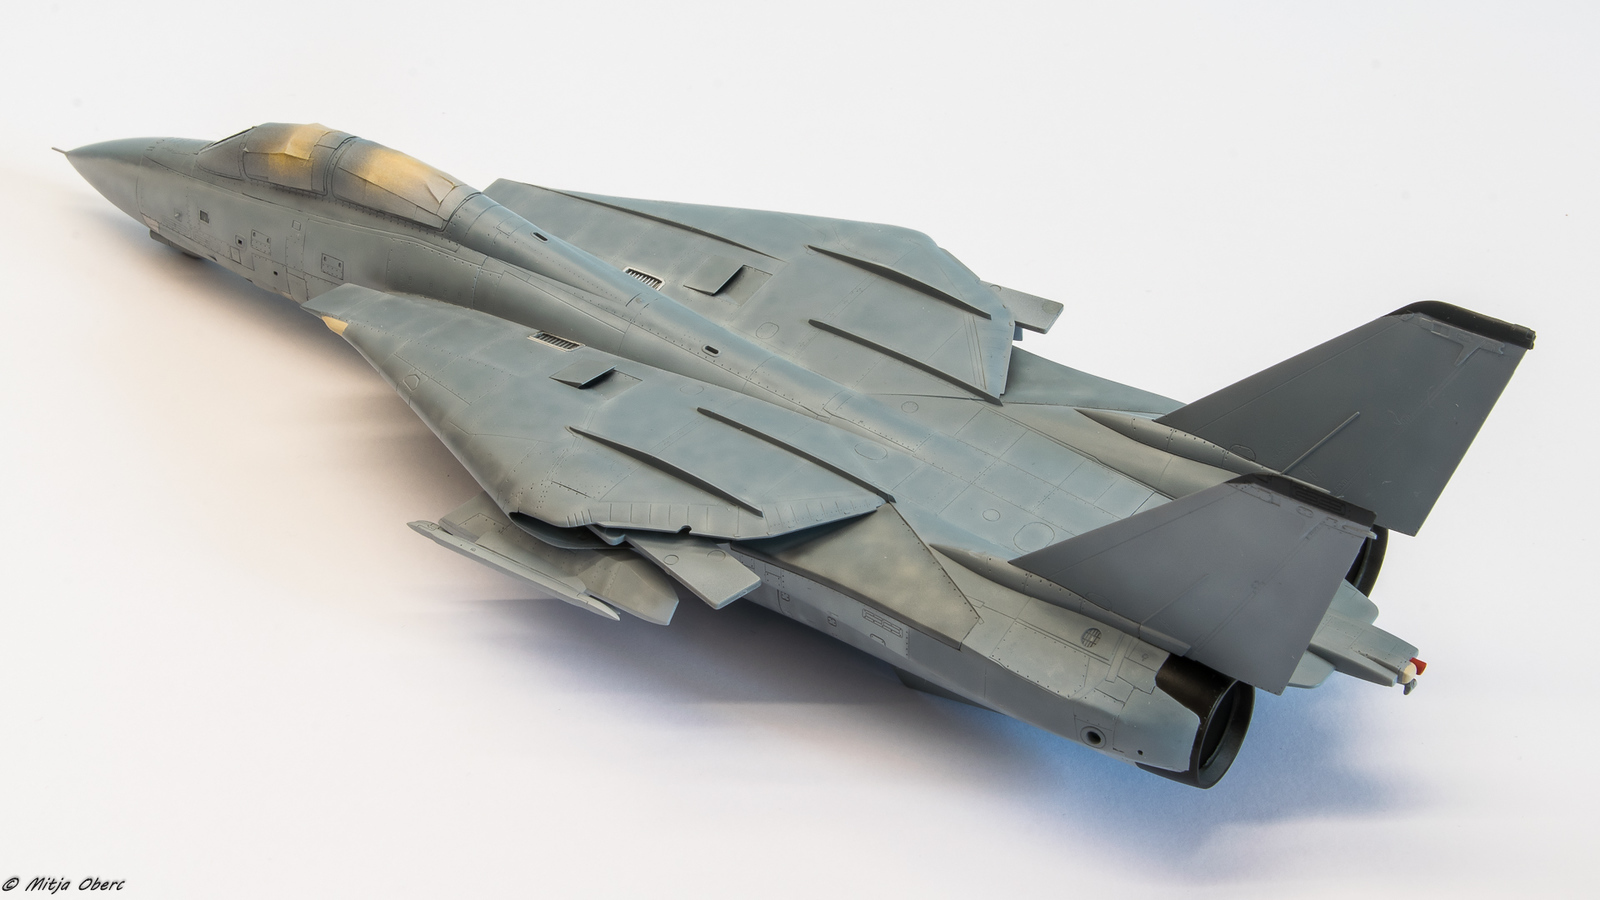
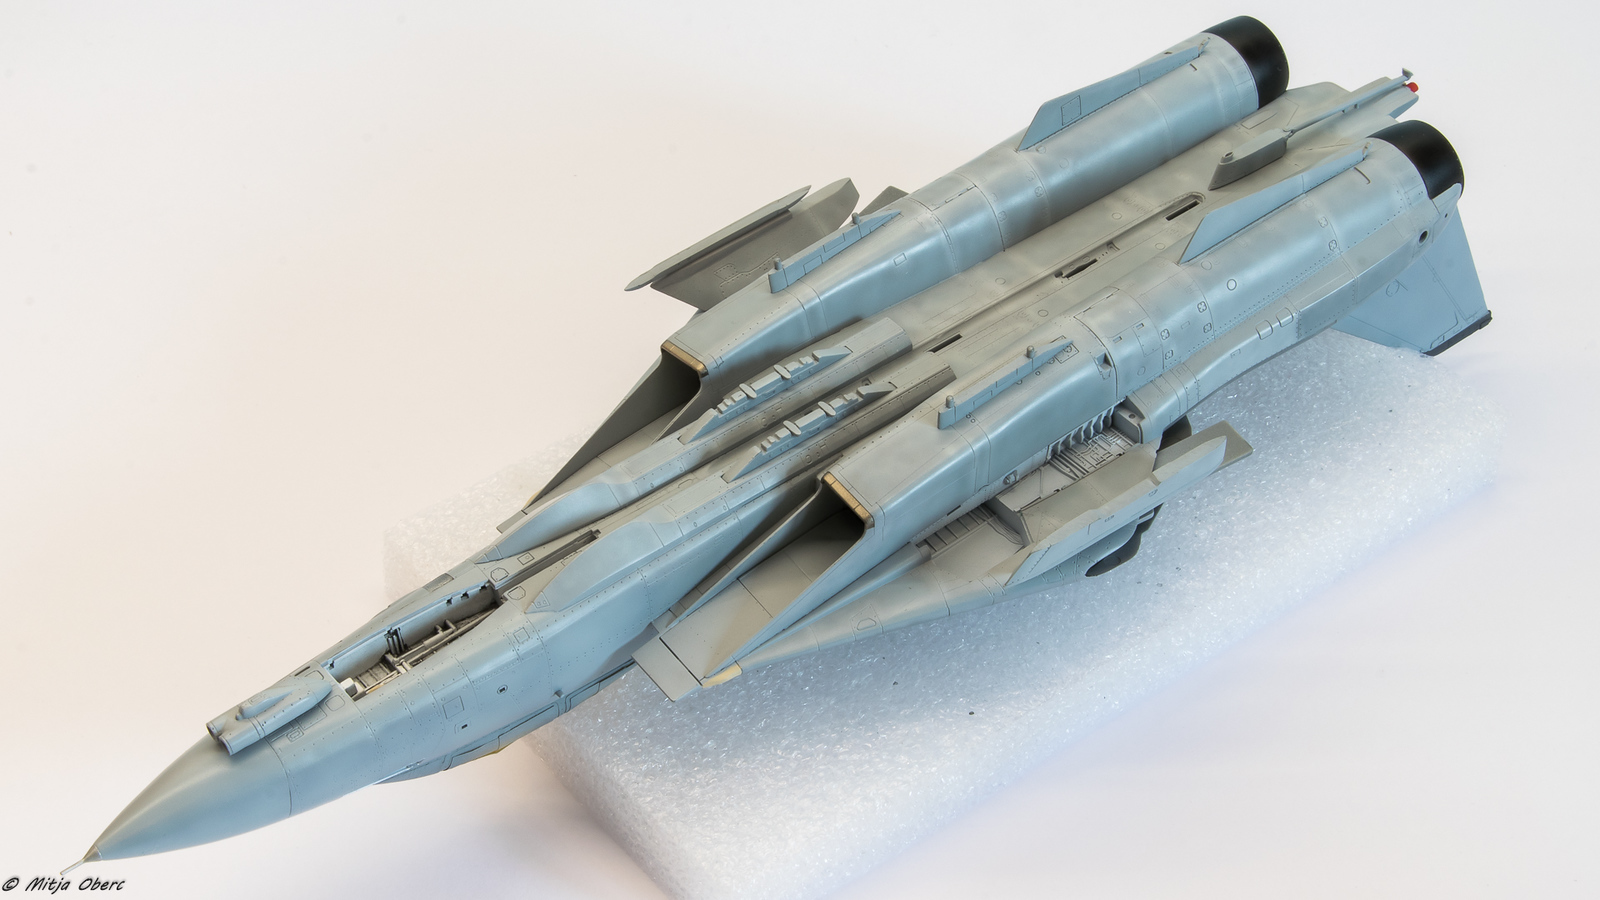
And finally the primer stage. We both suffered with some fit issues due to the breakdown of the kit – especially in the nose area – the radome itself, the gun vents panel, the wing shroud attachments etc. which required some clean up and sanding into shape resulting in always tedious rescribing sessions. Also GWH fails to mention that glove vanes should be “removed” completely – we just glued them in the shoulder, sanded to shape and puttied where necessary.
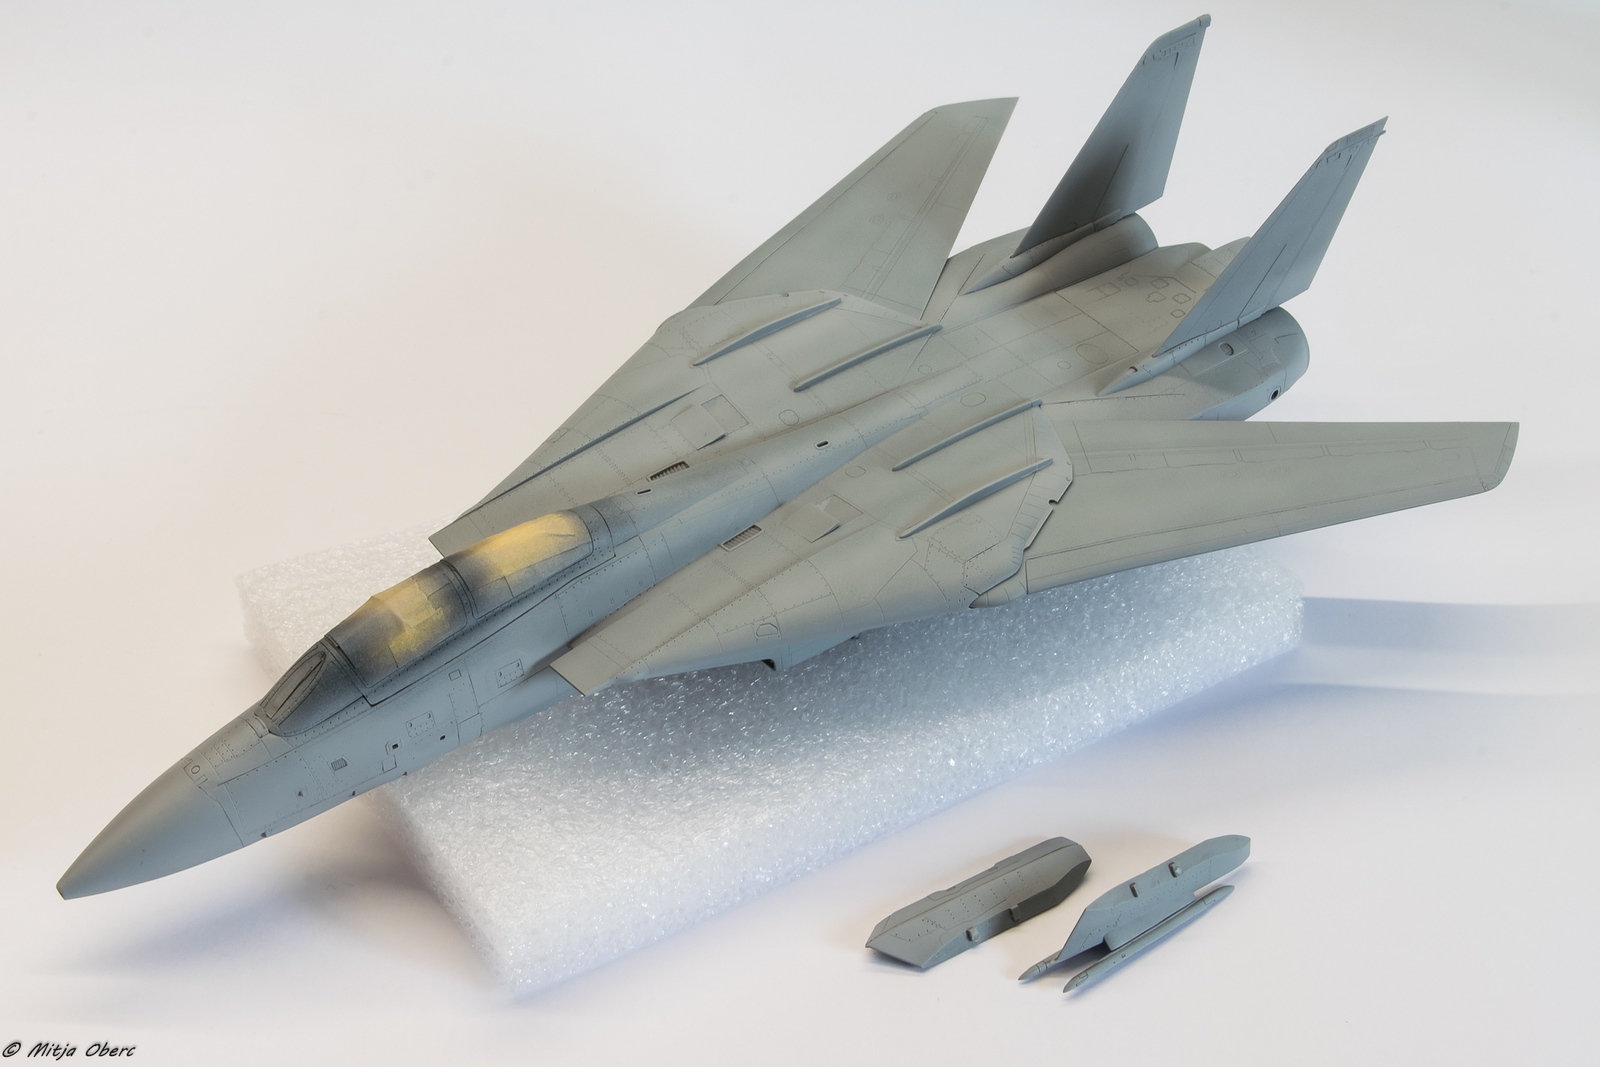
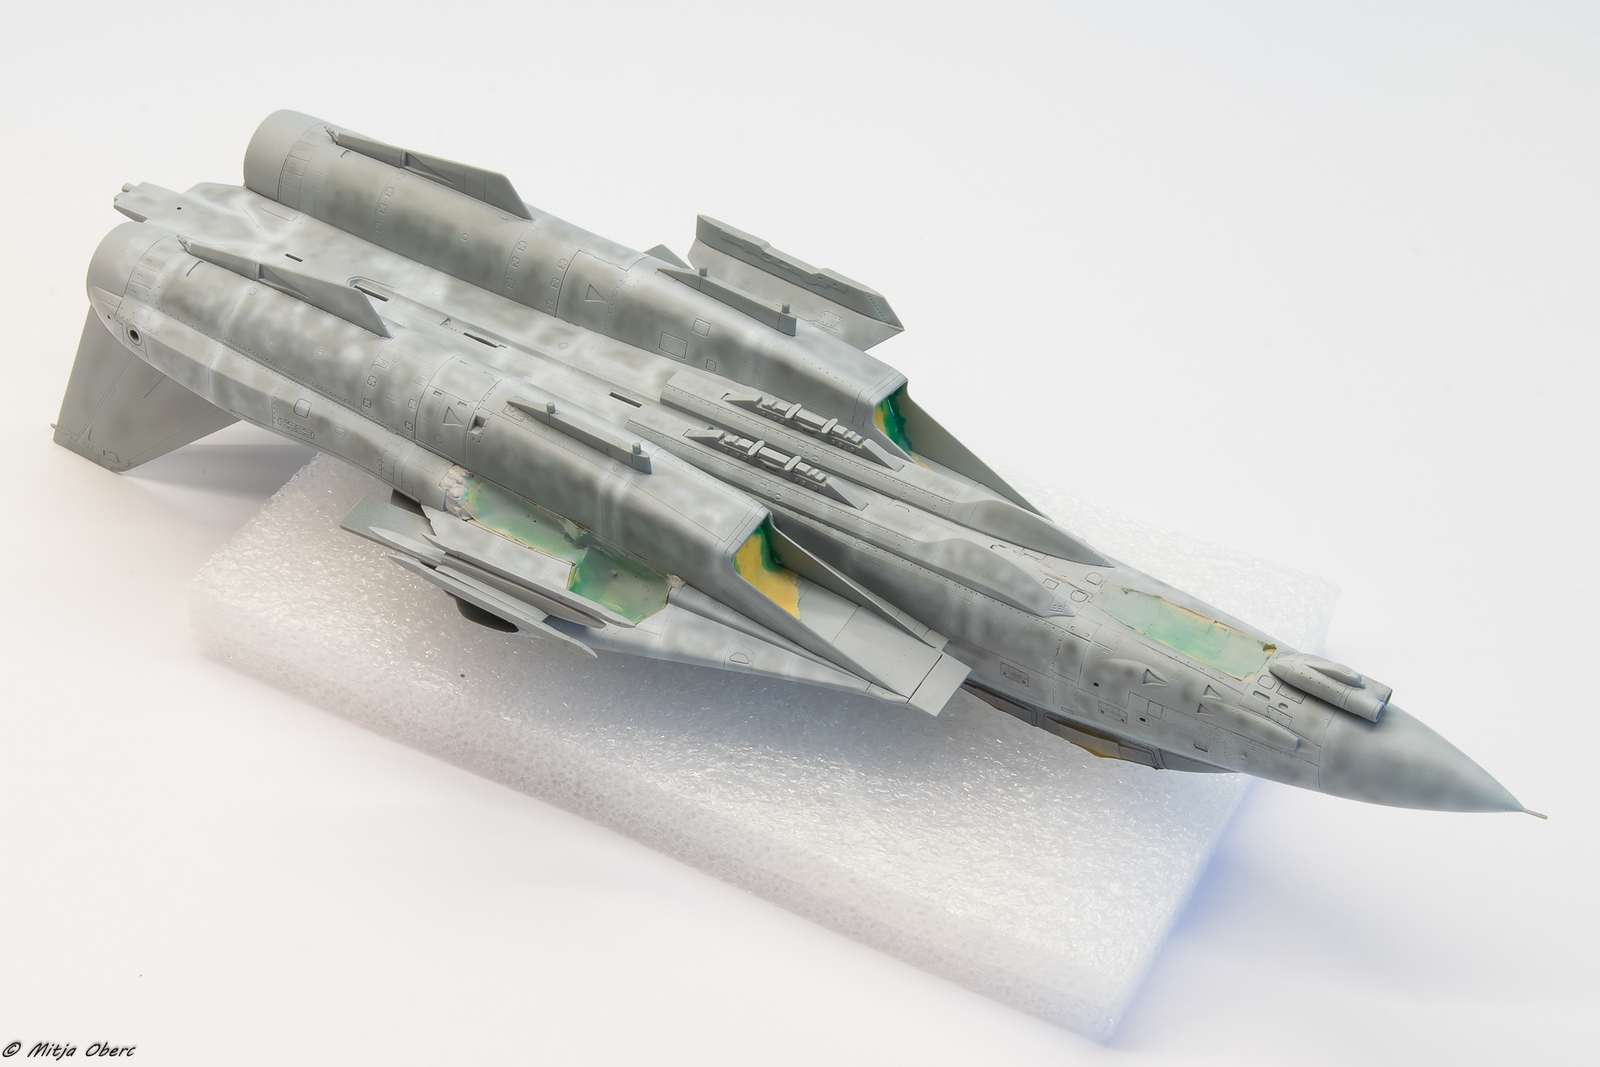
Anyhow we are both done with that and our cats are primed – Mitja used Mr.Surfacer Grey and I used Mr.Surfacer Black. Things are looking good so far and only minor things to sort out before painting commences.
Mine:
Mitja’s:
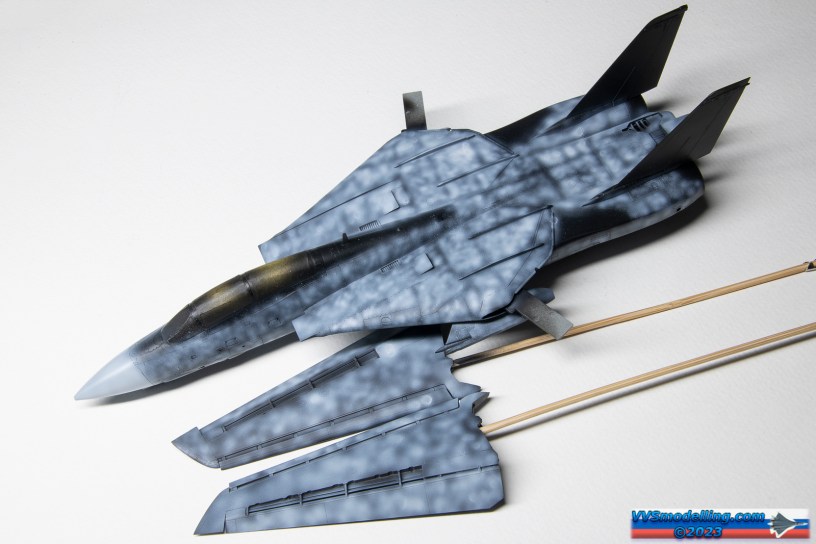
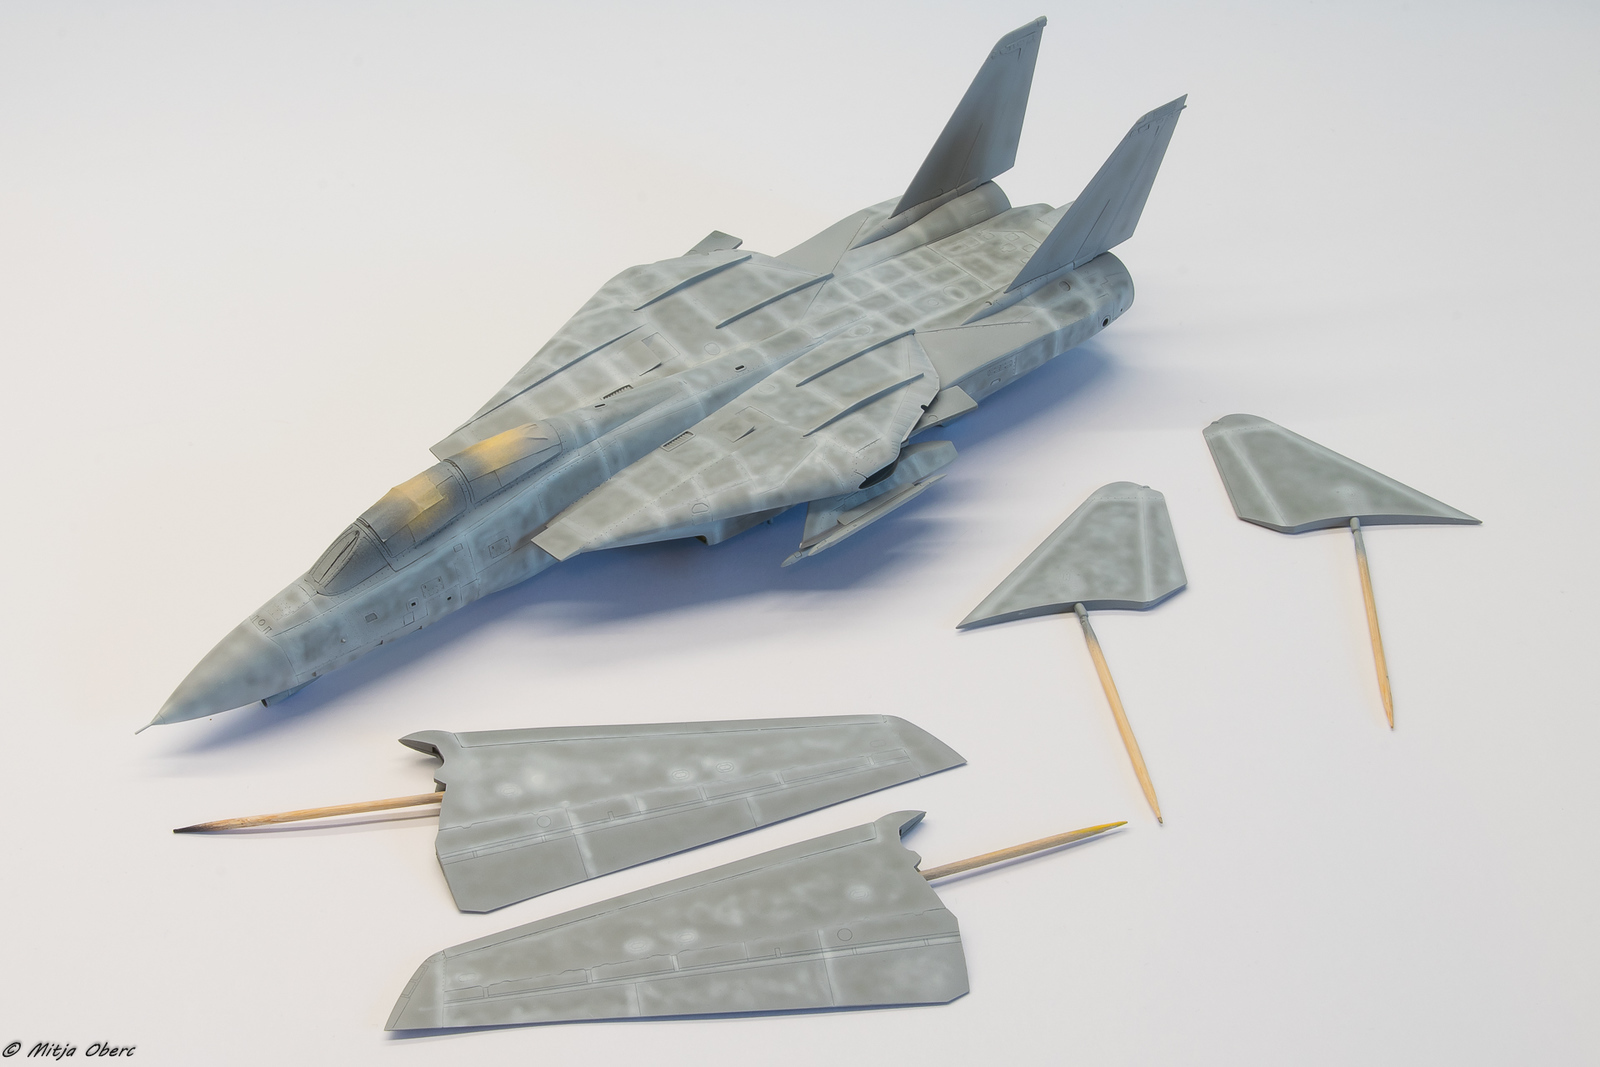
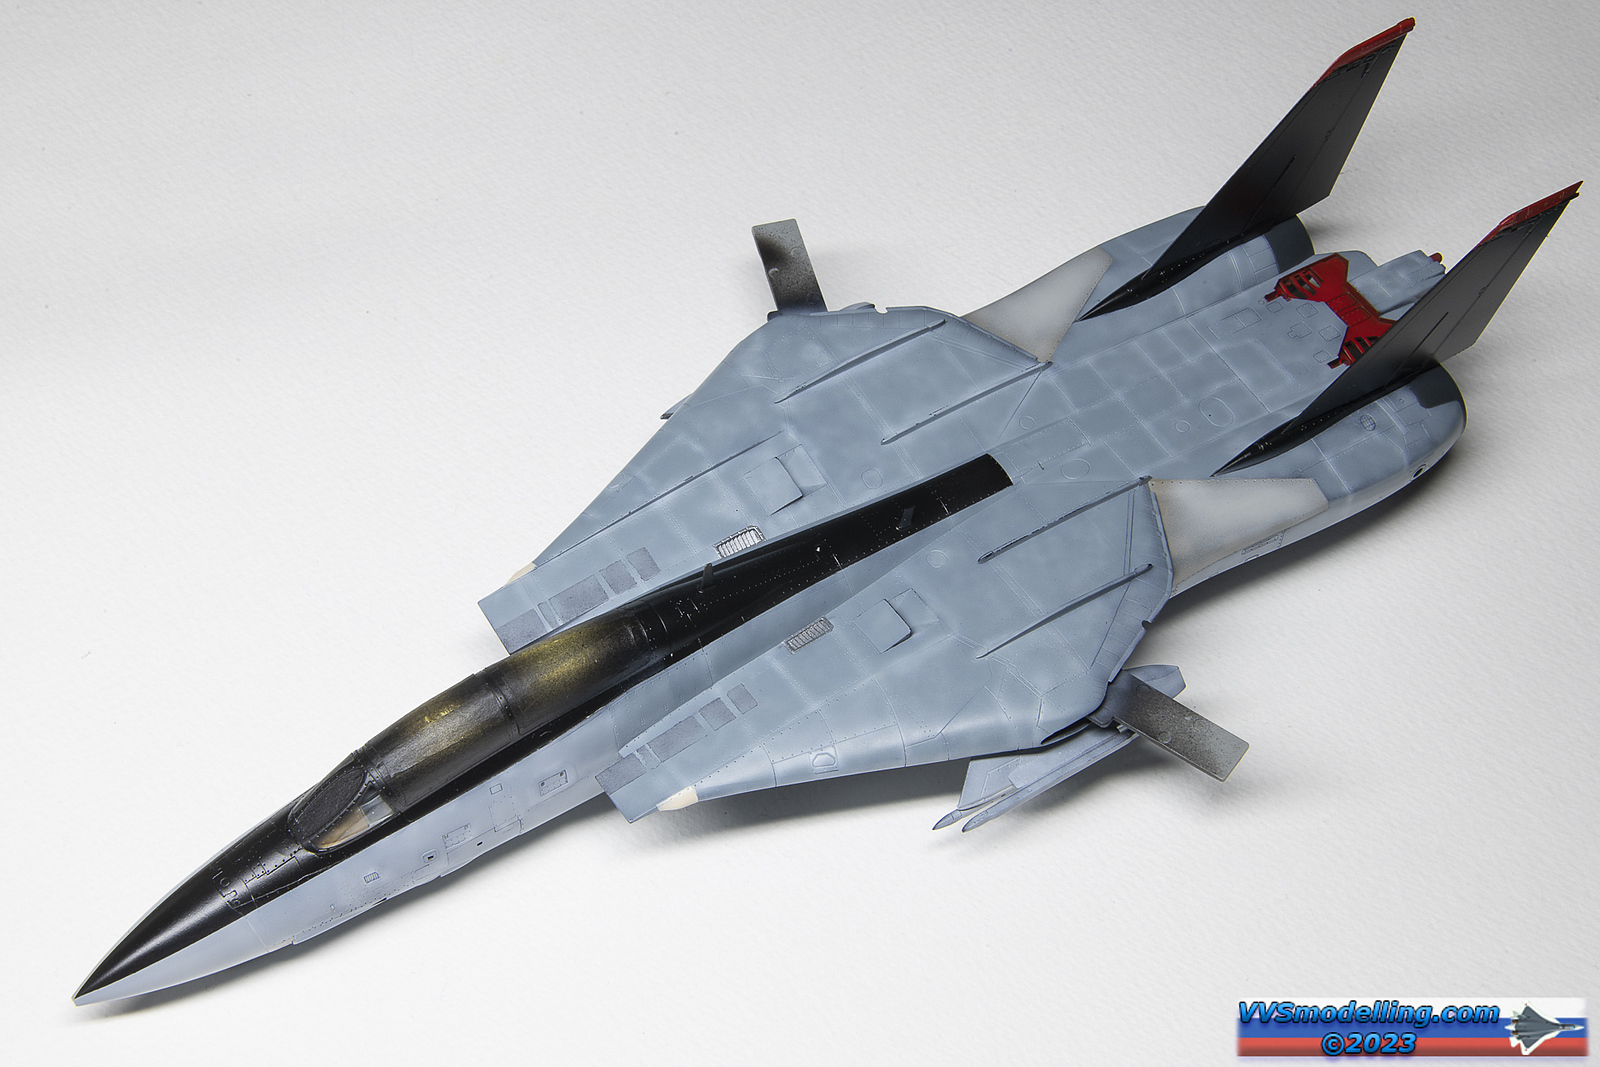
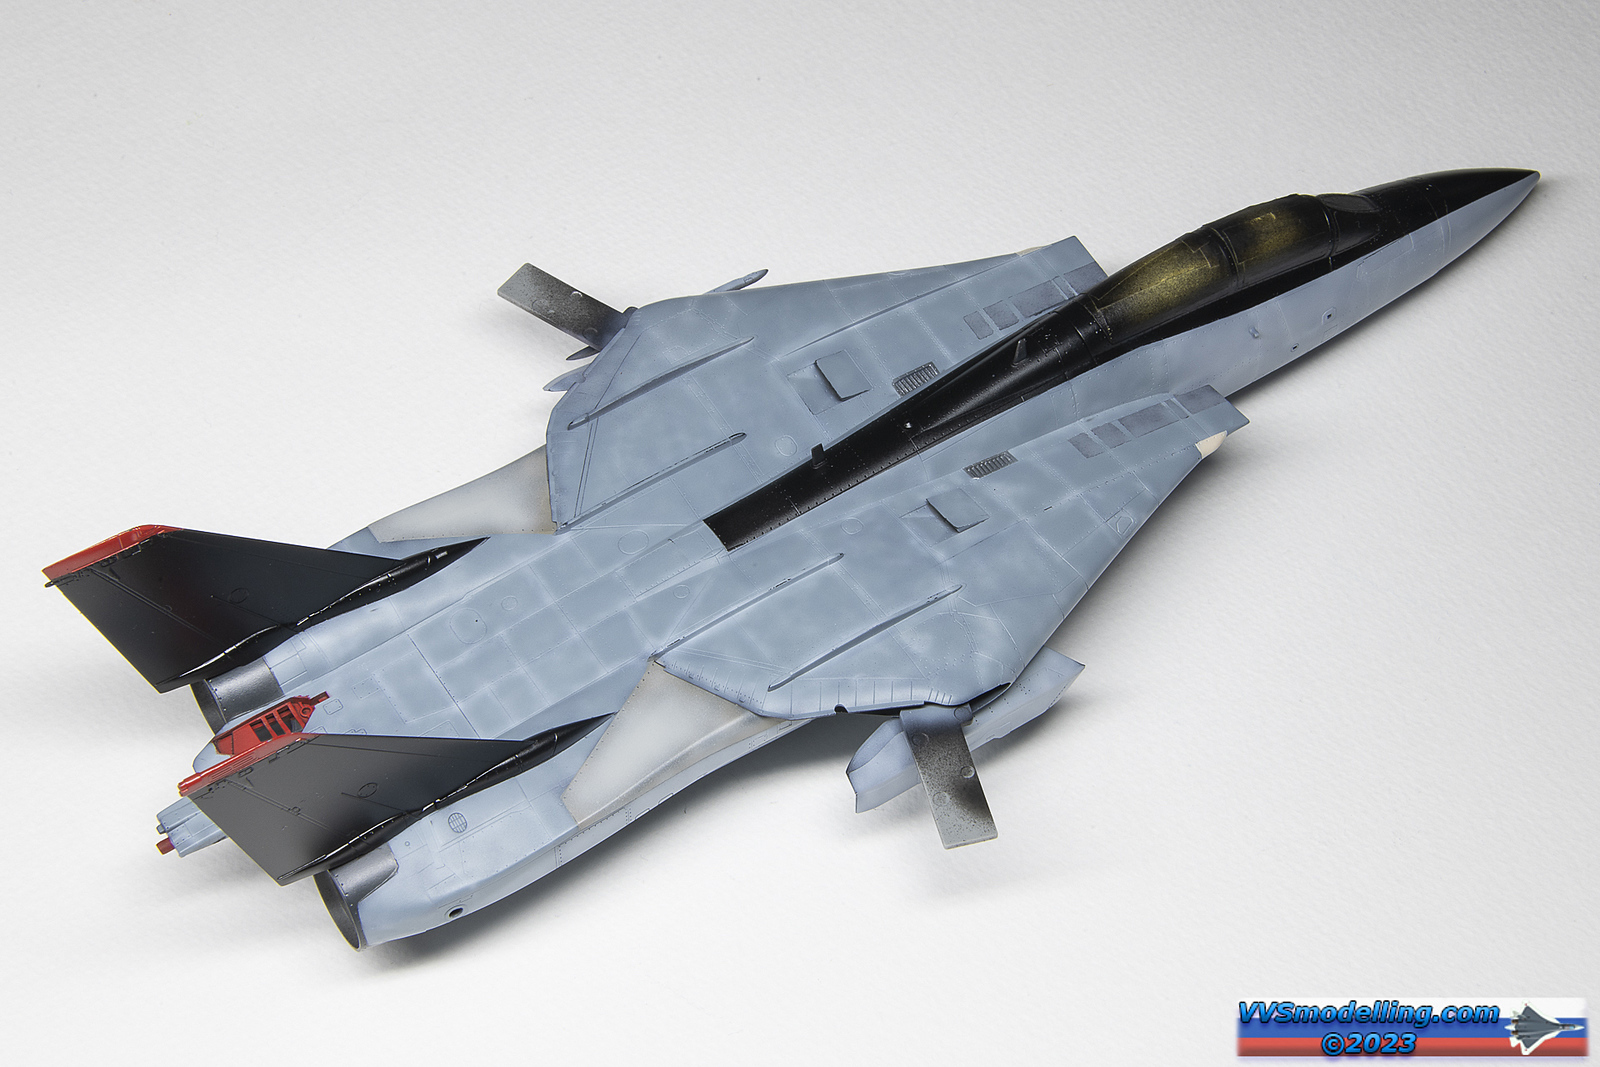
It is finally time to enter the realm of 50 shades of grey! As we both went with different primers, we both had to adapt a different technique – Mitja with grey primer started marbling work with darker greys (MRP-100 and MRP-186) while me, with black base, went with lighter grey marbling (MRP-246).
Mine:

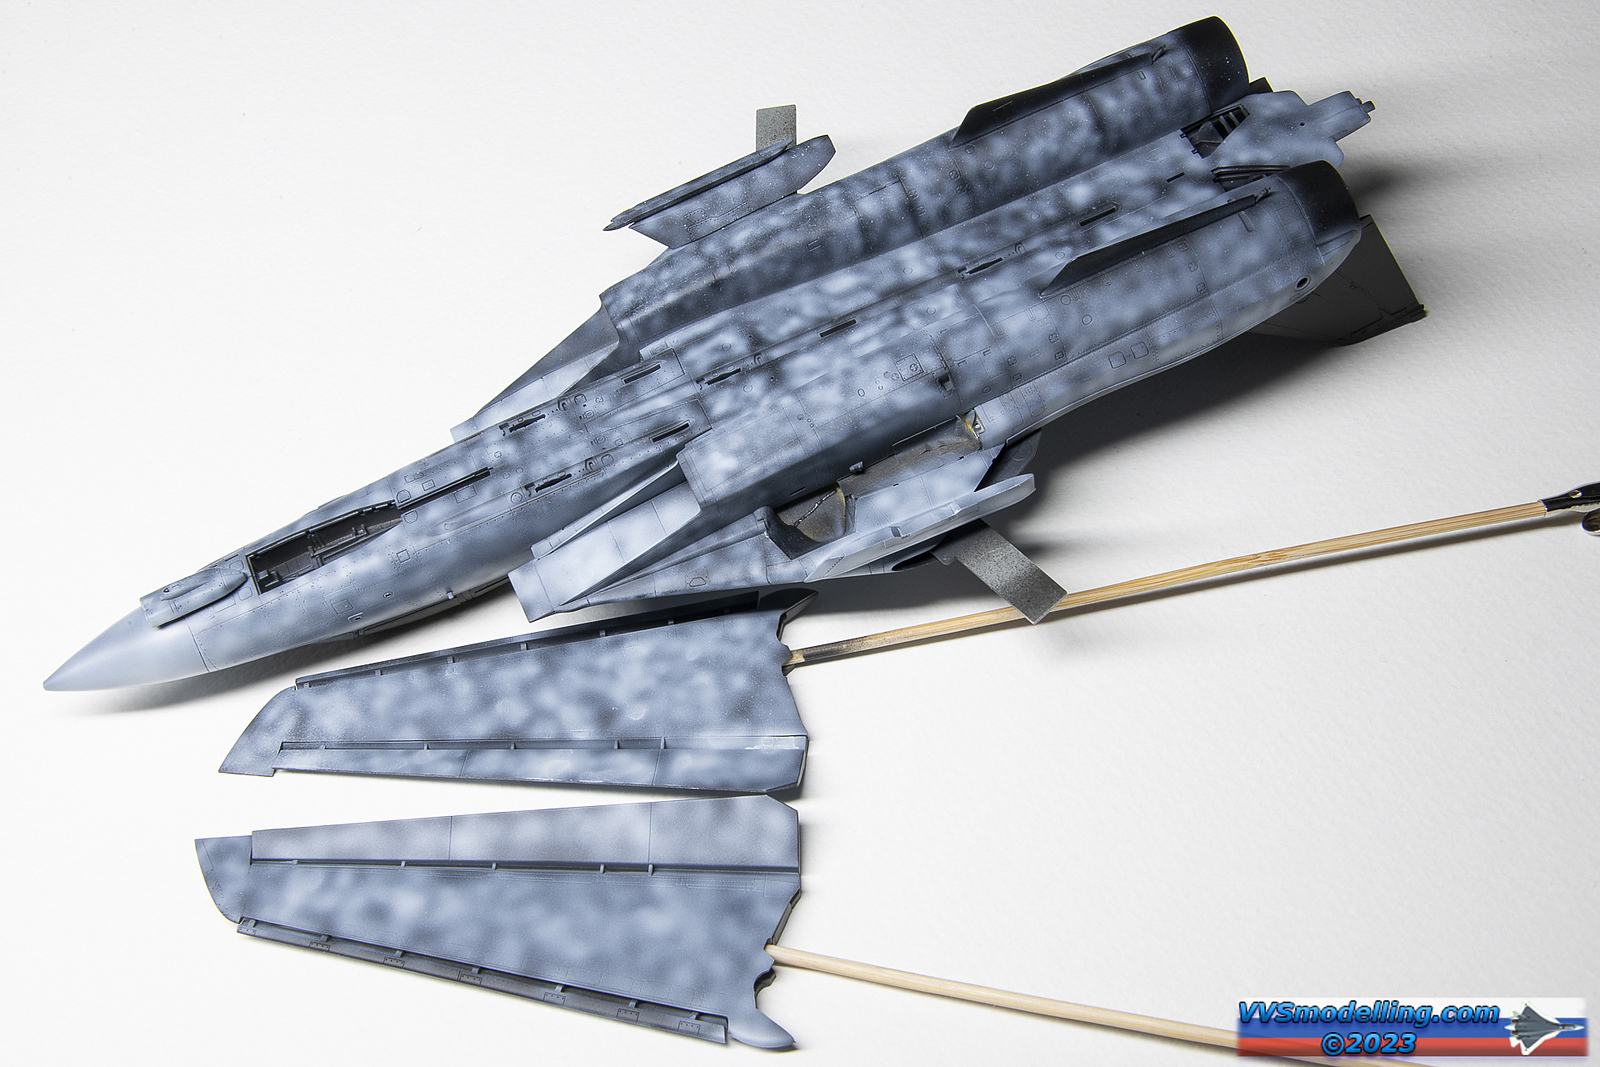
Mitja’s:
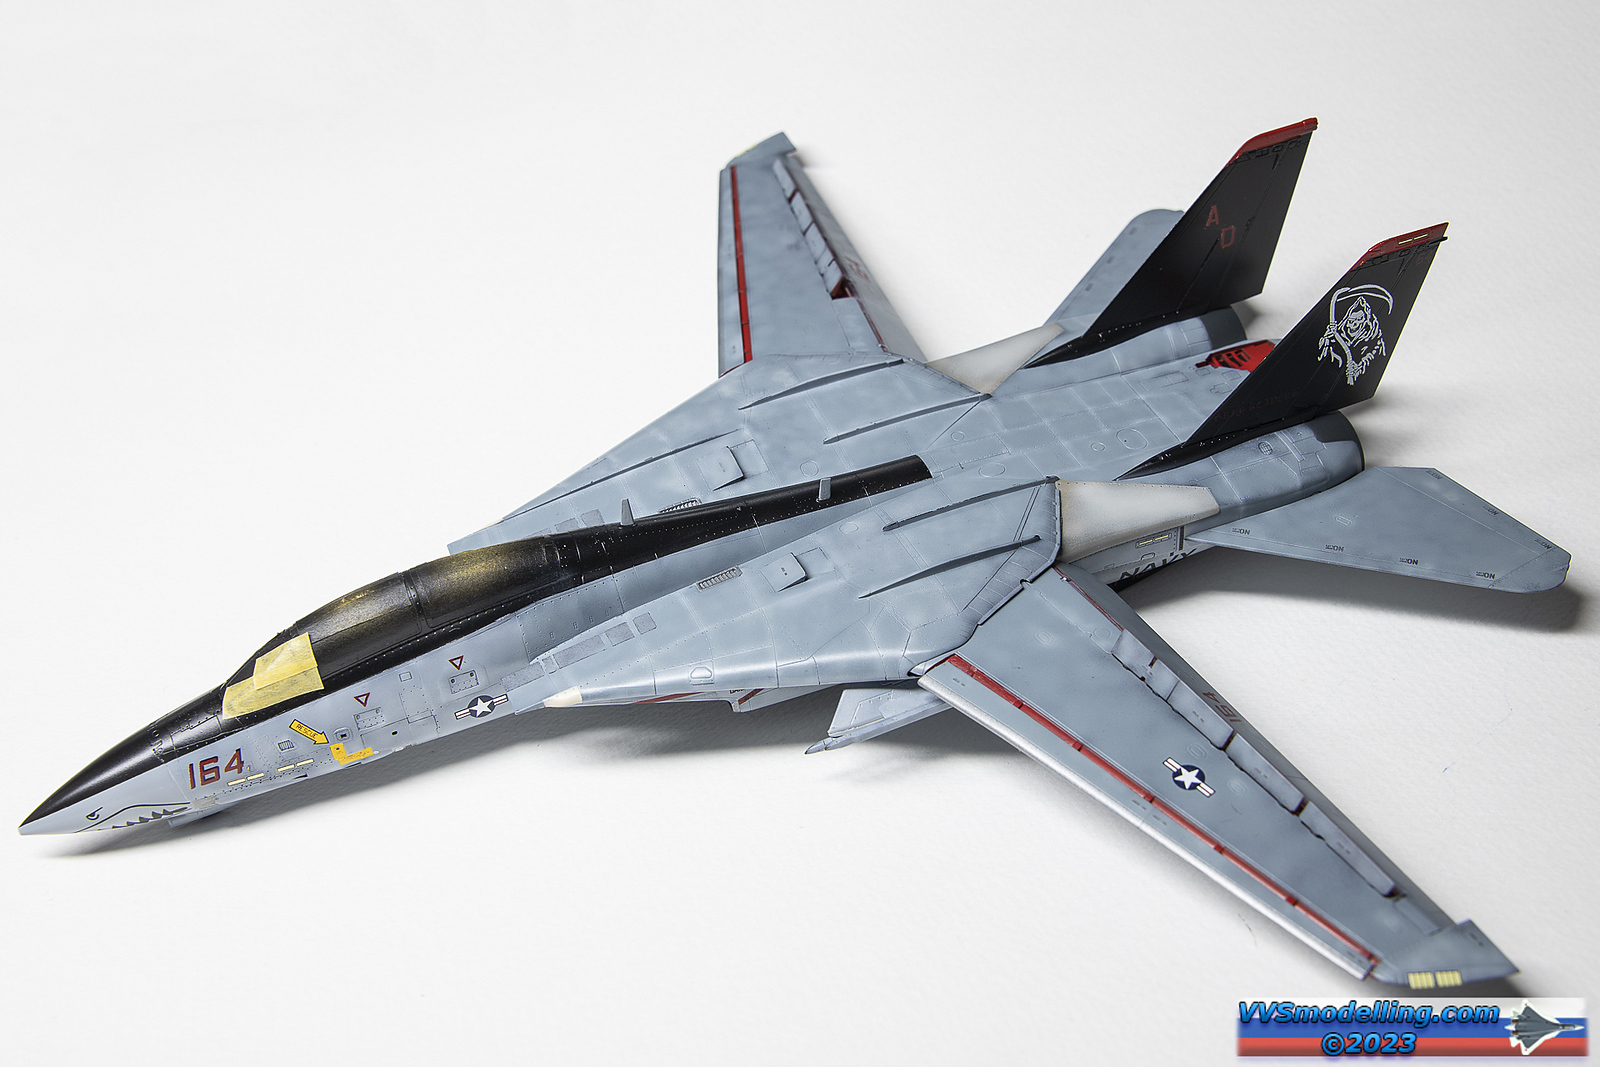
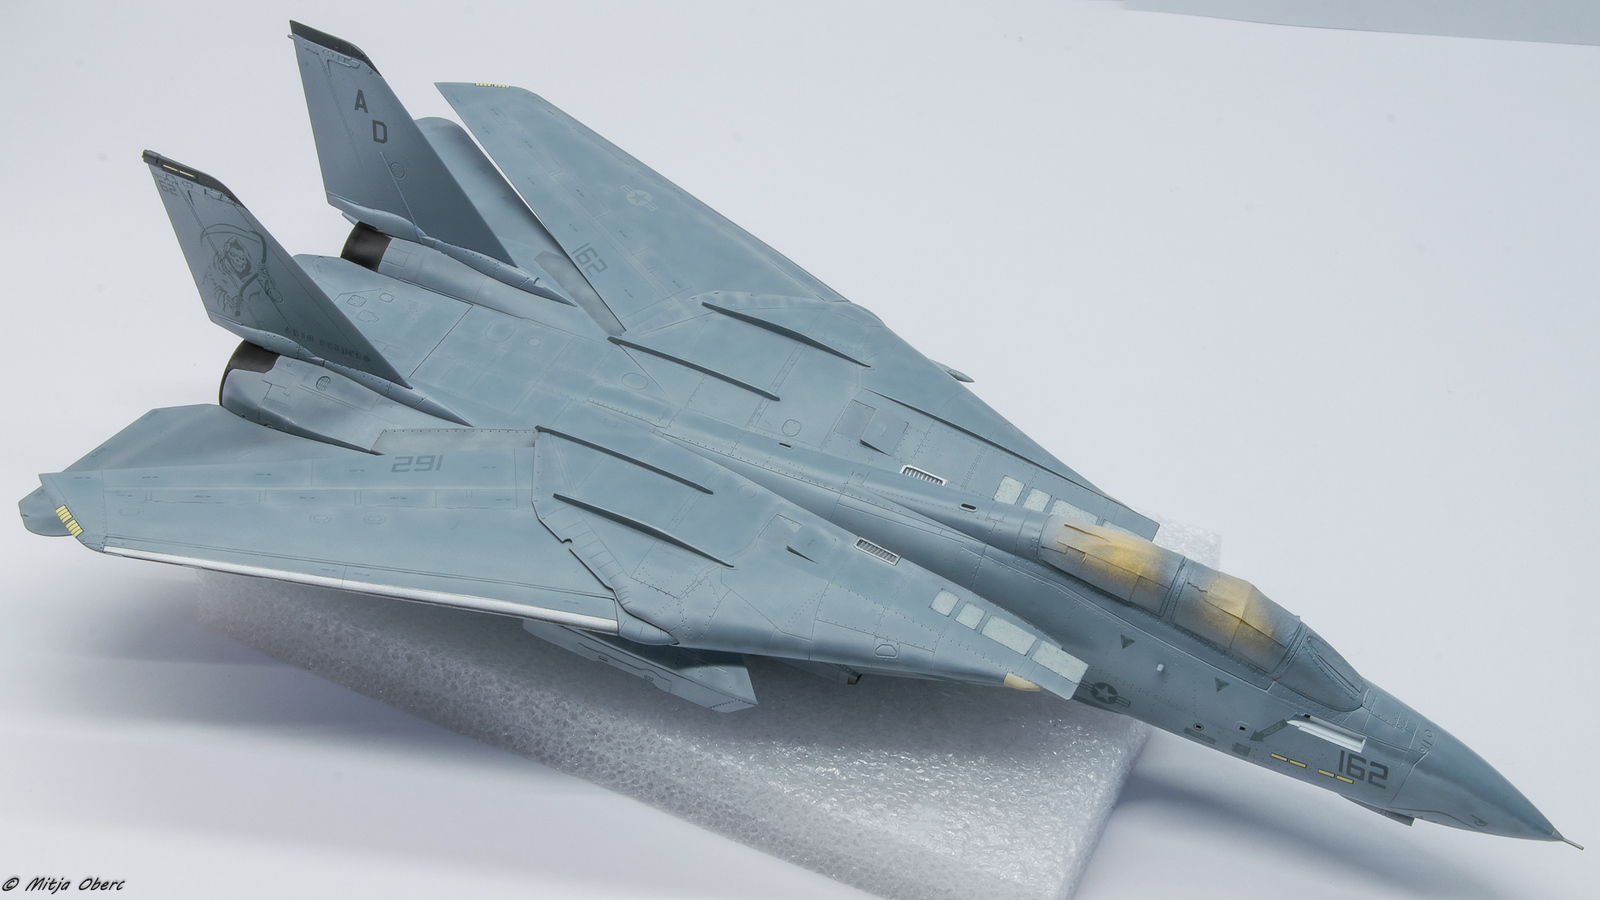
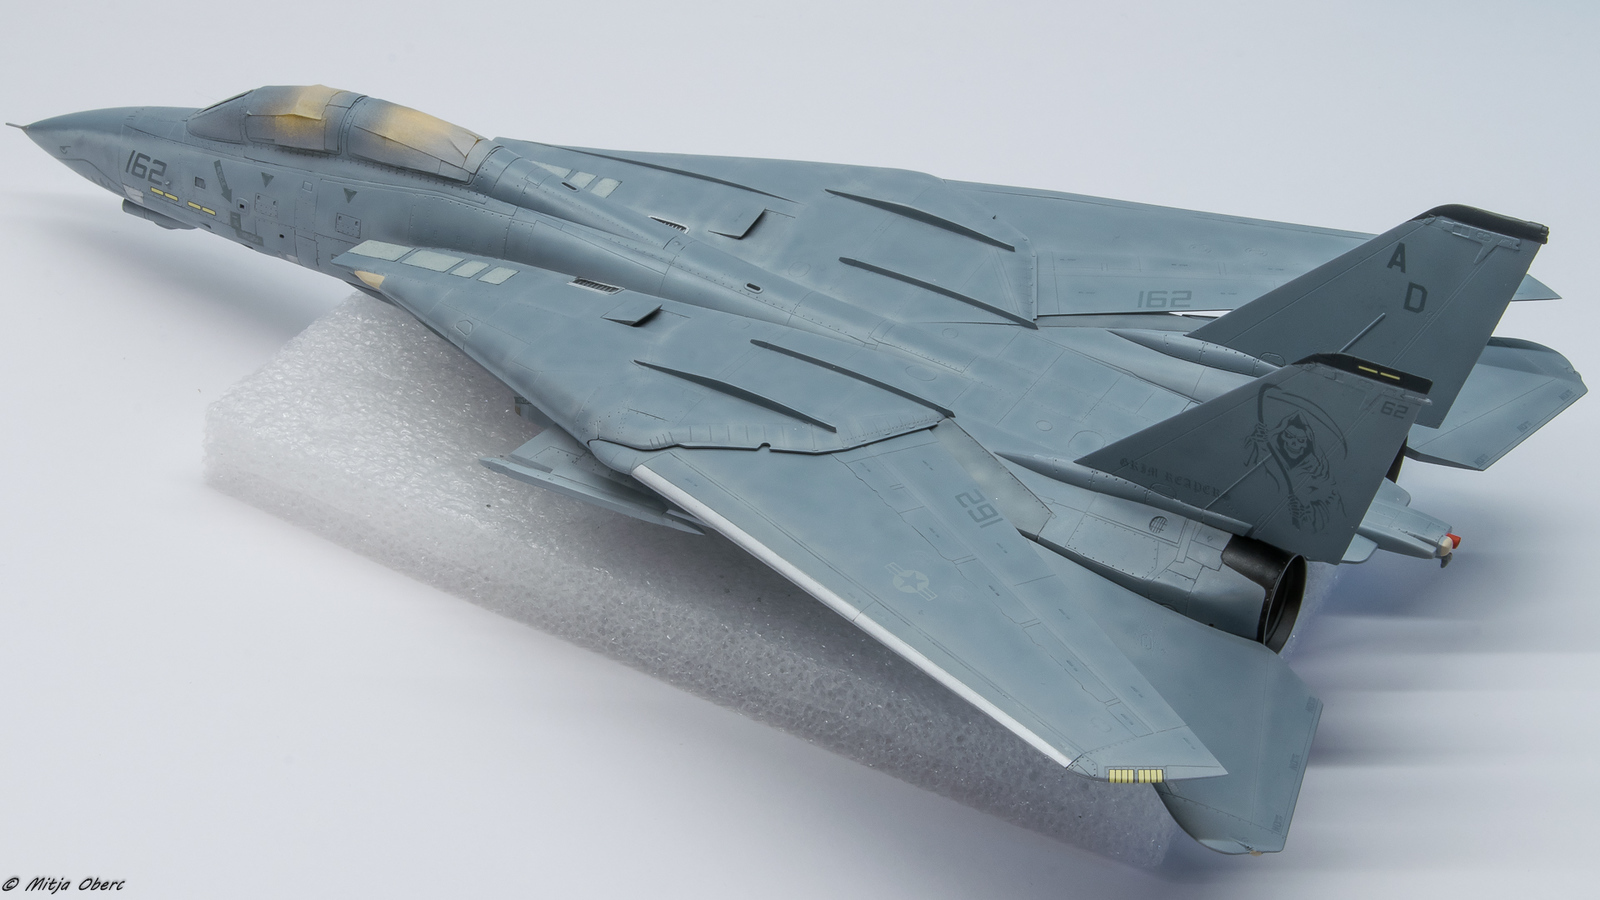
We’ve finally painted our aircraft – mine is in high vis colour scheme and Mitja’s is overall grey and all-business like.
I have used reference photos for the patchwork of oversprays and for the first time used anti-slip paste from Ammo to recreate the anti-slip areas over the intakes. I really like the result and will likely do it on the future builds as well.
Mine:
Mitja’s:
Us both using VF-decals F-14B/D decal sheet, we both experienced some extent of silvering – I’ve had smaller amounts of it and was able to solve them using Daco’s super strong solution. Mitja had more severe cases of it and had to use a little bit of gray overspray to hide it, but at the same time weather the decals.
Mine:

Mitja’s:
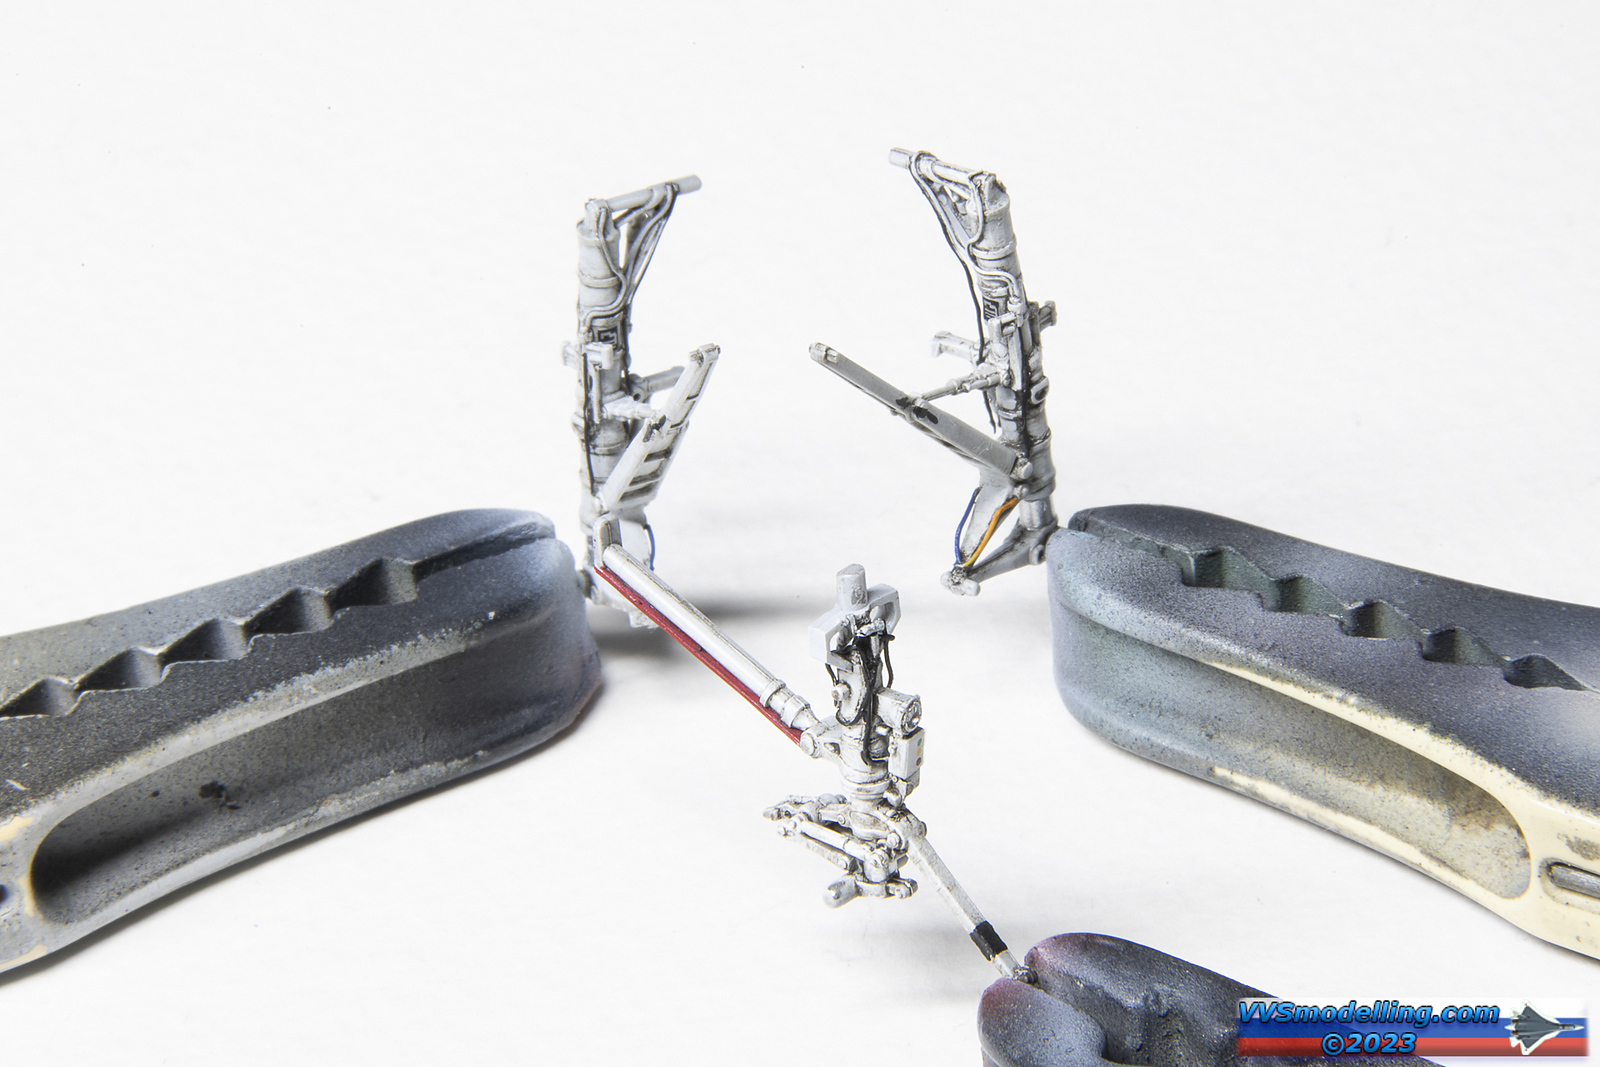
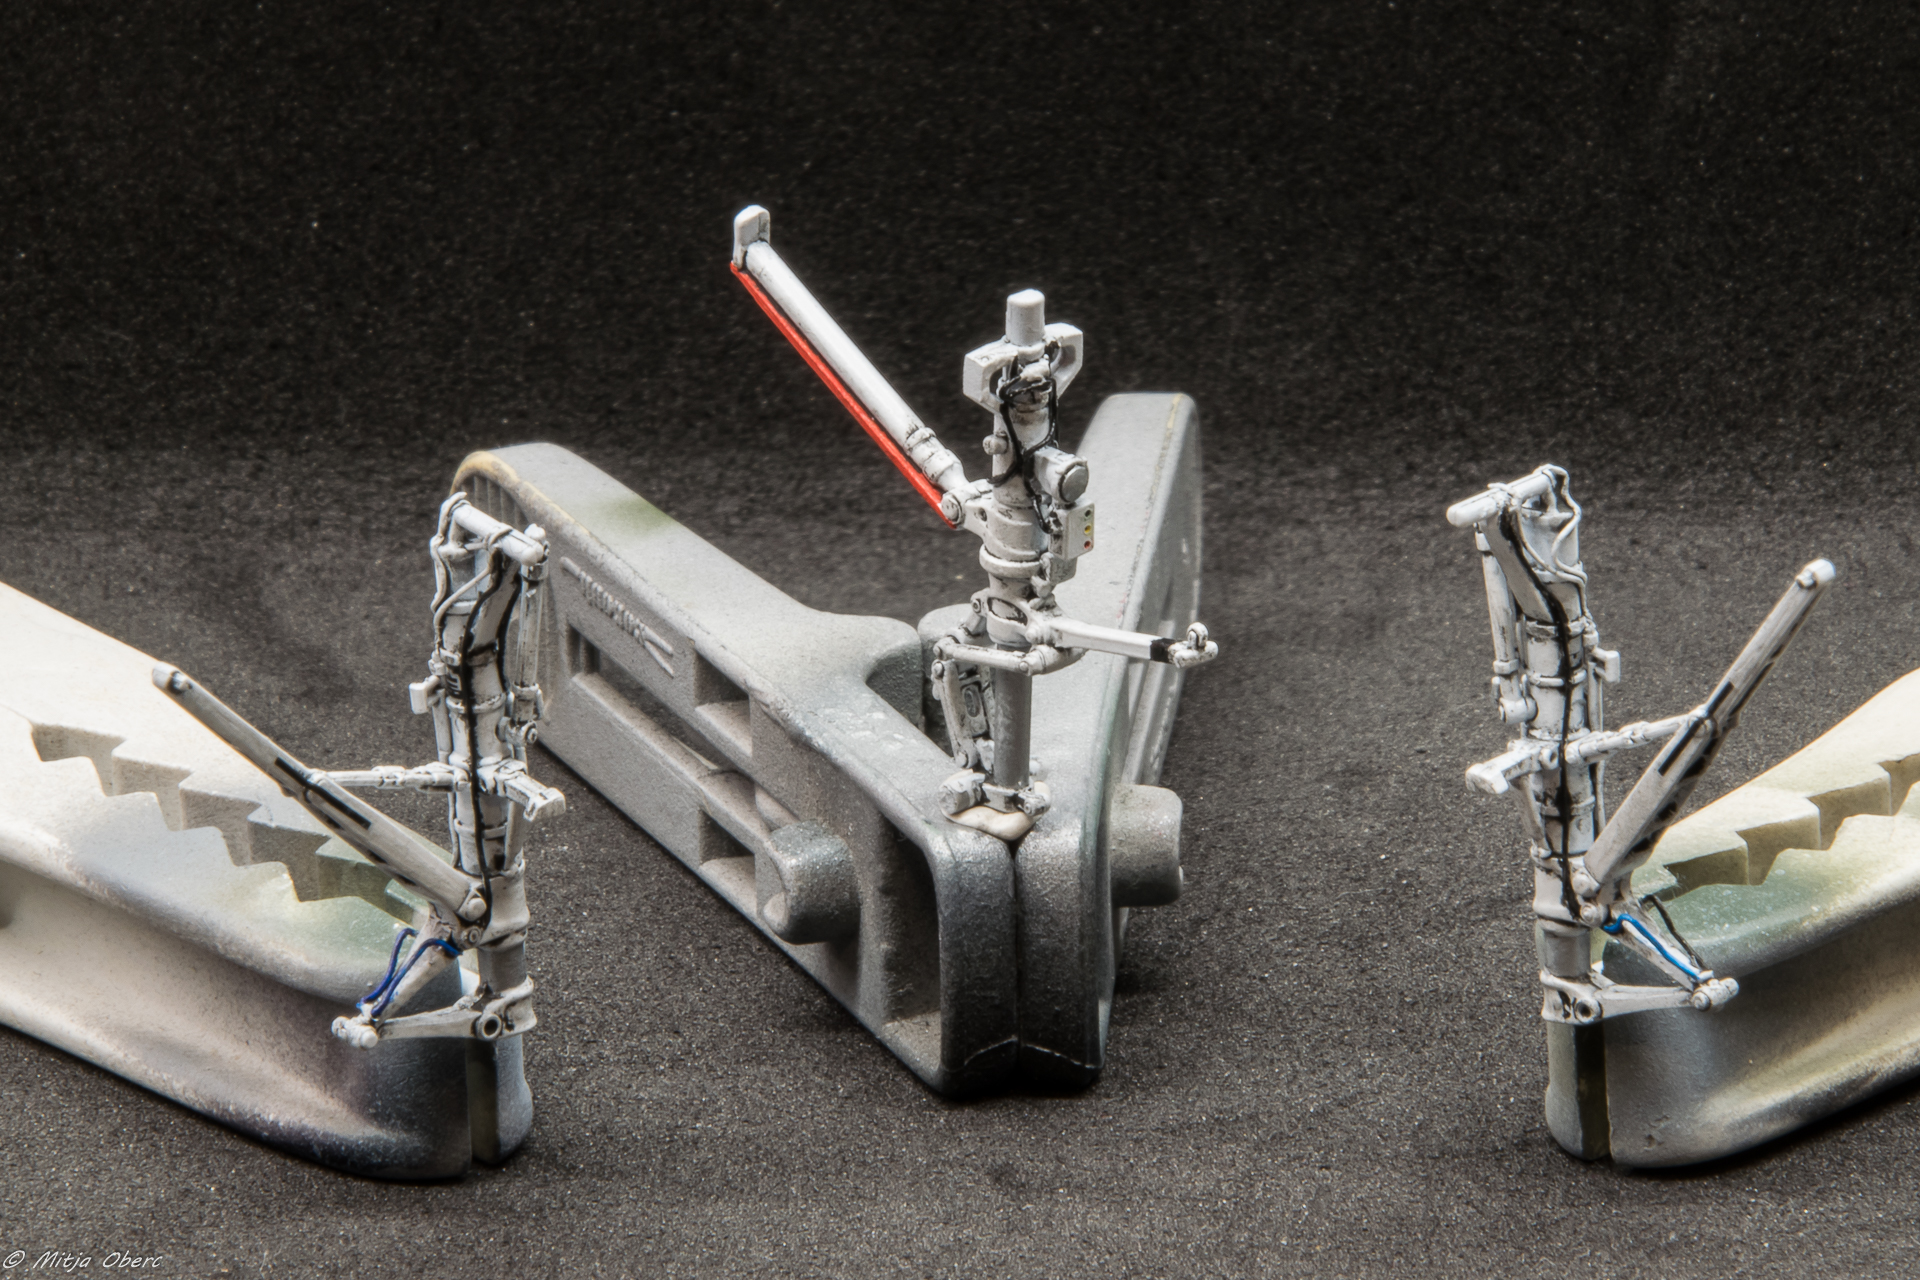
While there’s nothing wrong with GWH’s landing gear struts, they always look so better when you add some wiring to them.
I have used 0.2mm lead wire for most of the wiring and various bits and pieces. The landing light was drilled out, painted in chrome given a black wash and then filled with clear UV curing resin, which I think improves the looks quite significantly.
Mine:
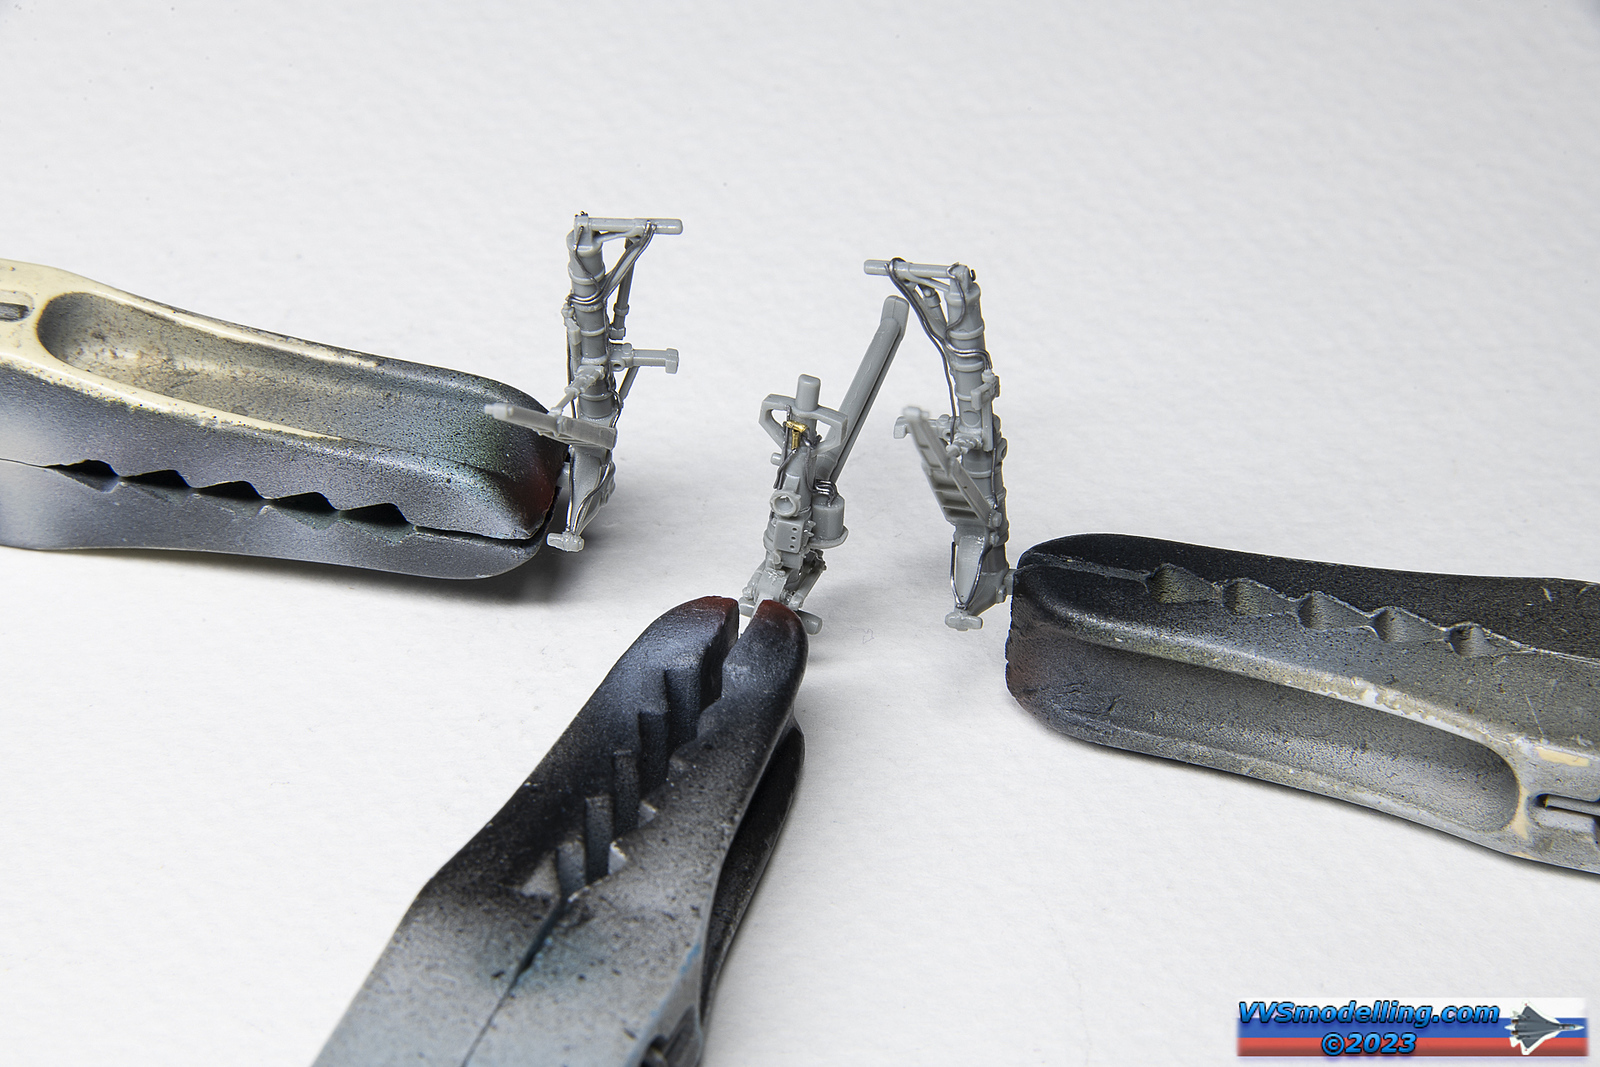
Mitja’s:

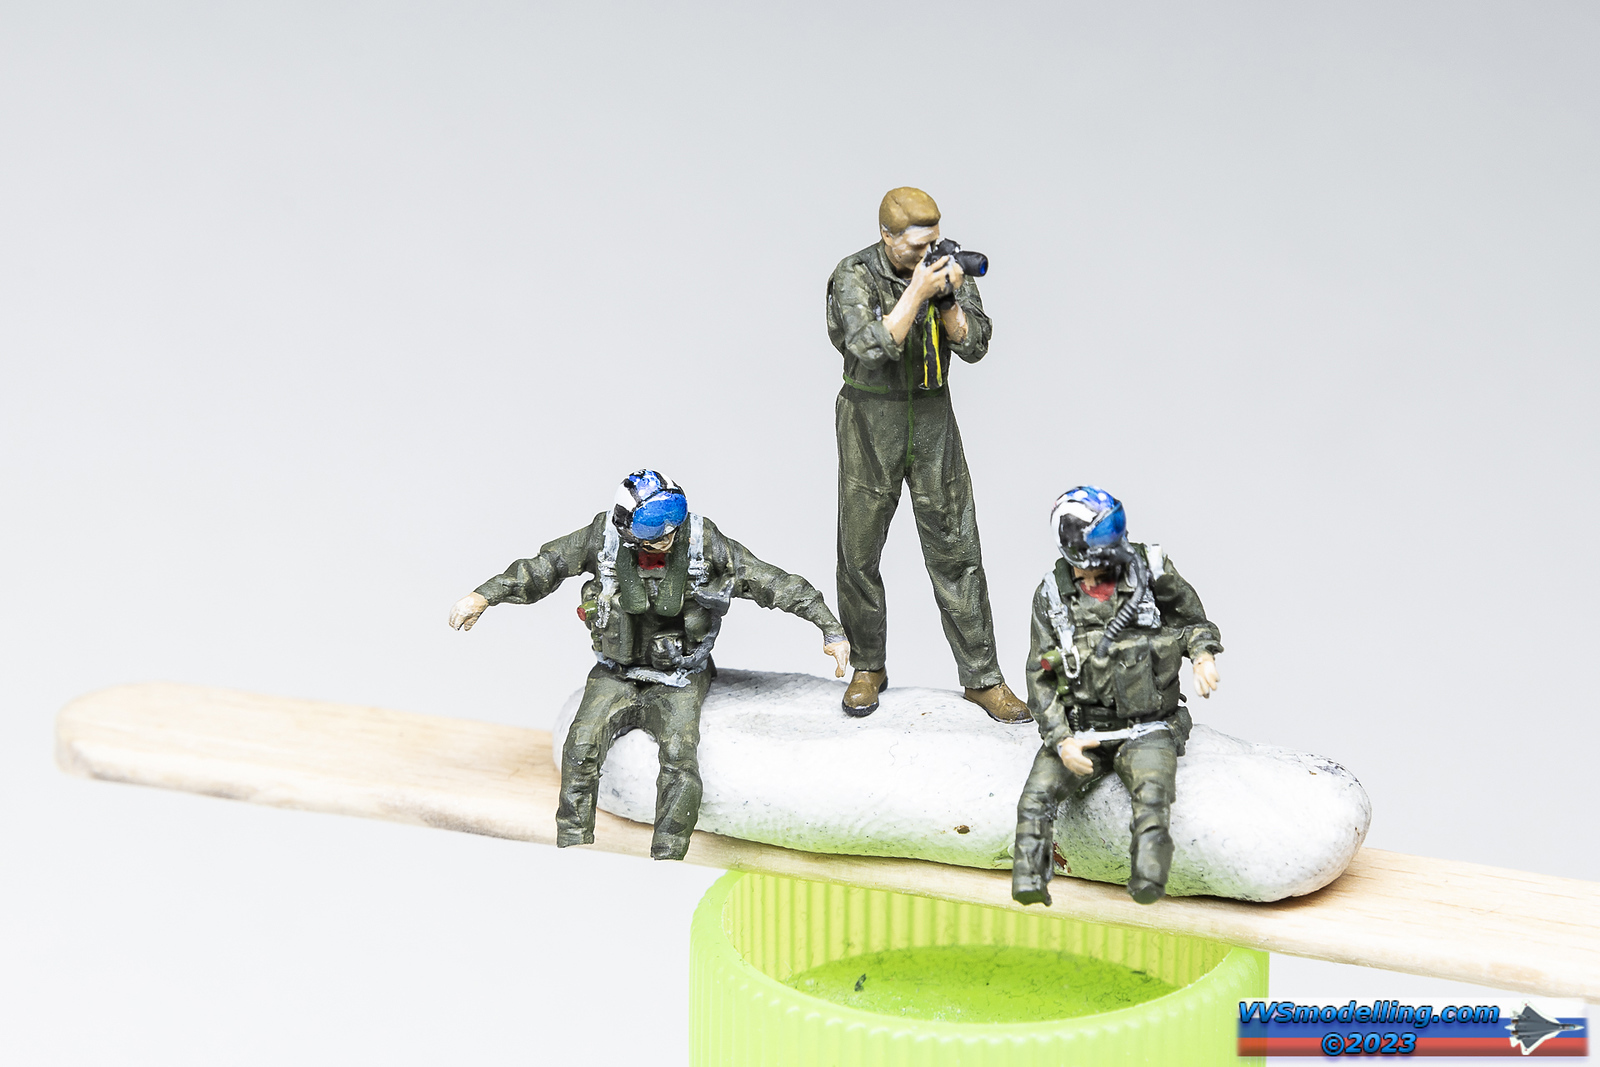
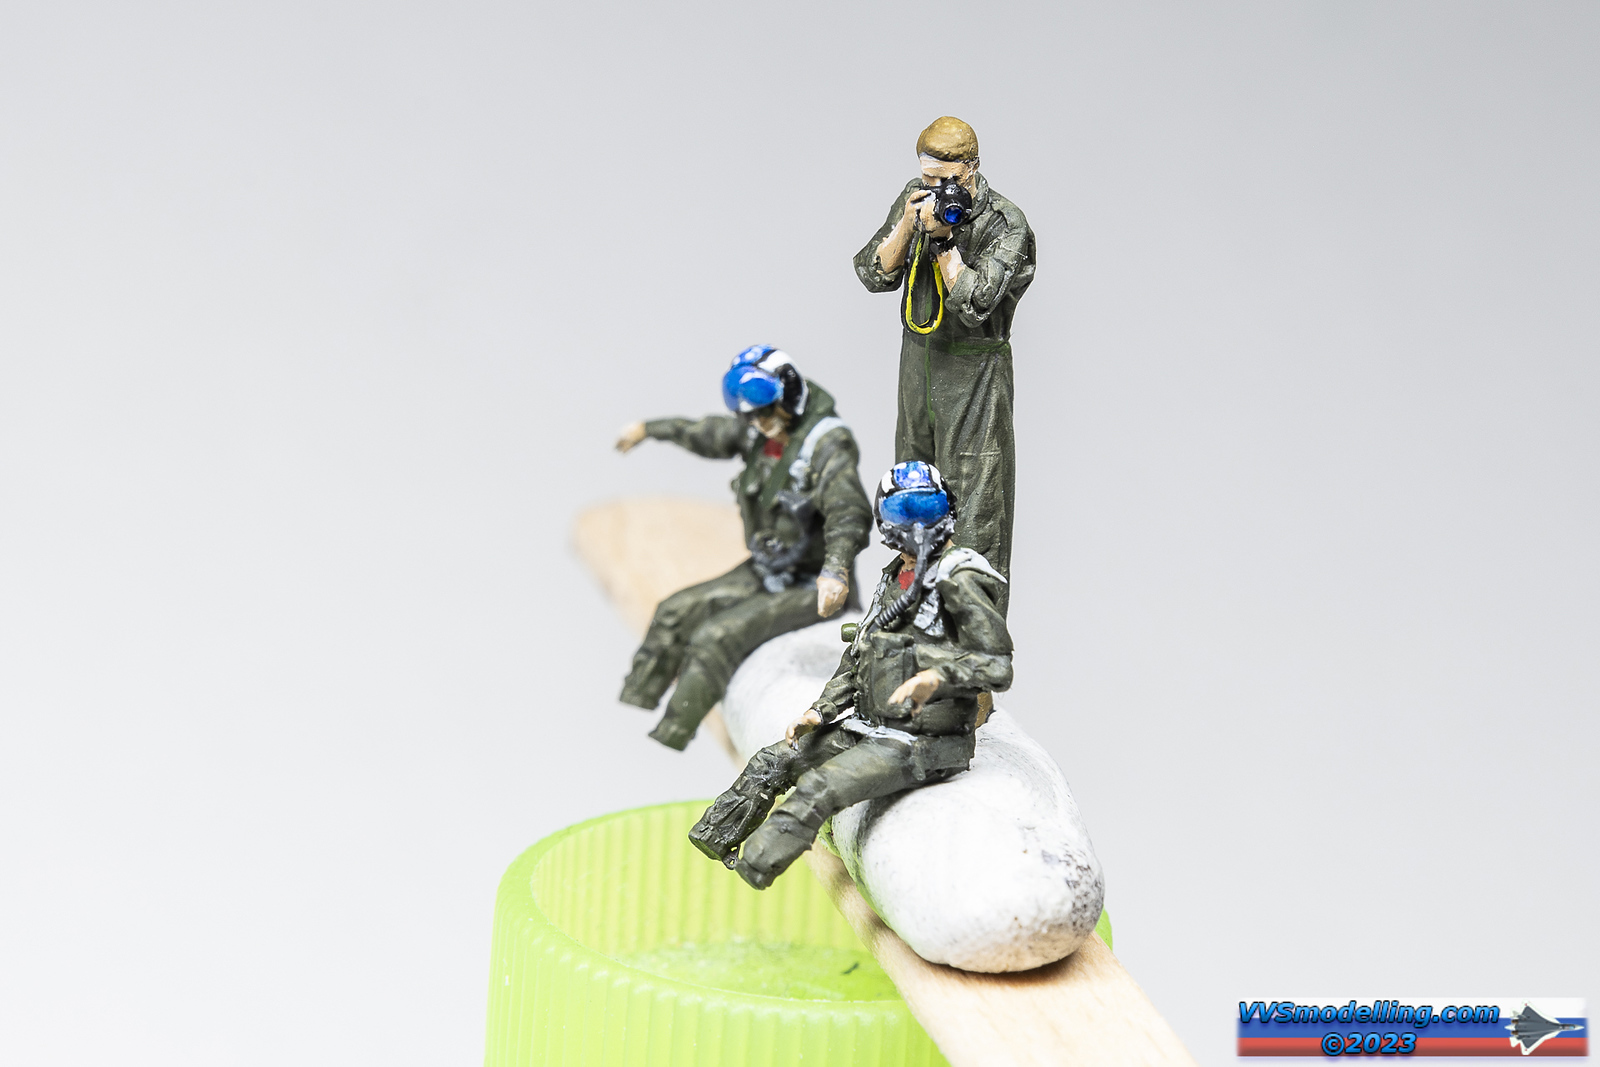
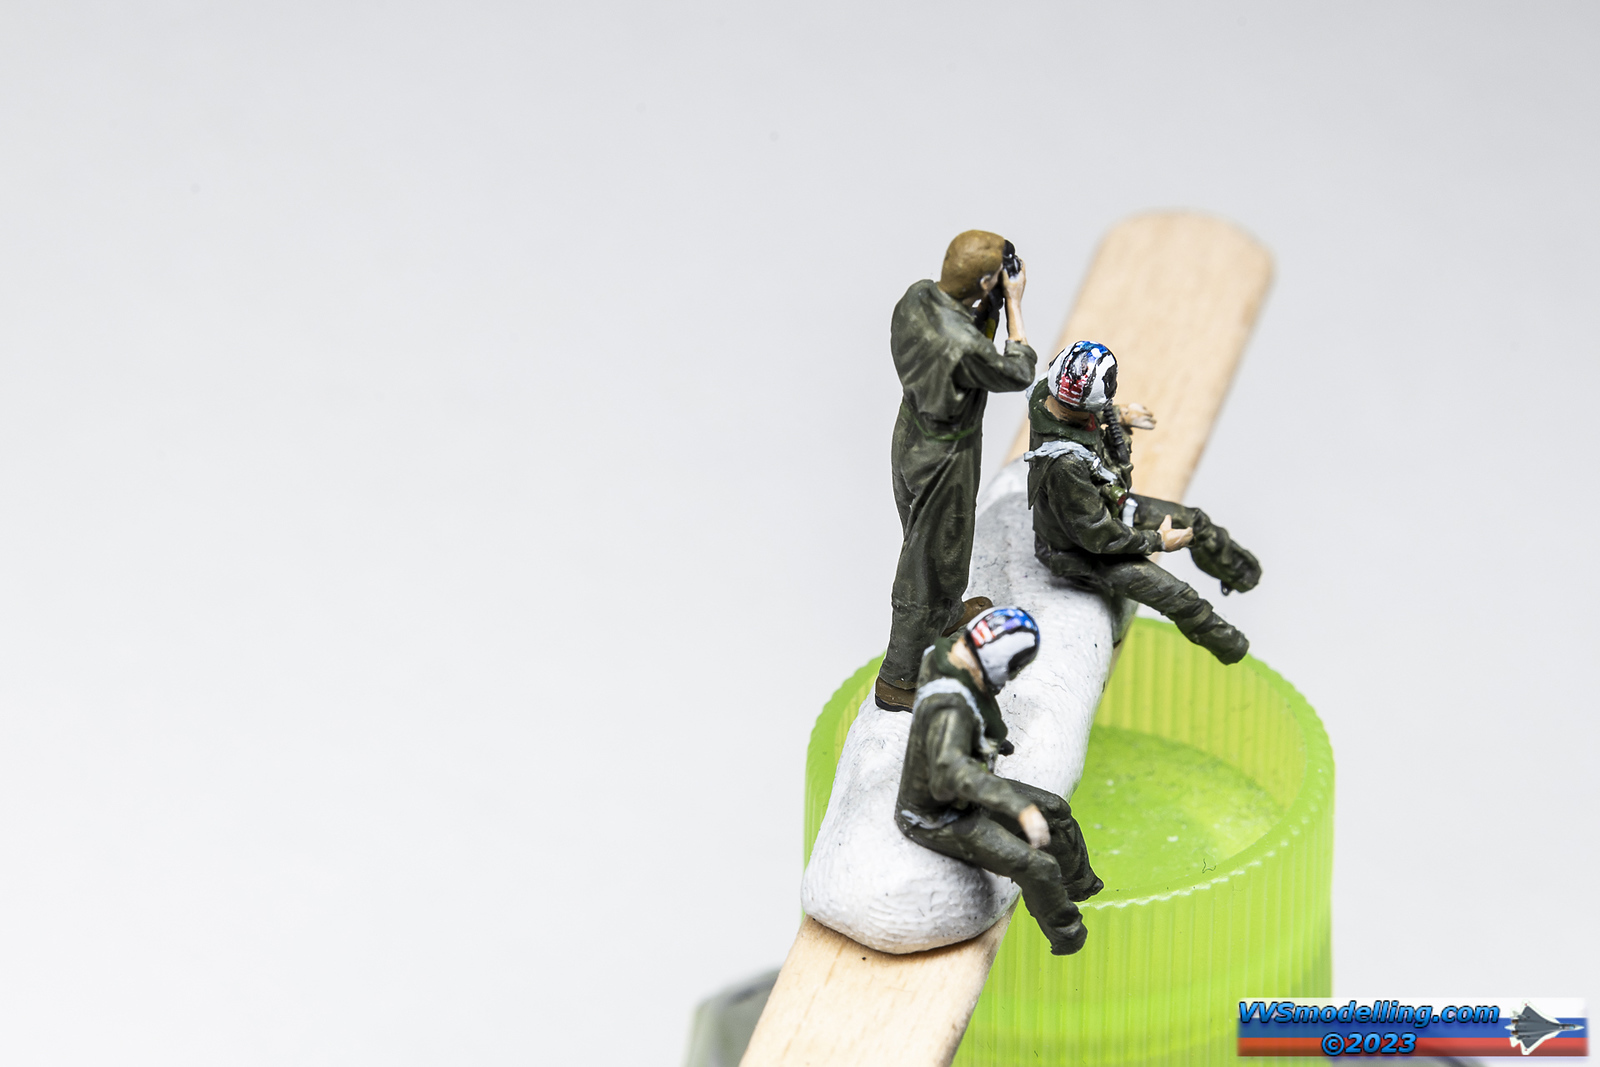
As I am building a small vignette for my F-14 display, I’ve decided to use excellent Reedoak 3d printed figures for the crew and the photographer.