I have never built a D-day striped aircraft in my modelling career, so it’s time to rectify this. I’ll be building Revell 1:72, which is very nice for its age (25 years!), but will spice it up with Yahu instrument panel, Master brass goodies, CMK resin wheels, Quickboost engine and AK’s 56thFG decals.

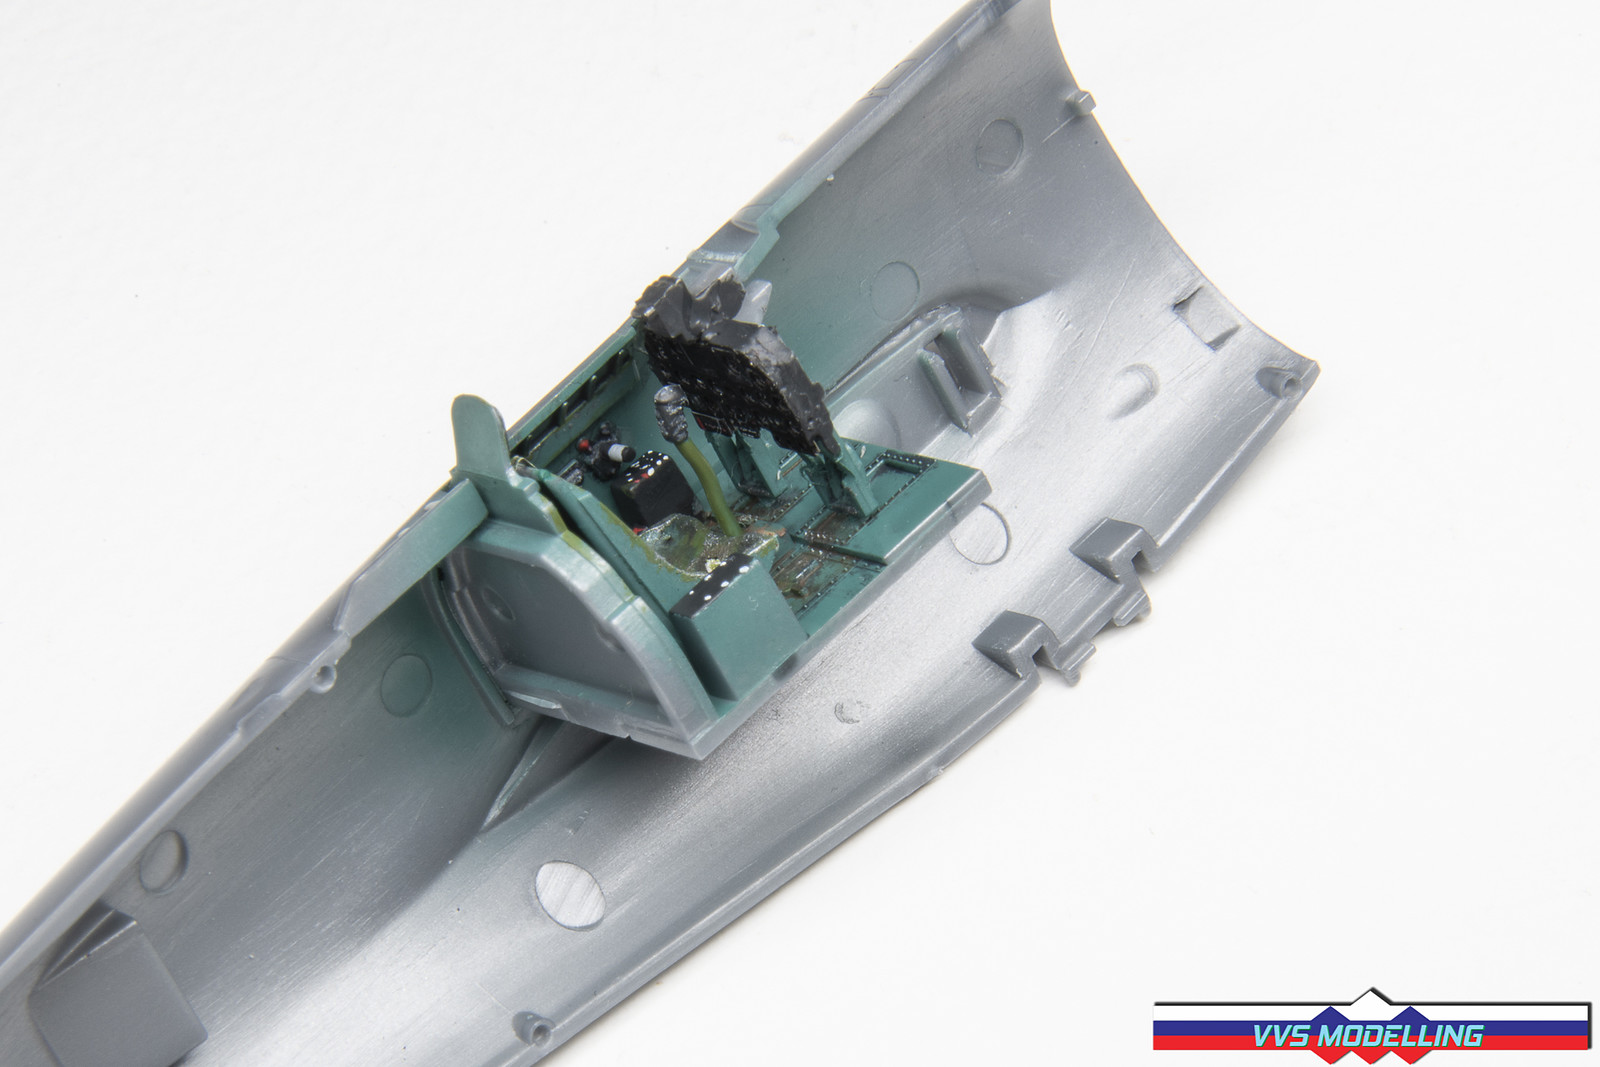
Cockpit is now completed. There is quite a debate over P-47’s cockpit colours and supposedly they could range anything from classic interior green to stained interior green, dark dull green and bronze green. I opted for later, just to make it a little bit different (not much can be seen with cockpit closed anyway) in combination with interior green details. Aftermarket used are Eduard harnesses and excellent Yahu instrument panel.


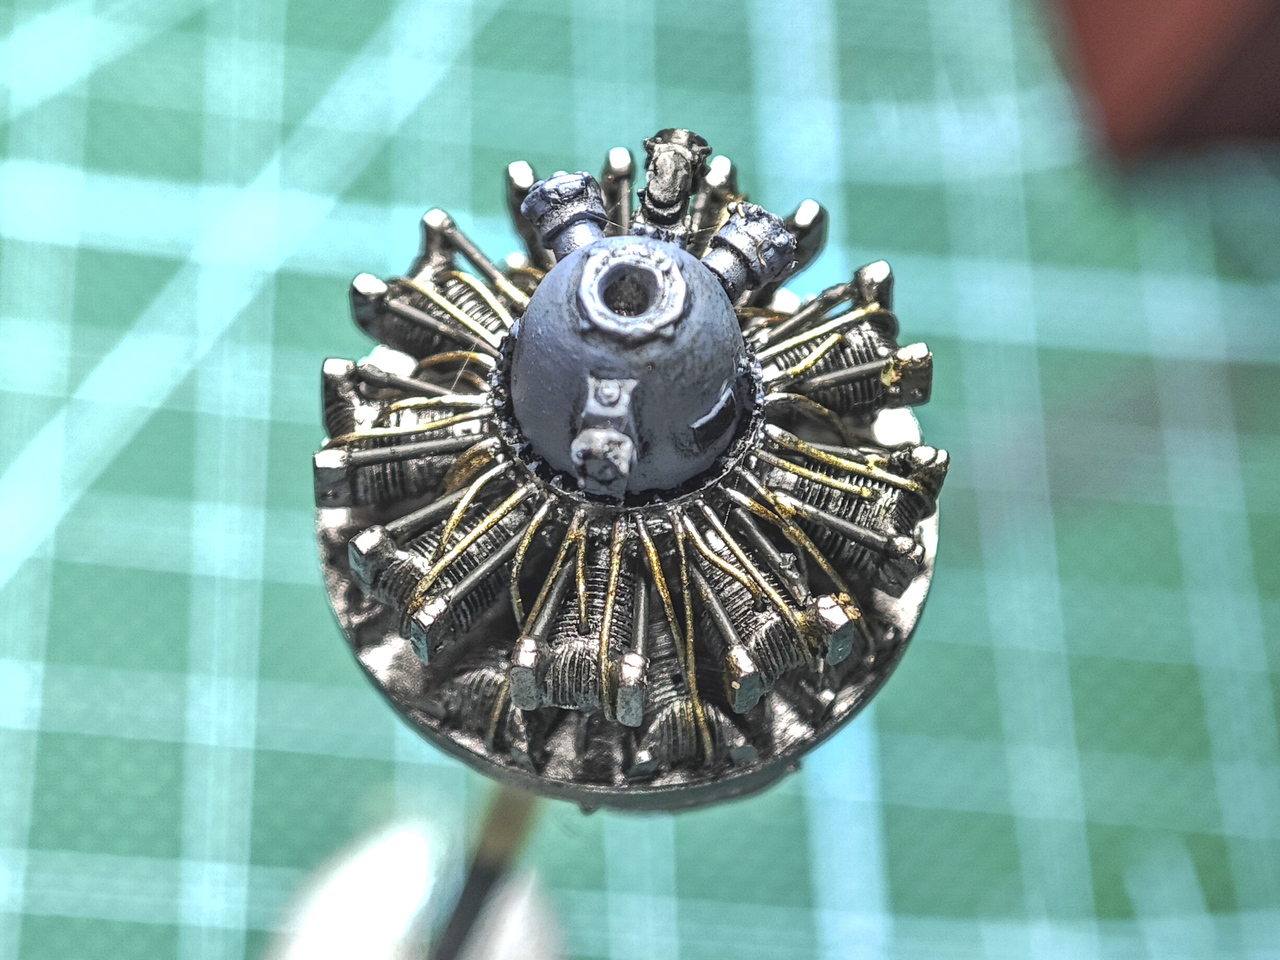
I’ve decided to replace the rather details week engine with the resin replacement from Quickboost. While the cylinder heads look much better than the plastic part, I was a bit surprised there’s no wiring provided and no mention of it in the instructions, however there are some holes provided in the ring, although only for half of the cylinders.
I have added pushrods first, made out of metal wire and then went onto drilling the holes in the ring and at the fronts of the cylinder heads. Using 0.2mm lead wire, I then went onto an extreme exercise of patience and below is the result. It might not be perfect but I believe the result was worth it.


Here she is, painted up! Not much of it will be seen in the end, but hey, It’s a good practice for detailing anyway.


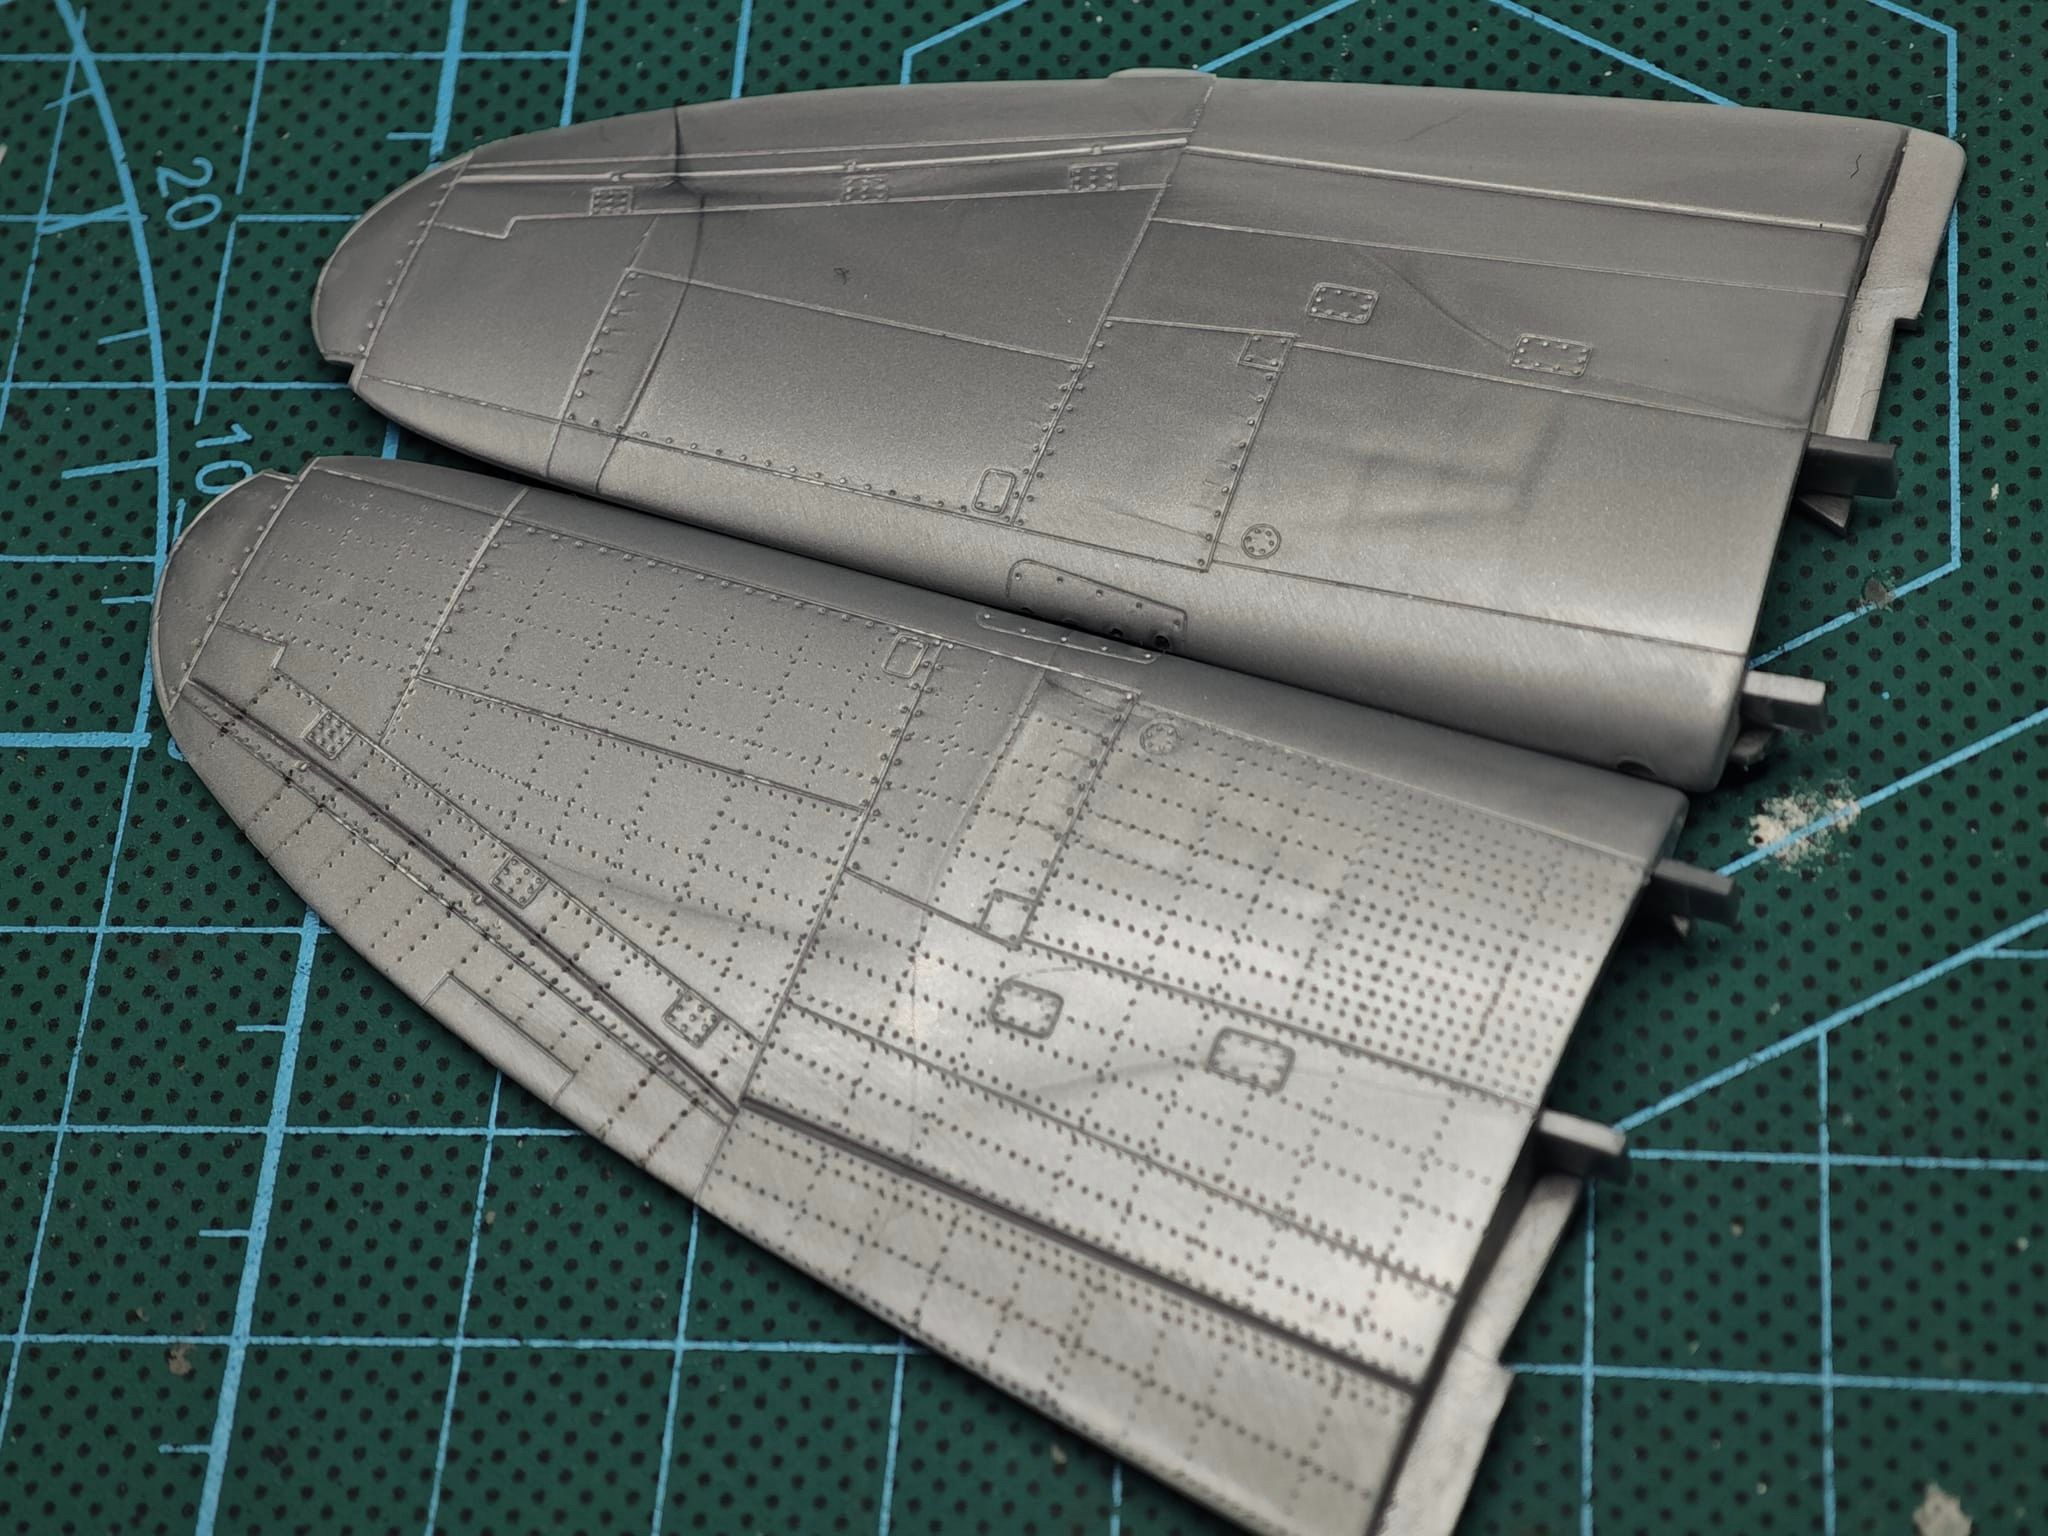
Surface details are really good on this model and there’s even some fasteners represented, but there are no rivets present, so I decided (once again!) to rivet the whole model. Yeah, it is laborious tedious work that takes a few hours to complete, but the end result is well worth it. In the end, I’ve given the model a coat of MrSurfacer to tie all the work together and check for imperfections.


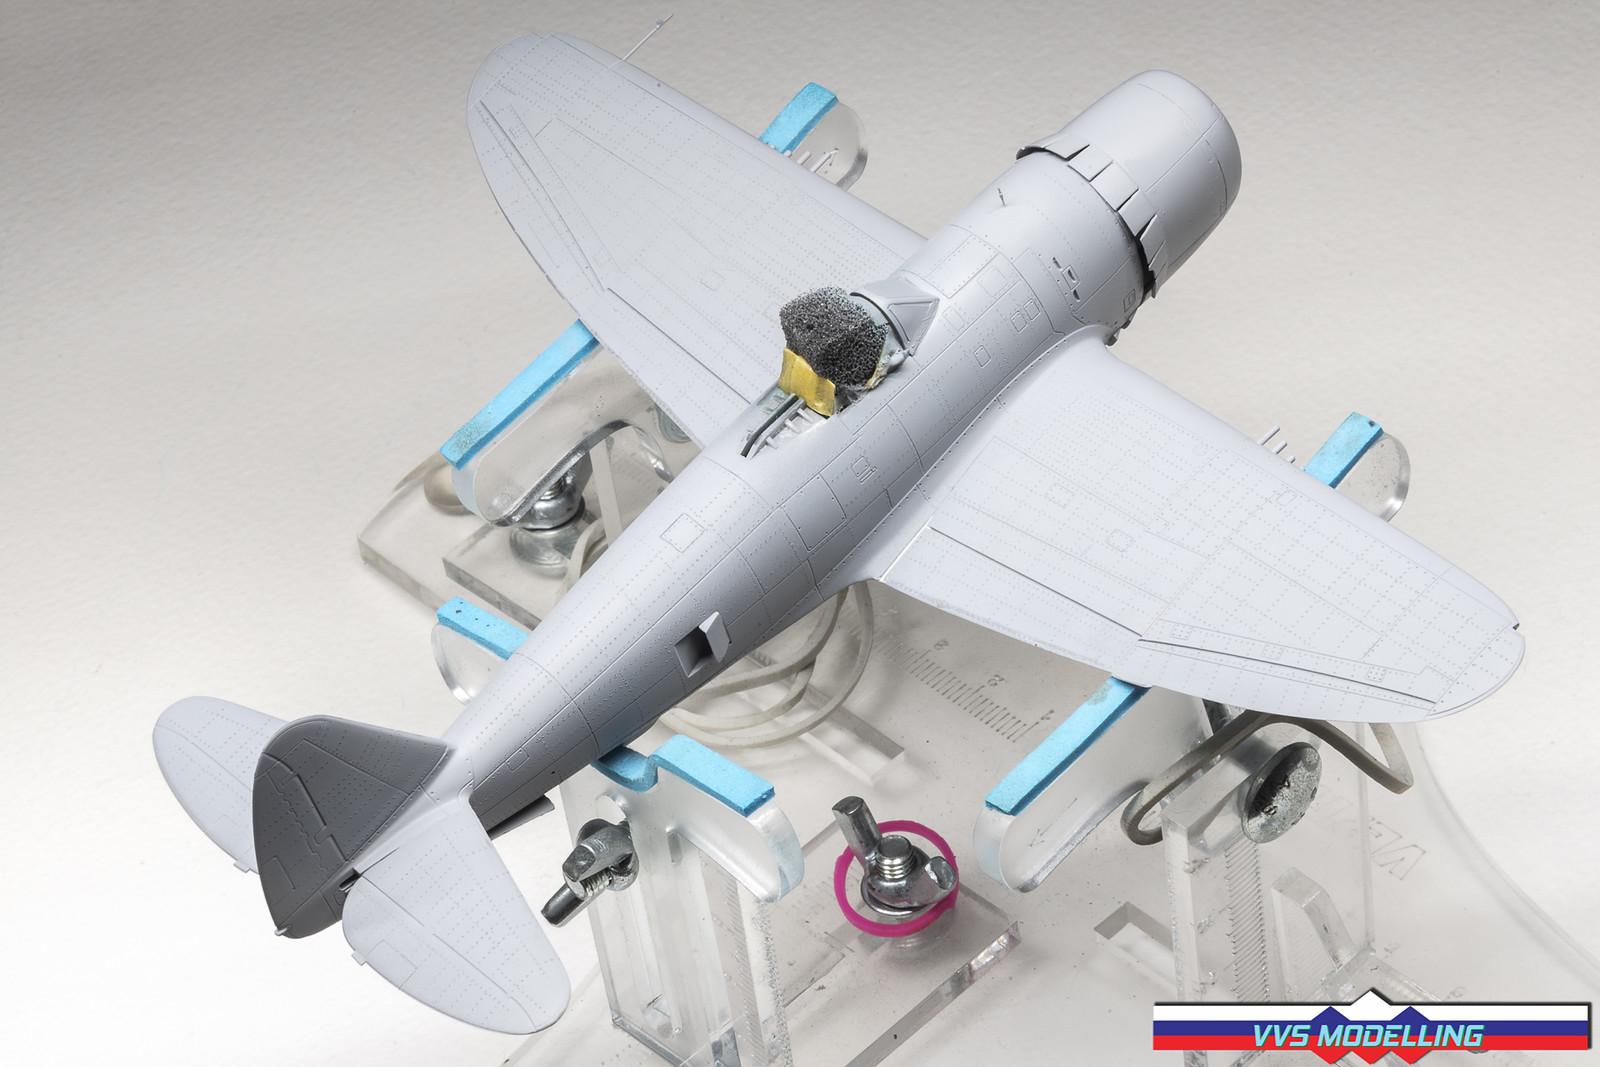
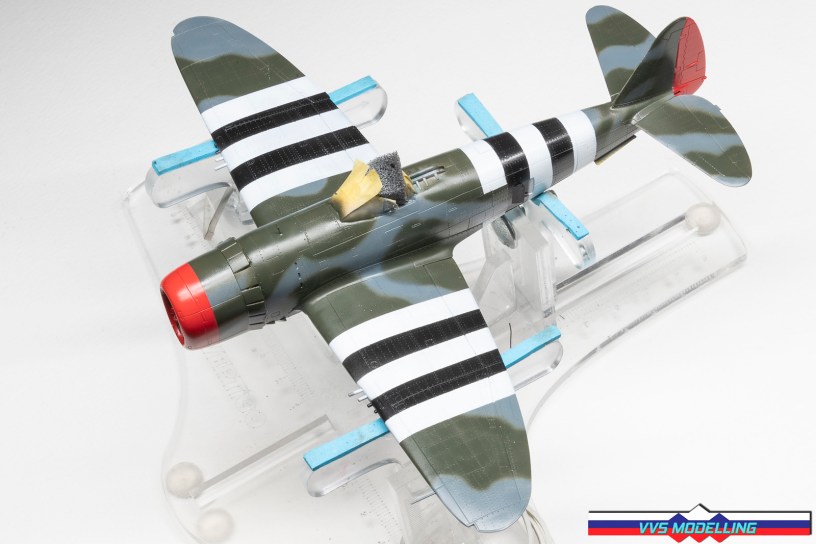
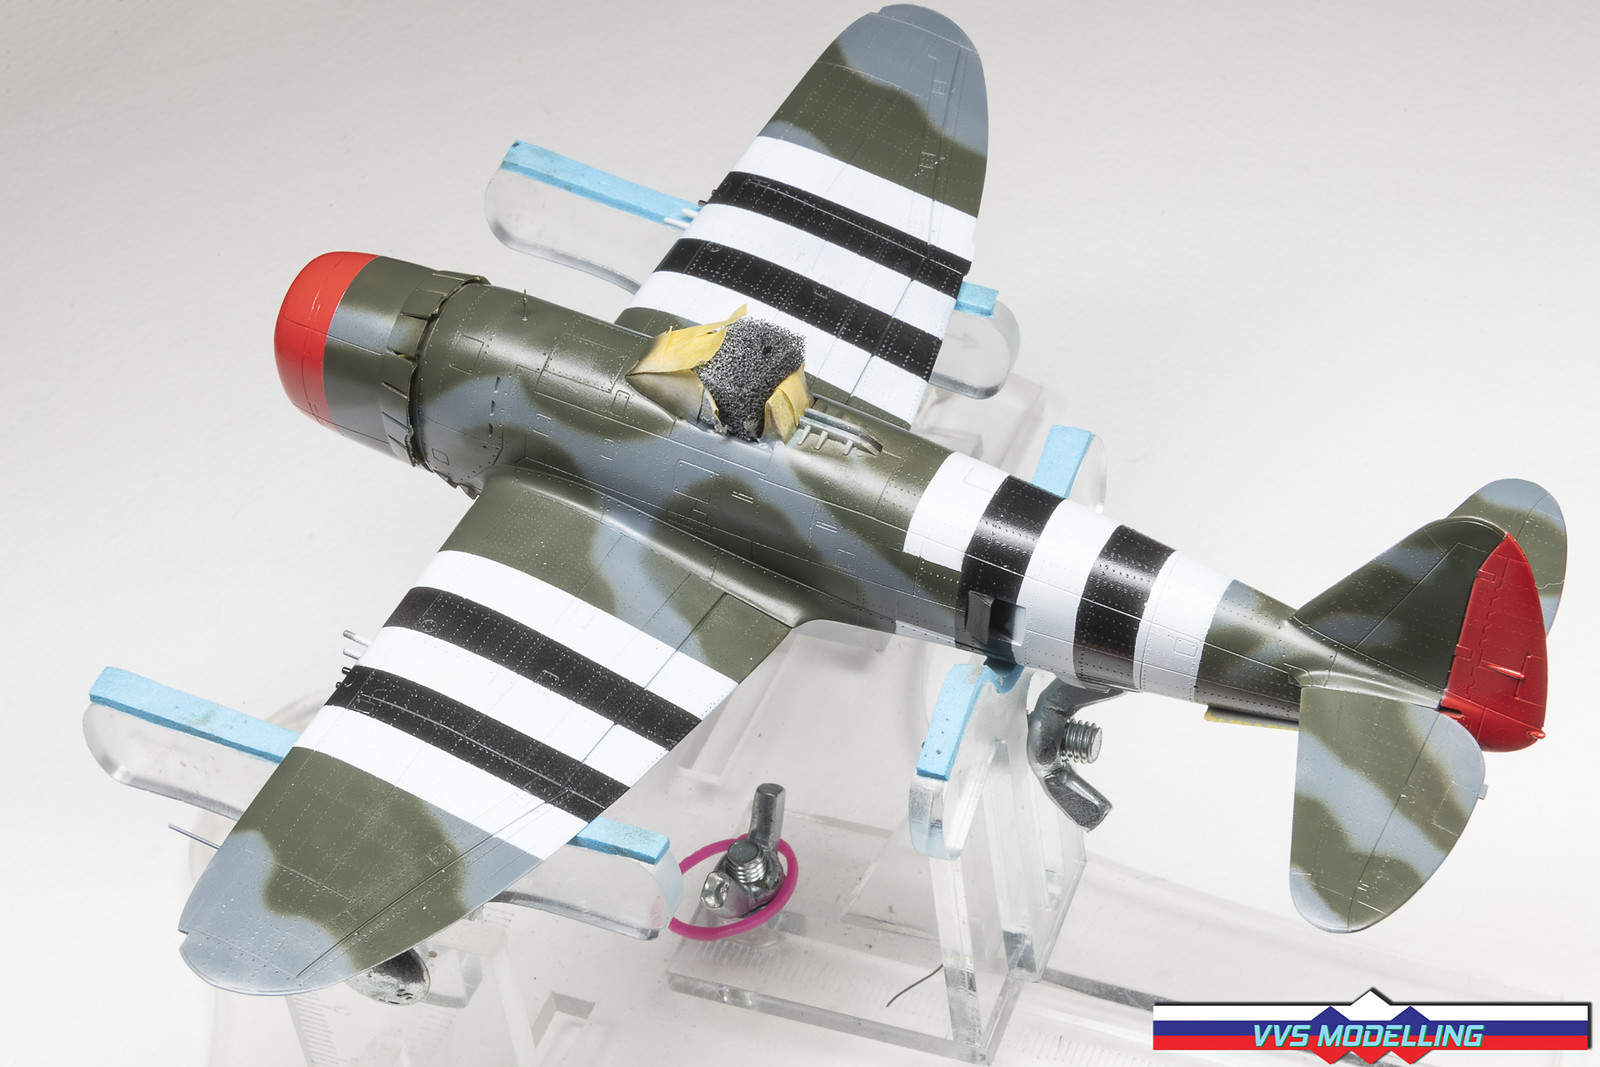
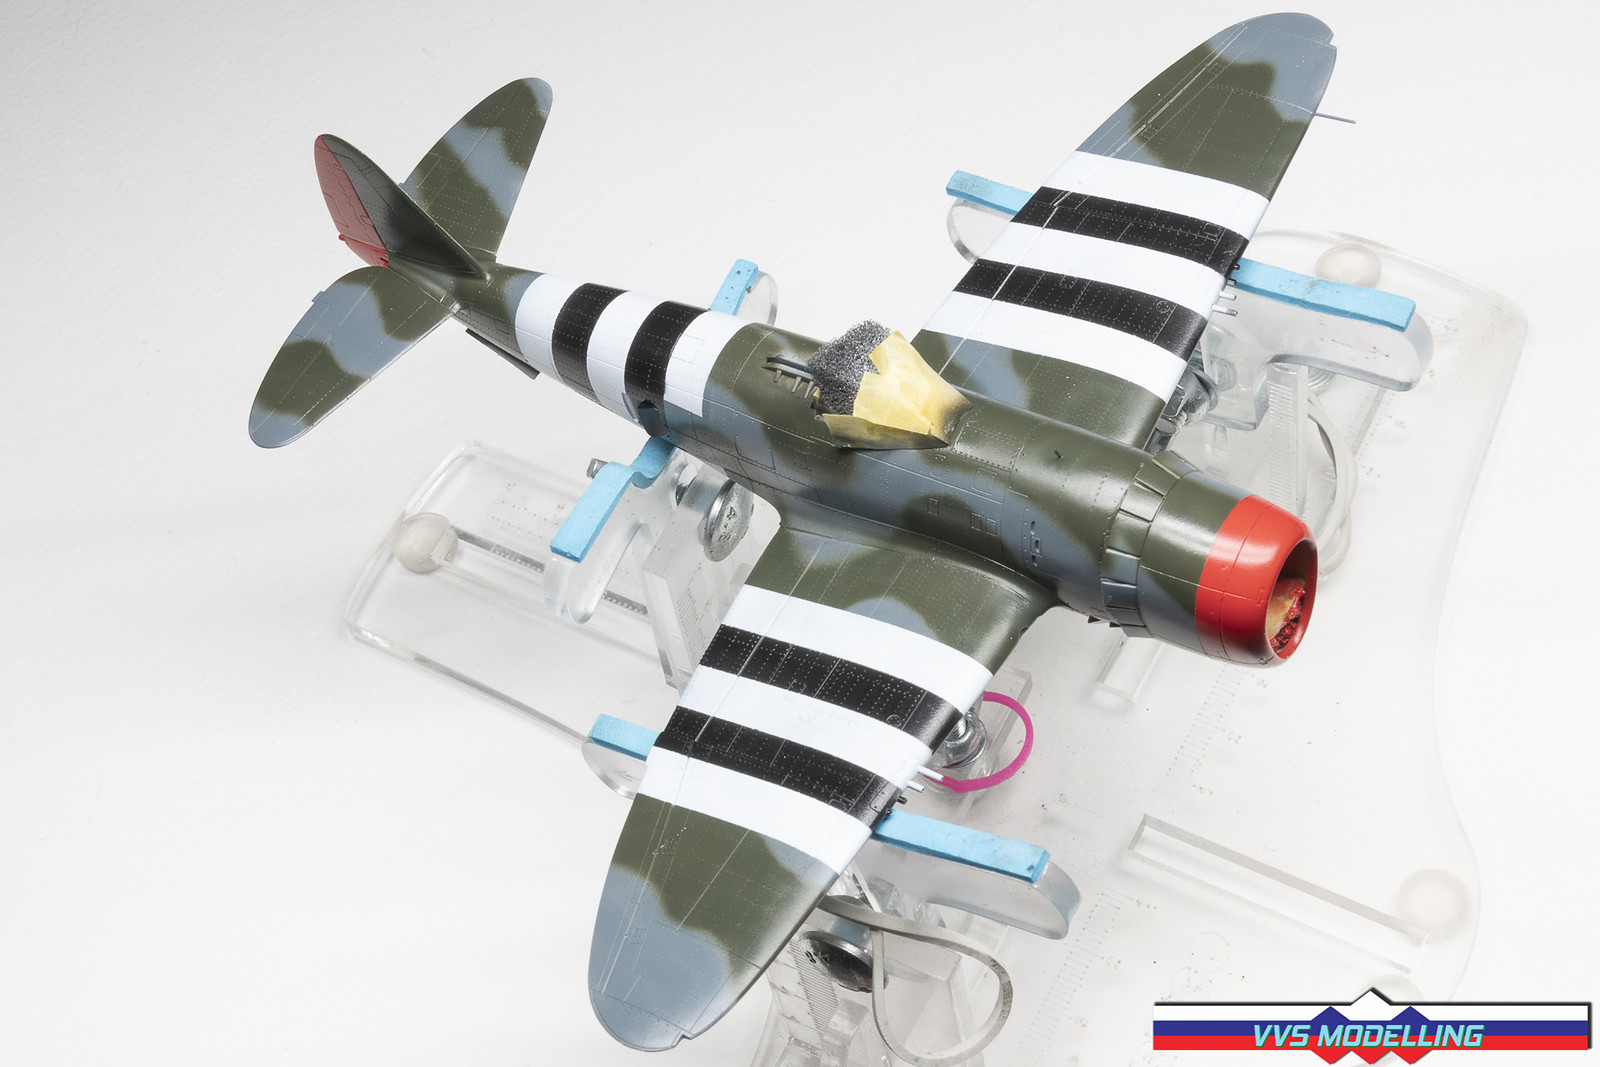
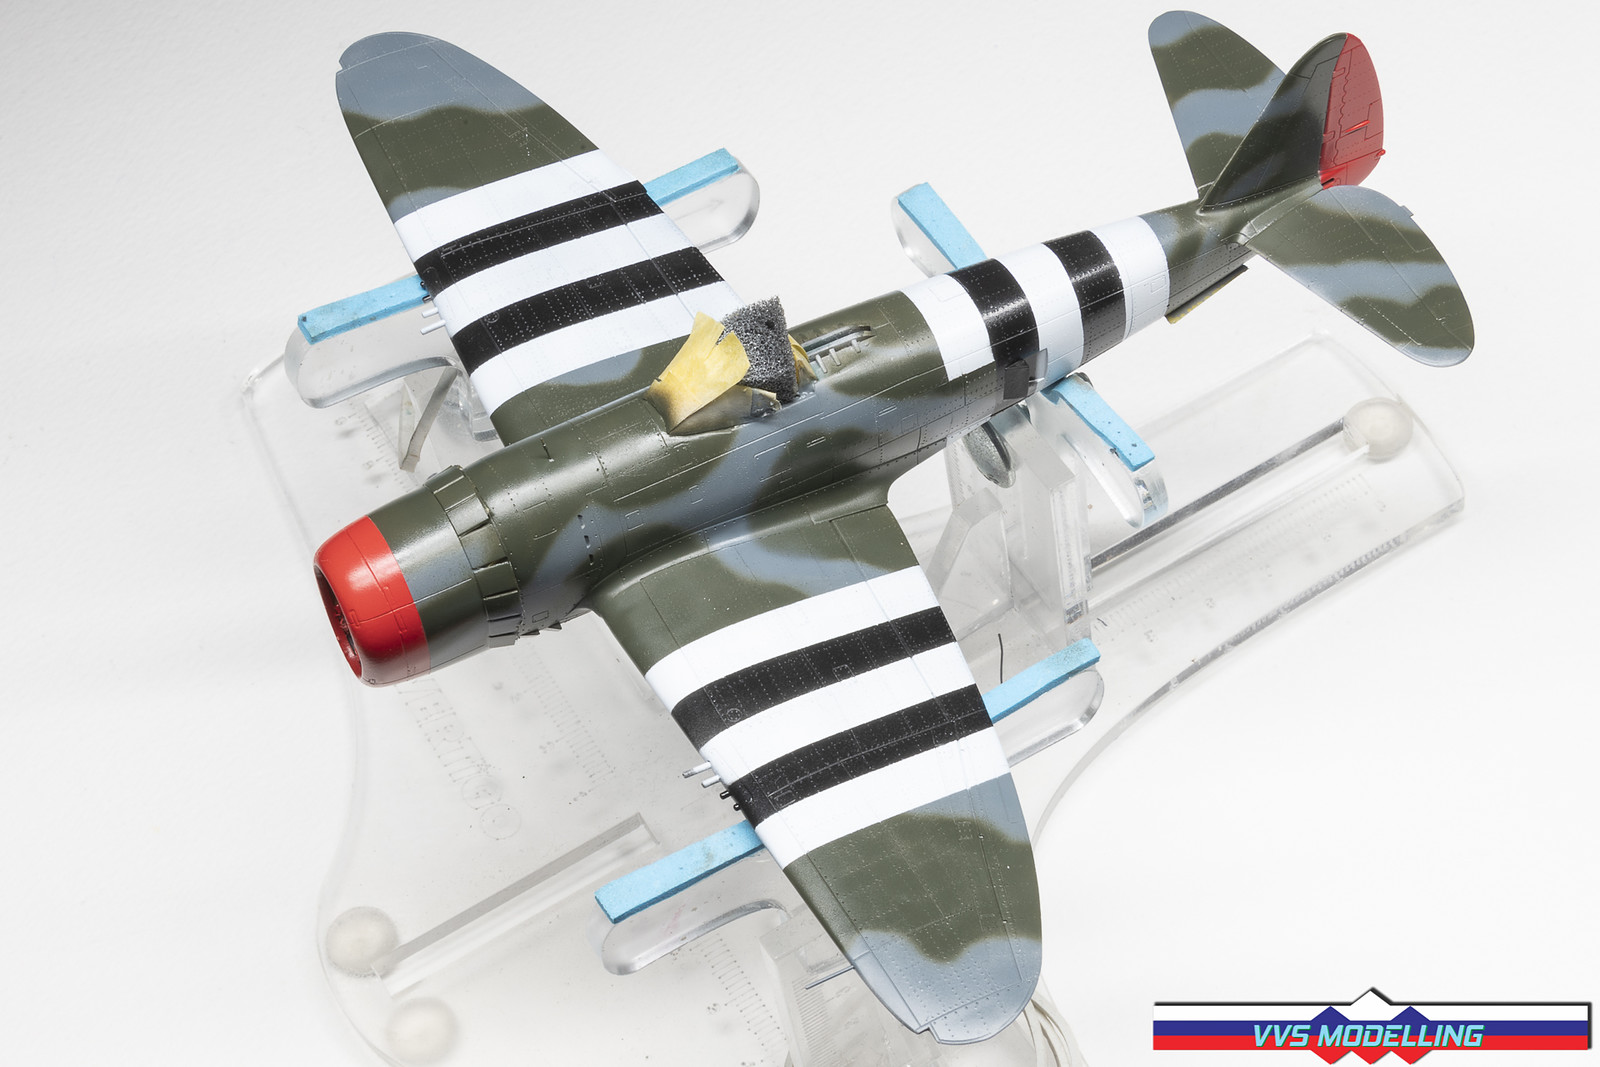
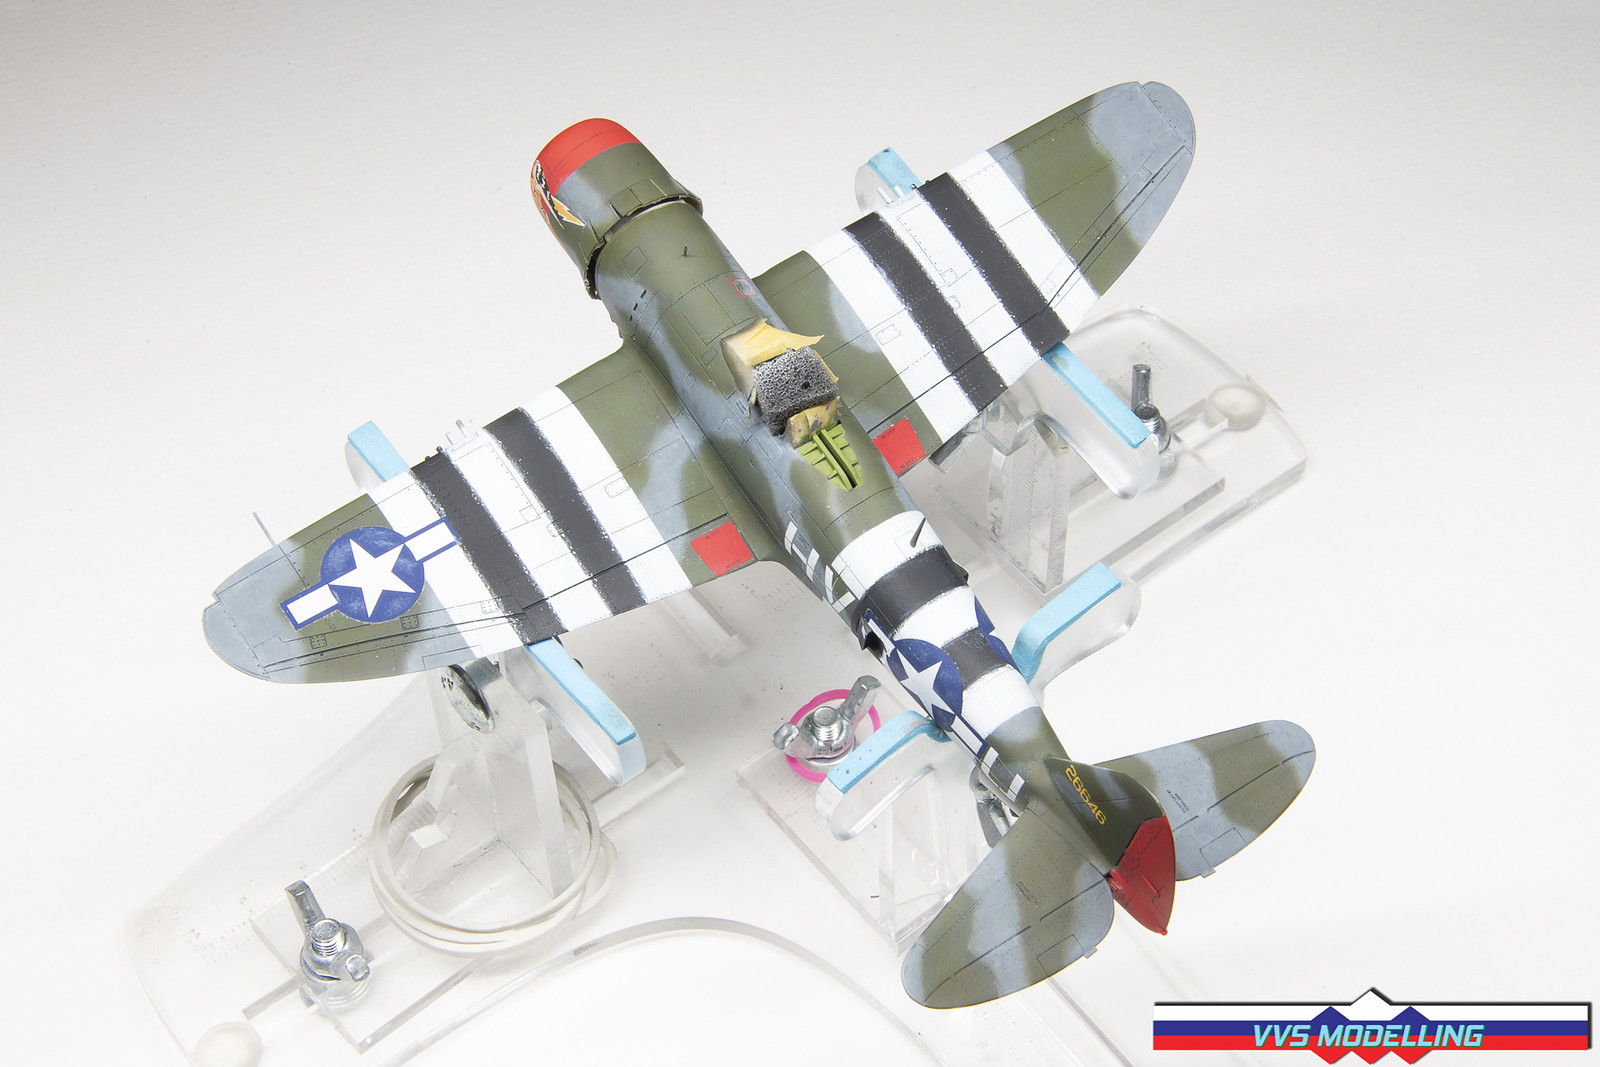
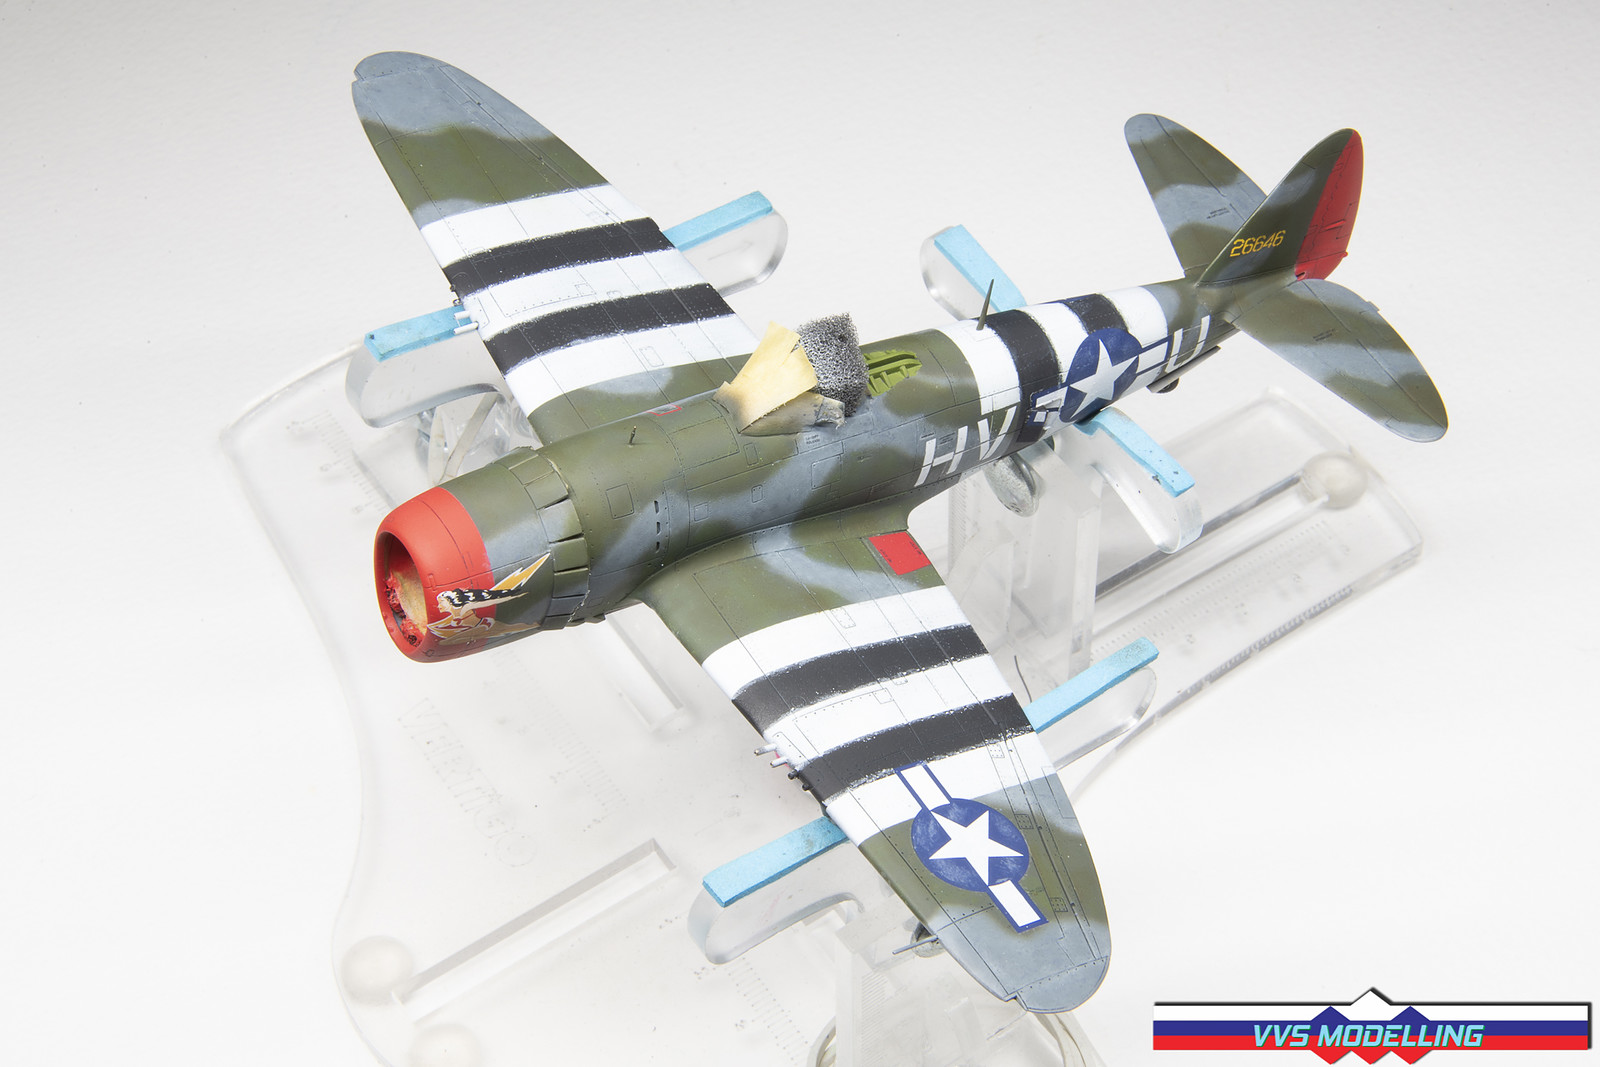
OK, I’ve been a good boy and managed to push through with the painting. First time in nearly four decades to actually paint Dday stripes. The ones on the fuselage aren’t really perfect, but I guess they were not on real aircraft, either, right?

I next have applied decals, a mix of Revell and AK-Interactive ones. These were sealed with VMS Supplies satin varnish. Weathering was then started with Abt502 oils from AK – disstressing the grey paint as well as various streakings, oil stains and dust and dirt effects.


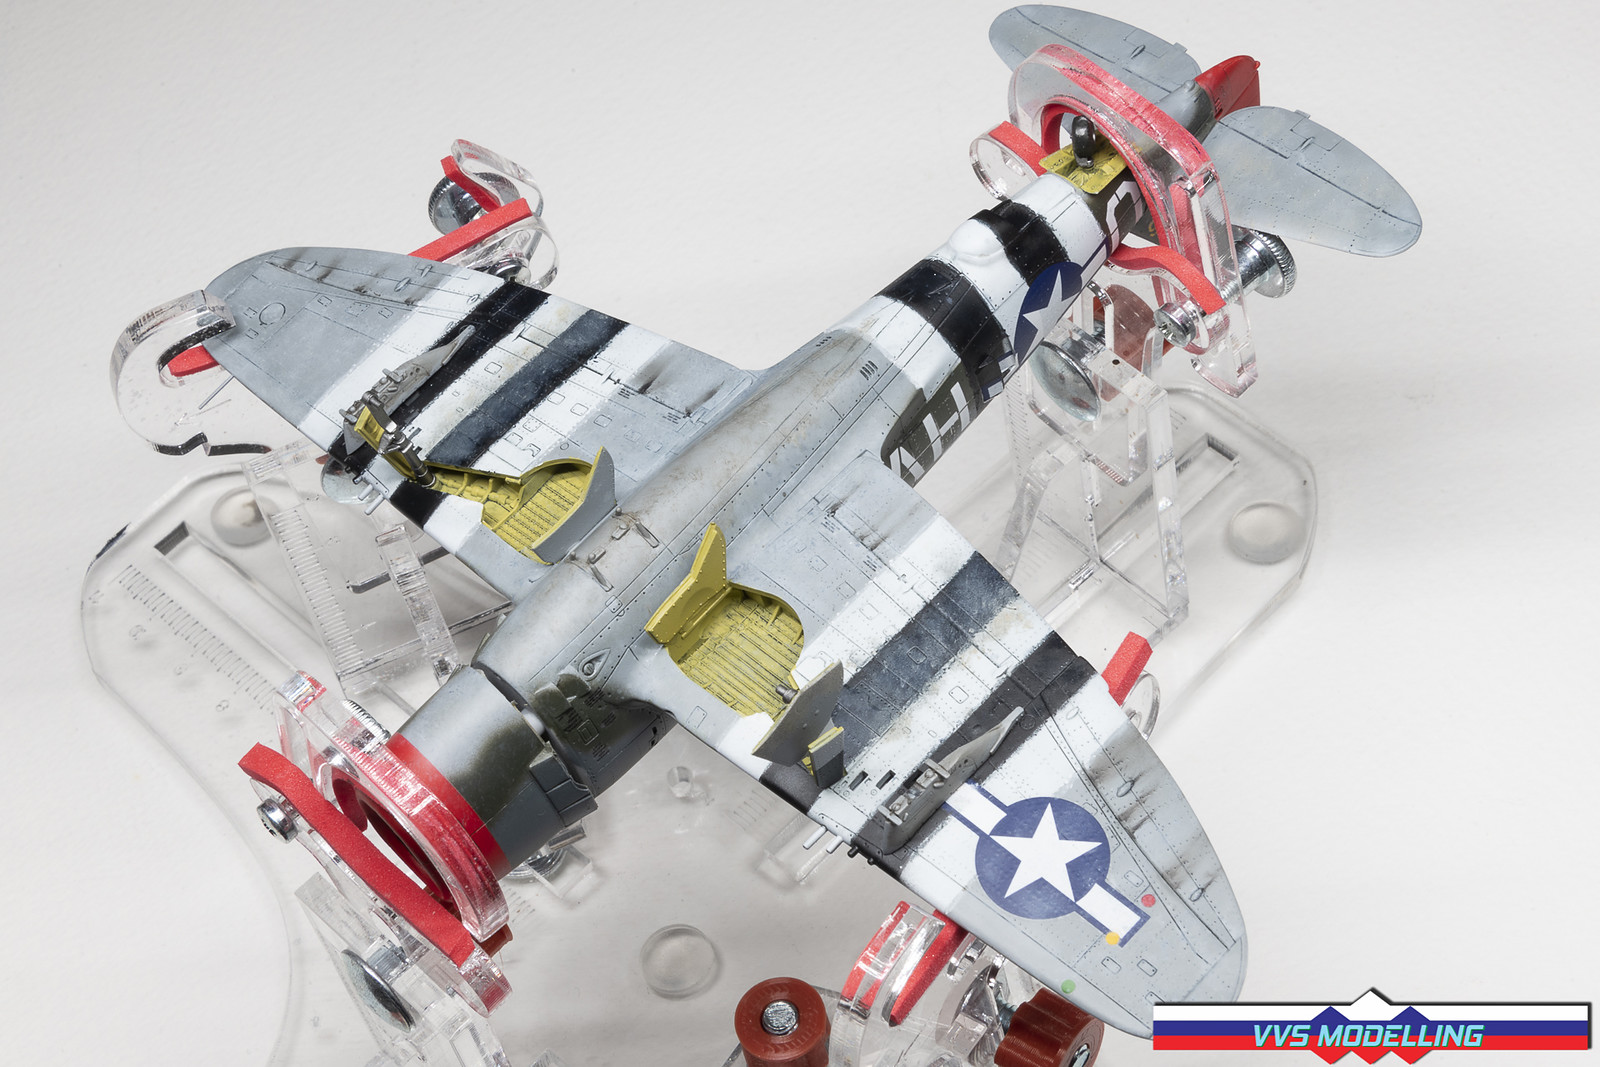
After I took last photos, I noticed Revell messed up the instructions for the ID lights on the bottom of the wing. And truth be told, the decals just looked too flat to my liking. I was thinking of how to solve the issue and here’s the result. I drilled the lights out, filled the holes with UV curing glue and applied a drop of Tamiya clear paint to each of the three lights. I also used UV glue for wingtip lights.
Much better result, right?

I’ve started the oil paint rendering on the upper surfaces along with other little bits and pieces, like weathering the invasion stripes. Not done with any yet but the end is near.


Outstanding work, Sebastijan! The work on the engine is a great improvement even if it is tedious!
Thank you very much, Jeff!
Odlično opravljeno delo, res lep Thunderbolt Revell zmaga z tem kalupom…🤘🏻🍻😎
hvala lepa! Ja, sicer je bojda zdej že mal zgonjen kalup, sam je pa res dobra osnova za maketo.
Well done!
Thank you!