Time for a new quick build. Just for the fun of it OOB. Special Hobby Seafire FR.47. I have never built a 1:72 Spitfire of any mark before, so I’ve decided to start at the end, the last mark to be made. The kit is short run, but I’ve got experience with these and at least the plastic looks decent and with relatively simple shapes, the build shouldn’t be too complex.
A small intake below the prop is moulded shut, but a little bit of drilling, cutting and scraping later, it looks way better.
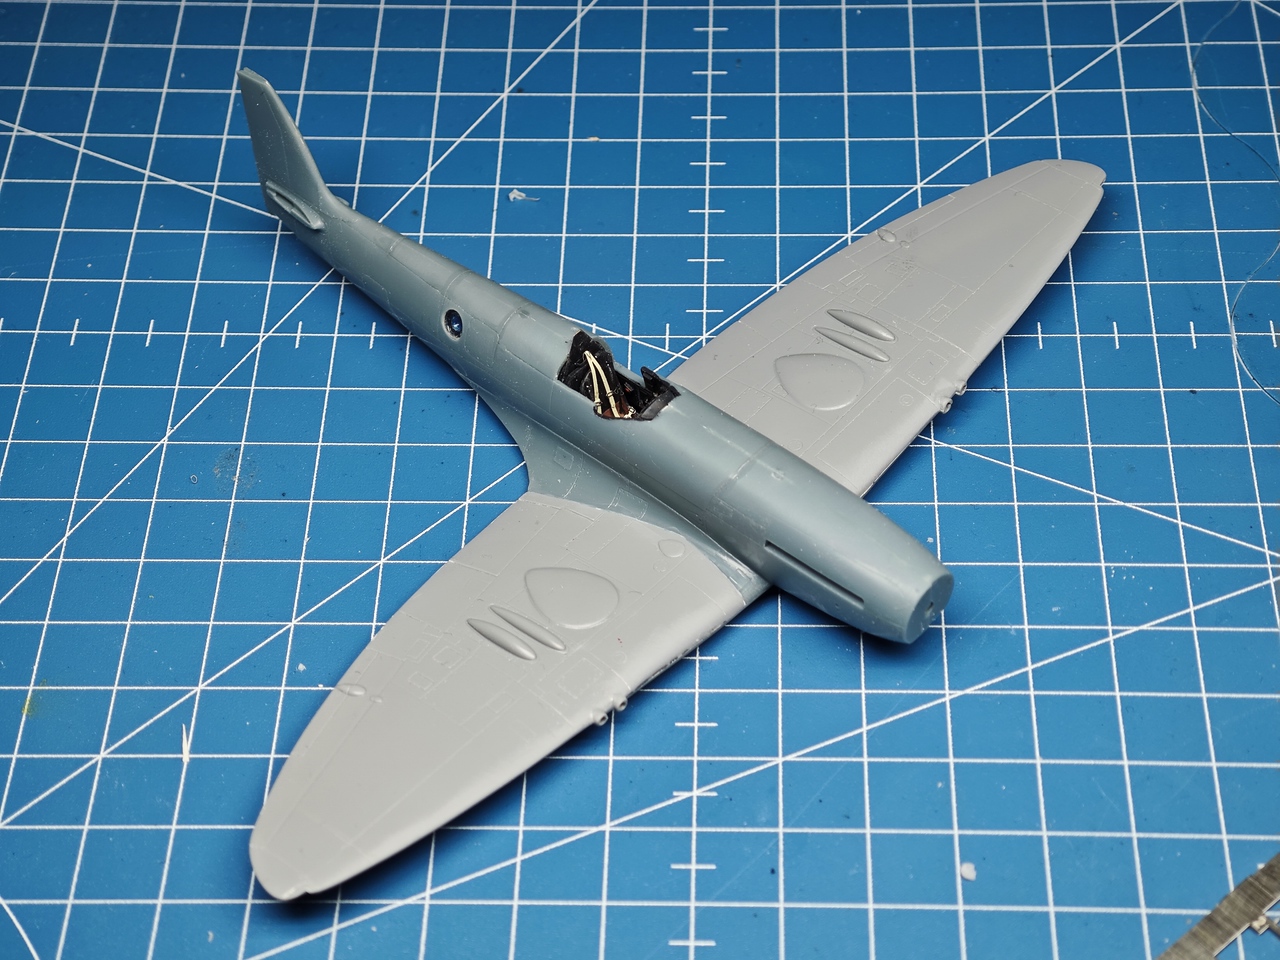
The kit comes with a small photoetched fret, that includes parts for the cockpit, which nicely detail this area. I am more used to the interior grey-green cockpit colour, that I had to check, if it was really black. Not much will be seen at the end, but with open canopy and door, I hope some of it will remain visible anyway.


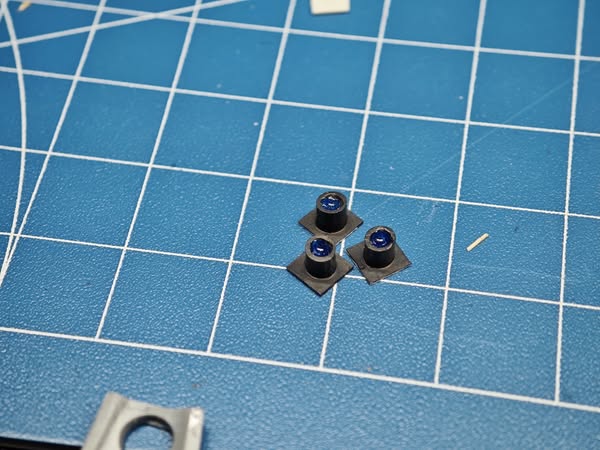
The kit comes with clear camera ports, but no cameras. So if I’d be just following the instructions, I’d be getting a see through the fuselage behind the cockpit. So I took some sheet styrene and some leftover sprues, cut those and drilled out the lens, painted them up, and well – they might not look entirely correct, but they beat the see through effect any day.

The way the kit is designed, you get a hole in front of the instrument panel. I haven’t noticed any on pics of the real aircraft and the panel is definitely in the correct position, so I guess this is the kit’s fault. Luckily it is easy to fix with a tiny bit of thin styrene sheet cut to shape.

Wings attached to the fuselage and we finally got the shape of the Spitfire! I did read a concerning article on Britmodeller regarding the fit of the wings – the wing halves as well as the whole wing assembly to the fuselage, but I didn’t encounter any significant problems and even the clean up required is minimal.
Bottom side of the Seafire completed. Parts fit rather well. The yellow green you see in some joins is AK’s marker which I use to quickly see if the joins are clean and tidy. The most fun I had was attaching those rocket pylons – they are not marked in any way on the plastic itself and you need to actually measure distances from the panel lines and wing leading edge to locate the correct spots.

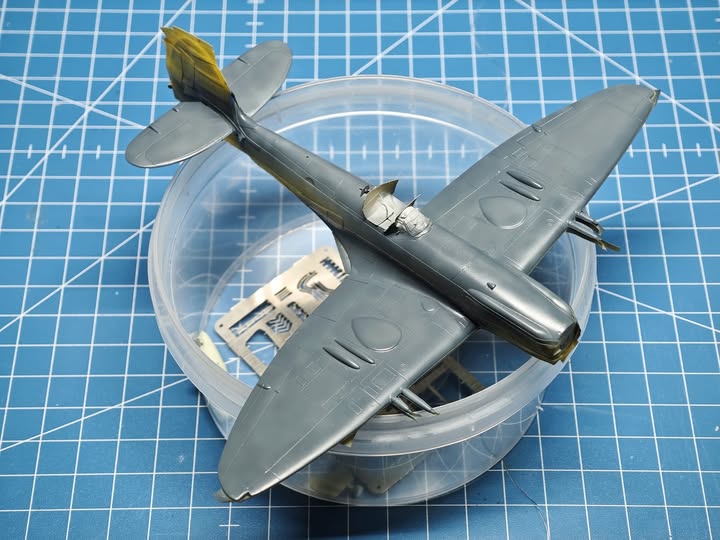
Bottom surfaces were painted with Sky, then mottled with slightly lightened and darked base colour. As always Mr.Paint lacquers were used. And no worries, the greasy fingerprint was already removed from the surface of the wing. EDSG next!


Top surfaces were painted EDSG and lightened a bit with Sky. Mottling was done again to break the surfaces and some panels were exposed a bit more to add visual interest and highlights. More of that will be done with oils, but this step creates a nice base.
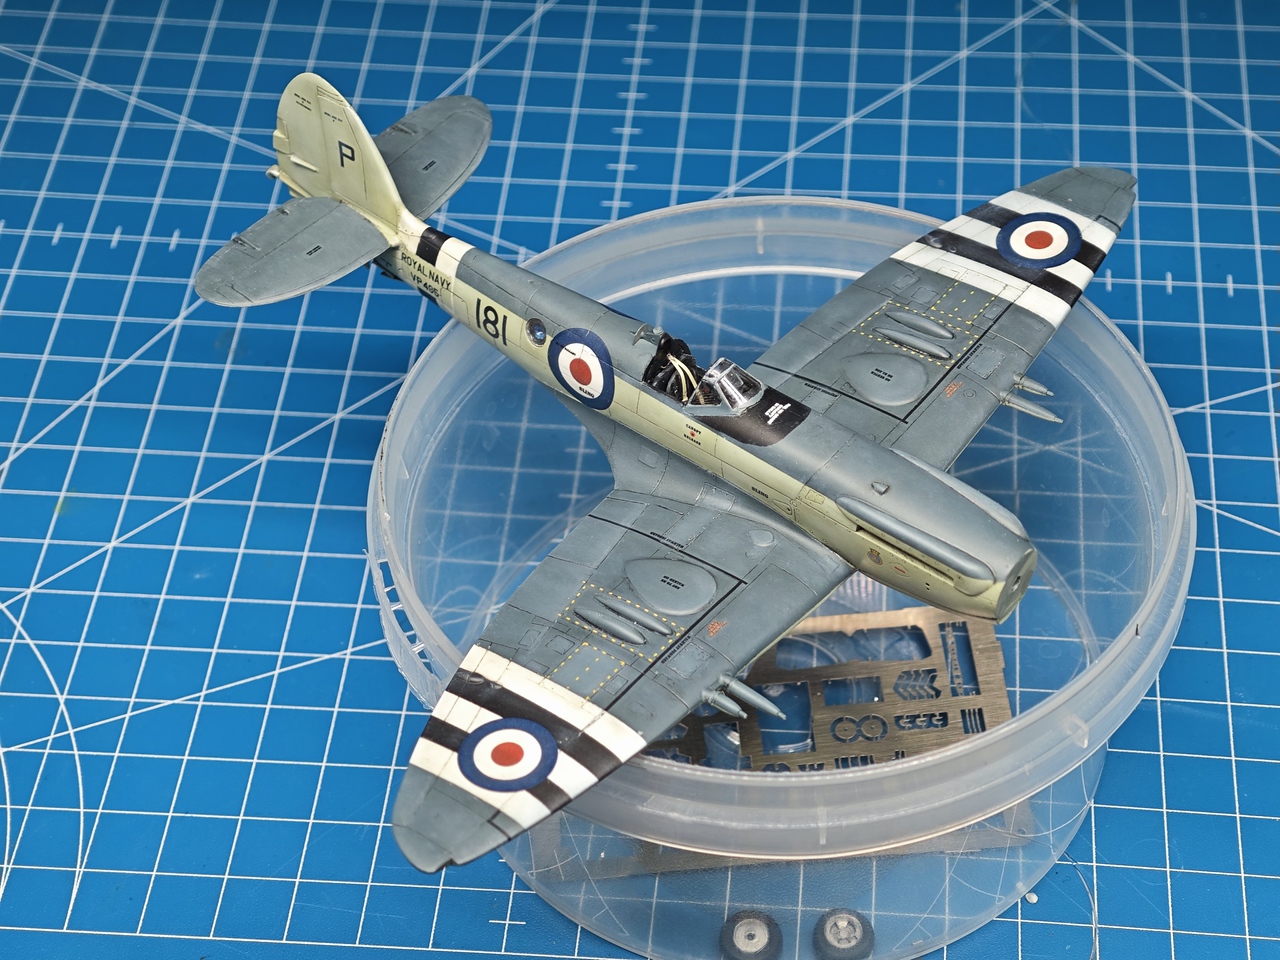
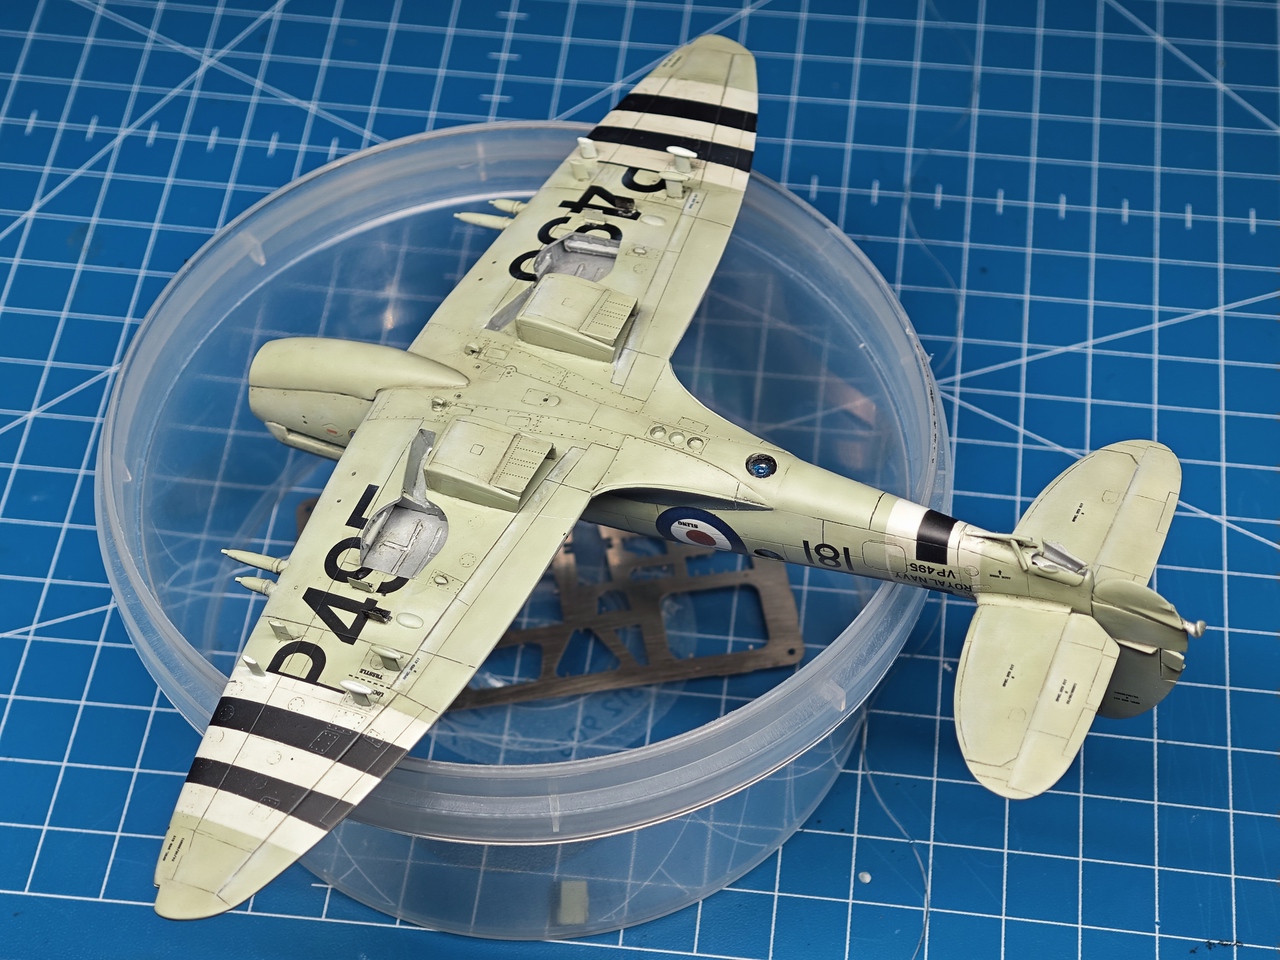
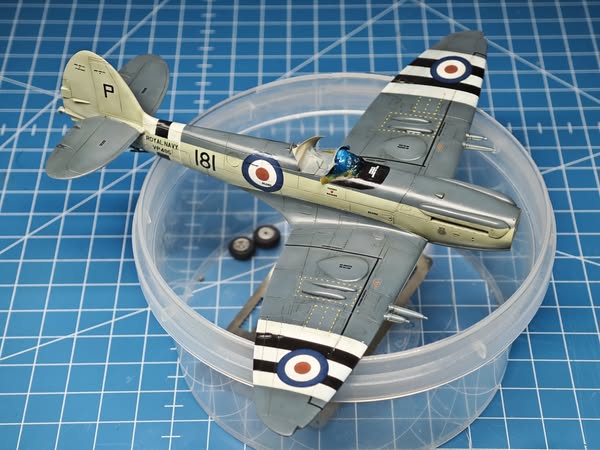
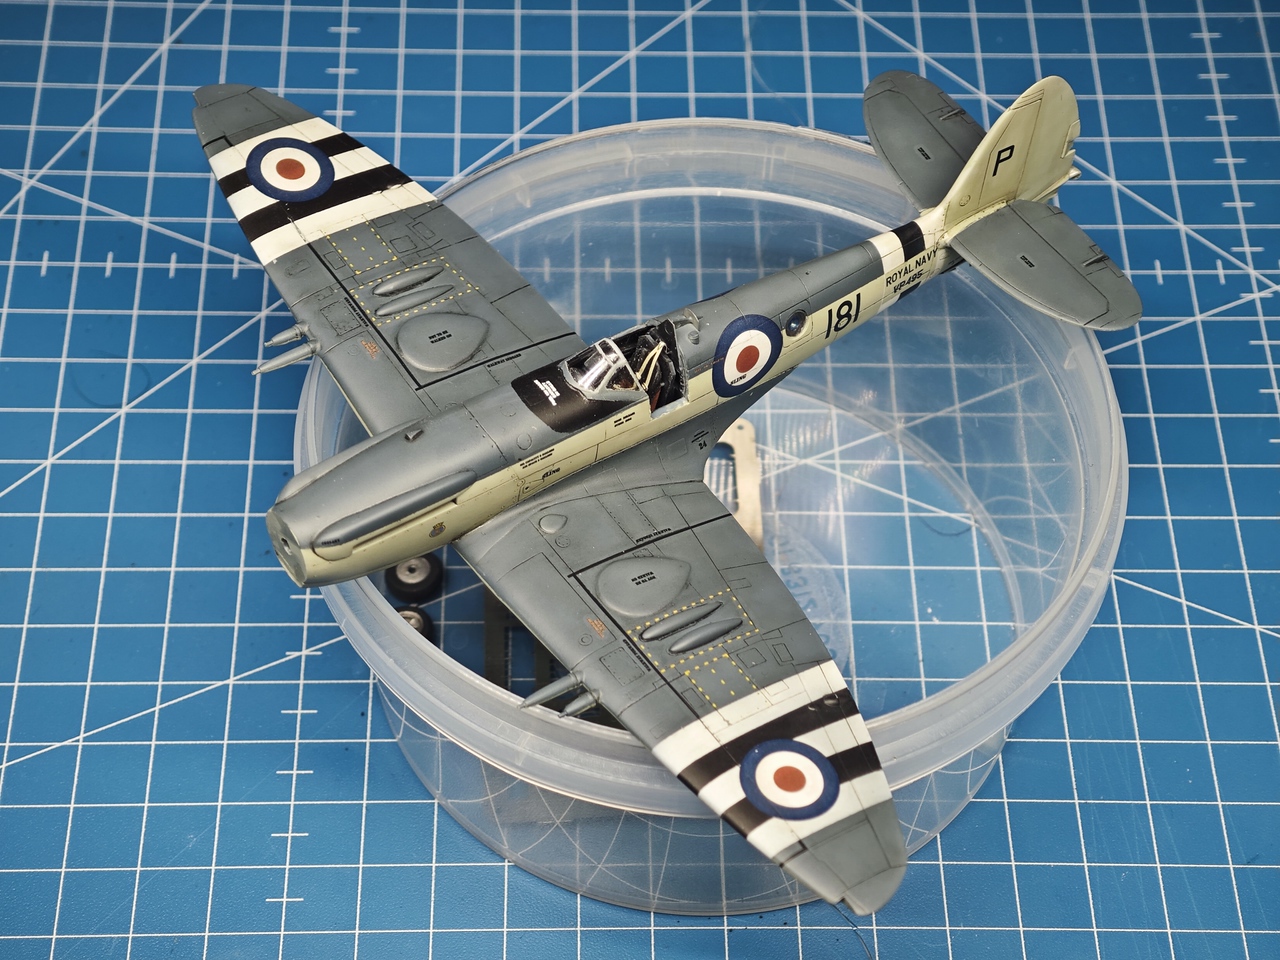
The Korean ID stripes were painted and masks removed. Really love how she turned out.


Managed to find some cool off time in the past few days in the fresh air conditioned air (we are in the first heat wave of the summer) and applied the decals. They behaved rather well and I have a feeling, they are actually printed by Eduard. I noticed that the carrier film peeled away on one stencil decal.
One other thing – I was not able to find a photo of 181. Special Hobby instructions only mentioned the ID stripes on the lower wing but not on the upper and the rear fuselage. However the period photos show them all the same. So I did all the ID stripes. Unfortunately the “ROYAL NAVY” and registration marking at the rear fuselage are printed too big so the “window” between the stripes is larger than you can see in the photos.
Anyhow, here she is.


Seafire was coated with VMS Satin varnish and oh my, how I love it. It lays down very smooth and creates the silky finish, perfect for further treatment with oil paints. Having unmasked all the clear parts, I can see the light at the end of tunnel, but hey, there’s still quite some work to do.

With all the paint fading and slight dirt done, using excellent AK-Interactive Abteilung 502 oil paints, all that is left now is to attach all the little pieces and call her done.