
Year 2014 marks the centennial of the beginning of World War one. Building mostly military subjects, I felt the need to build a WW1 subject as a commemoration of this tragic event and I found Eduard’s Albatros D.V kit in 1:72 scale. I have to admit, WW1 biplanes intimidate me – replicating wood in scale, all those vivid colours on the planes and last and definitely not least, and worst fear of all – the rigging. But, as you may have already find out with my builds, I am not afraid of a good challenge and here is my try at it. I apologize in advance for the mistakes I will made, but my sole previous experience with biplanes dates back a few years ago, when I built an ancient Revell Albatros D.III.
The interior of this aircraft was made of wood, so replicating that, was the first challenge. I have used Radome Tan as a light sandy base colour, which was protected by a coat of Future. As I use primarily enamel paints, this is an important step and you have to allow both paint and later Future to cure properly, so leave them at least 24h to dry. Next step was creating wood grain, using oil colours – namely the Burnt Sienna. I used a short haired flat brush, slightly dipped into the oil colour and applied it to the surface. Then I started removing the excess by wiping the brush clean after each pass, until I was satisfied with the result. A little bit of Raw Umber was added to the Burnt Sienna, which was used for picking up the interior framing as well as for the seat.

The kit I used was given to me at some competition as an entry reward. It was packed in bag, containing single markings and a single A5 page of instructions, so I believe, this was some limited edition of Eduard’s weekend edition of this kit. Weekend edition don’t include any photo-etched parts, meaning an open cockpit would be practically devoid of any detail – just like you see it on the above photo (seat and control column not attached). Dryfitting the fuselage halves revealed, that for such small aperture in the fuselage, a whole lot can be seen inside of it. Decision was made, to spice things up a bit but not to go over board with extra detailing.

Engine controls block was added on the left side, including the power handle with wire connecting it to the engine.

While the amount of work on the right side was much bigger. Tubular framing, various instruments, bullet containers, seatbelts and various other details were added using punch’n’die set, tamiya masking tape, wire, stretched sprue, brass rod and other handy materials. Unfortunately, all these details are very hard to photograph and I wish I hadn’t attached the seat yet.
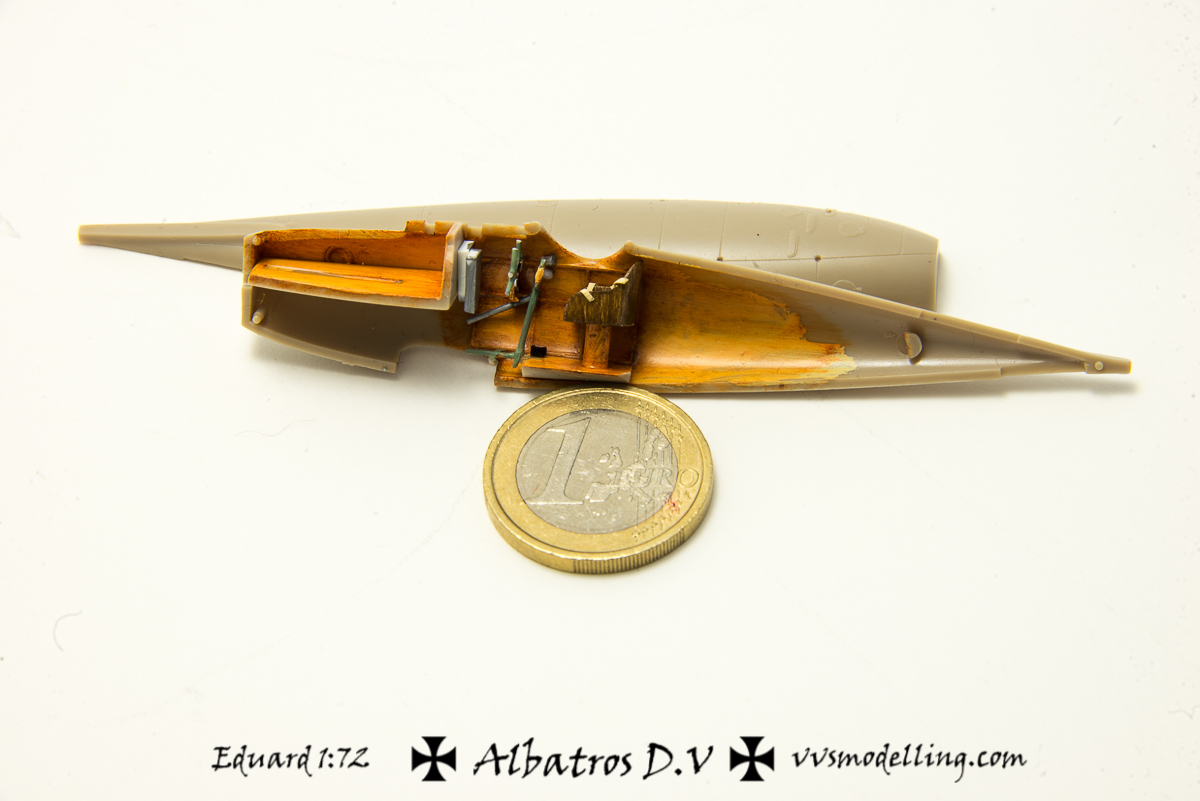
No, it’s not that chocolate Euro! 😉
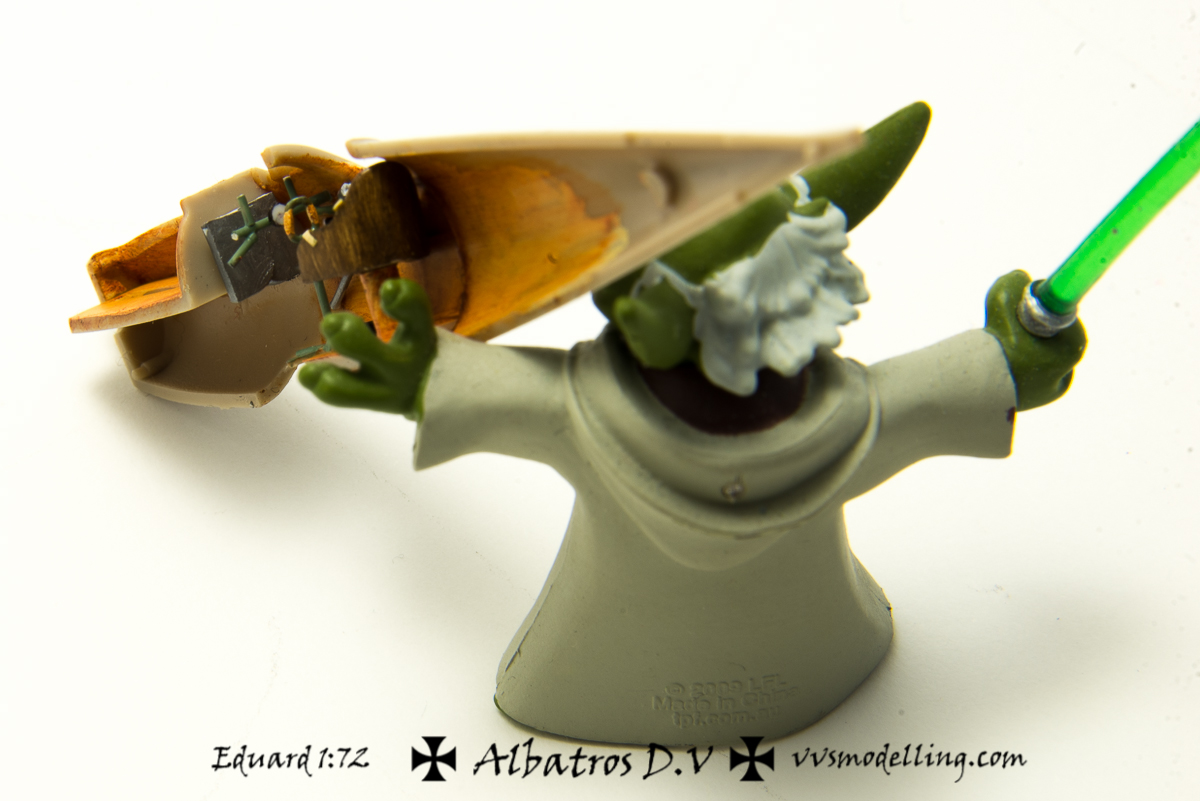
Even Master Yoda helped with taking photos but unfortunately that didn’t help much with that seat obstructing the view.
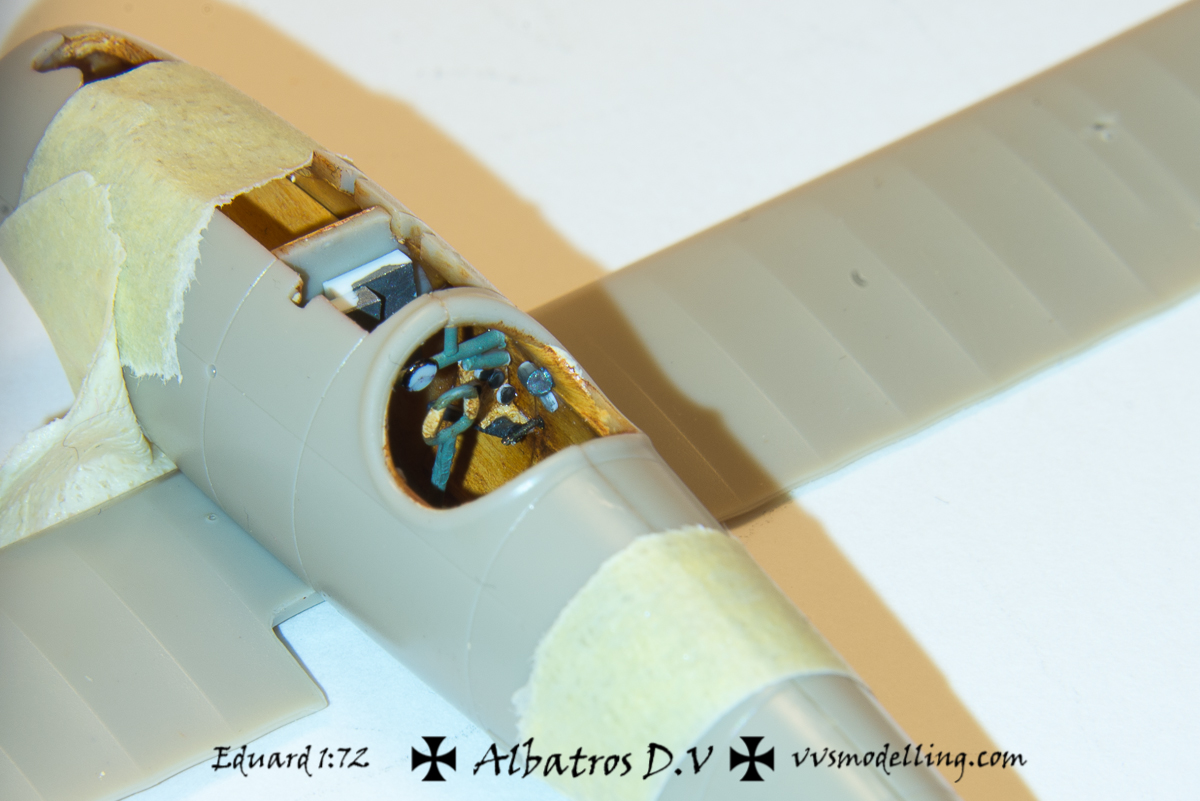
Extra light source used to light the interior of the cockpit – some of those little details can be seen.
