
Painting is my favorite part of model building and this scheme provided some challenge.
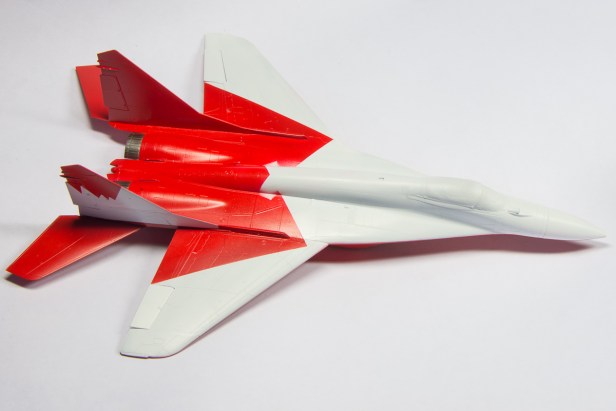
Some dread over painting white, but with Mr.Paint paints, opacity is not an issue – even with the dreaded White. Unfortunately, I wasn’t able to get the suitable red from their range and had to resort to a Revell enamel from my collection. Masking the tails for the MiG inscriptions was a process of its own – first tracing the decal on a piece of paper, then cutting it out, retracing its outline on the tail with a 1mm offset and masking it.
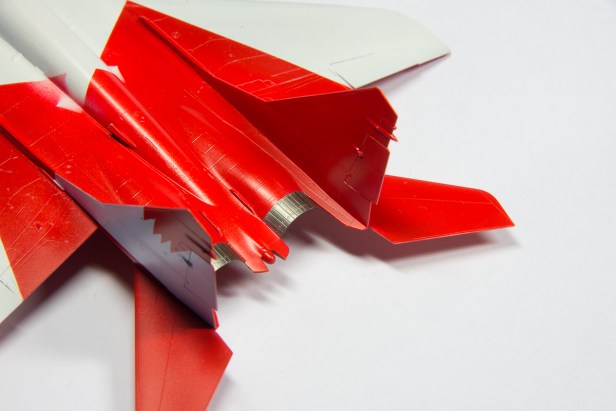
Metal shrouds on the exhaust are were painted alternating with two different Alclad paints – Dark Aluminum and Magnesium, but unfortunately the effect is not really shown in this photo.
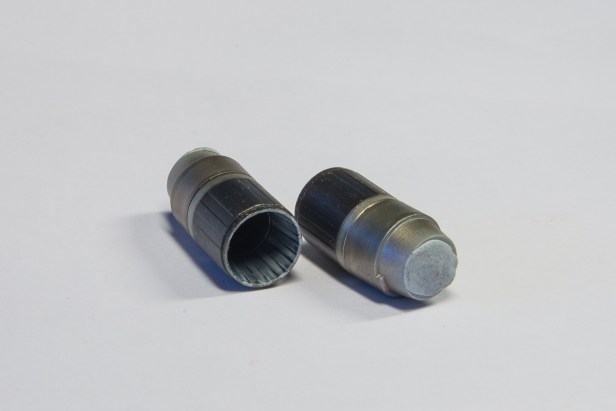
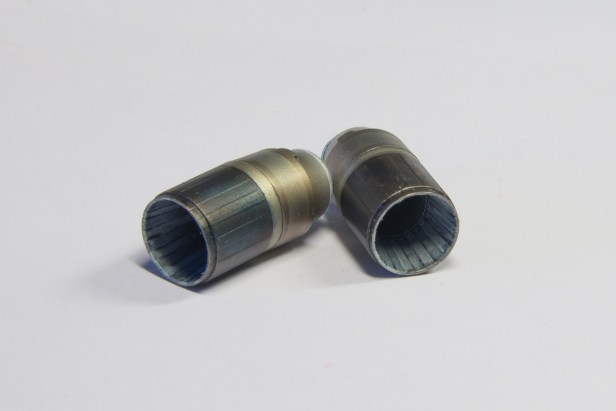
Exhausts on MiG-29s are truly interesting from the painting perspective. I’ve used a bunch of different Alclad paints, chipping, Tamiya weathering sets and oil washes to bring the details out. No, they are not as detailed as resin replacement, but with proper weathering techniques, they look great nevertheless.
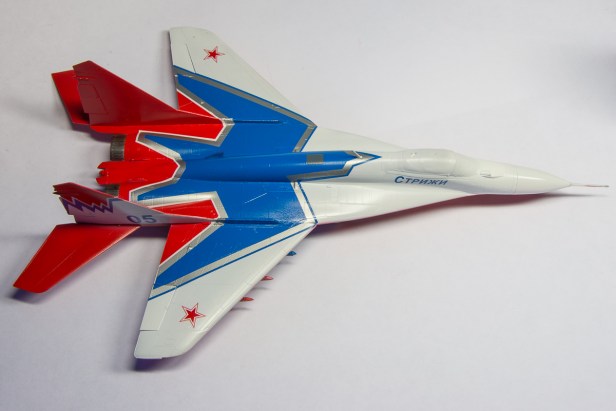
Decaling was an interesting affair as well. They perform nicely and do not silver. However the design is a bit complicated. The bird motive on the top is made of only 3 decals – the body and separate wings. The problem arises when you apply the wing decals over the tail extensions. I actually cut the decals to remedy this problem. Fortunately Zvezda’s design team was clever enough to include spare strips of blue, white and silver to correct such problems.
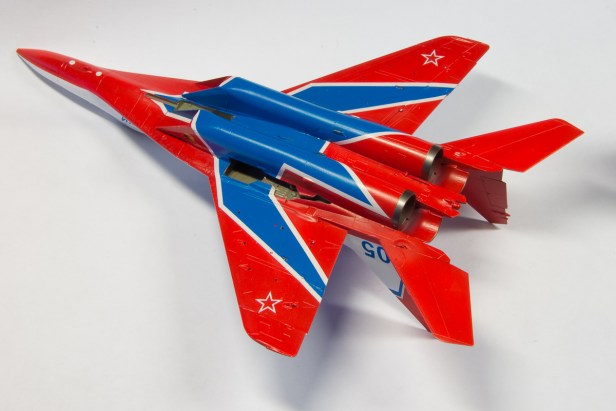
Despite being broken into more pieces, the lower bird motive was even harder to apply than the upper one – mainly due to the fact, the shape of the fuselage with engine intakes is more complex. In the end though, with the help of hairdryer, the decals settled down and into the engravings nicely enough.
