

Interior green airbrushed over black primer to get some tonal variation and the black boxes painted. Hopefully I’ll start adding detail bits of paint and weathering in the next few days. I have also finished the rear gunner machine guns and boy-oh-boy how great they look. Unfortunately my camera isn’t able to catch such a tiny detail, but I’ll try to play with different lenses to see if I can get a worthy shot of it.


There are some pin marks in the cockpit area but they are cleverly placed and will either get covered by interior equipment or will be hidden when the fuselage is closed.
Cockpit floor also looks great and all I did was a bit of brown weathering and some scratch marks around the seats, foot rests and gunners seat/position. Unfortunately the kit doesn’t come with any PE, so the seatbelts were used from a Brengun set in my stash.

Very nicely detailed machine guns (just drilled the hole in the muzzles), instrument panel and rear gunners radio equipment. Glass faces were made with UV glue.

And everything glued together… well most of the things… I was thinking of adding a wash to the sidewall details as well, but since they won’t be seen at all once the fuselage is closed, I decided to skip this step.

Flyhawk’s Dauntless has got to be one of the best engineered kits I have ever built. The fit is exceptional, as are the details. Sprue attachment points are relatively narrow and located on the mating surfaces making this build fast and hassle free. Nose cowling is just dryfitted to the fuselage and the engine will be installed at the end of the build.

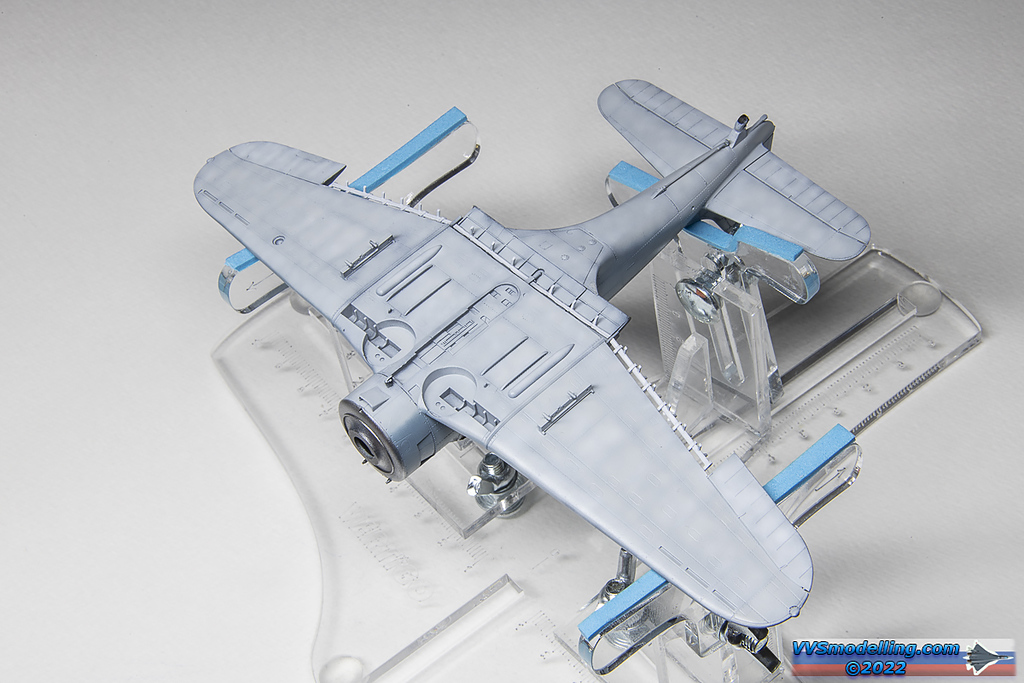
Model painted with Mr.Paint lacquers – blackbasing and some postshading giving the colour job a varied look.

Decals went on nicely. Apart from the white double line on the tail, which I decided to paint myself. The markings have a little problem – tactical codes are not printed in correct USN stencil font – a slight lapse on Flyhawk’s side.
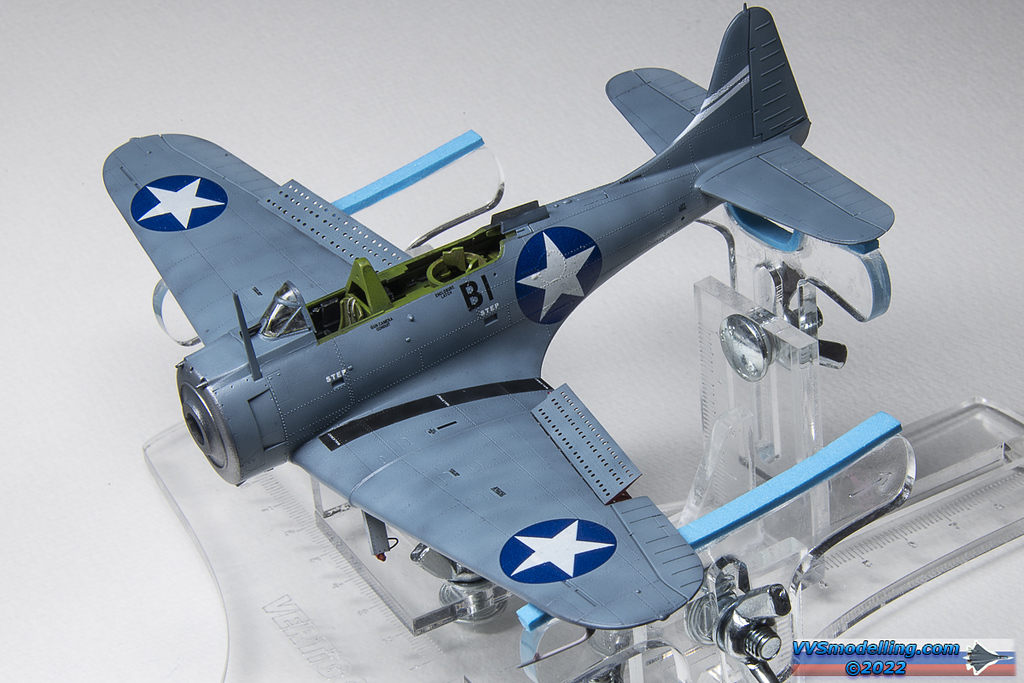
I’ve attached the mainlanding gears, added some brake lines to the struts and applied the final coat of semi-matt varnish which is a bit shiny for that new bird look, but will provide with enough bite for some light weathering to come later.

Dauntless’ Wright R-1820 Cyclone engine is also nicely moulded, however, there is no electric wiring provided, so I created it using various diameter lead wires. Tedious work but in the end, I think it was more than worth it.


Weathering is done. These aircraft were almost new at the time of Battle of Midway, so I had to restrain any wild weathering ambitions. I have also modified the rear guns to early unshielded configuration.

Finished! Some modifiying of the airbrake mechanism was required to pose the upper ones in closed position. More photos soon in the Gallery section of the site!

Beautiful paint work, I think you’ve nailed it! My Flyhawk Dauntlesses just arrived and they are excellent kits, I’m really looking forward to building them.