
Believe it or not, this is my first Tamiya kit I’m gonna build in around 40 years since I am in this hobby.
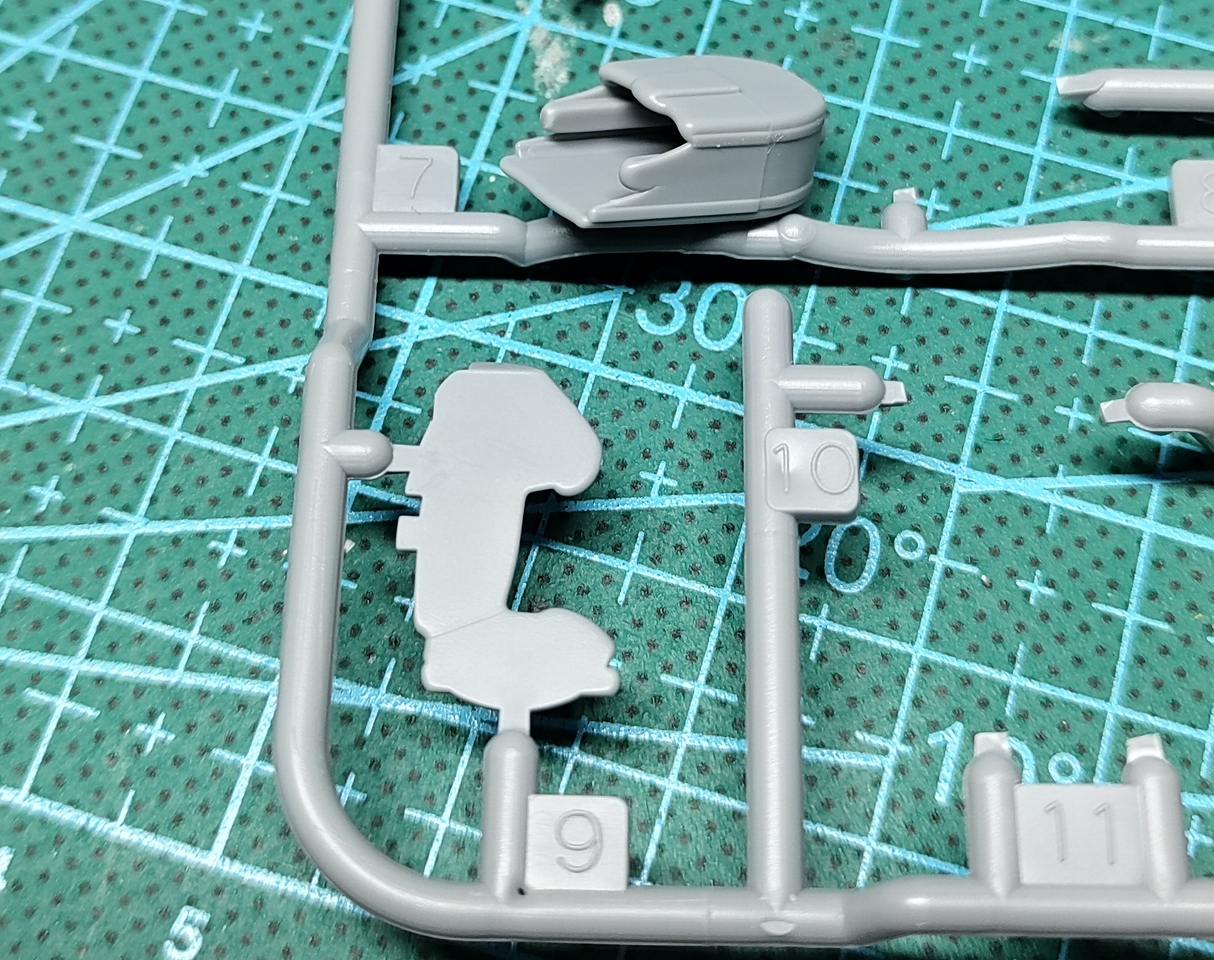
And guess what – from all the praise I’ve heard of this iconic Japanese manufacturer, for my first ever kit, I ended up with a short shot example!
The rear gunners bulkhead is severely misshapen and the fuel tank is also short shot, though I don’t care about the later as the bottom won’t be seen when installed.
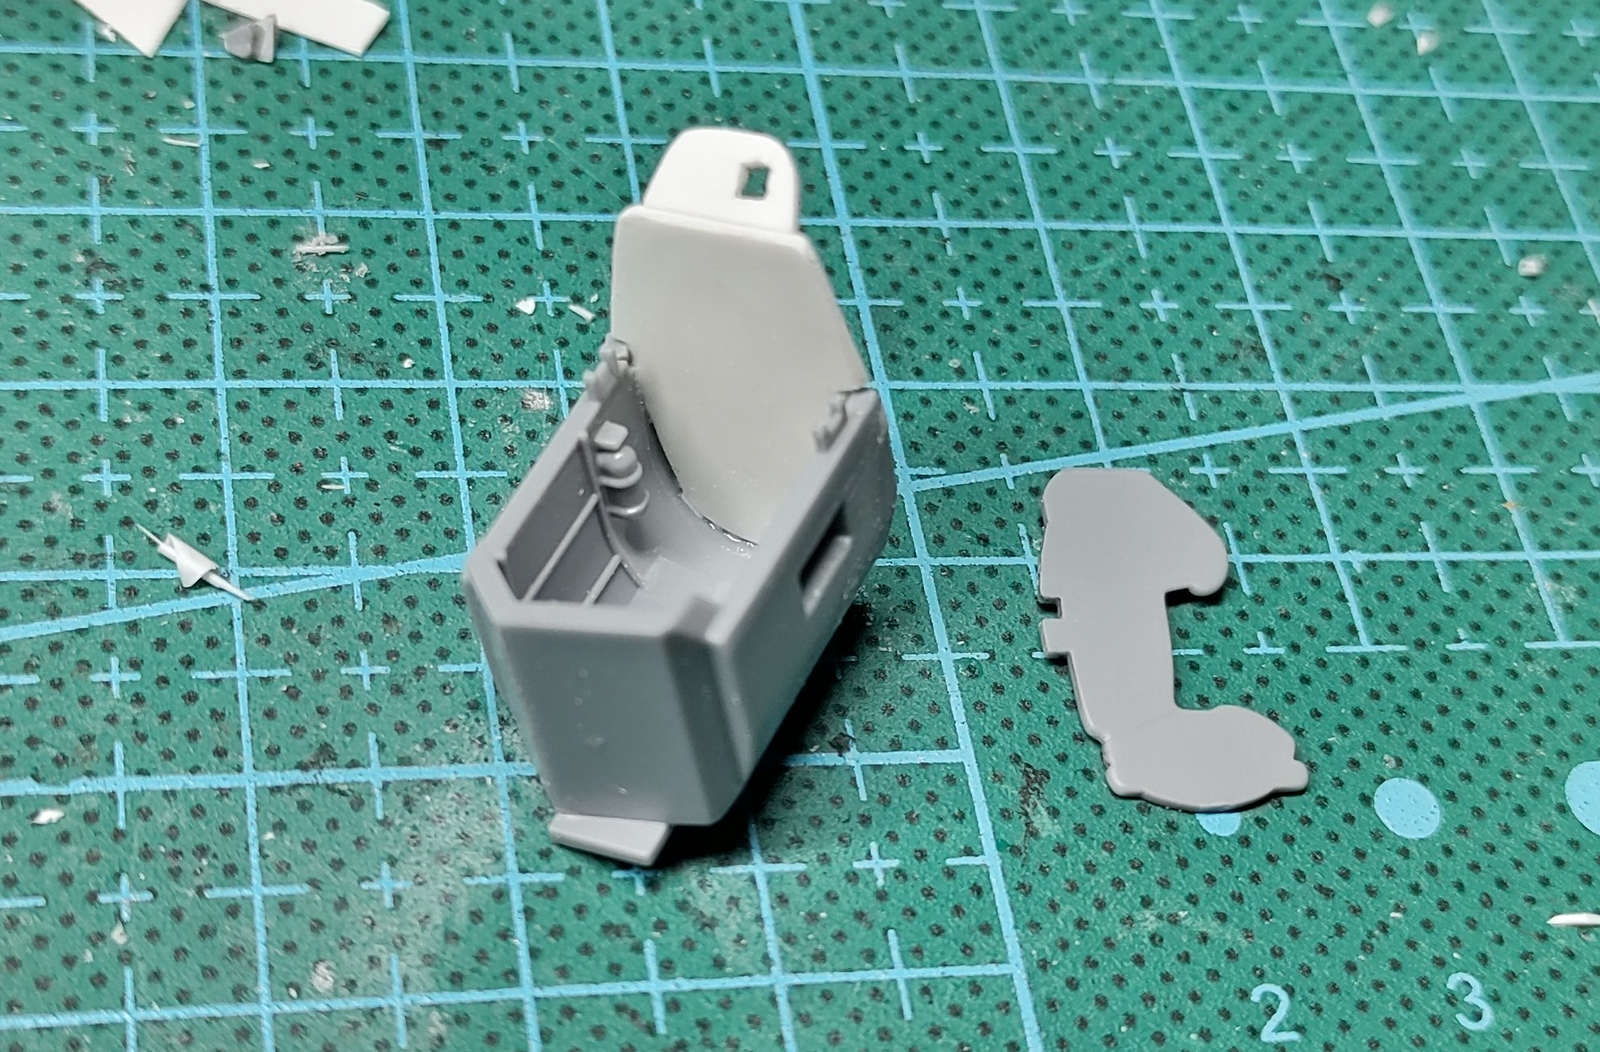
Scratchbuilt rear bulkhead and the short shot version at the side.
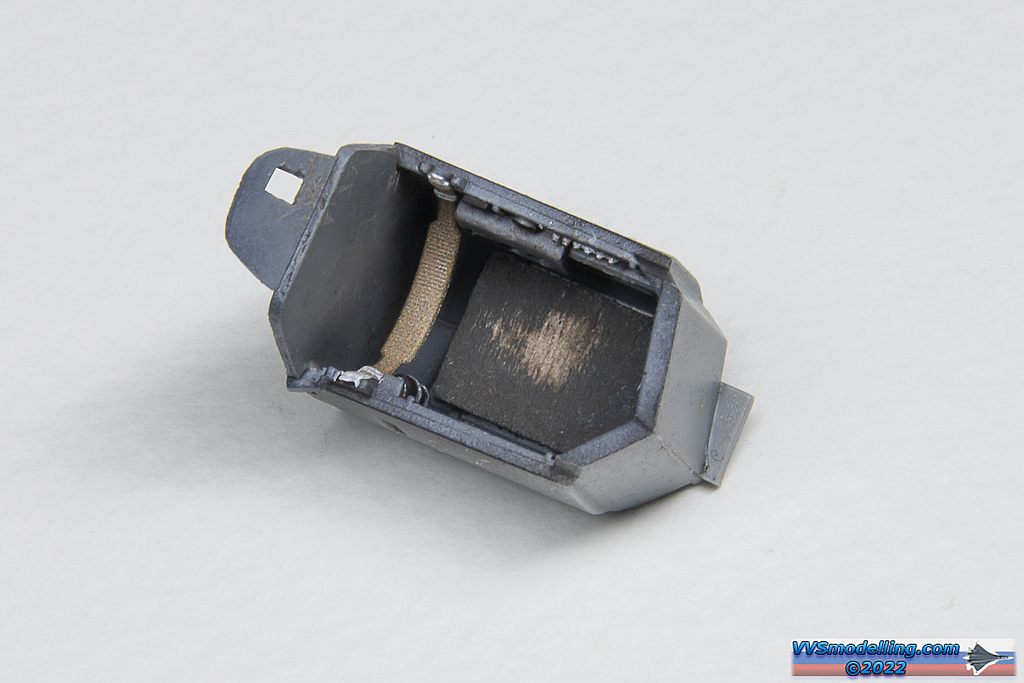
Rear gunner’s compartment finished. Used balsa wood for floor to hide a nasty seam, Tamiya didn’t catch during designing this kit. And as there was a piece of dark grey painted wood on the real aircraft which was soon scuffed away by the hard soiled gunners boots!


The cockpit is finished. First time I tried 3D printed Quinta decals and they look really good, though I still hate it trying to match the colour of the decals. But I guess these kind of decals are better suited for modern aircraft with more details.
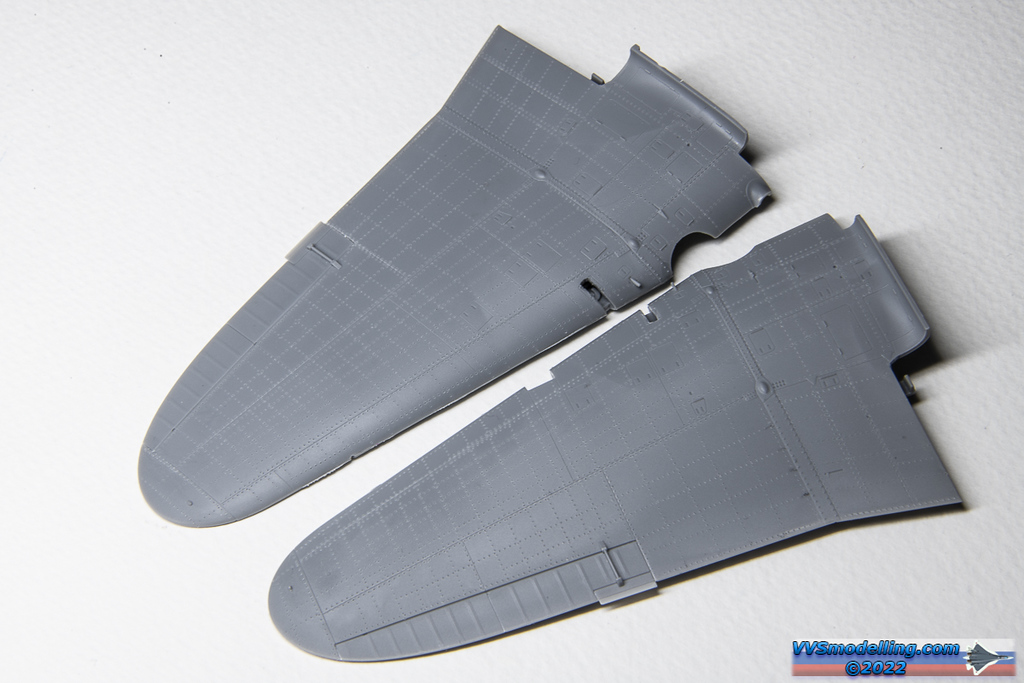
Since they are such a big canvas, I’ve decided to rivet the wings. After almost two hours, this is the result so far… half way there with wings.
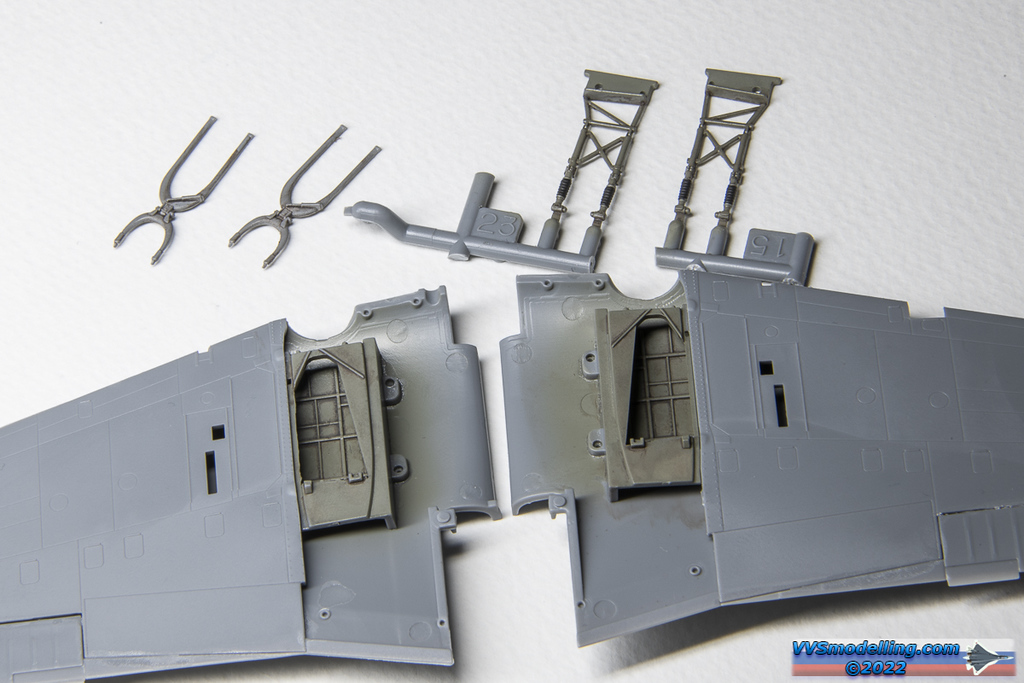
Before riveting the bottom of the wings, I had to install the landing gear bays and since it’s gonna be easier to do now, I added some weathering.
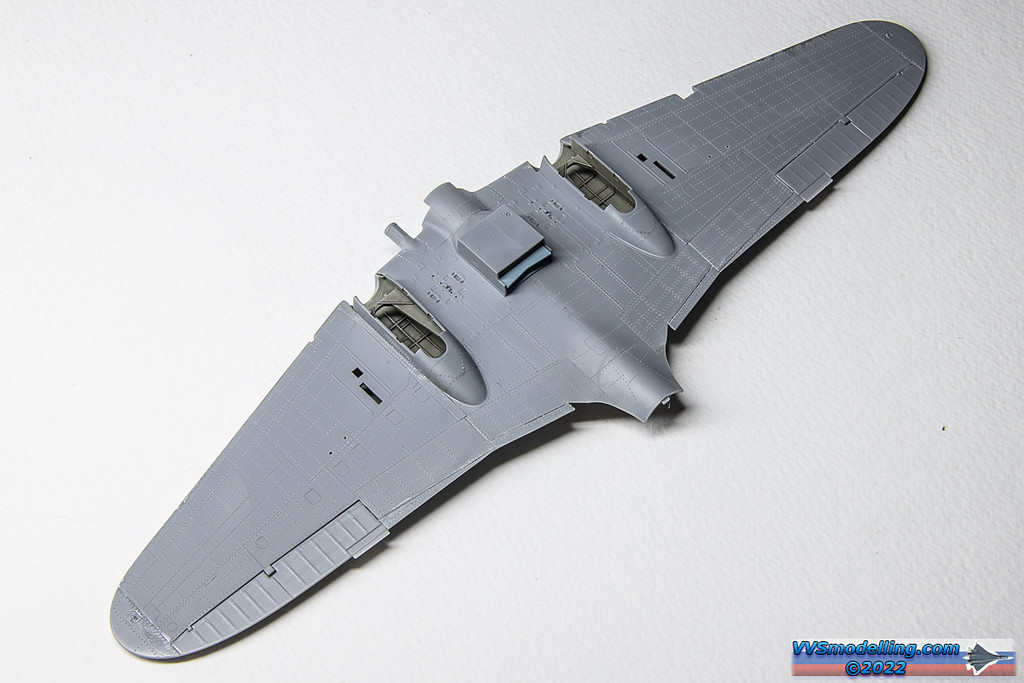
Bottom wings riveted and glued together.
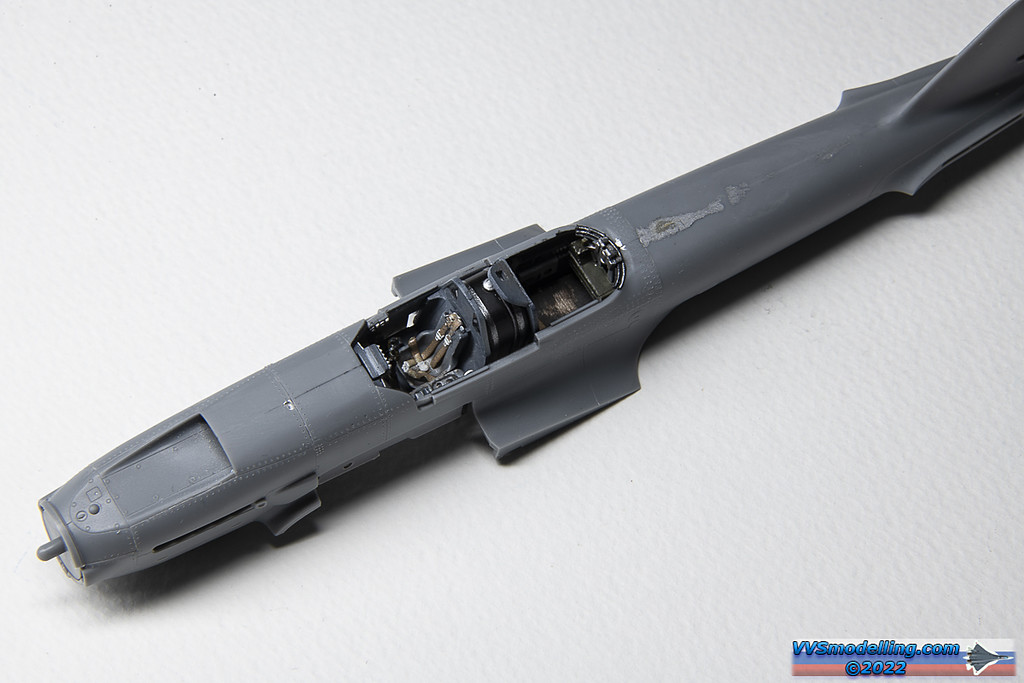

And last but not least, the riveted front part of the fuselage. Rear part and tail were wooden so no riveting there.

Unfortunately the join between fuselage and wings wasn’t the best so some surgery was required there. Machine gun barrels were replaced with insulin injection needles while the 23mm gun barrels and pitot tube were made of brass tubing from Albion Alloys. She’s now ready for some paint under the coat of MrSurfacer 1500.
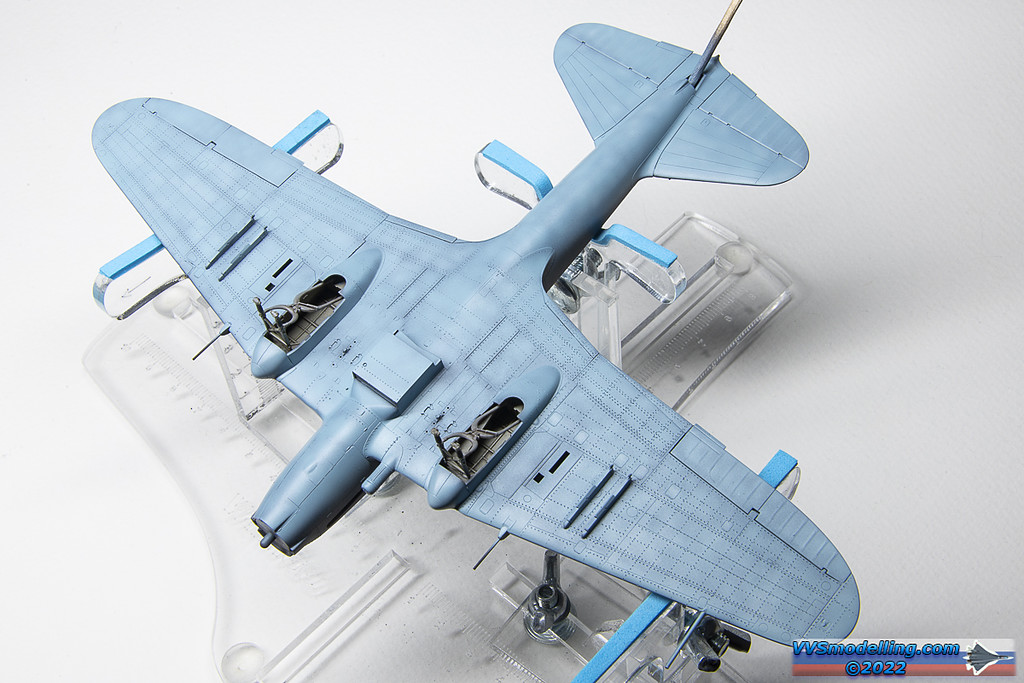
The bottom was painted with AMT-7 Light Blue (Mr.Paint as usual) and shaded with lighter tones, making a combination of blackbasing and postshading so to speak.

As I always paint from lightest to darkest colour, the AMT-1 Light Brown was the obvious choice. Again mottling over the black base with added different brown and light sandy tones to achieve the colour modulation and faded used paint effect.

AMT-4 Green added – starting to look like a real deal now!

By painting the AMT-12 Dark Grey, the basic camo painting is complete. I really like how the paint job turned out!
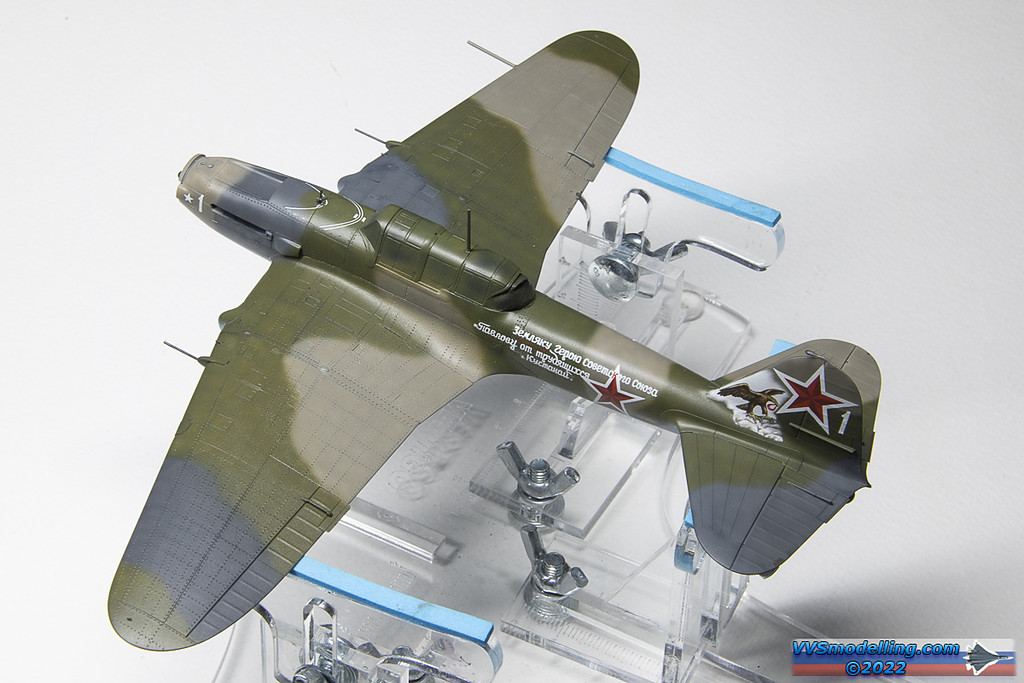
Mr.Paint having a smooth satin coverage is a big plus as you don’t need to gloss before decals. Luckily there isn’t much of them either on these ww2 aircraft so it was a relatively quick job applying them and sealing them with Semi-matt in preparation for further weathering.

Working a little bit over the weekend, I can say I am mostly finished with weathering the undersides. It was done using combination of enamel and oil paint washes and a little bit of AK’s Weathering pencils.
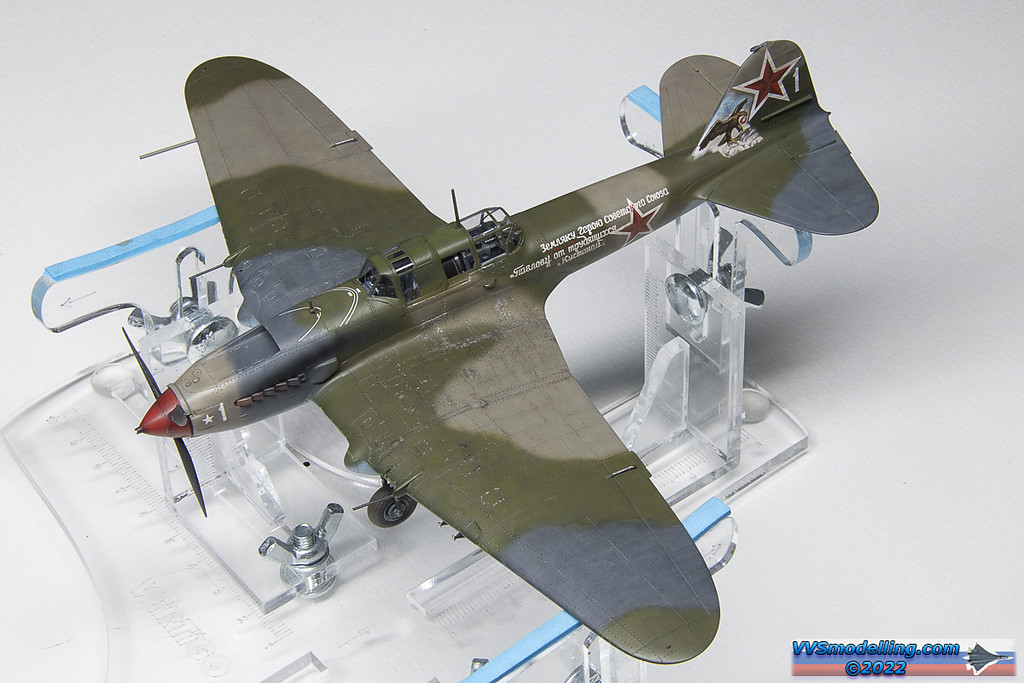
Finished the upperside weathering as well with similar process as on the bottom side. Just missing a few little details.
