
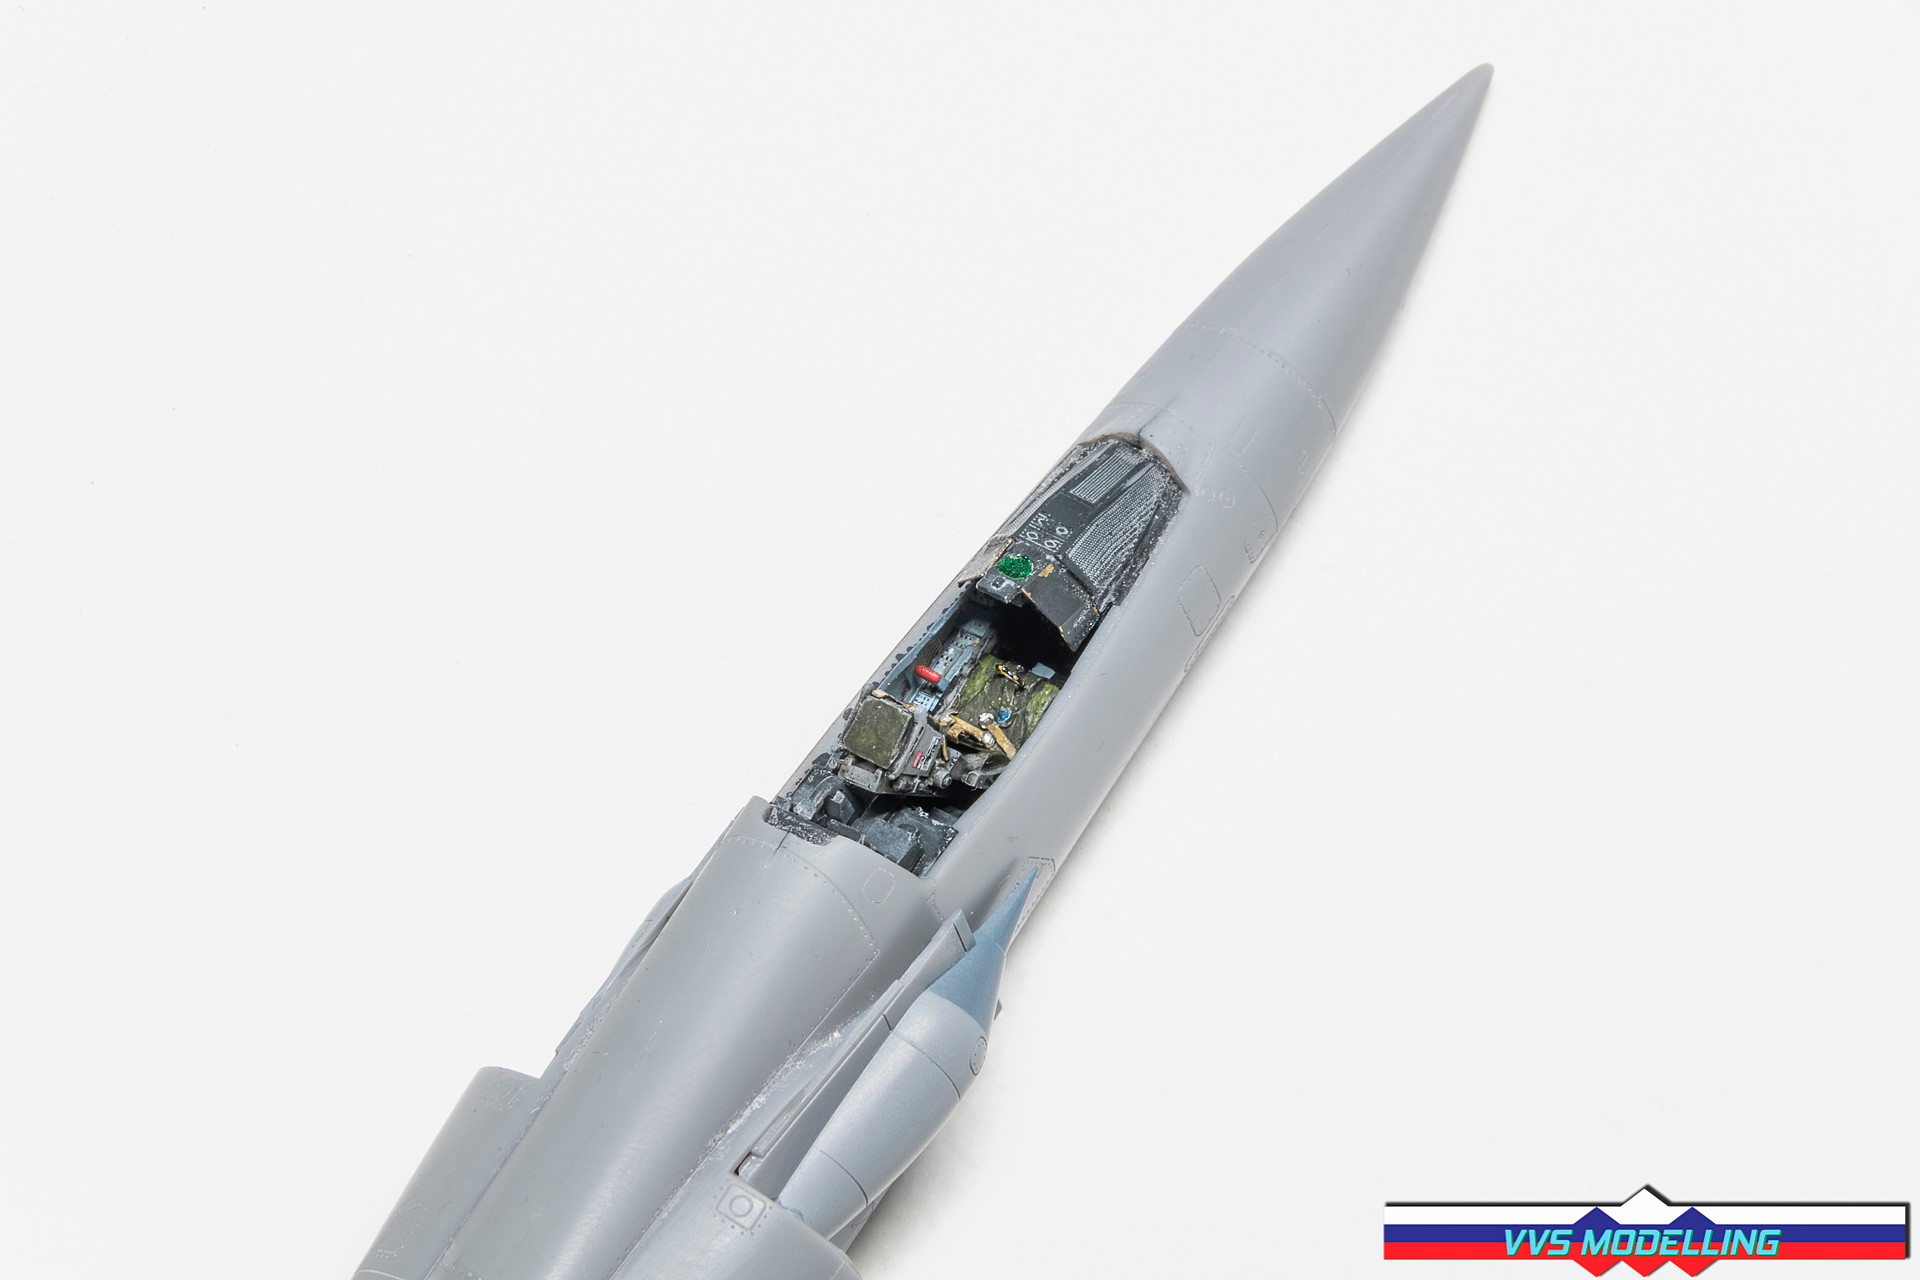
As usual, the Mirage build starts in the cockpit. Modelsvit includes a small photo-etch fret that improves certain details and cockpit is one of them. Painting the back of the pit with different shades of dark greys to break up the monotony and finishing it with a light weathering of scuff marks and a bit of sandy tones for the dust, that definitely accumulated during the desert ops, the effect can be quite convincing, even in this small scale.
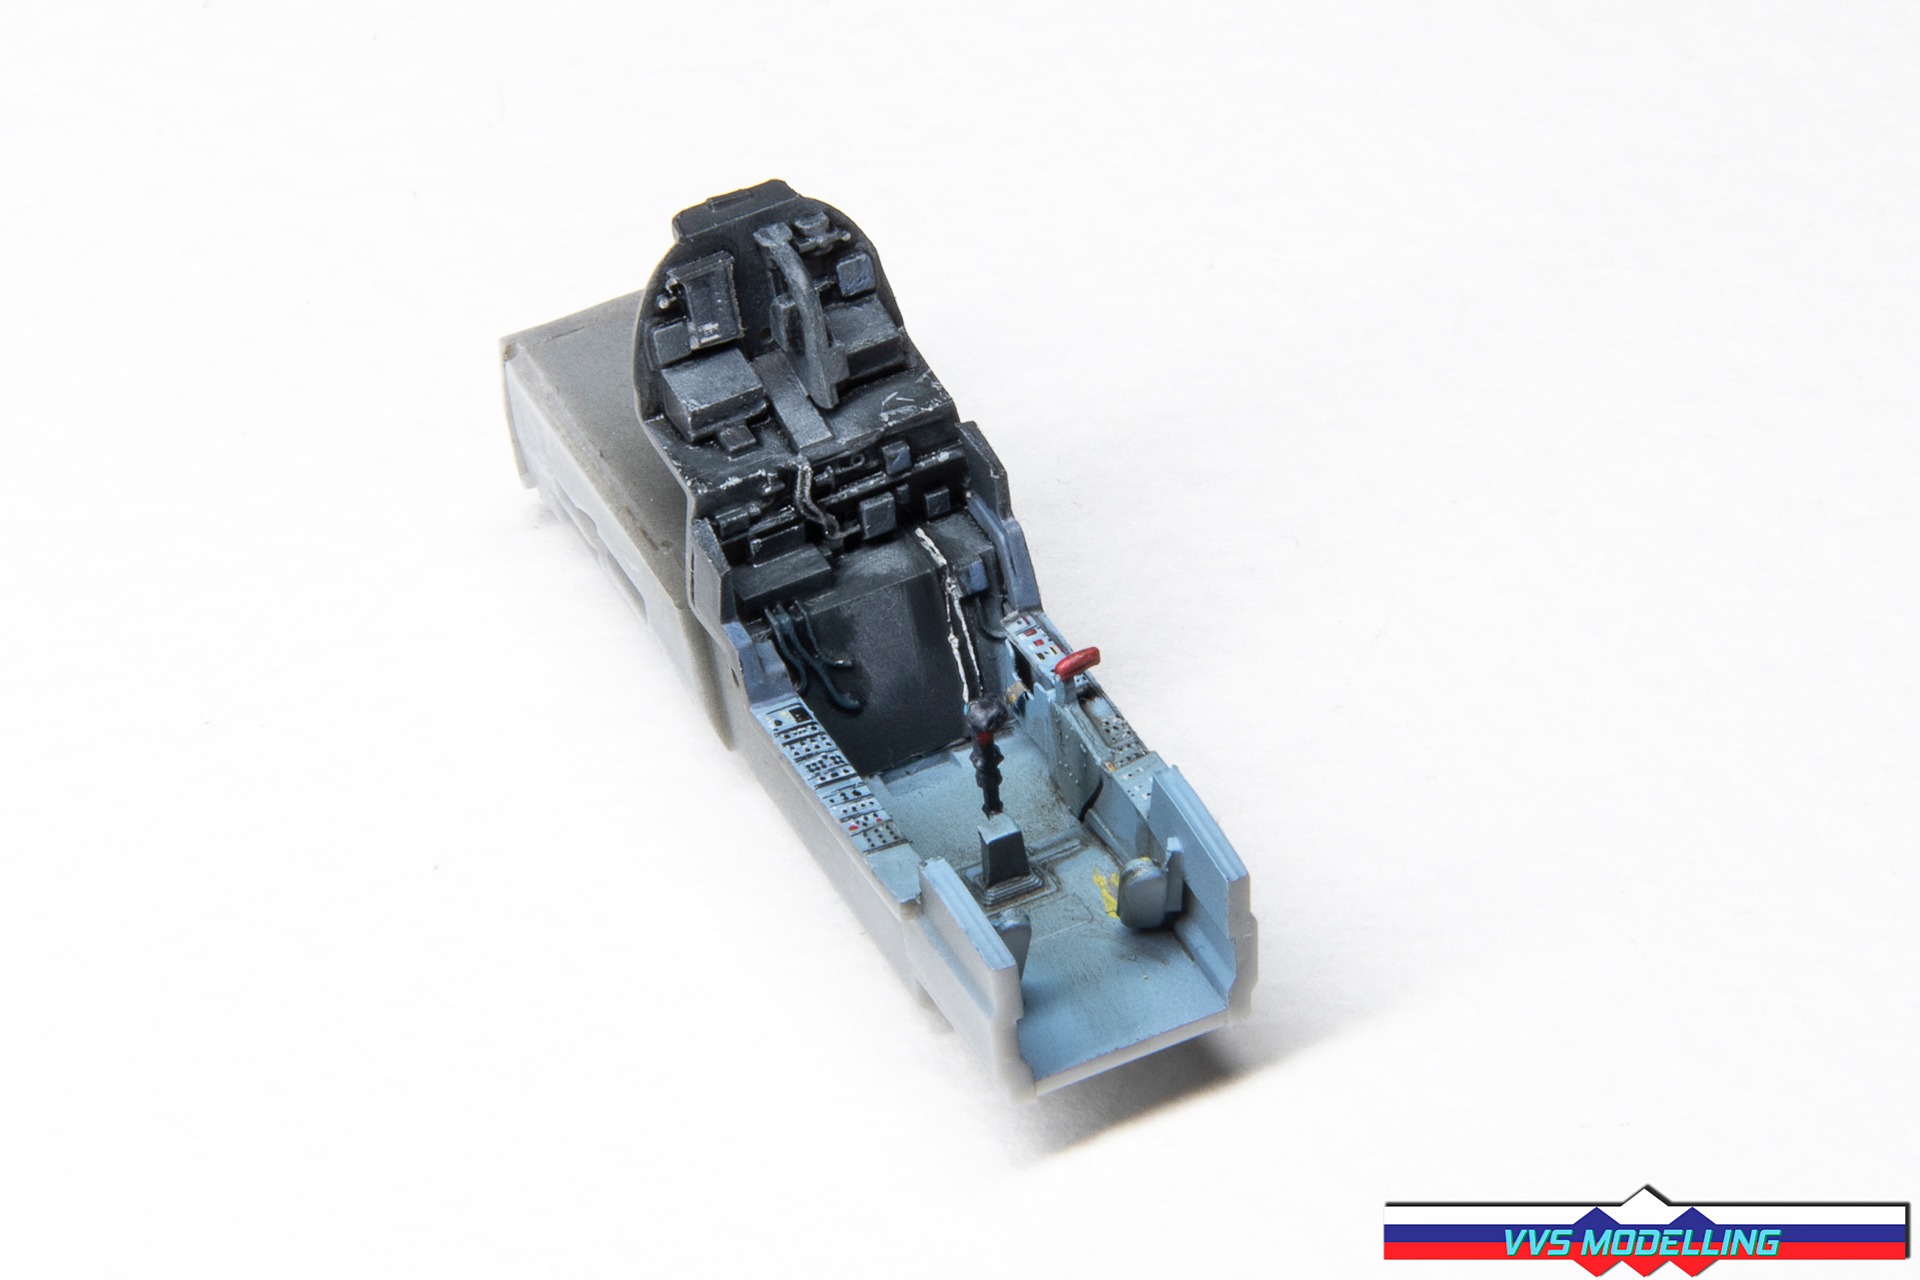
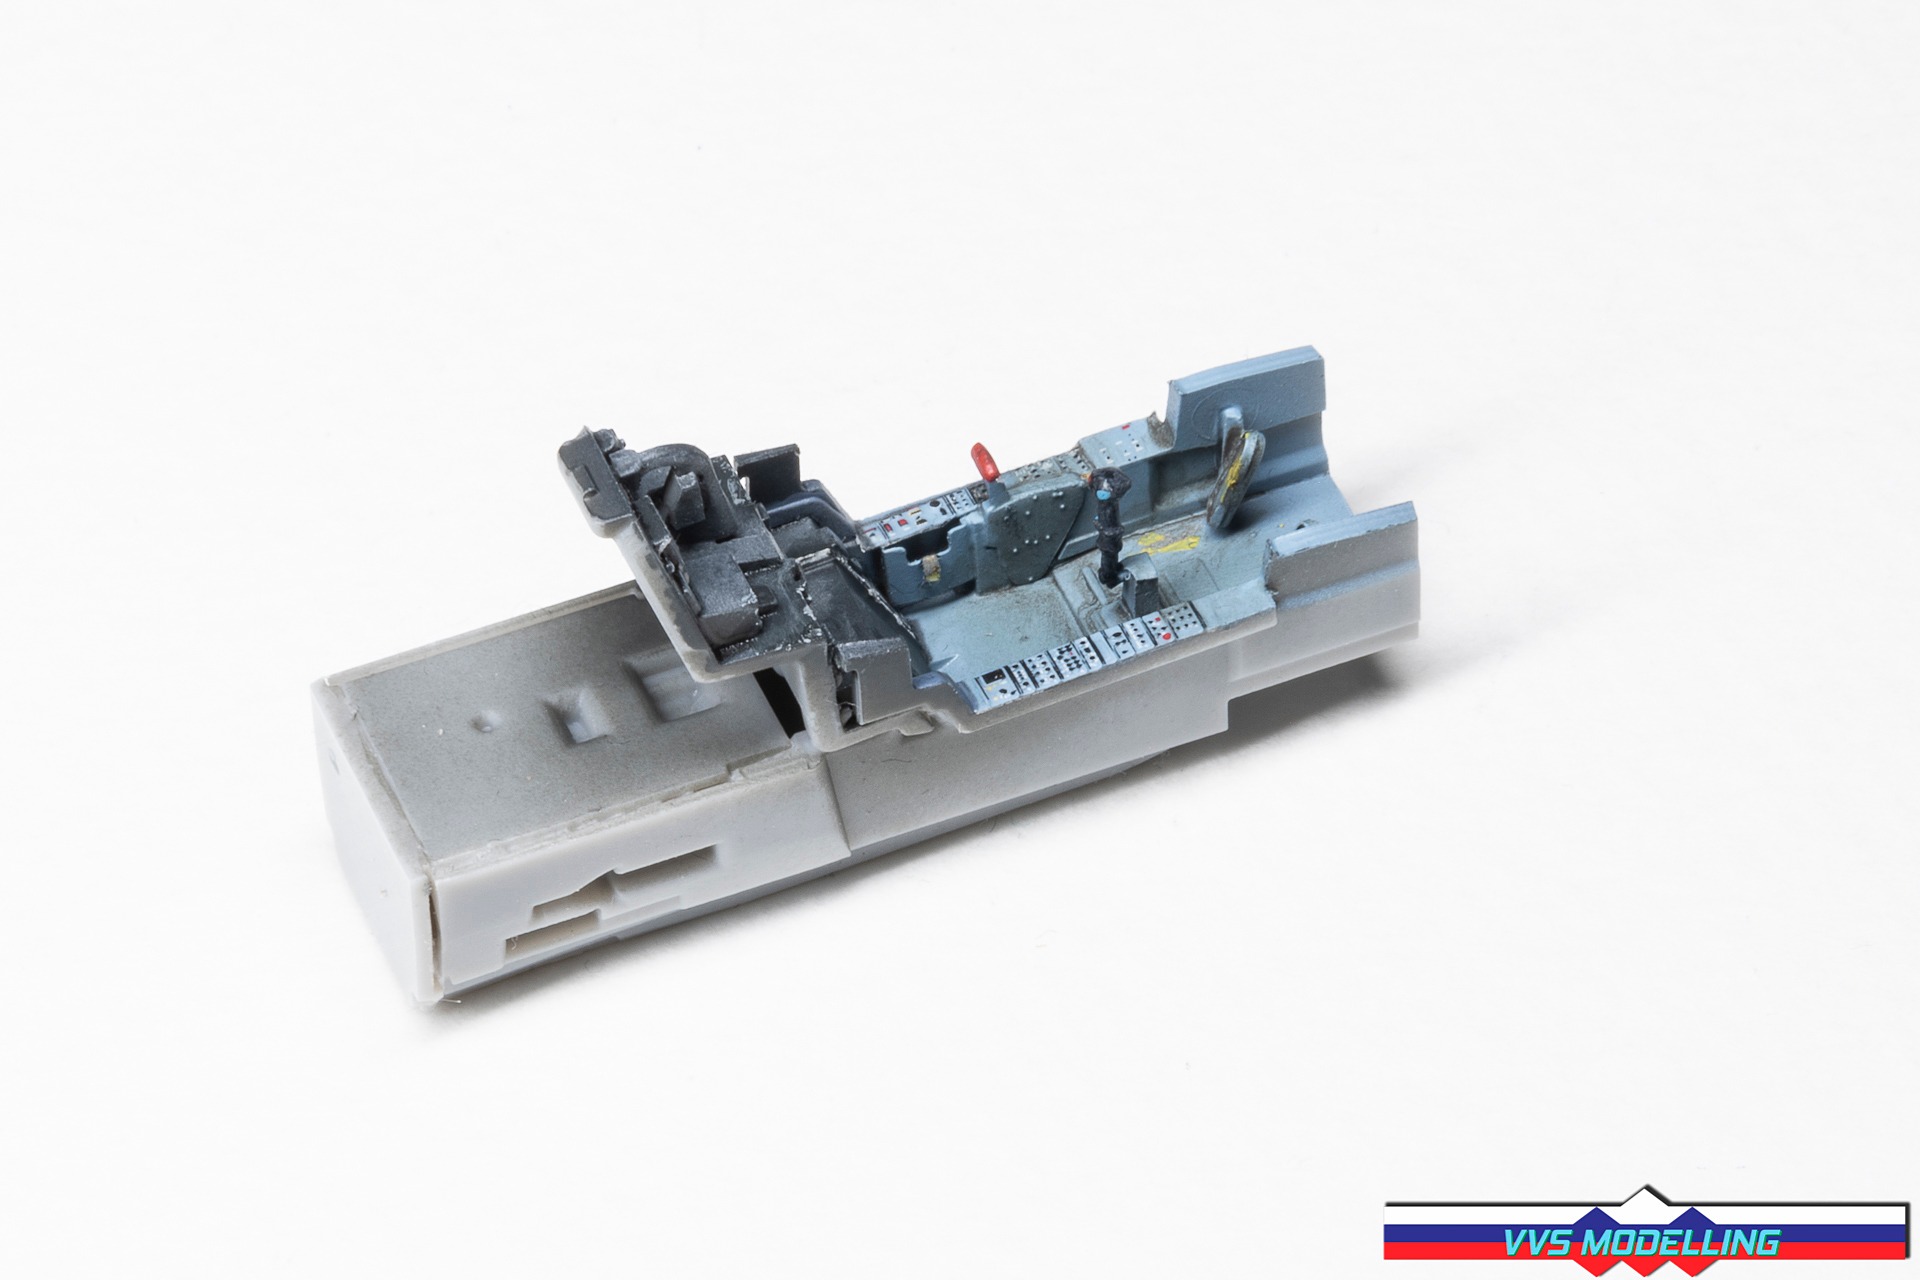

Martin Baker ejection seat comes in plastic with photoetched harnesses. Luckily it is not as complicated to build as K-36 seats in their Fitters, though one has to be careful when bending all those harnesses – annealing the PE parts is recommended! All in all, in the end, when everything is painted, head box decals applied and weathered, it looks like a little gem!


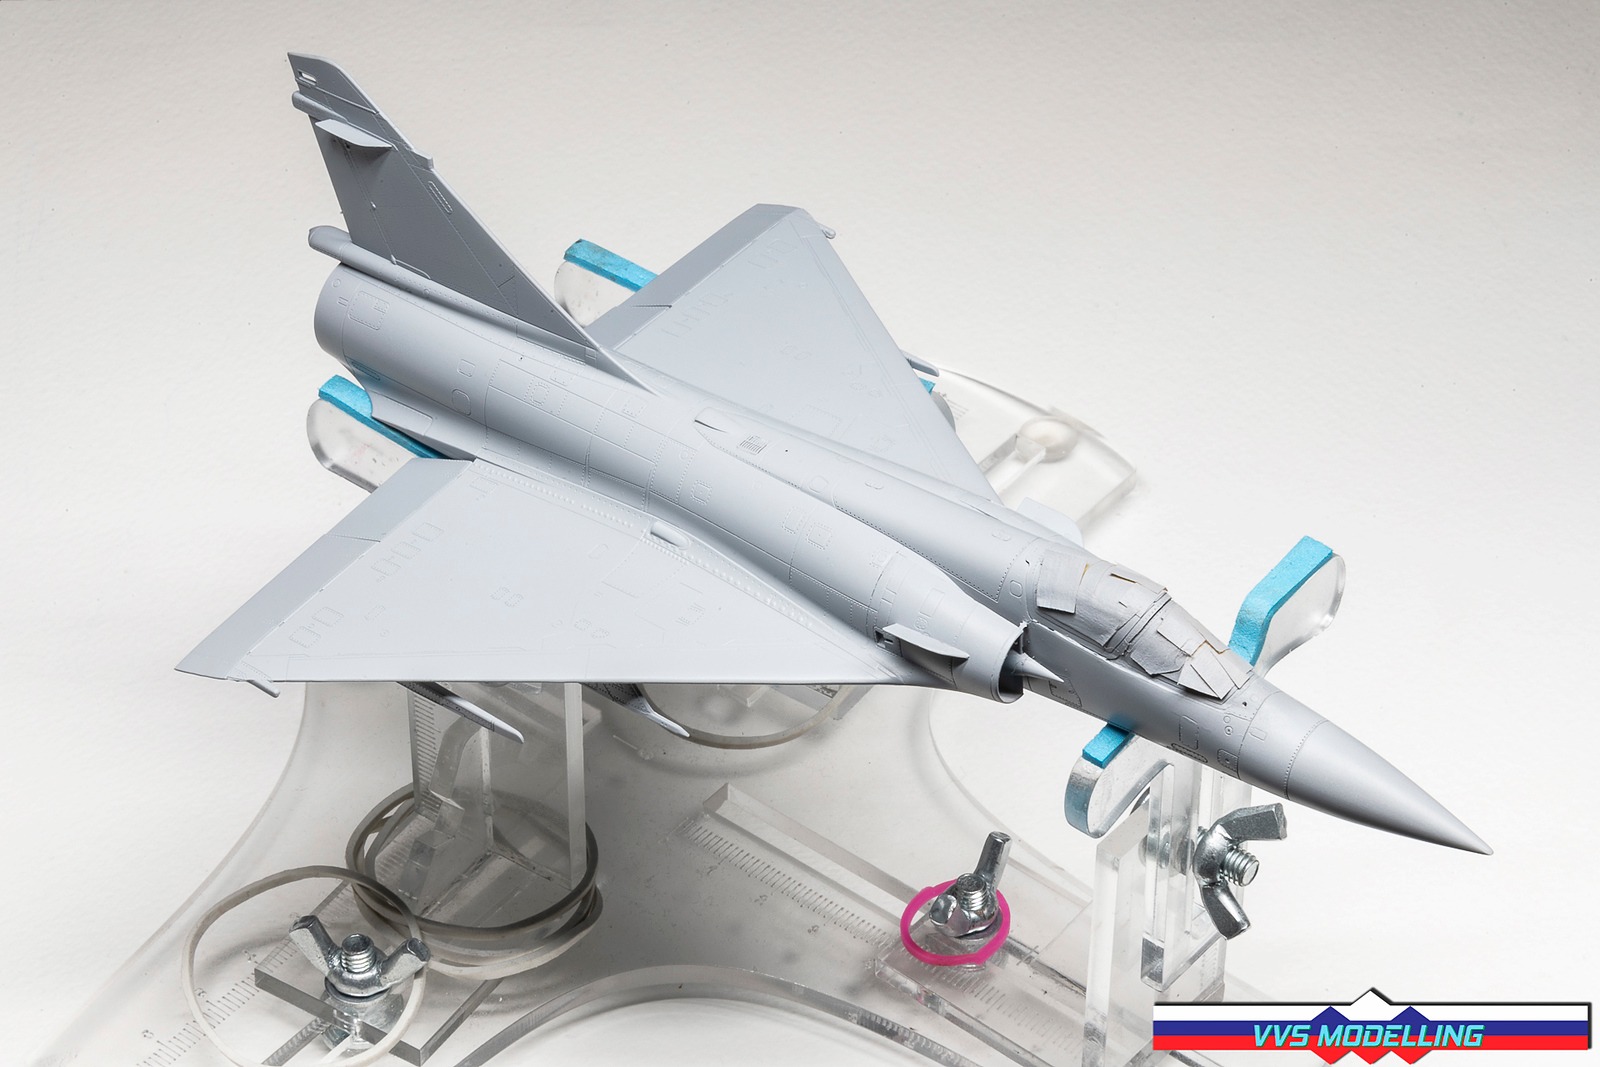
Fuselage halves have been closed without much issues. Interior of the jet intakes has been painted as it will be hard to mask in such a small confined place afterwards.
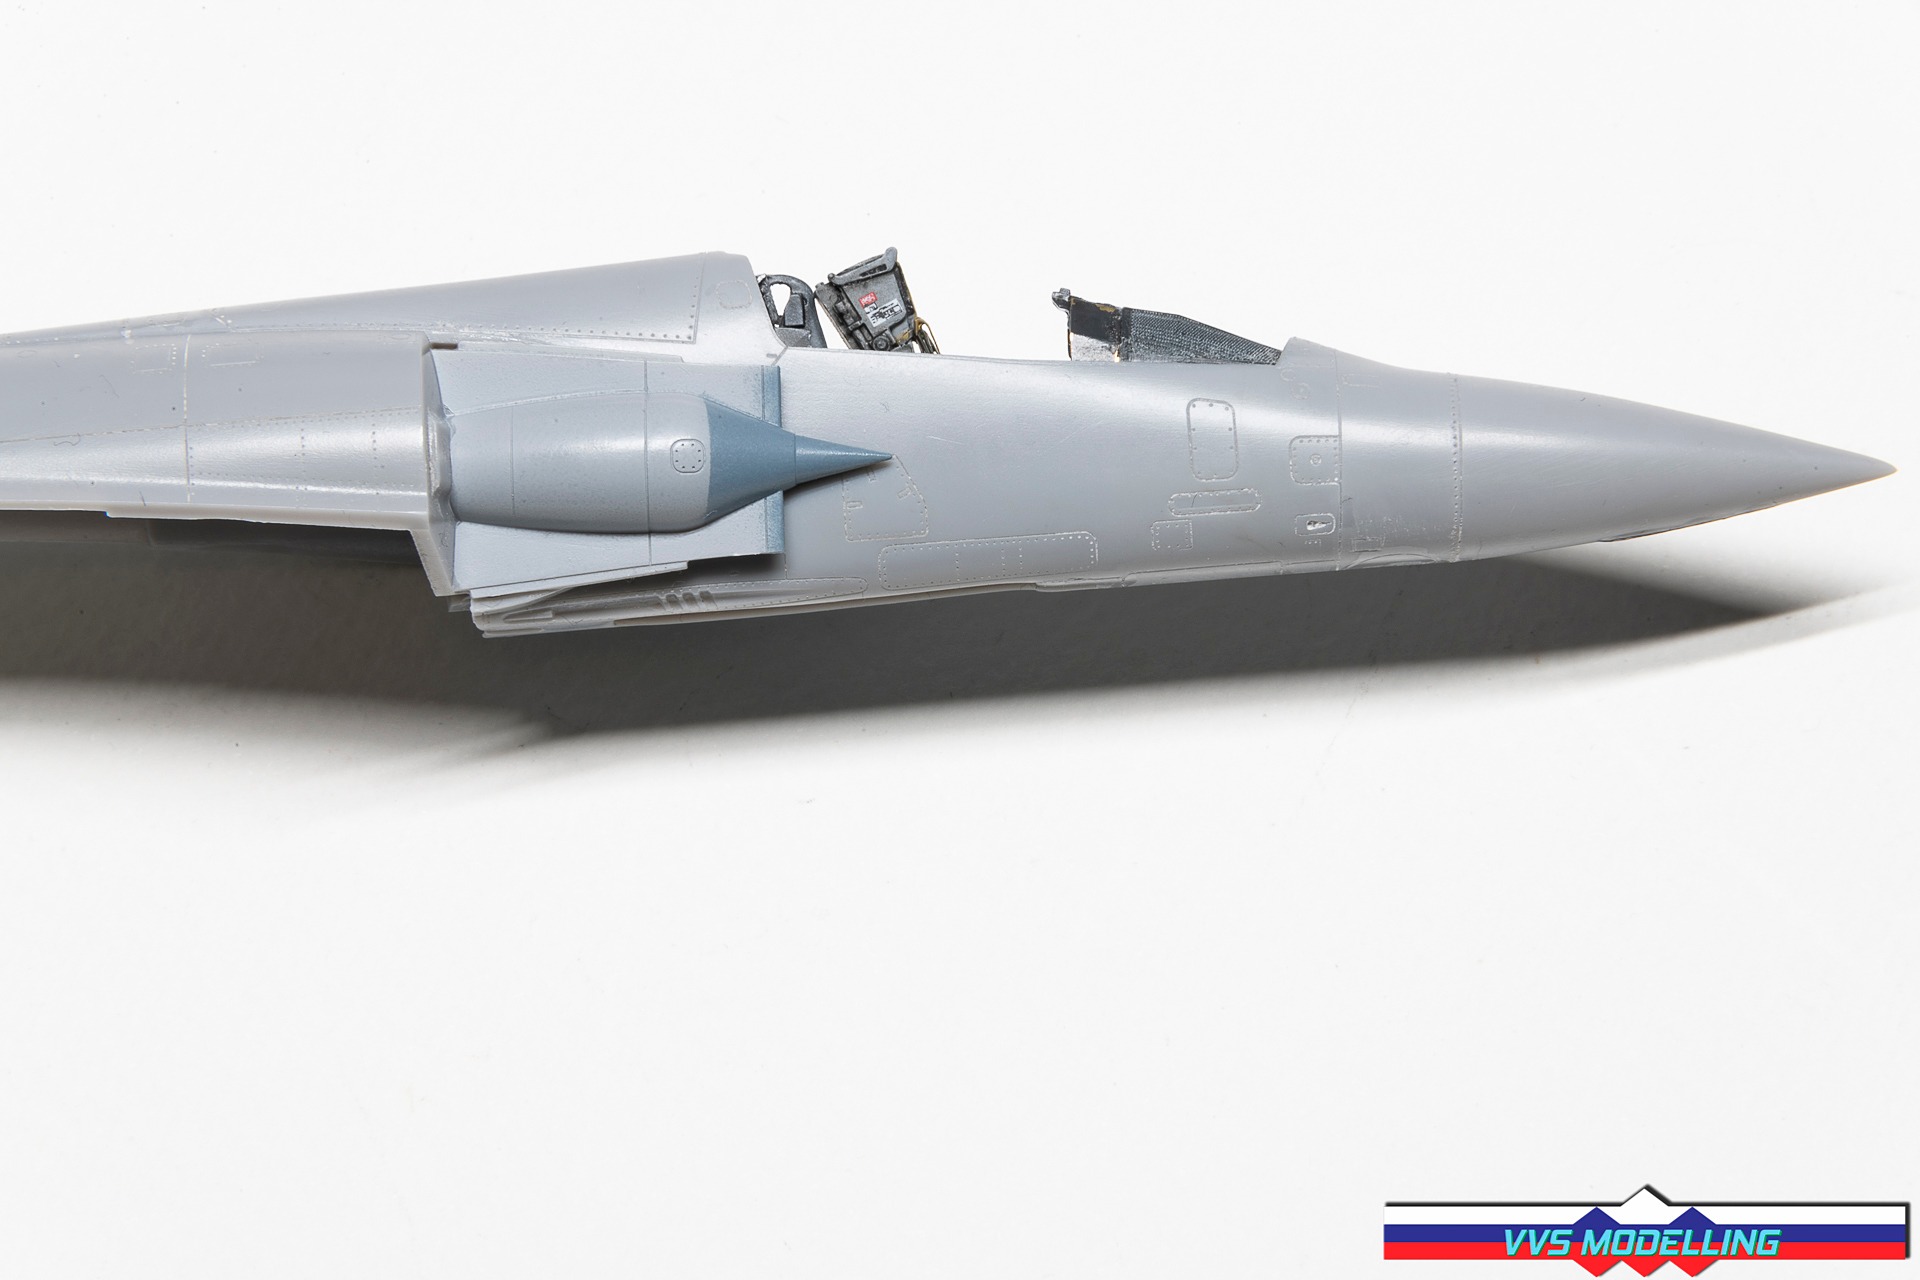
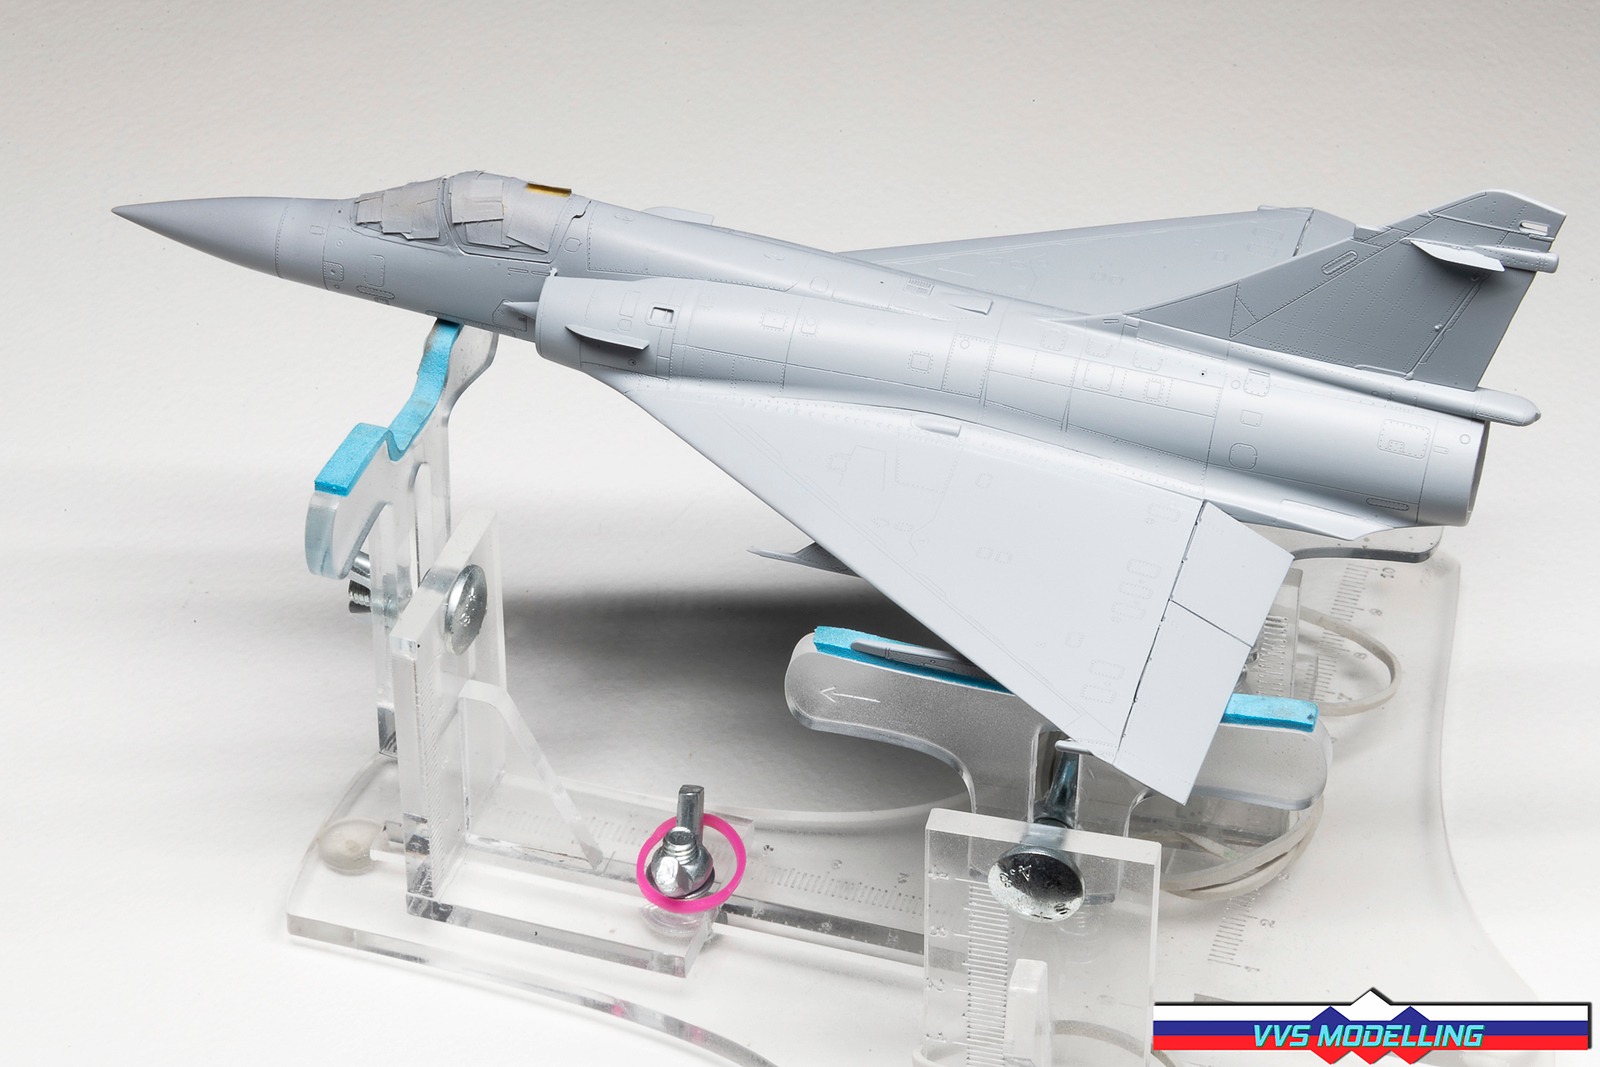
The Mirage is now assembled and primed with Surfacer 1500. The fit was amazingly good and only a smear or two of water soluble putty was required here and there on some tiny gaps. Hats off to Modelsvit to pull off such a good fit on such a complex shaped aircraft – especially the seam between the wings and fuselage which actually blend together.

Camouflage applied, 95% freehand using my trusty Harder & Steenbeck Airbrush Evolution with a 0.15mm nozzle/needle combo and as always excellent MR. Paint lacquers.


Decals are applied and a coat of VMS Satin varnish applied for a smooth canvas waiting for oil paint weathering. Decals went down quite fine as expected from Decograph – there are a few minor spots that show some silvering, but I’ll cover that with weathering.


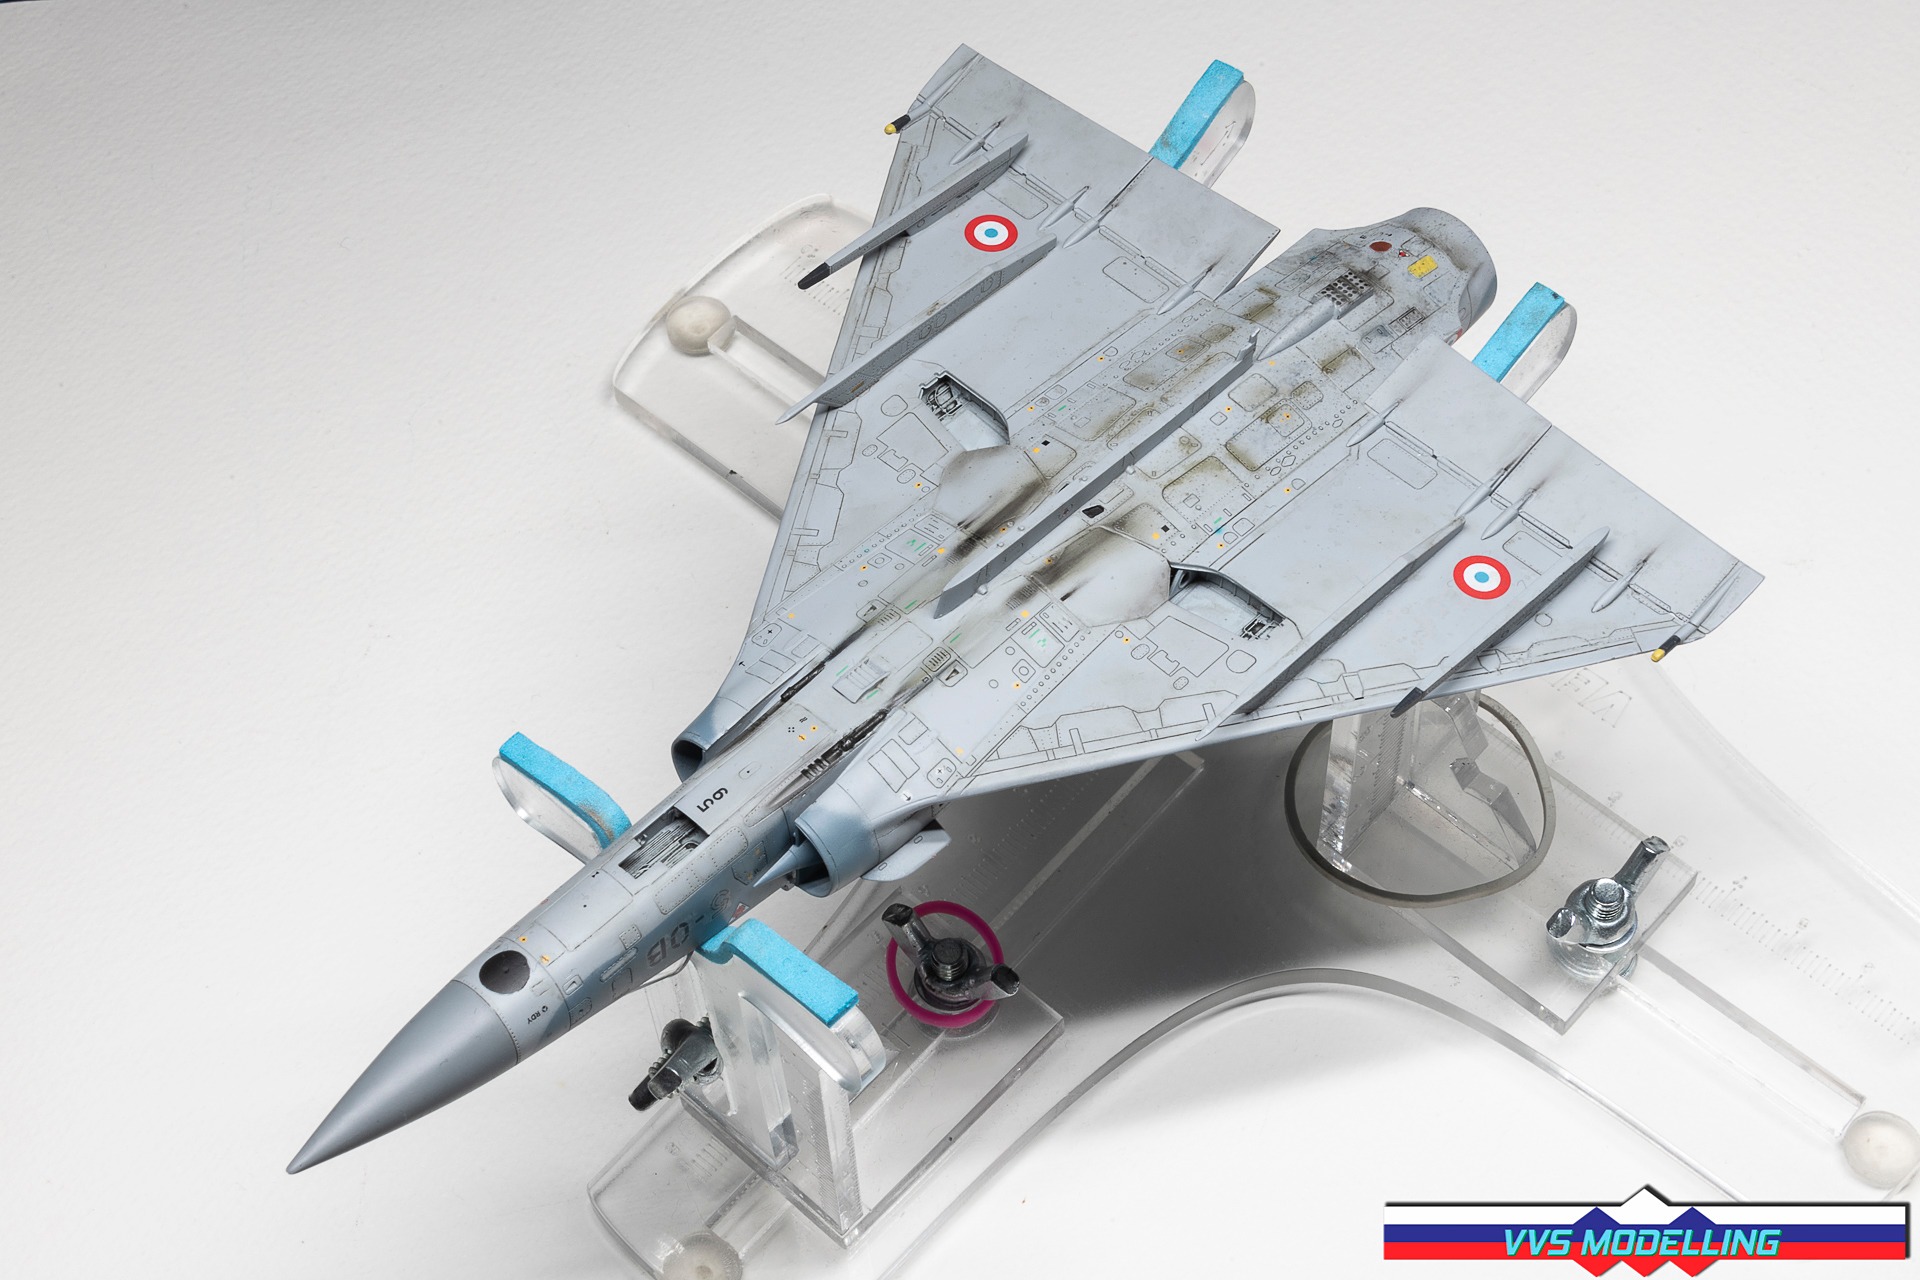
French Air Force always kept their Mirages in a very nice conditions with minimal apparent weathering. Photos from 1991 suggest, combat ops in Saudi Arabia resulted in some weathering on these birds nevertheless. Keeping it restraint, I first started with some paint fading using AK Abt oils.


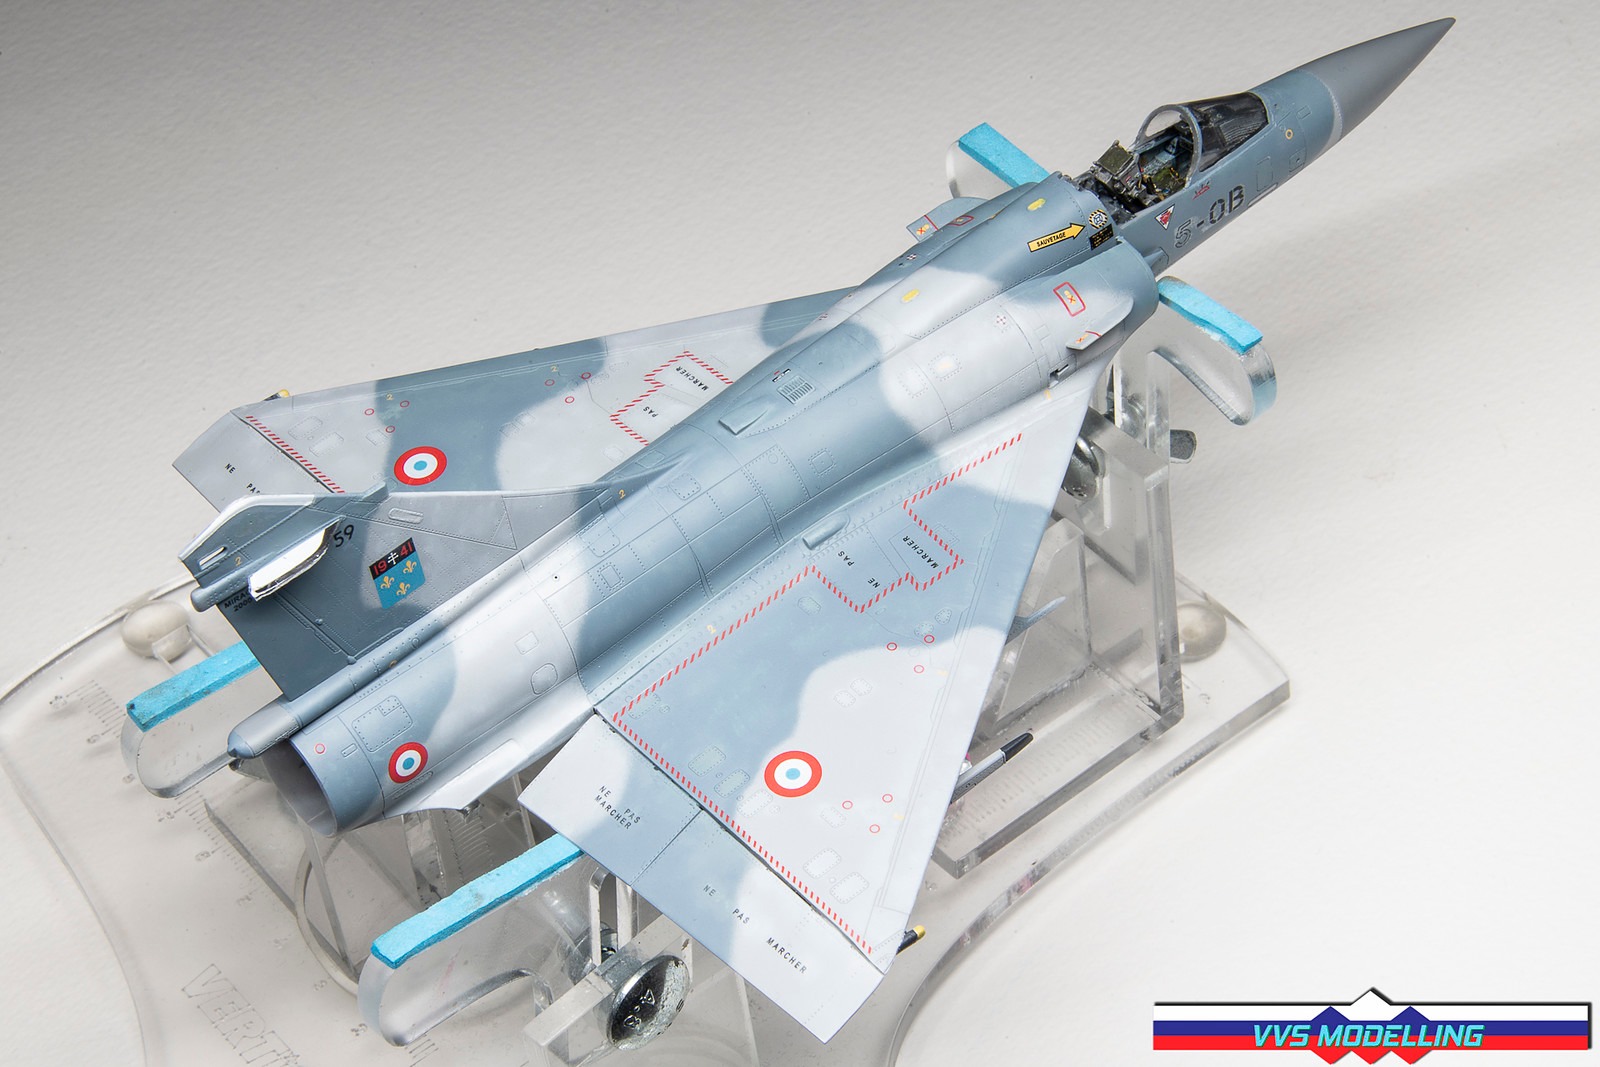
After the last update, where I slightly faded the paint using oil paint, I now used darker blue and grey tones and added streaking, APU and other vents and flap actuator stains.
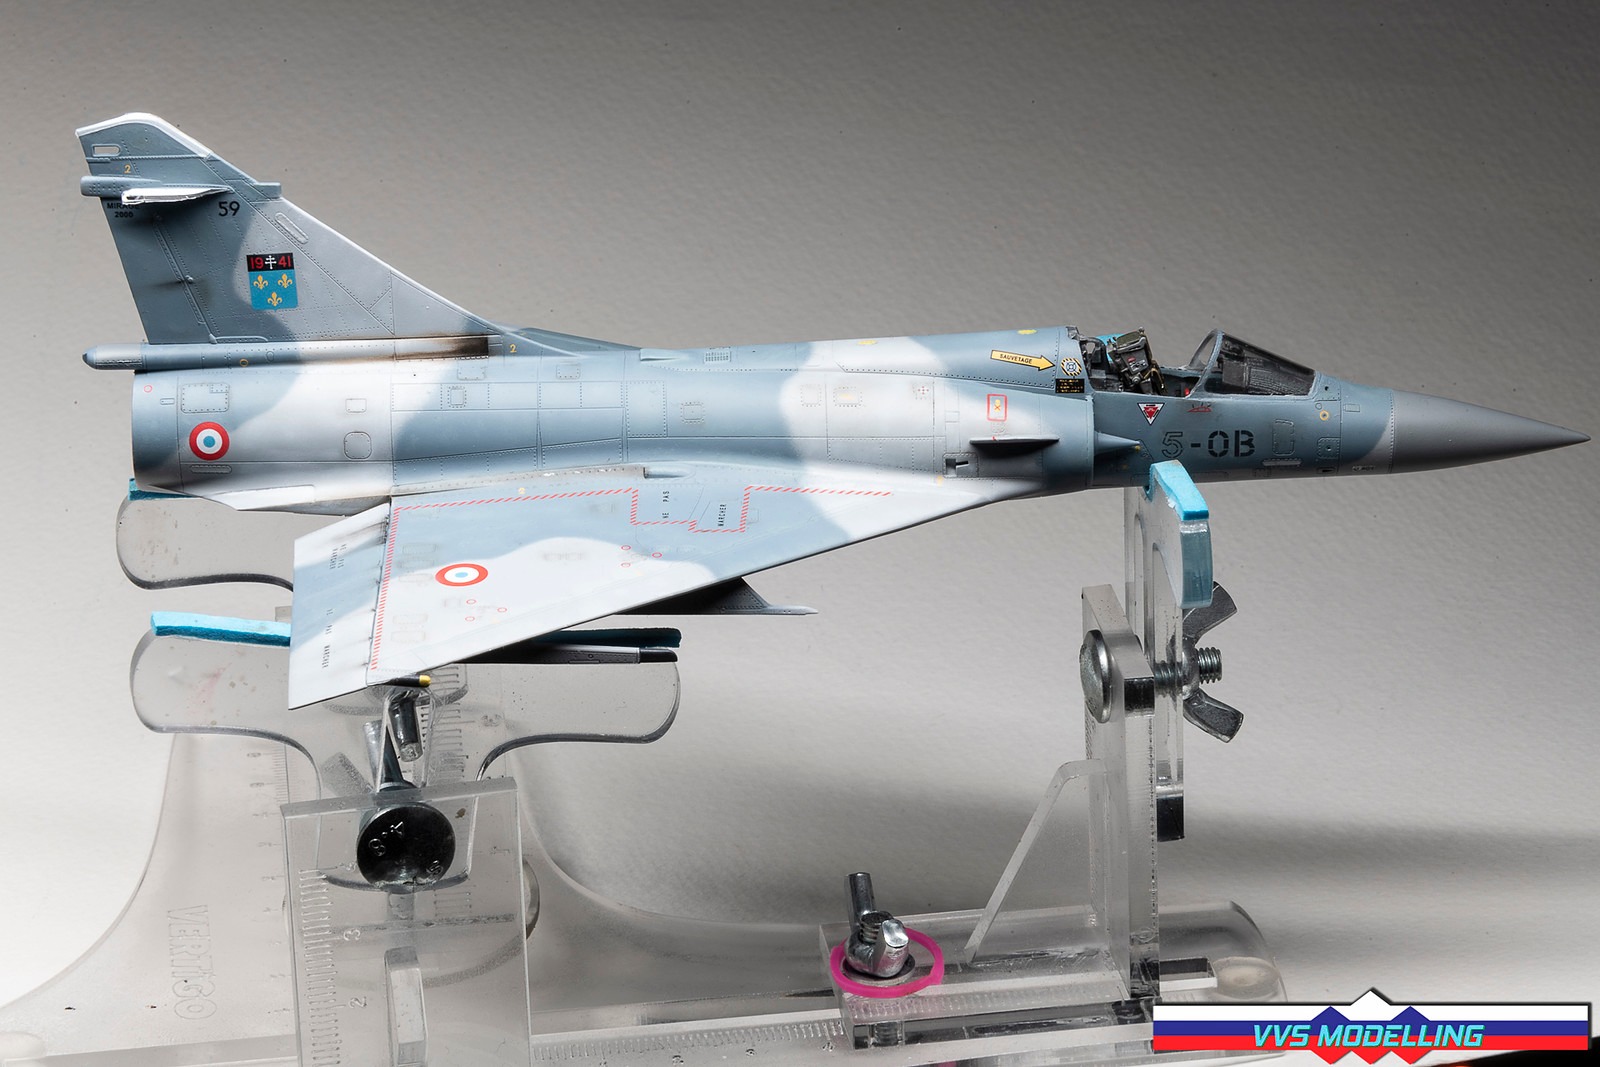
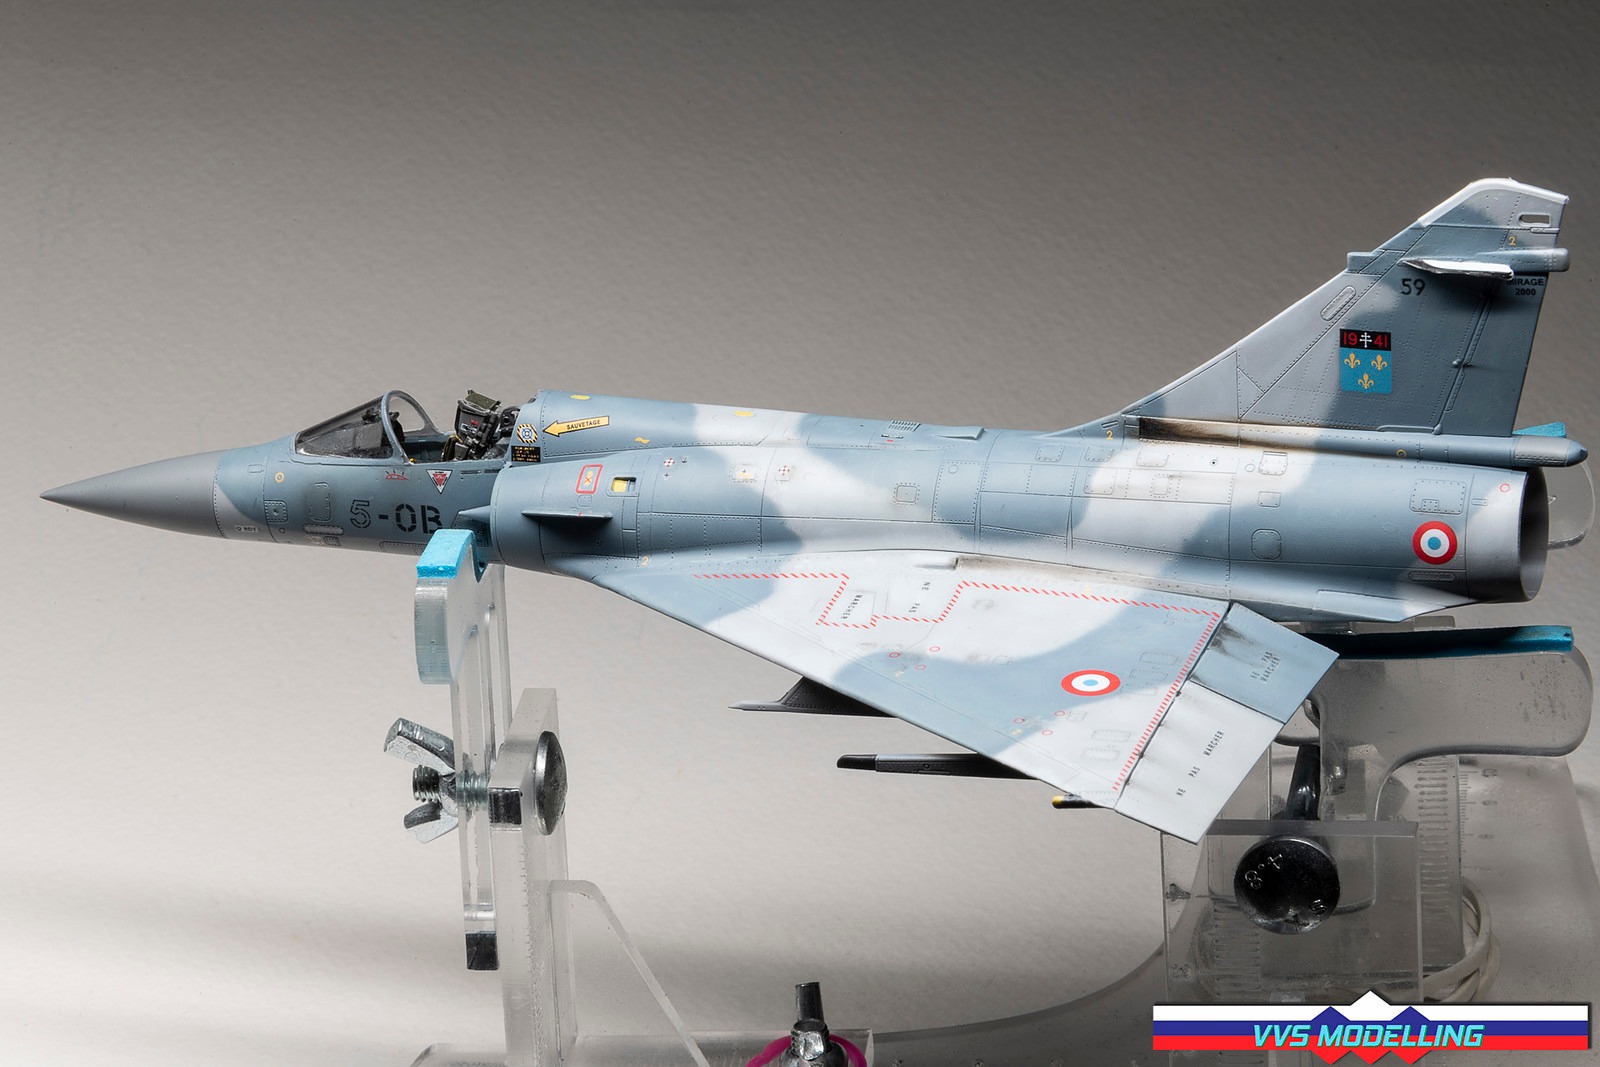


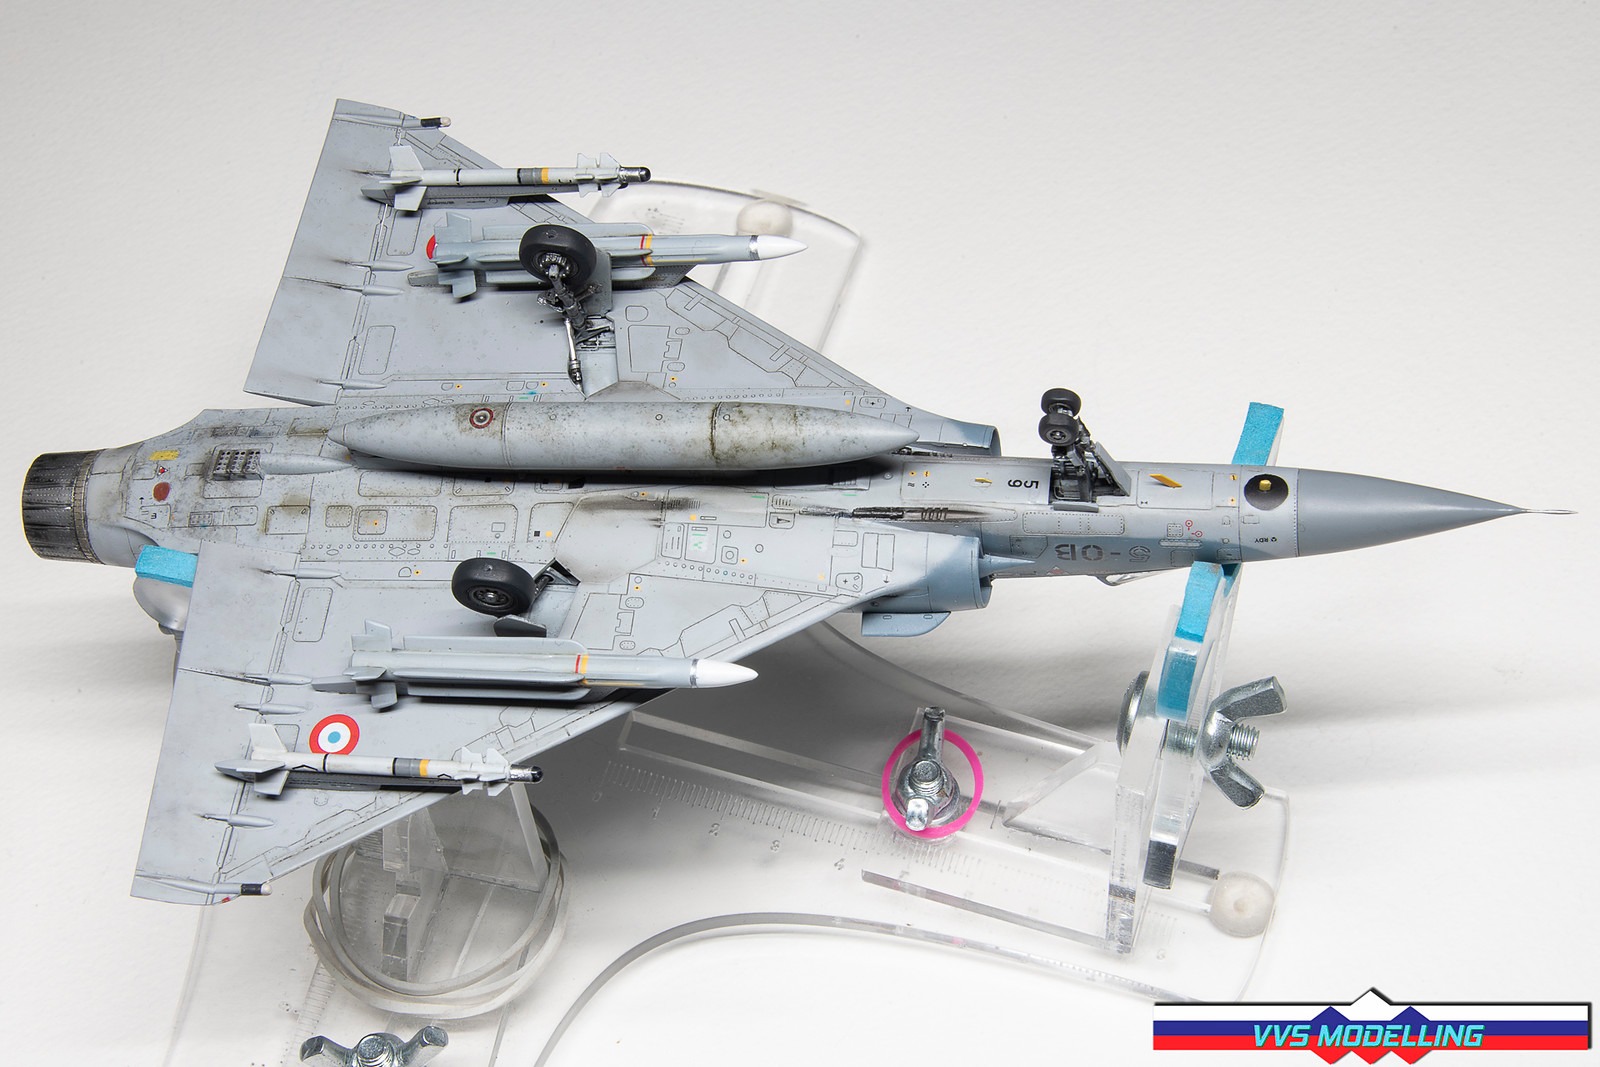
Looking at a number of photos, the most staining on the bottom side happens in the central section and very little on the wings apart from some flaperon actuator stains.

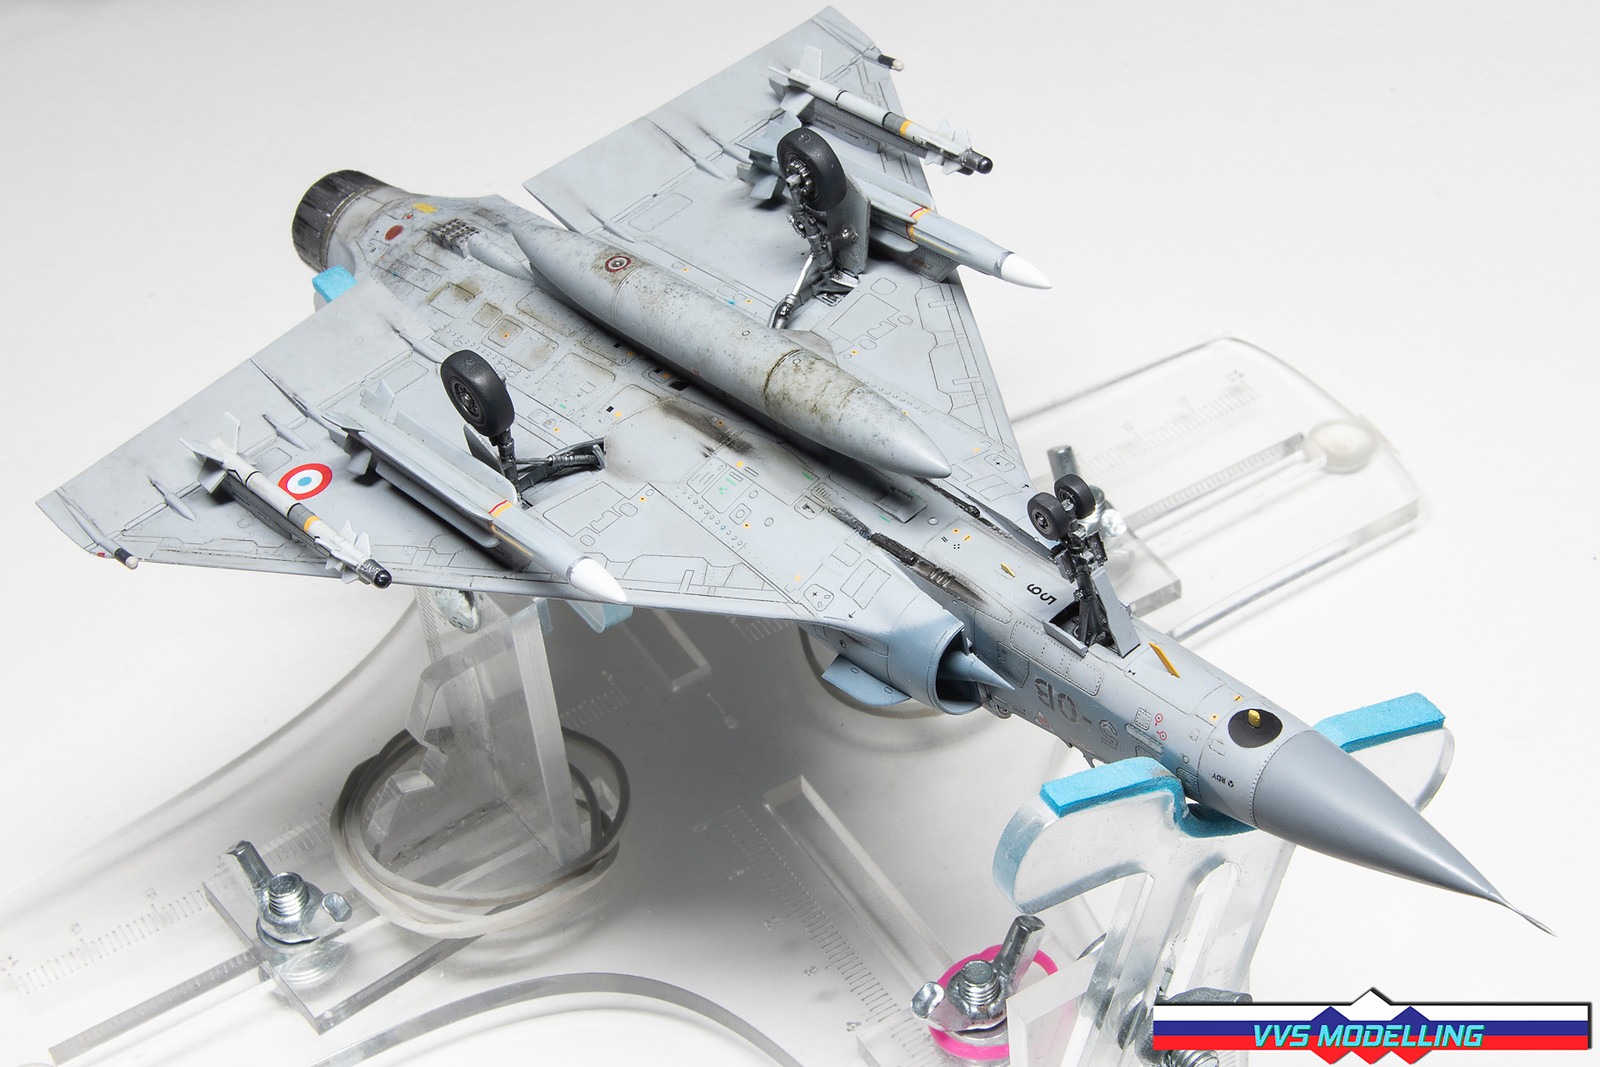
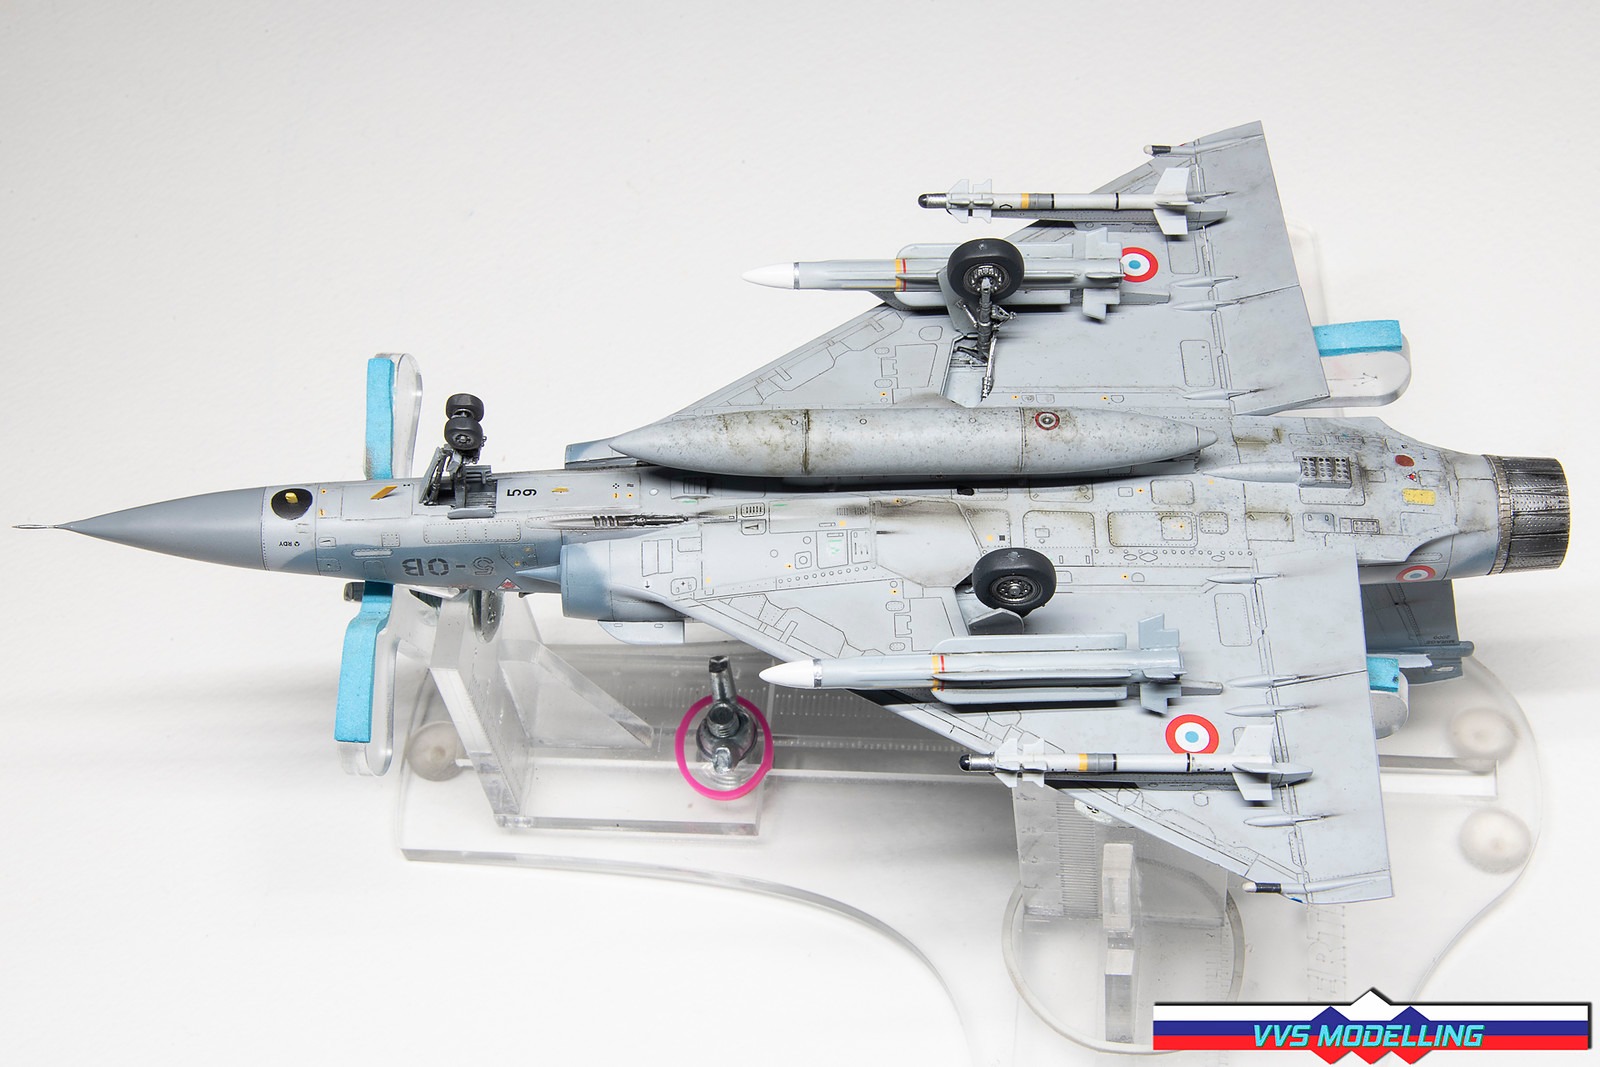
The end is in sight – landing gear was attached – quite tricky assembly to be honest. Missiles were also attached as well as a whole lot of tiny photo-etched antennas and sensors. Just missing a few details on the upper side and a canopy and she’ll be done.


Hello
it would be a great help if you listed which paint you used on your bills not just the brand. Thank you very much.
Hi! All the major paints used in the build are listed in the finished gallery article.