
The larger inner door fit rather well but some trimming was needed on the inner side, as the door was too thick to fit. Also the hinge to the front had to be shortened a bit to fit. For the outer door, I actually grinded the well away to have a better access to the door from the inside. Some slight reshaping had to be done, but it wasn’t too bad.

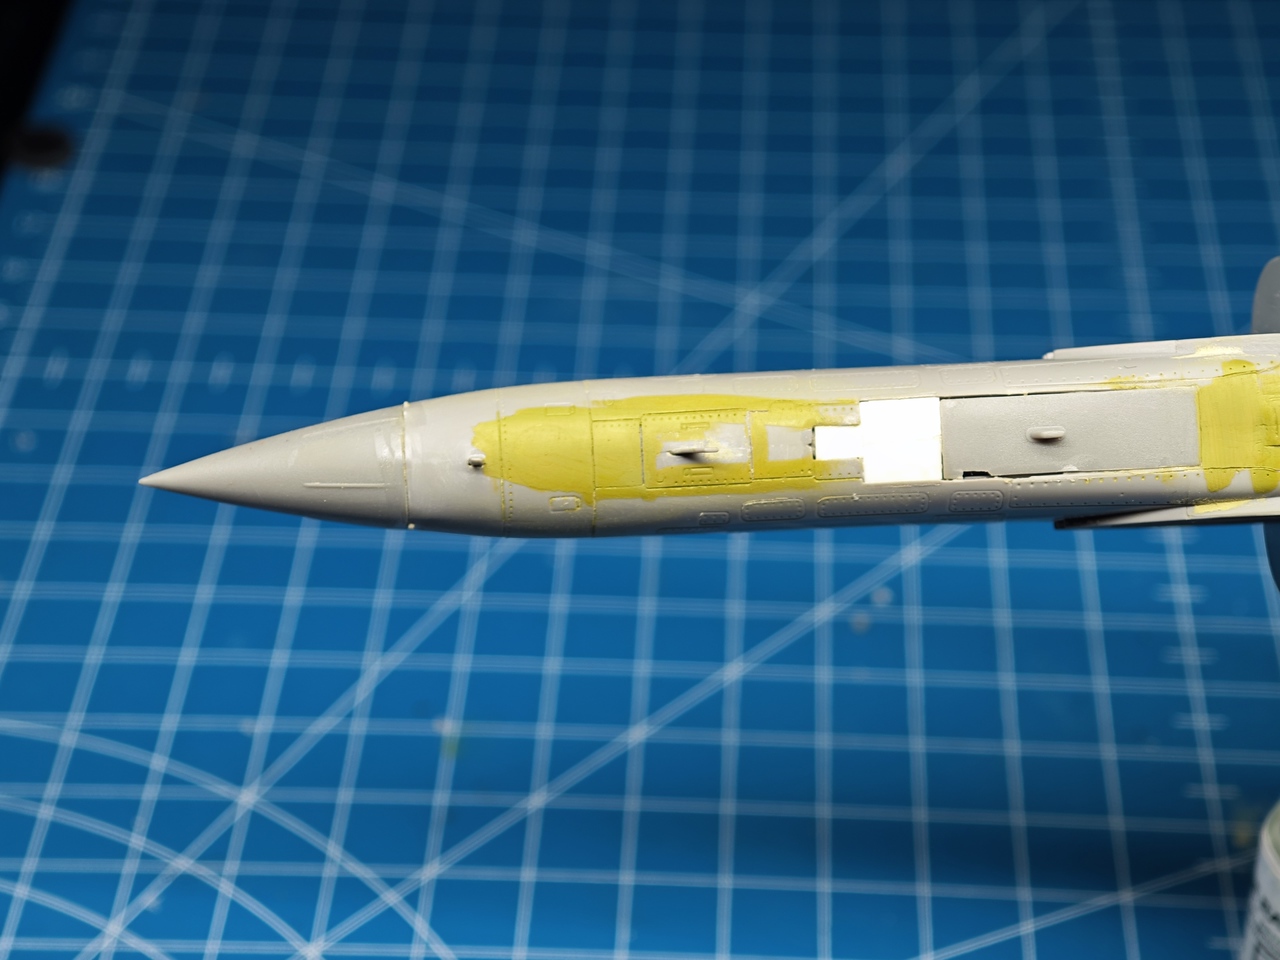
In the end, I checked the quality of my work with one of the AK markers (yellow-green) to see if any putty or additional clean up was required. It’s a quick and easy way to check the seams without the need to use primers (airbrushed or in can).


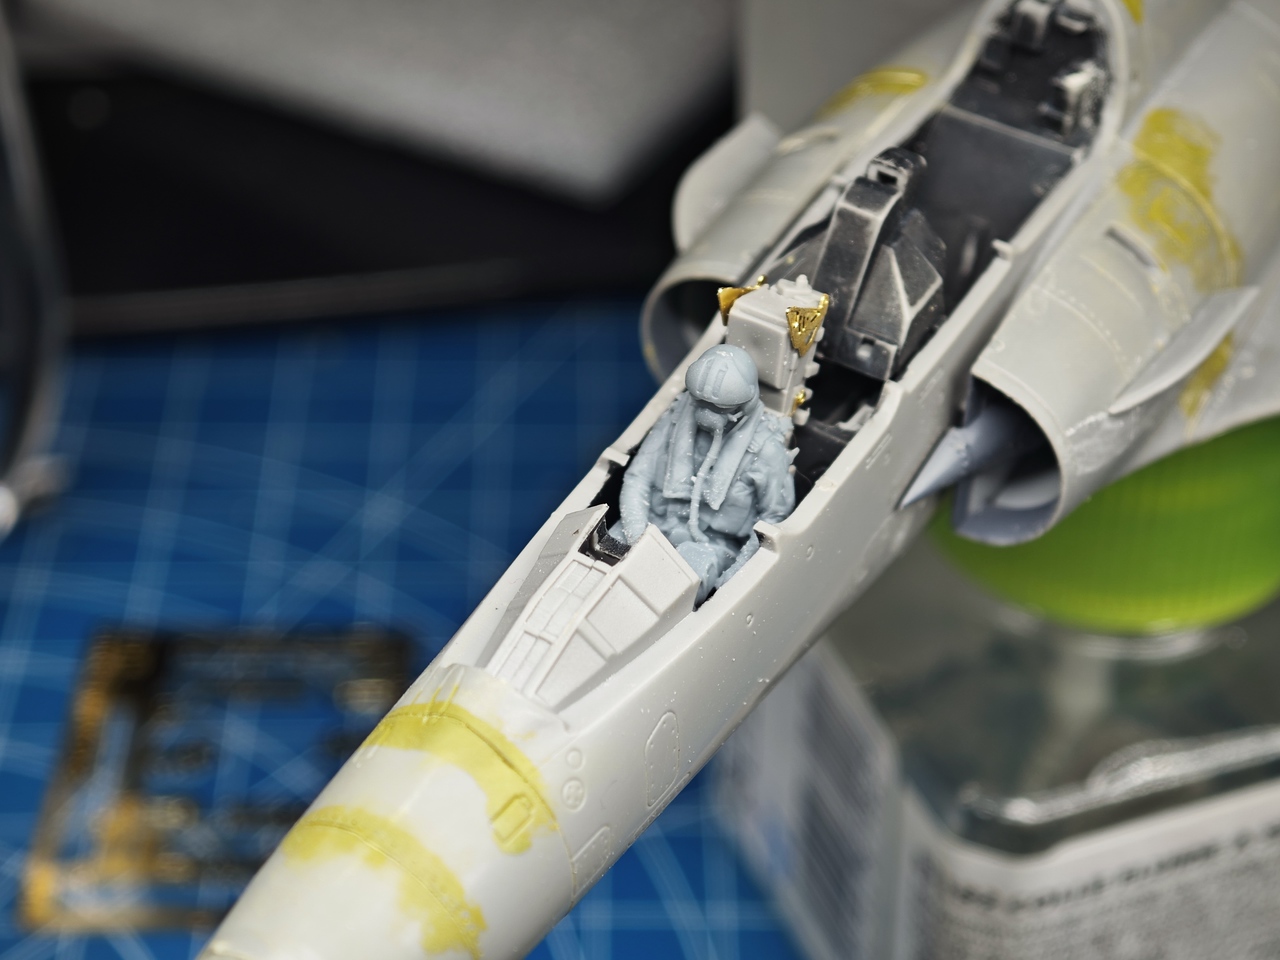
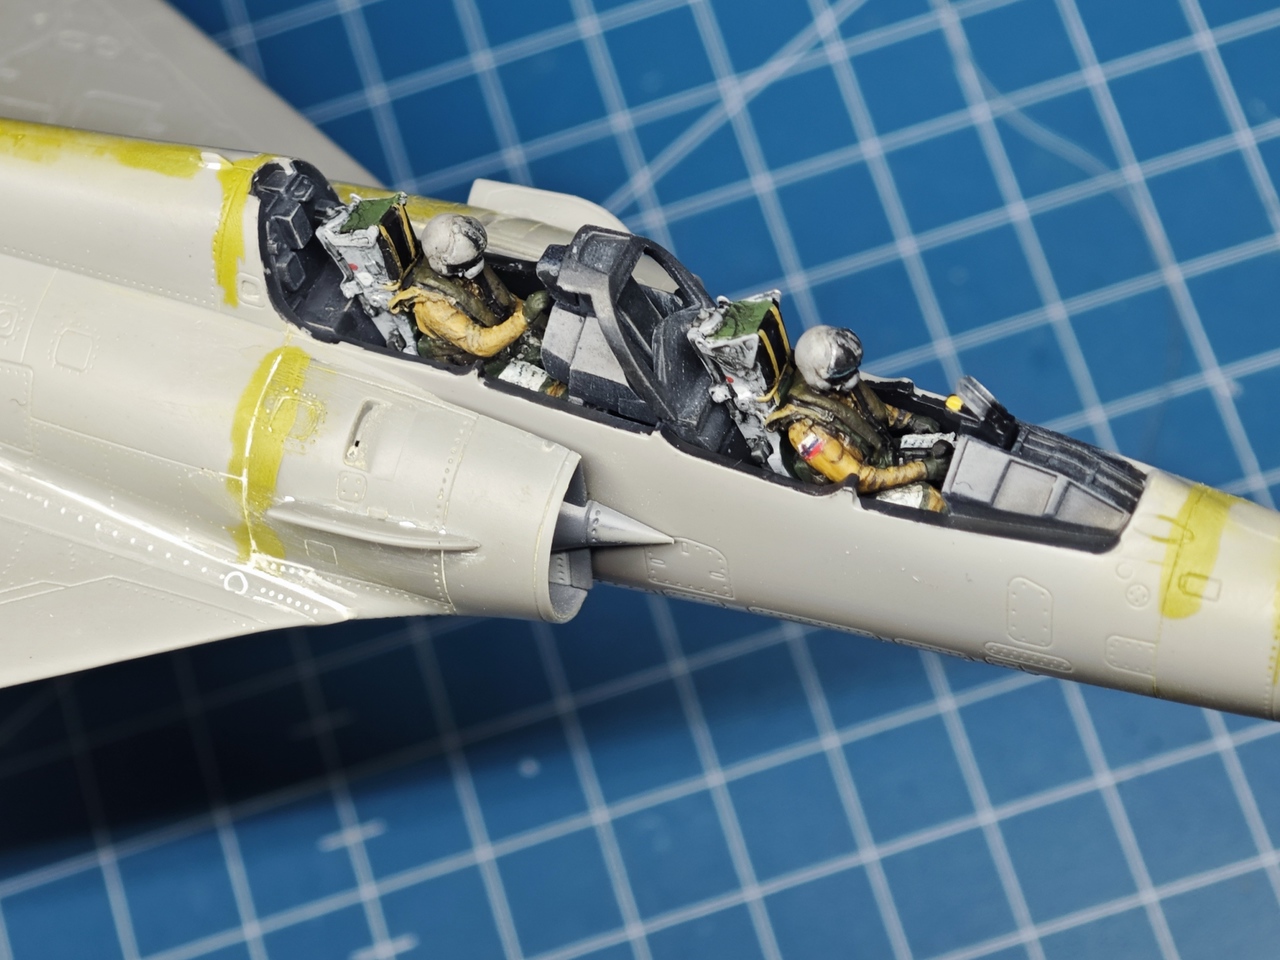
The cockpit is rather basic and decals were used for the knobs, buttons and instrumentation – I guess it won’t look that bad under the closed canopy and with the pilots.

With the cockpit finished the fuselage halves were glued together and the nose added. The seams were once again checked with AK marker.
The fit of the front landing gear door was so so and as the model has the small side doors moulded to the fuselage halves, I had to cut those out and recreate the whole T-shaped piece from styrene sheet. I still need to scribe those and tidy up the seams, but I am getting there.
Oh and Dreammodel made a mistake on the position of black circular antenna (radar altimeter?) and positioned it one panel back of where it should be. That was filled in and a new one will be inscribed at the correct position.
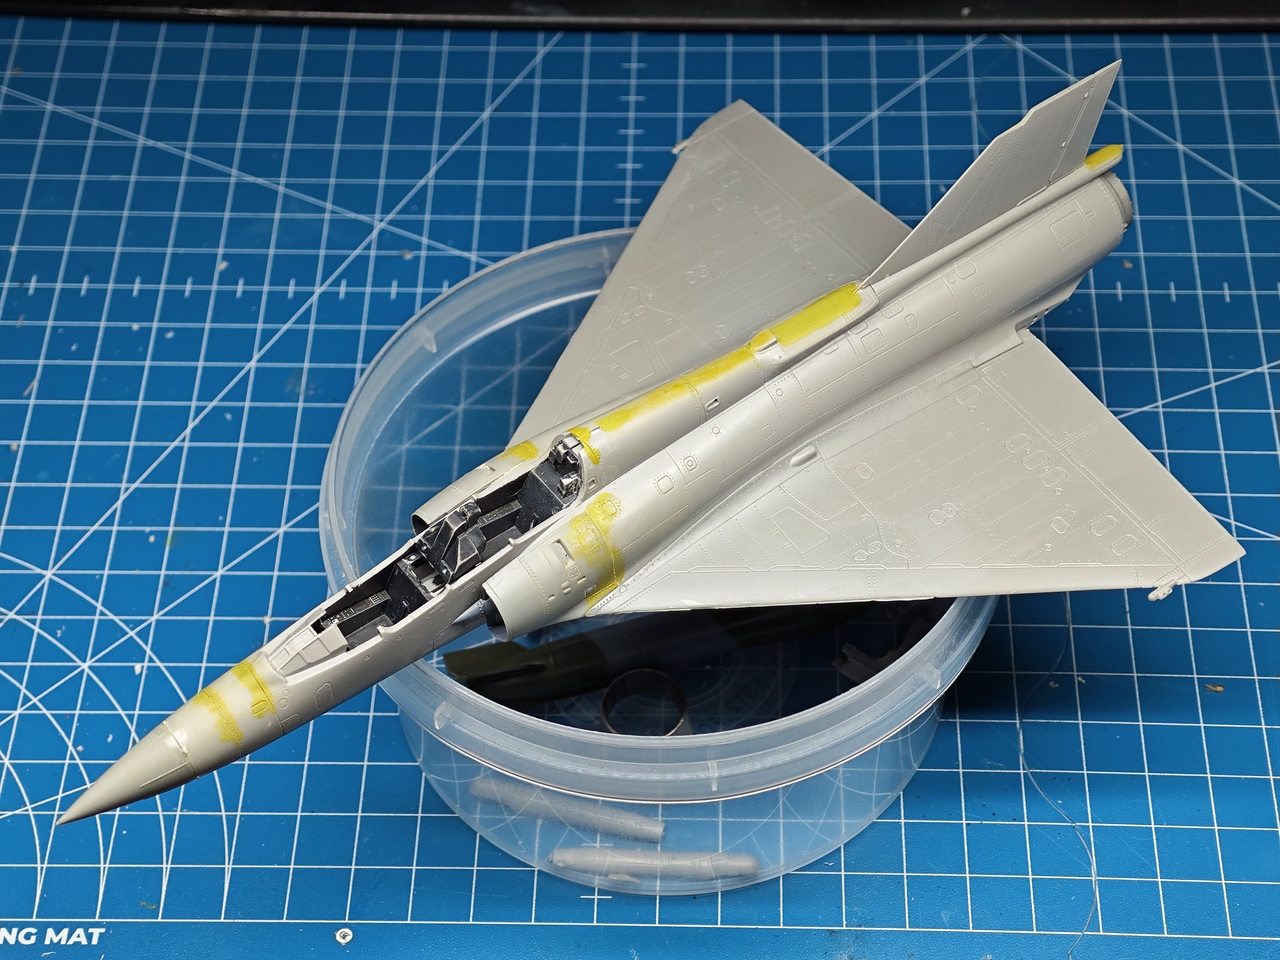
I was afraid of the quality of the join between the wings but it went surprisingly smooth.
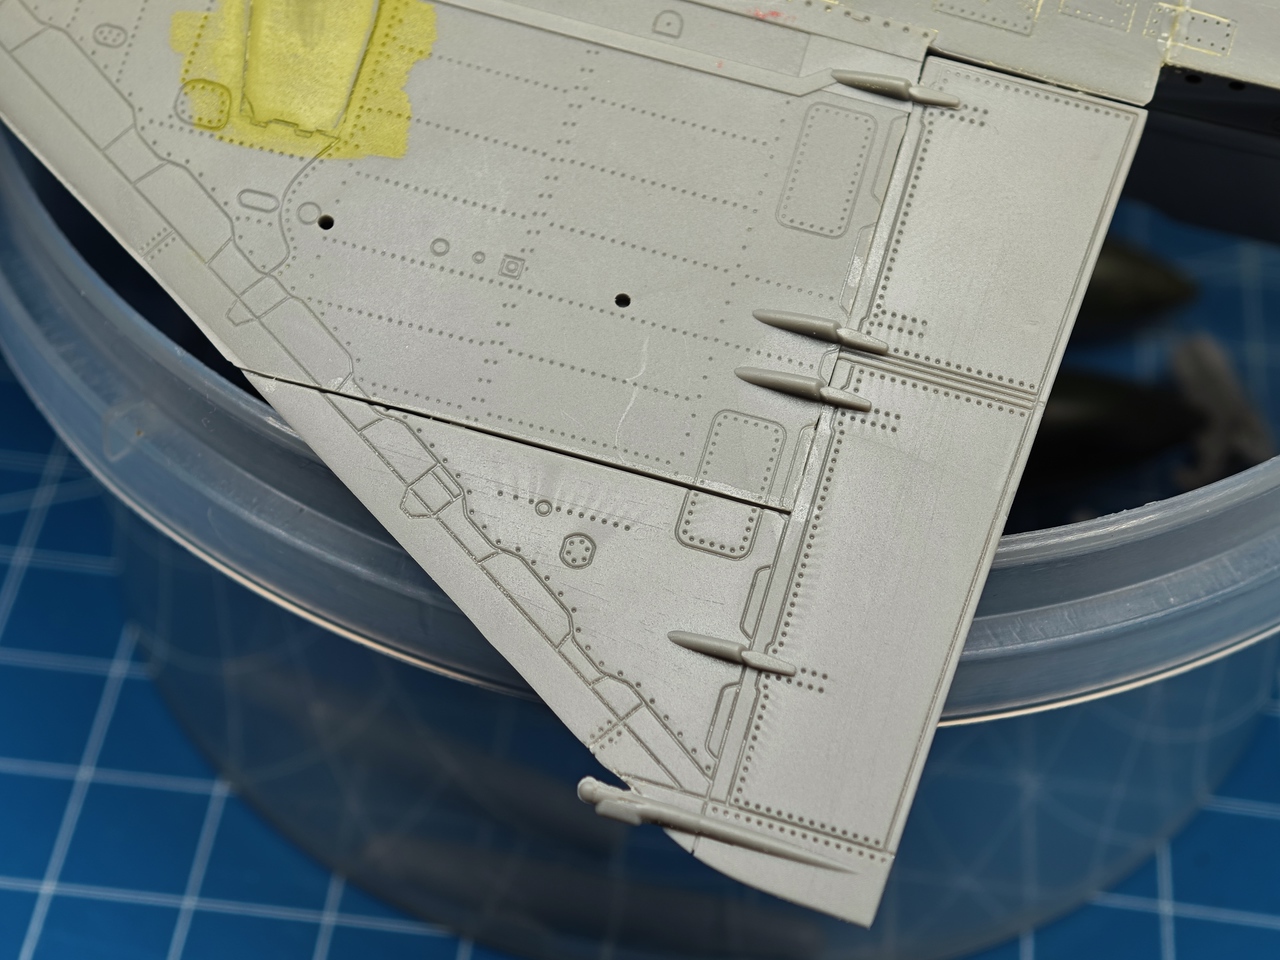
However the same cannot be said for the bottom fuselage join line. It crosses a number of panel and rivet lines and being quite wide, it will need extra loving and care to fix.
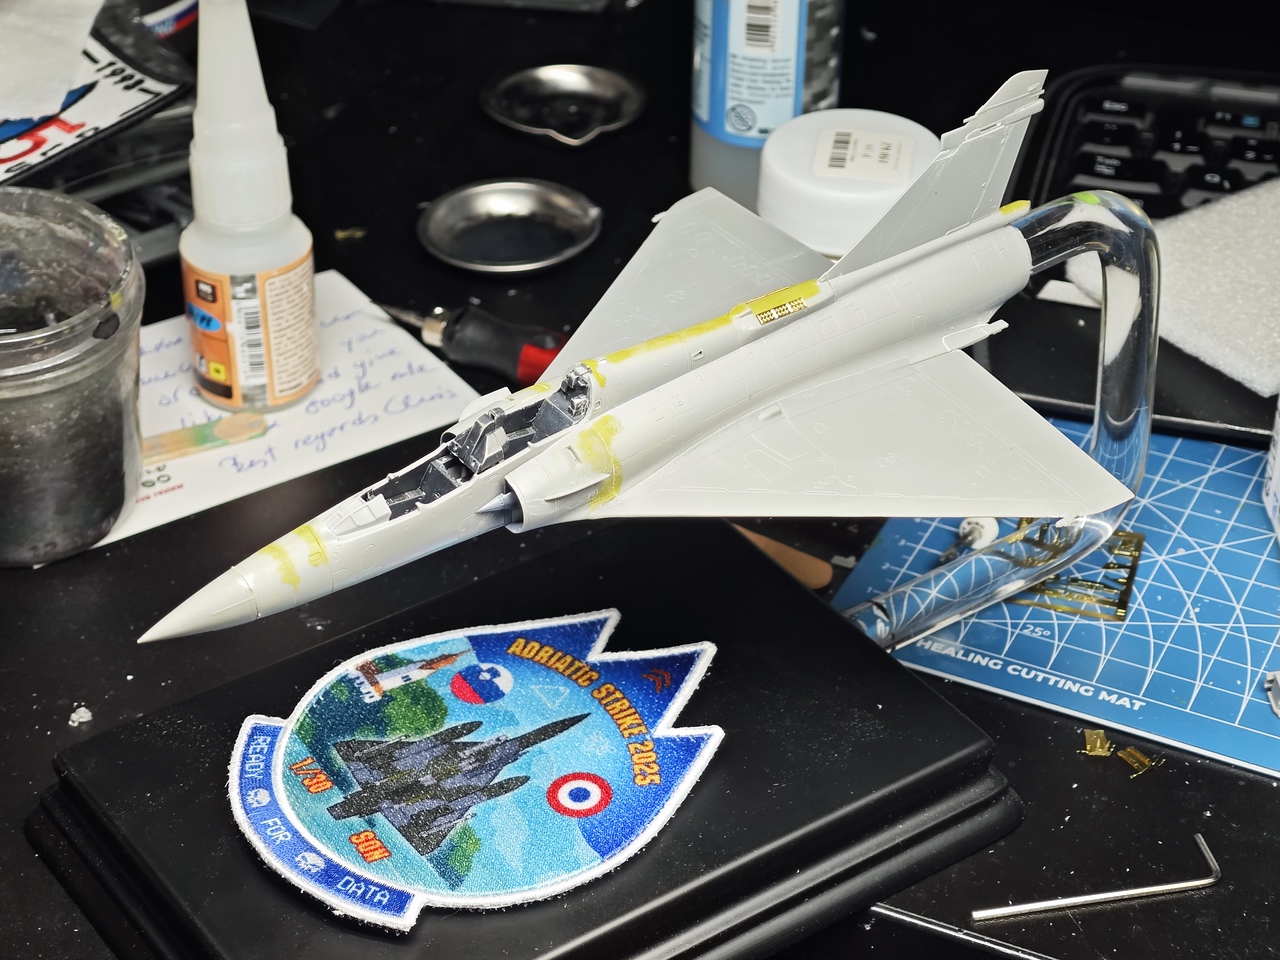
Done the stand for the Mirage.
A patch I got from the French crew and was made specially for the exercise we were hosting, a simple black base I got from Green Stuff World and a 12mm clear acrylic rod. It was first time I used it.
Got a few suggestions on how to bend it and tried with dipping it in boiling water and then force bending it to shape. Didn’t work really well. So I used heat gun and it worked like a treat and will definitely use these in my future projects.
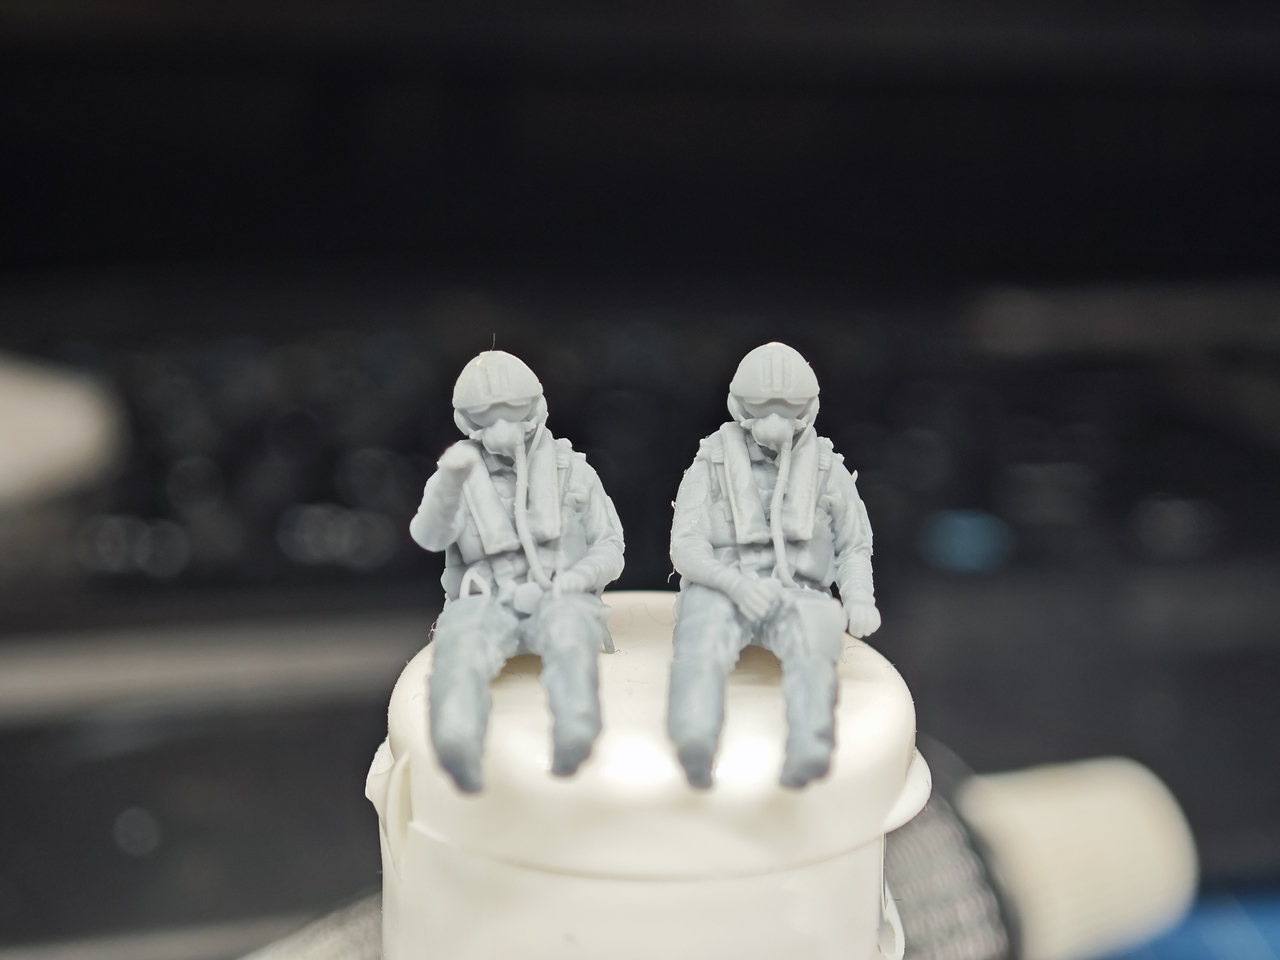
These are the excellent Reedoak Mirage 2000 pilots and as usual with this company, the level of detail in their figures is of the highest imaginable level.
These figures are sold separately but as you can see the pilot has a composed in flight pose with right hand on the stick and left on the throttle. I guess turning the head could be done but you need to replace the oxygen hose as well. The Weapon System Operator also comes in a dynamic pose of like entering some data or operating some displays in the busy back pit of the Mirage 2000D.
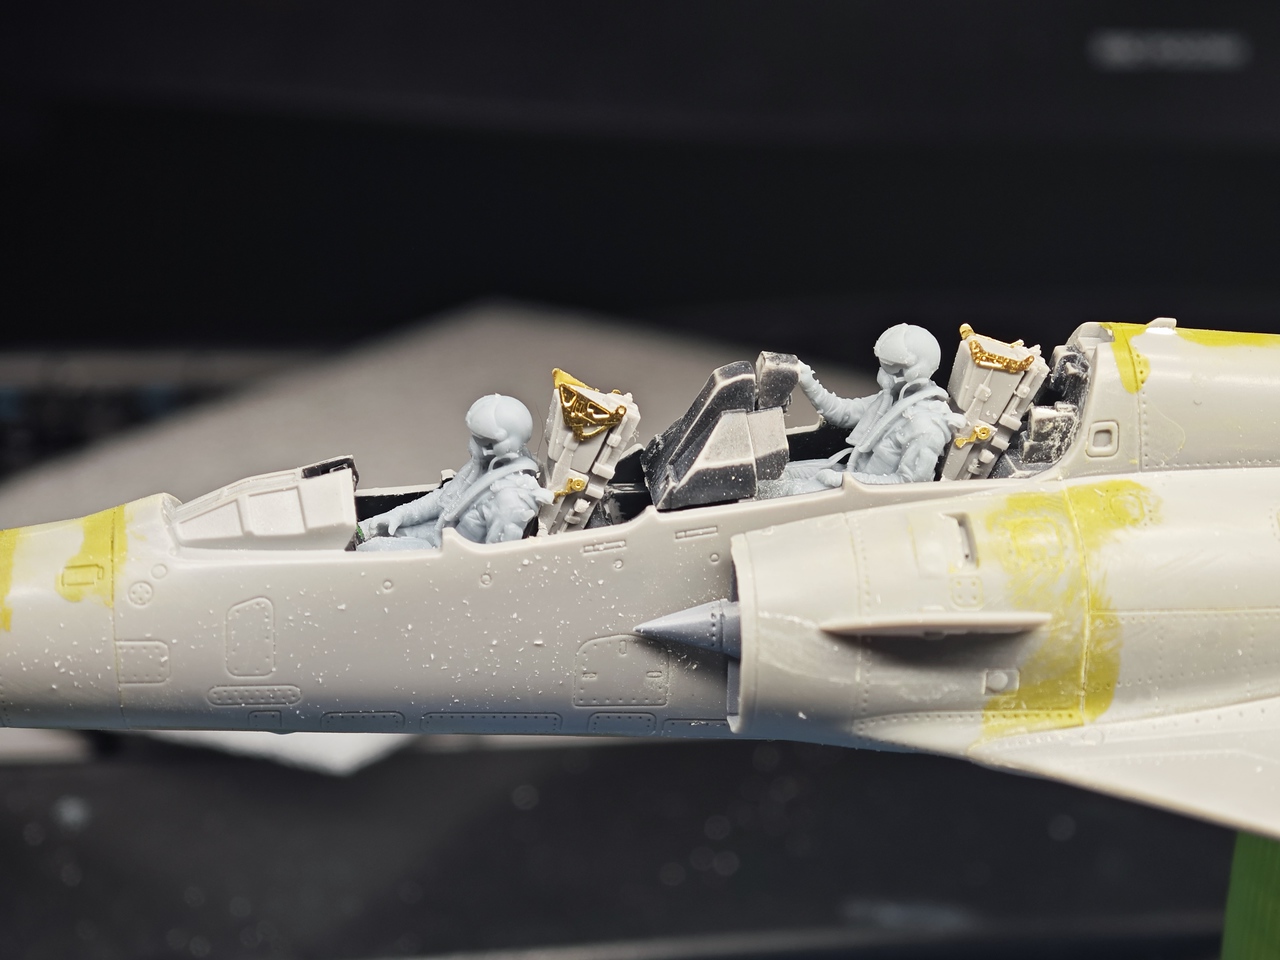


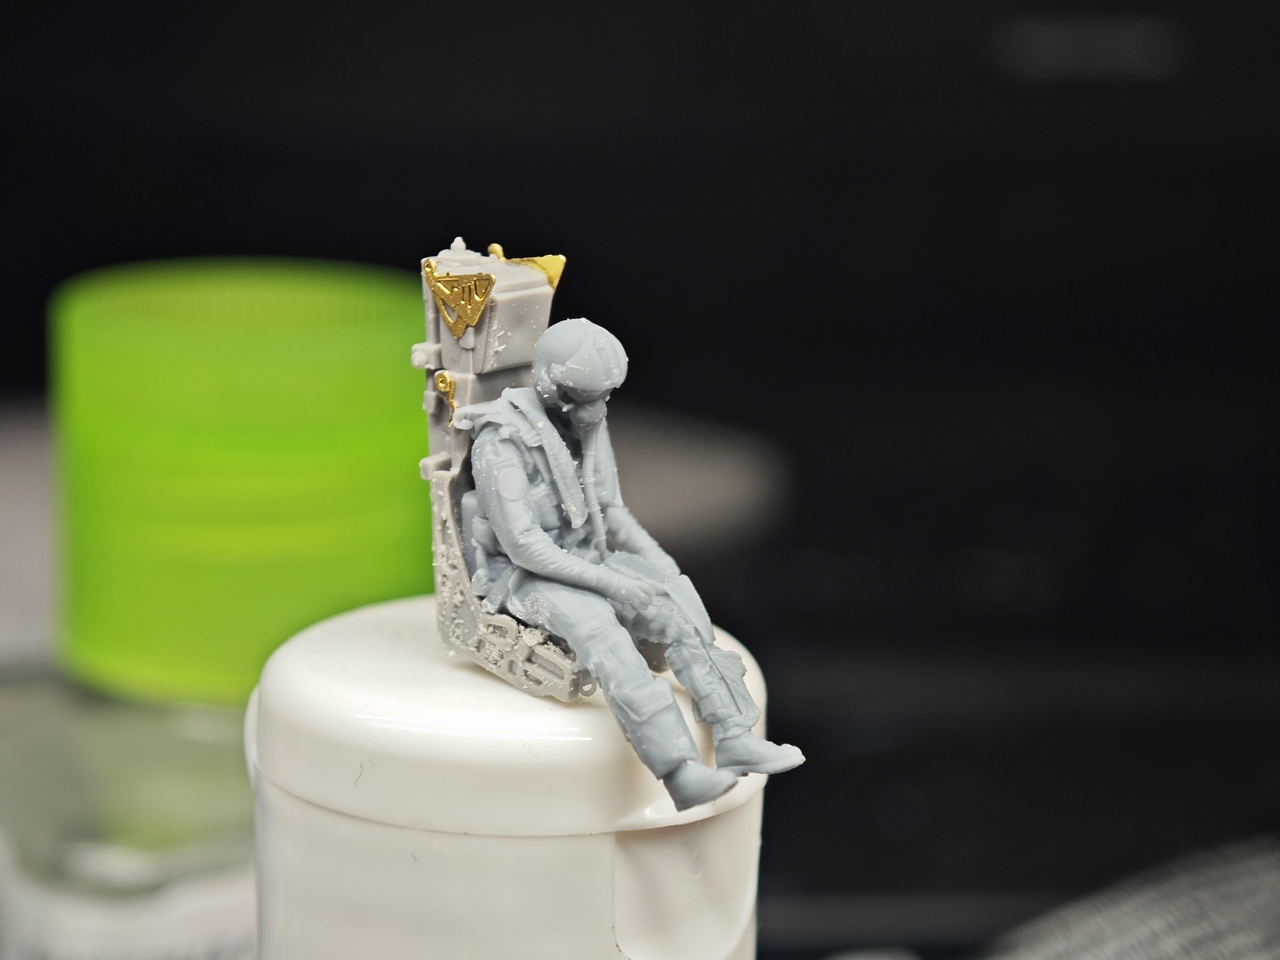
Dryfitting showed some surgery will be needed. Not sure why, but the pilots come with a bit of the seat back rest padding which of course puts them too far to the front and the back needs to be grinded or sanded away for better fit. As is so often, the boots also need to be cut off but no one will be able to see those.
Also the bottom seat cushions need to be grinded so that the crew sits lower in the seat and not interfere with the canopy.
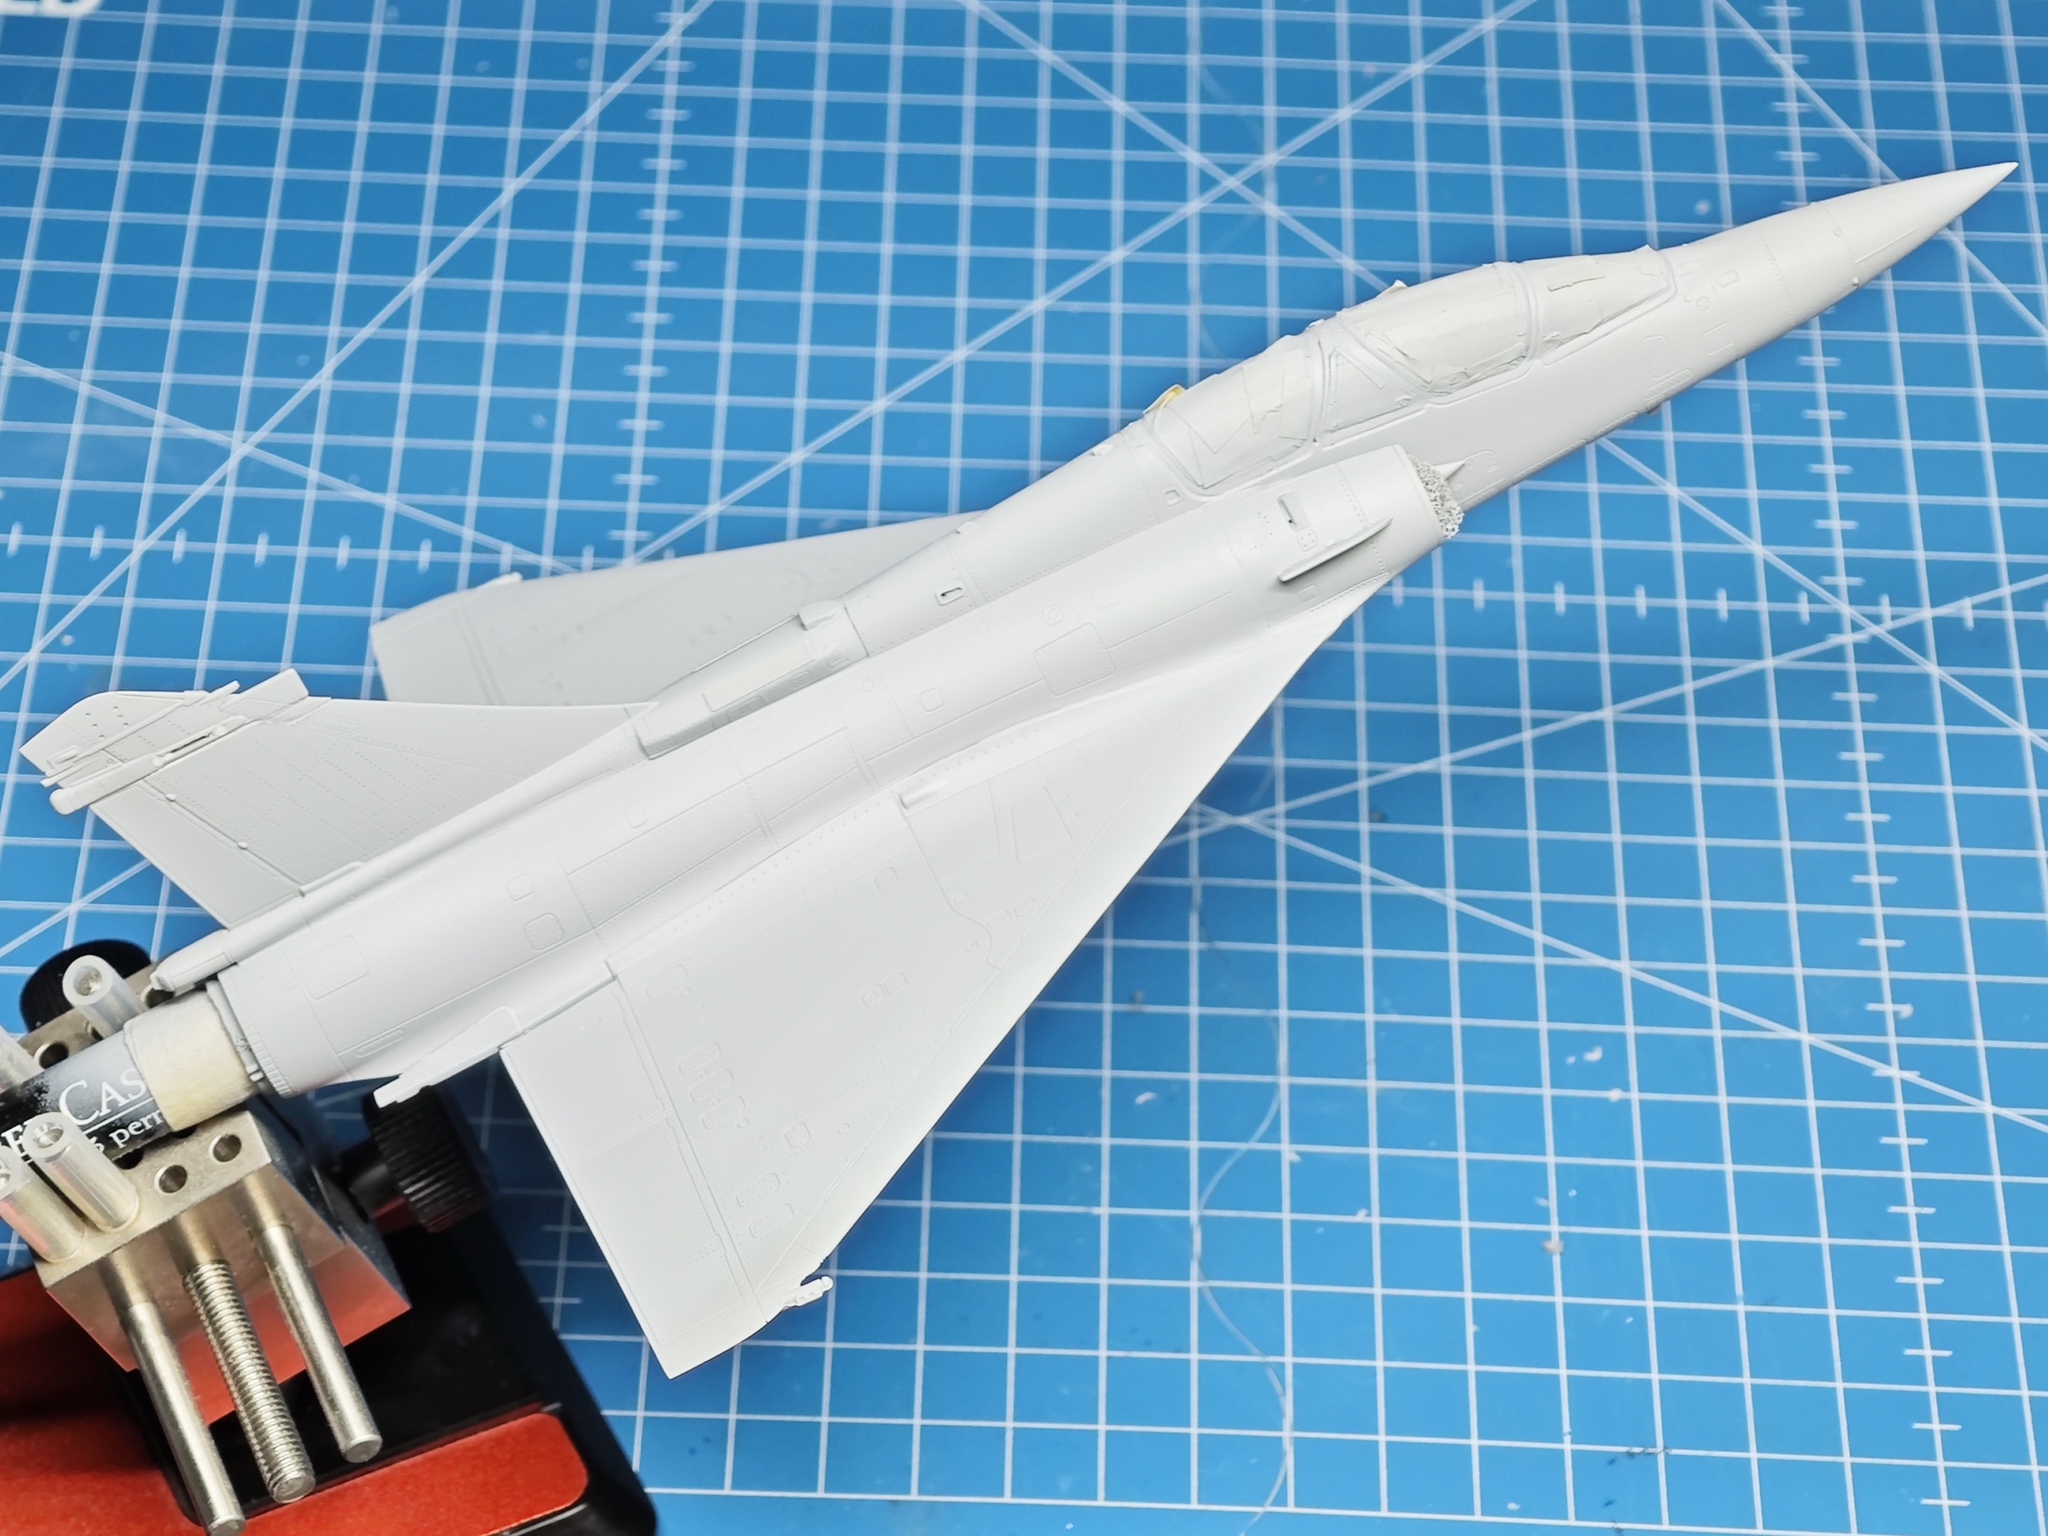

With all the seams and panel lines sorted out, it was time to give her a nice even coat of Mr.Surfacer primer! I like it how the model goes from that raw plastic/putty/paint check appearance into a single uniform colour.

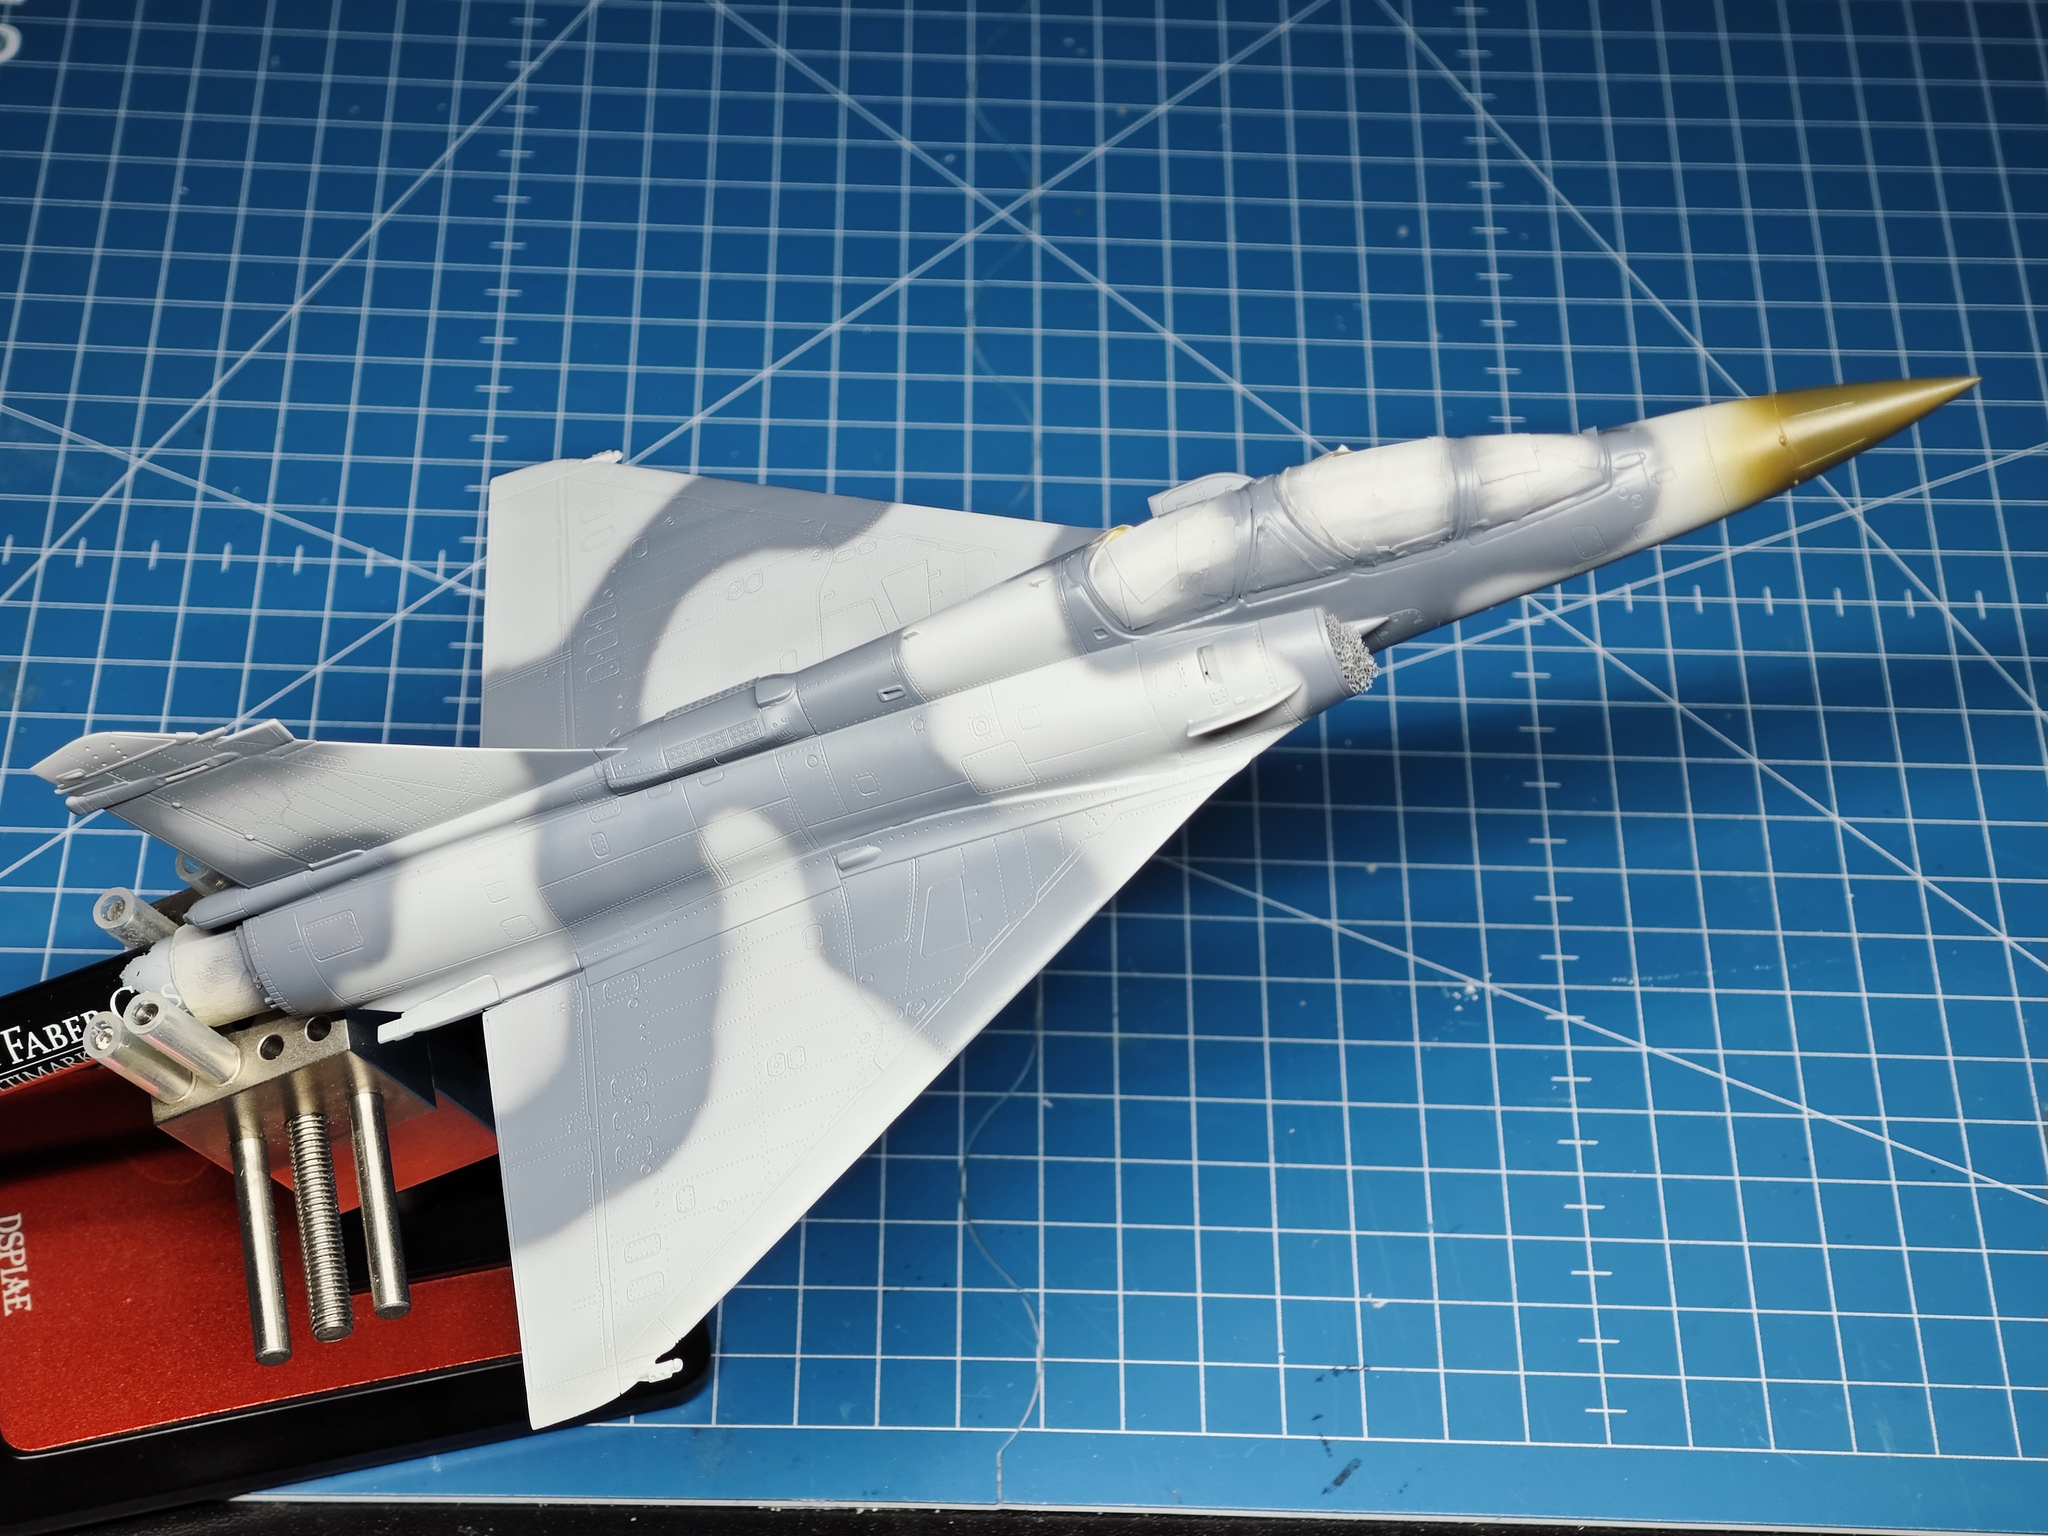
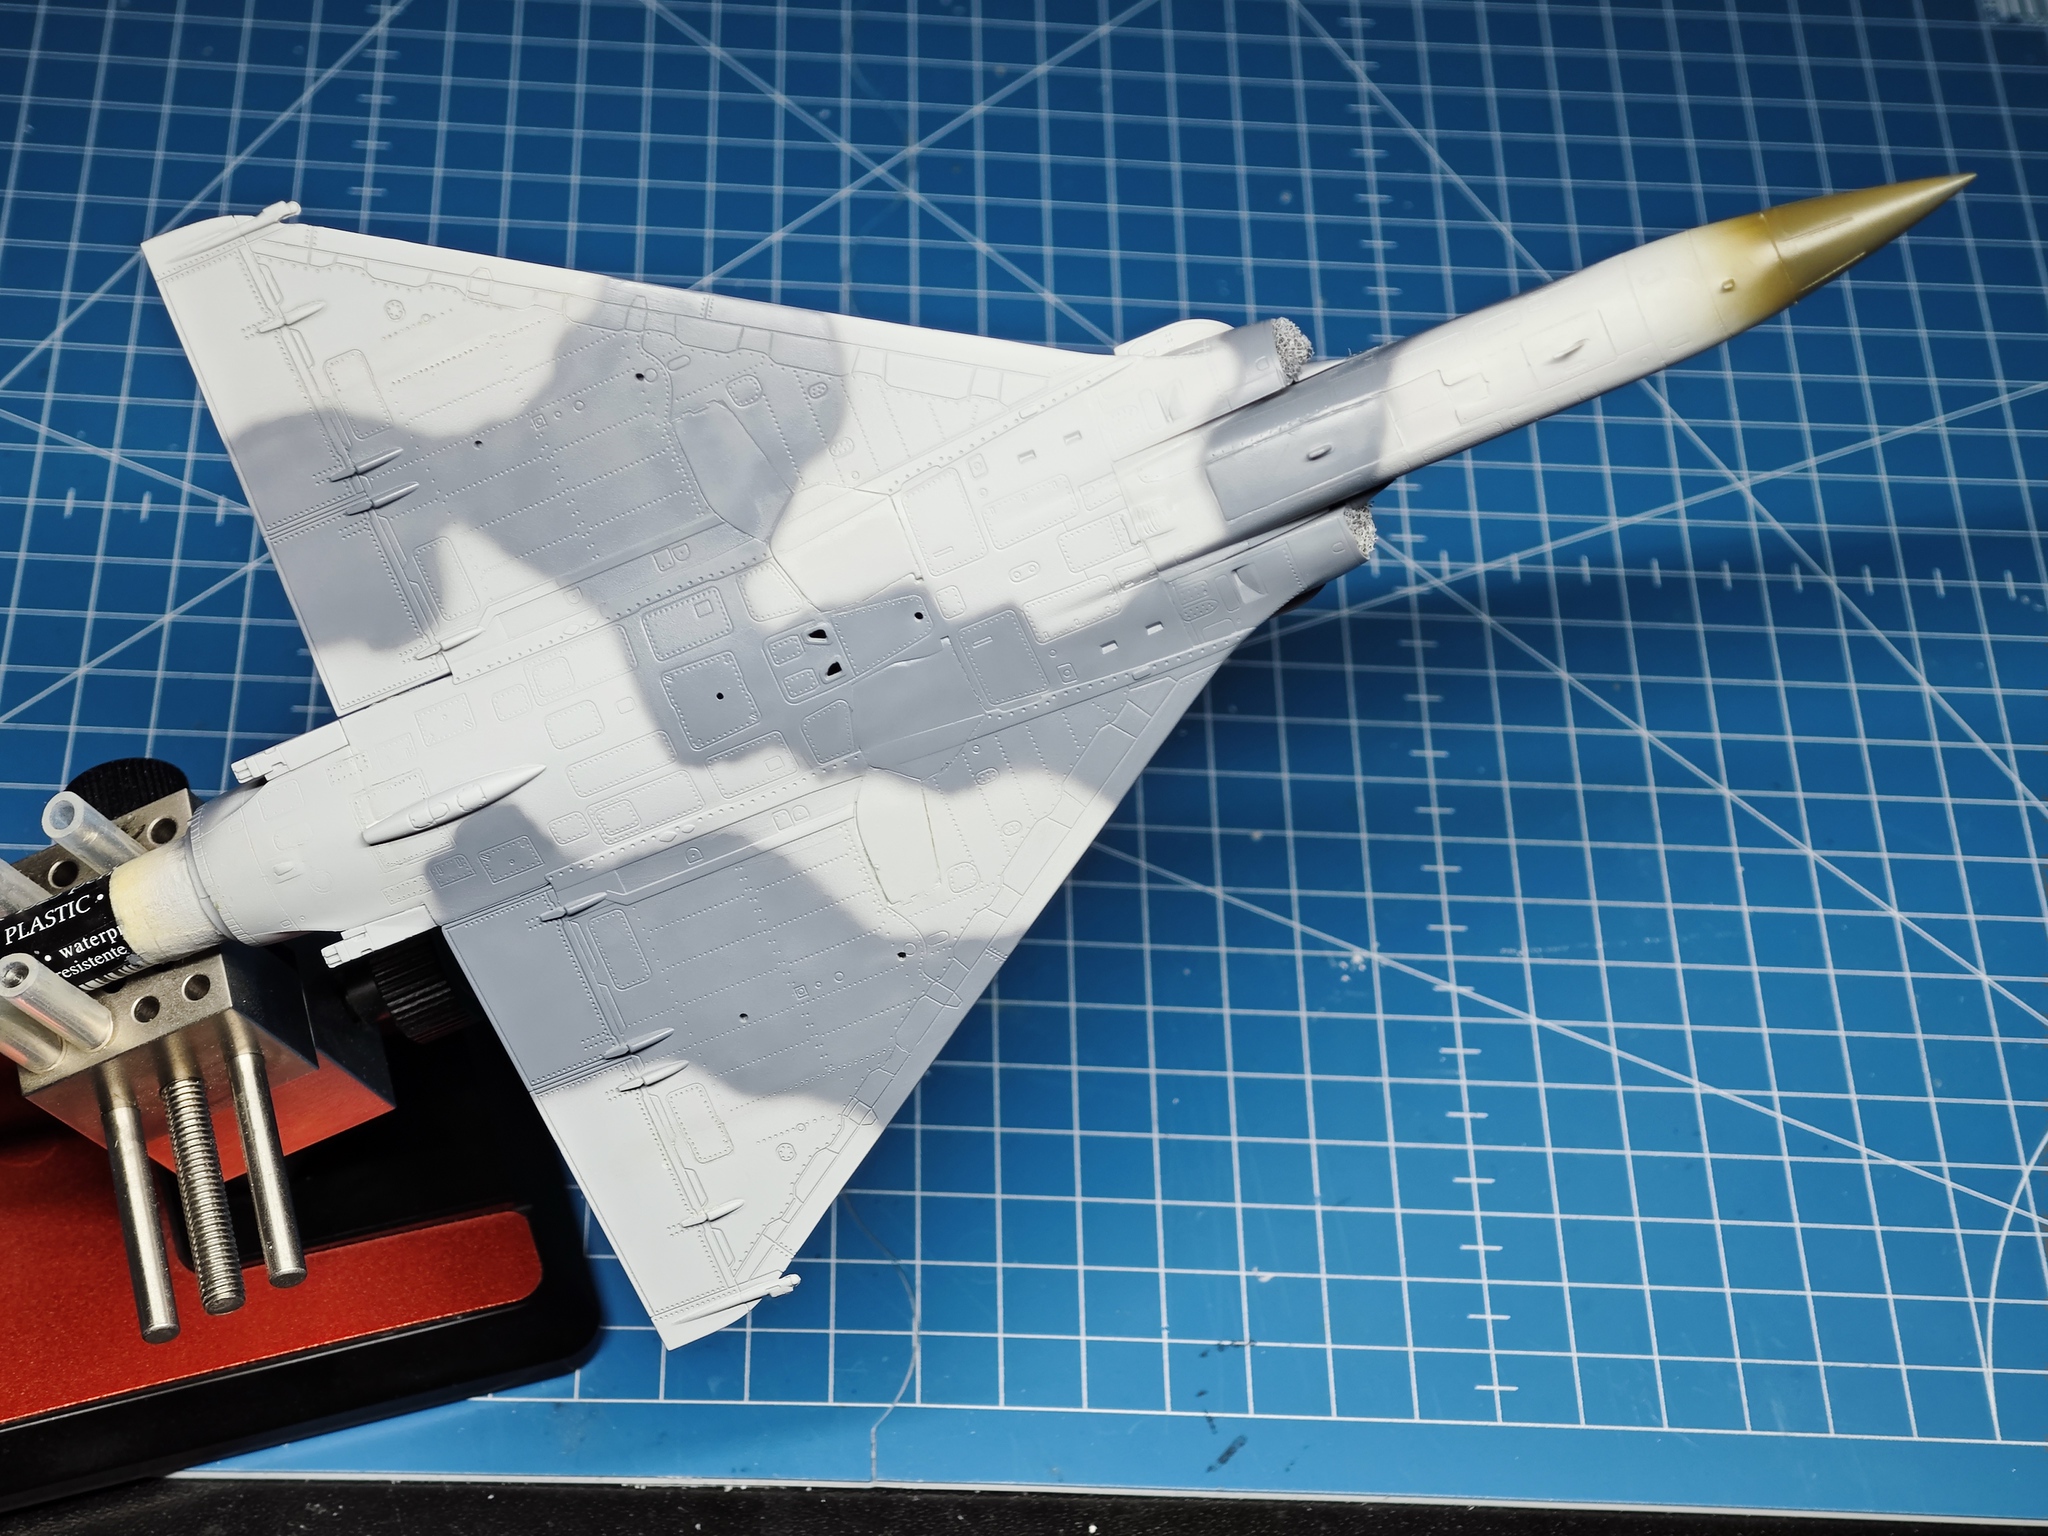
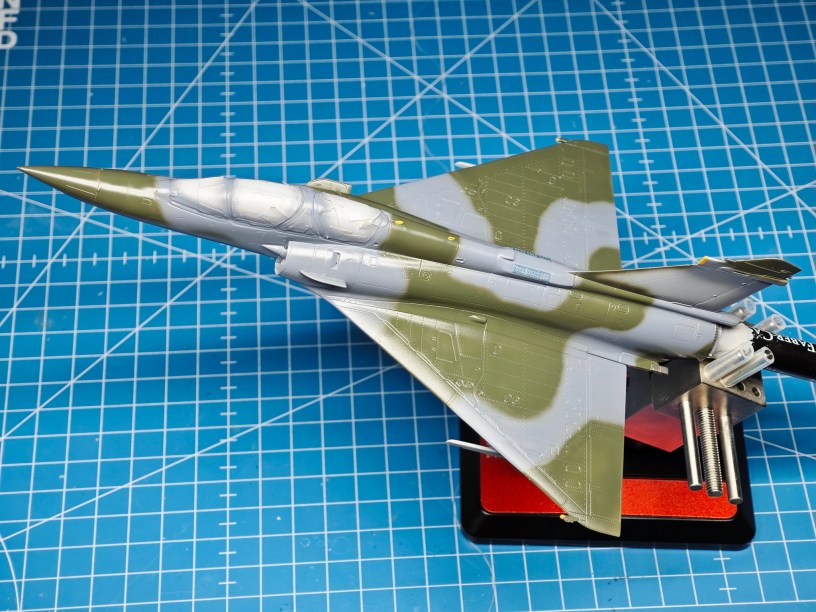
Started the painting. As I don’t have a dedicated 2000D paints I’ve decided to eyeball the closest paints I have in my stash – I hope hardcore Mirage fans won’t burn me at the stake for it. I’ve used FS36118 Gunship grey for the dark grey and painted the nose cone olive drab.


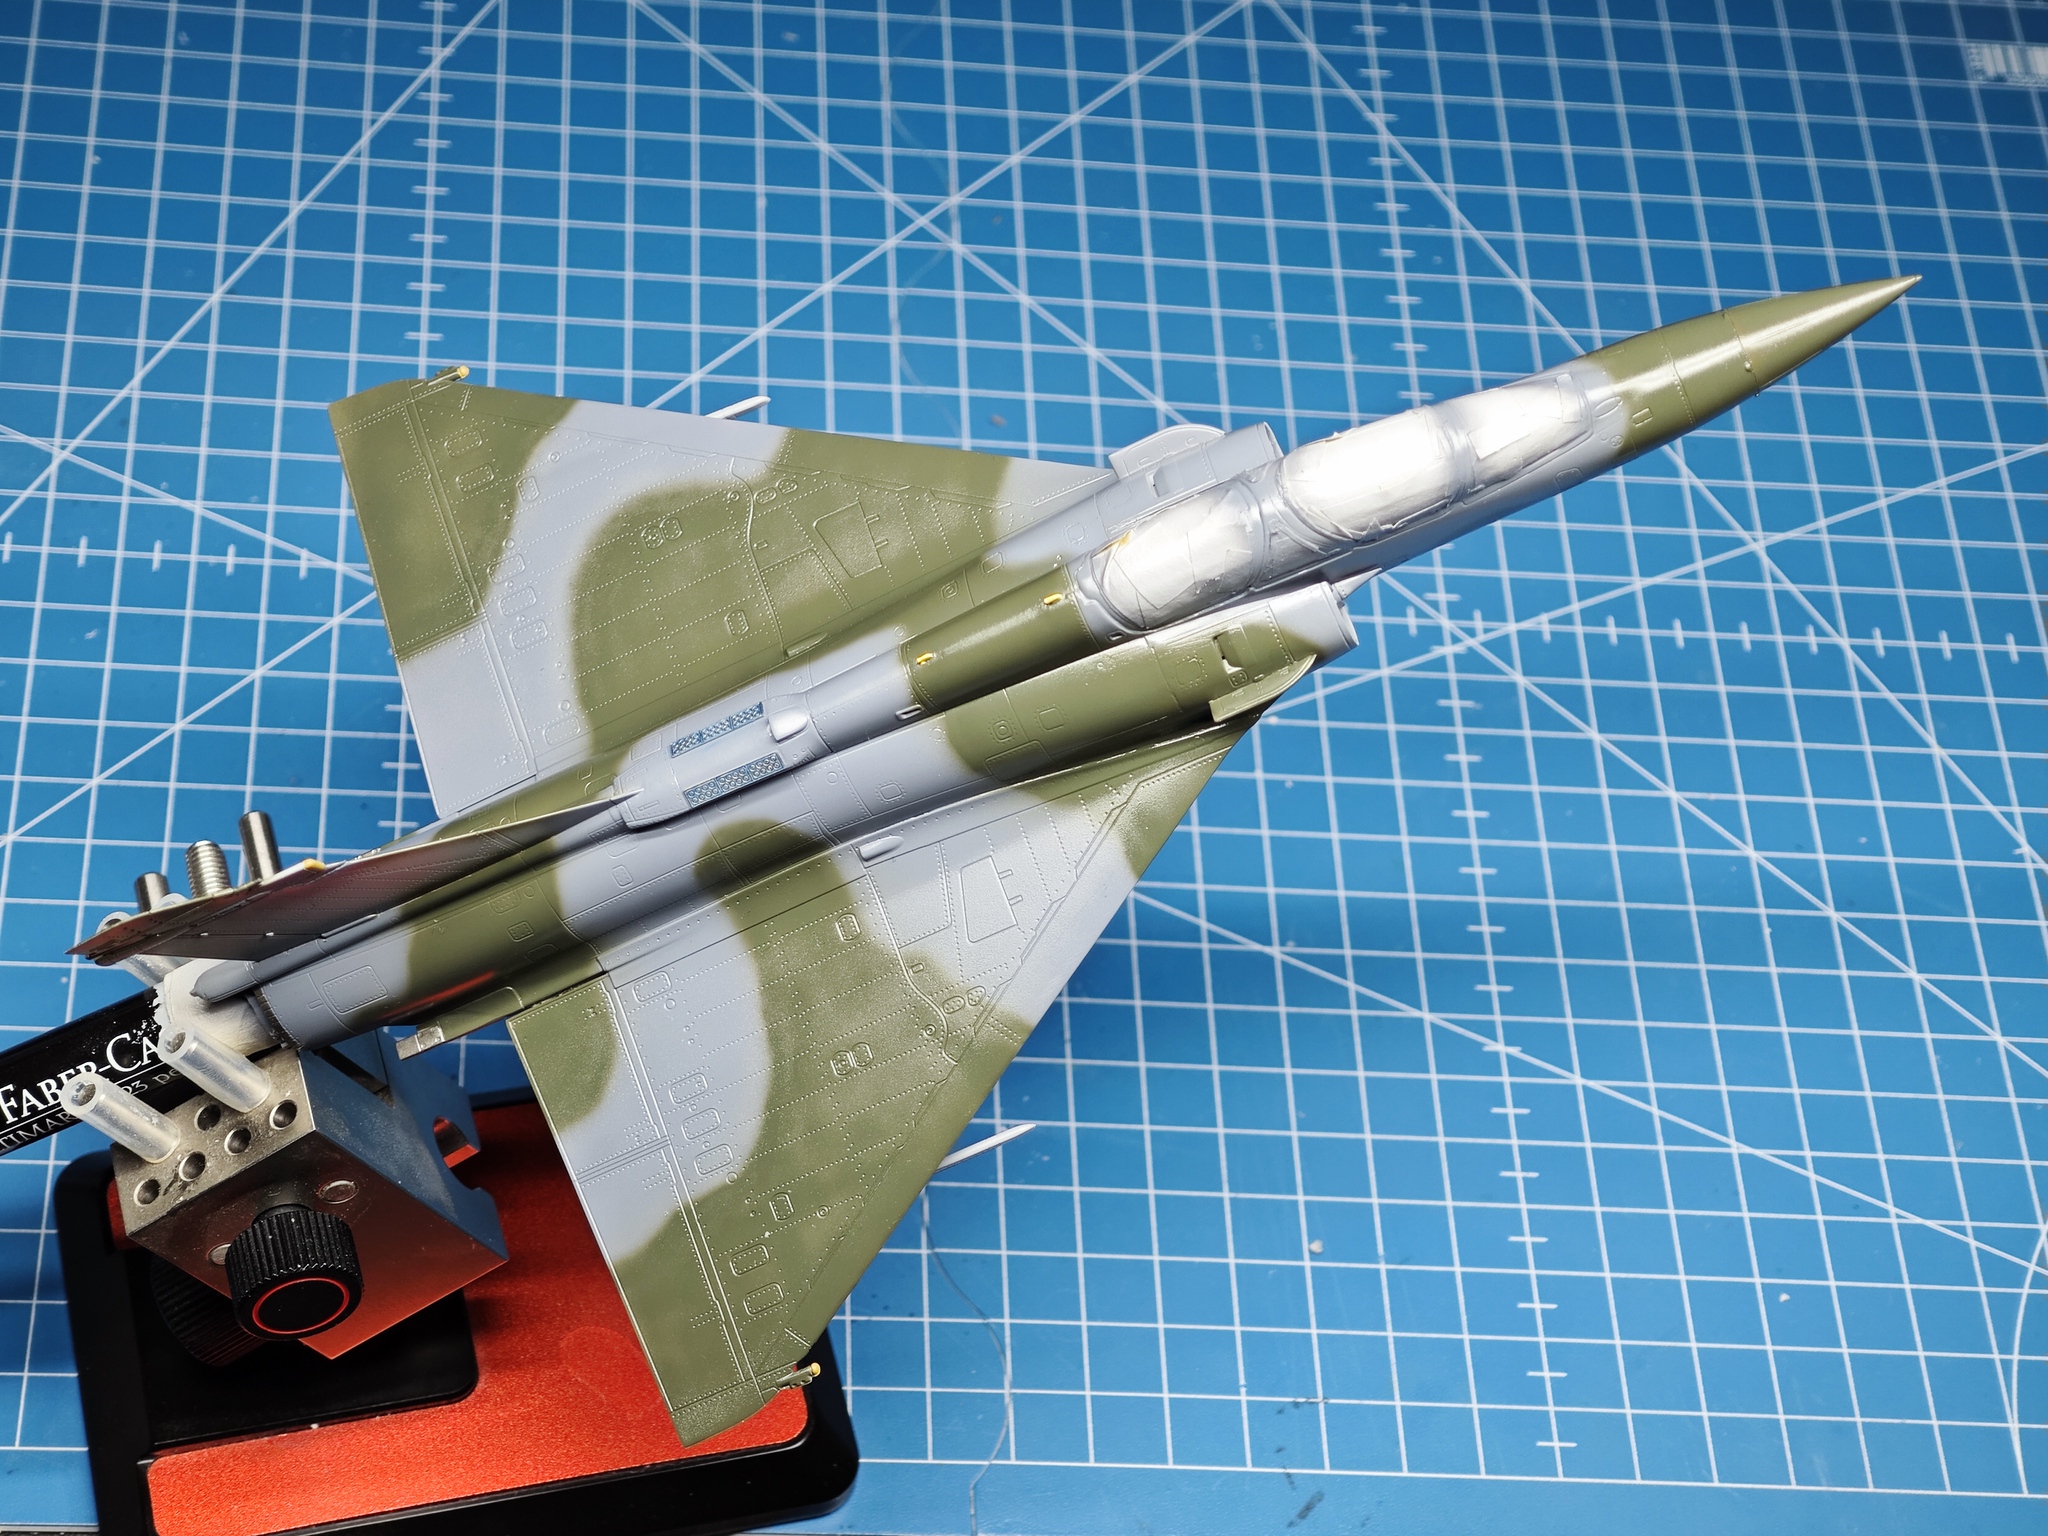
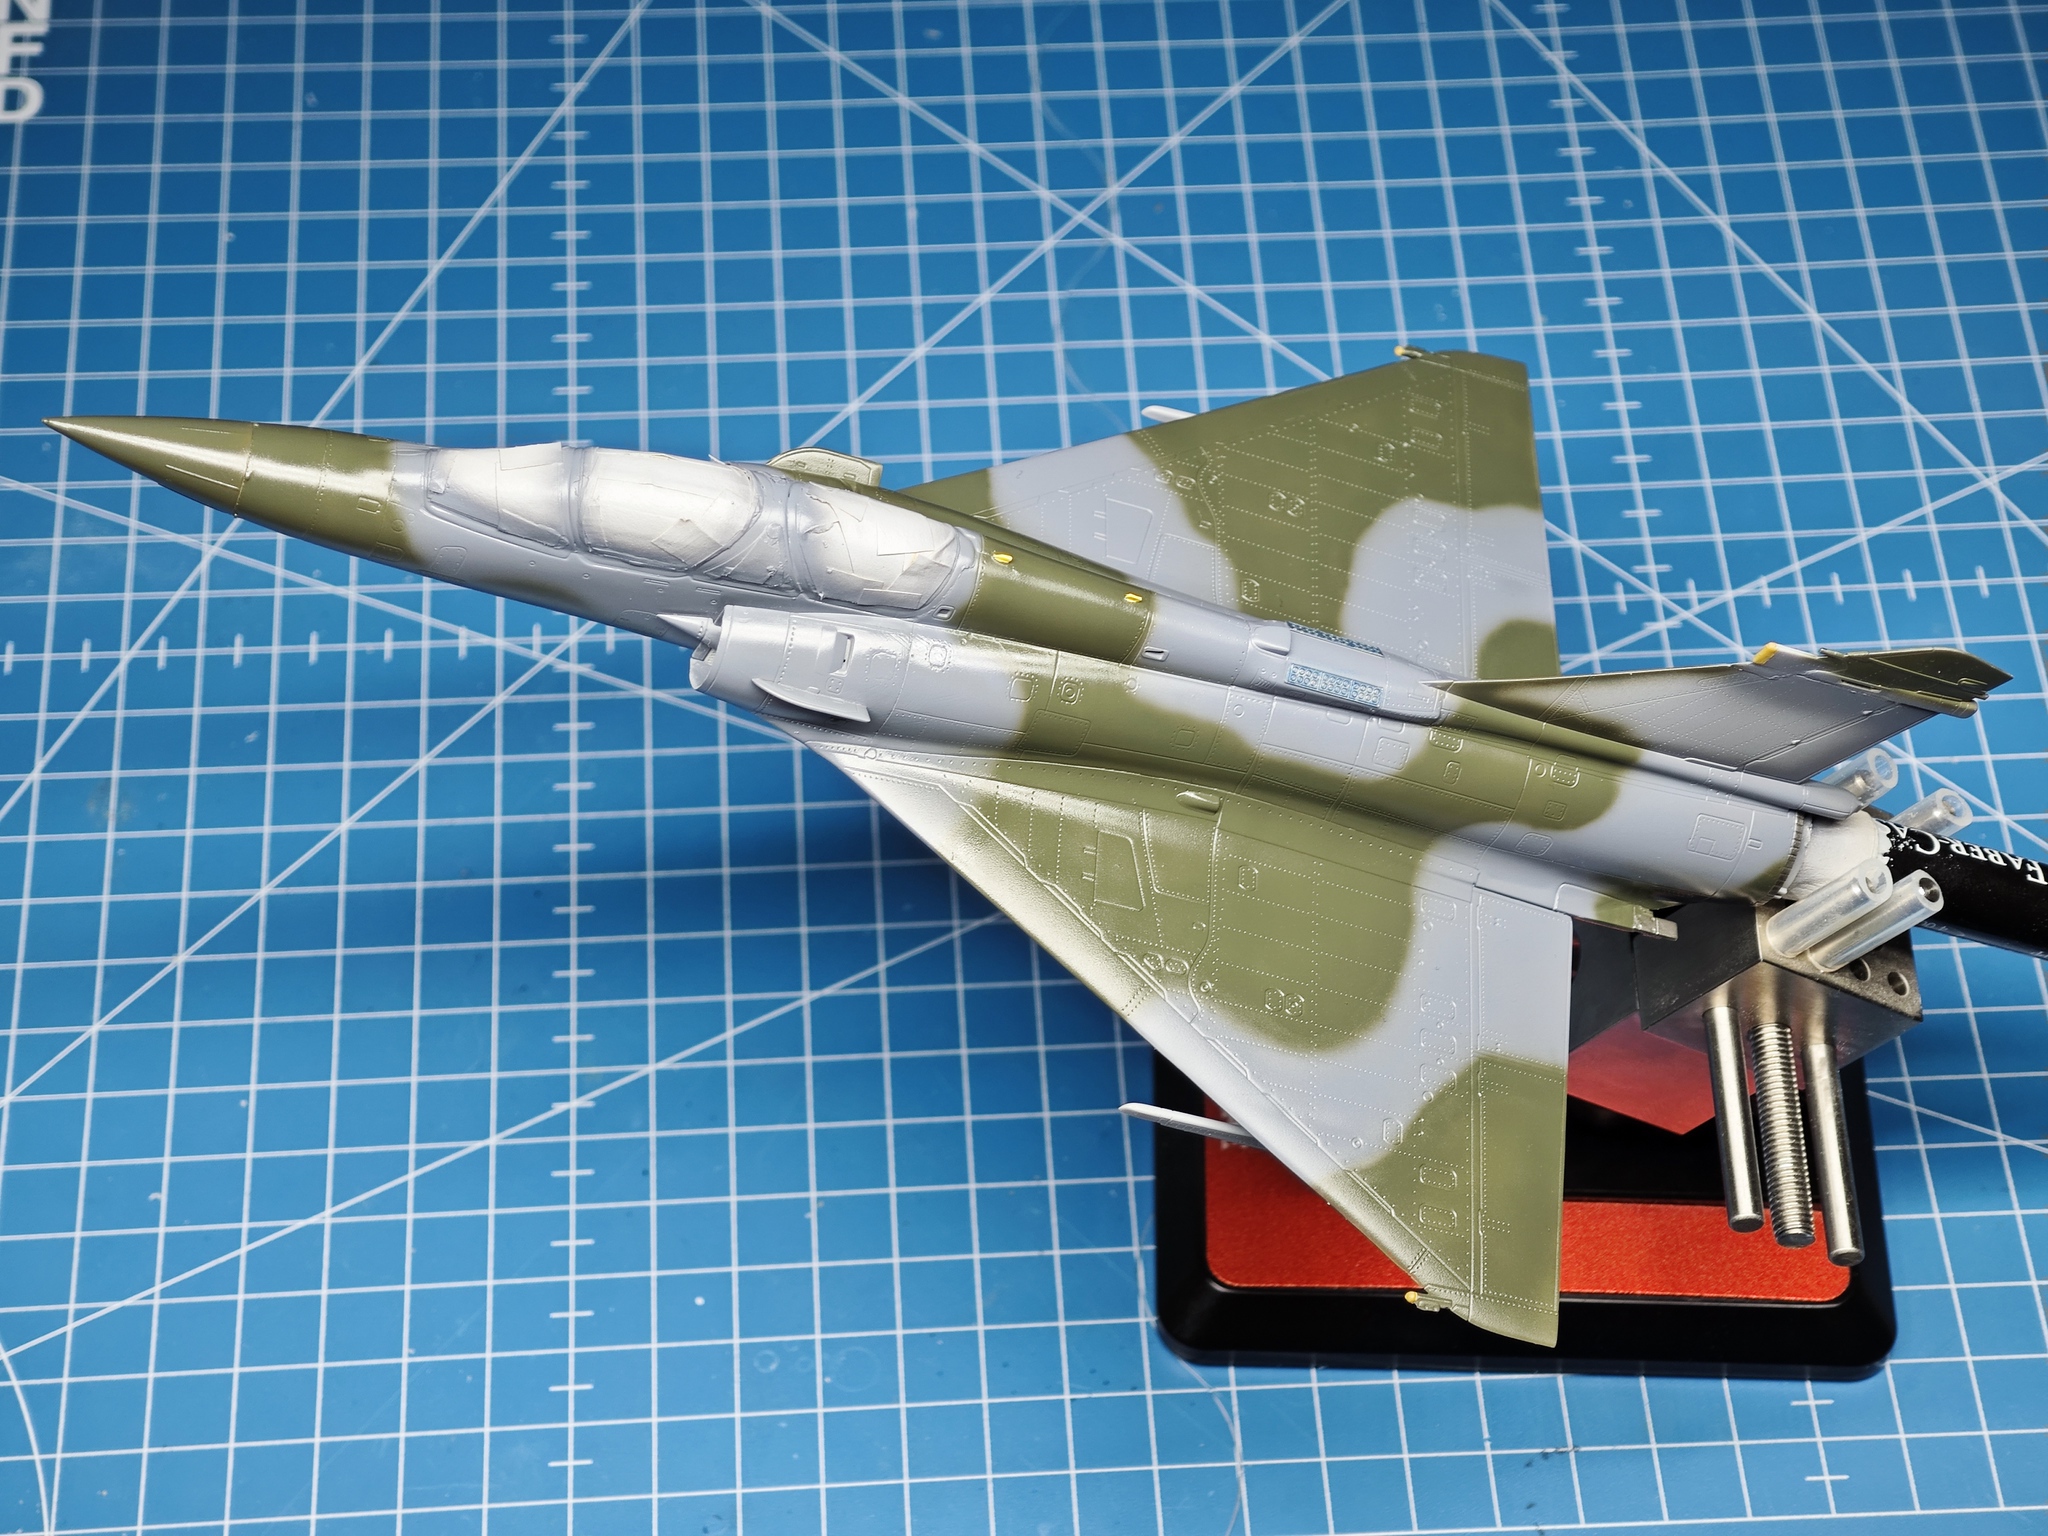
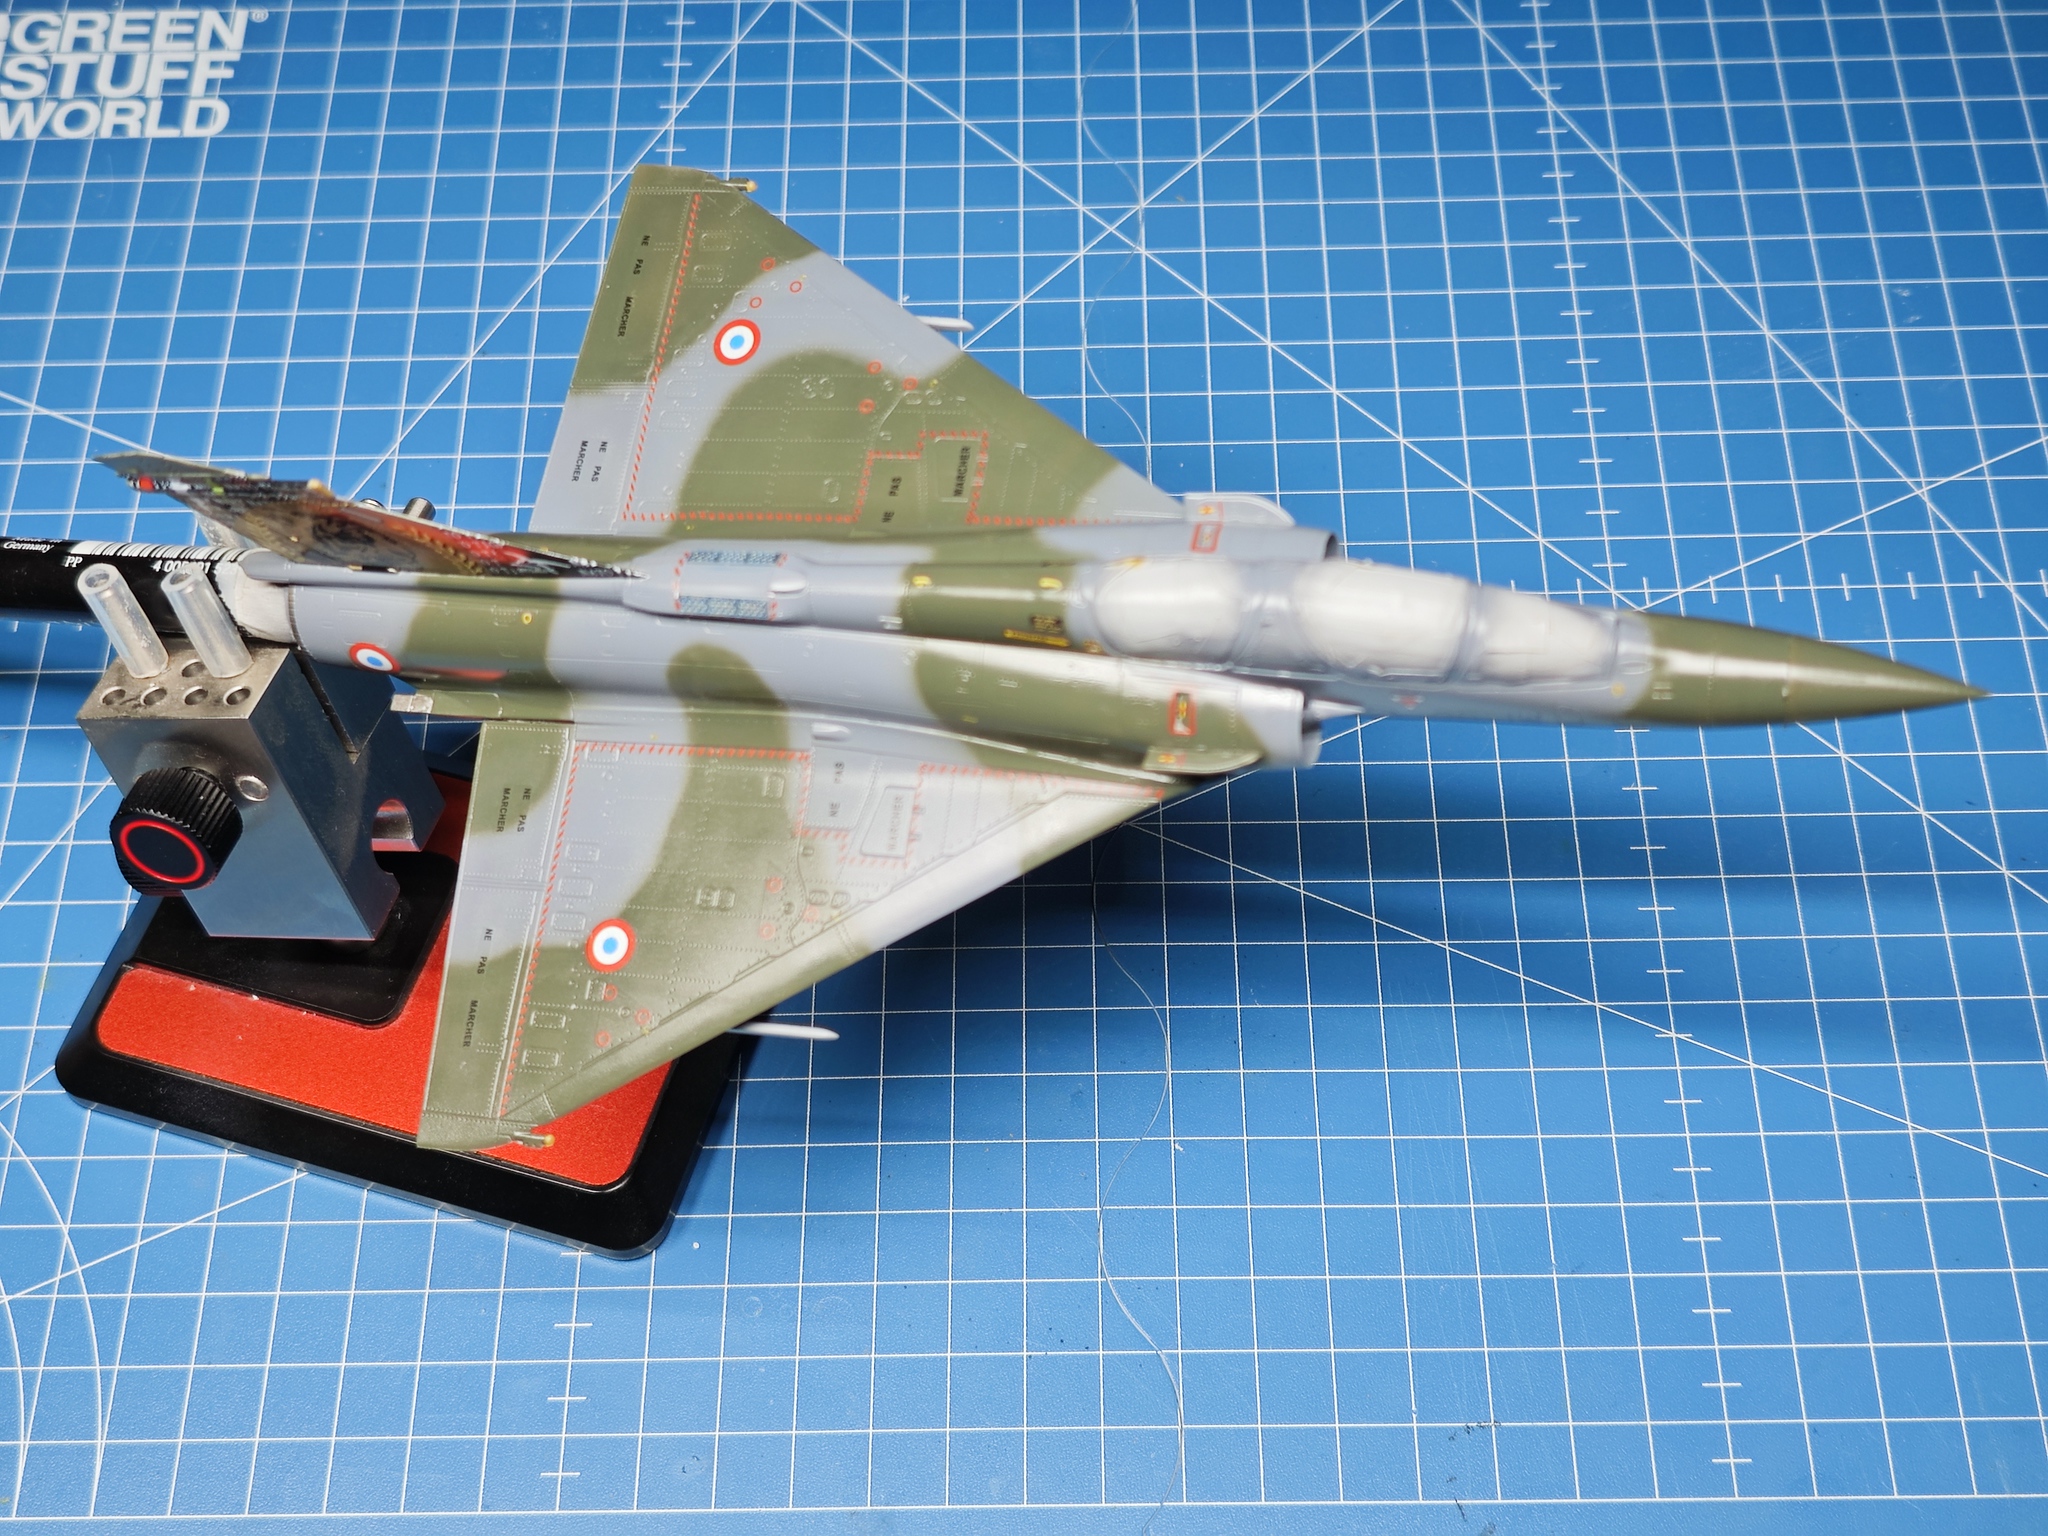
The main camo job is done. RAF Dark Green was used for the green. Unfortunately as I do not have space for a permanent photo booth, the colour representation is not accurate. Direct lightning and phone camera sensor make the colours way lighter than they are to a naked eye. However this will be evident in the final “reveal” photos of the finished bird.
A word of caution though – do not follow Dreammodel’s painting instructions. According to them, the lower surfaces should be painted light grey which is correct for the N version, but not for D. Ds carry wraparound scheme.
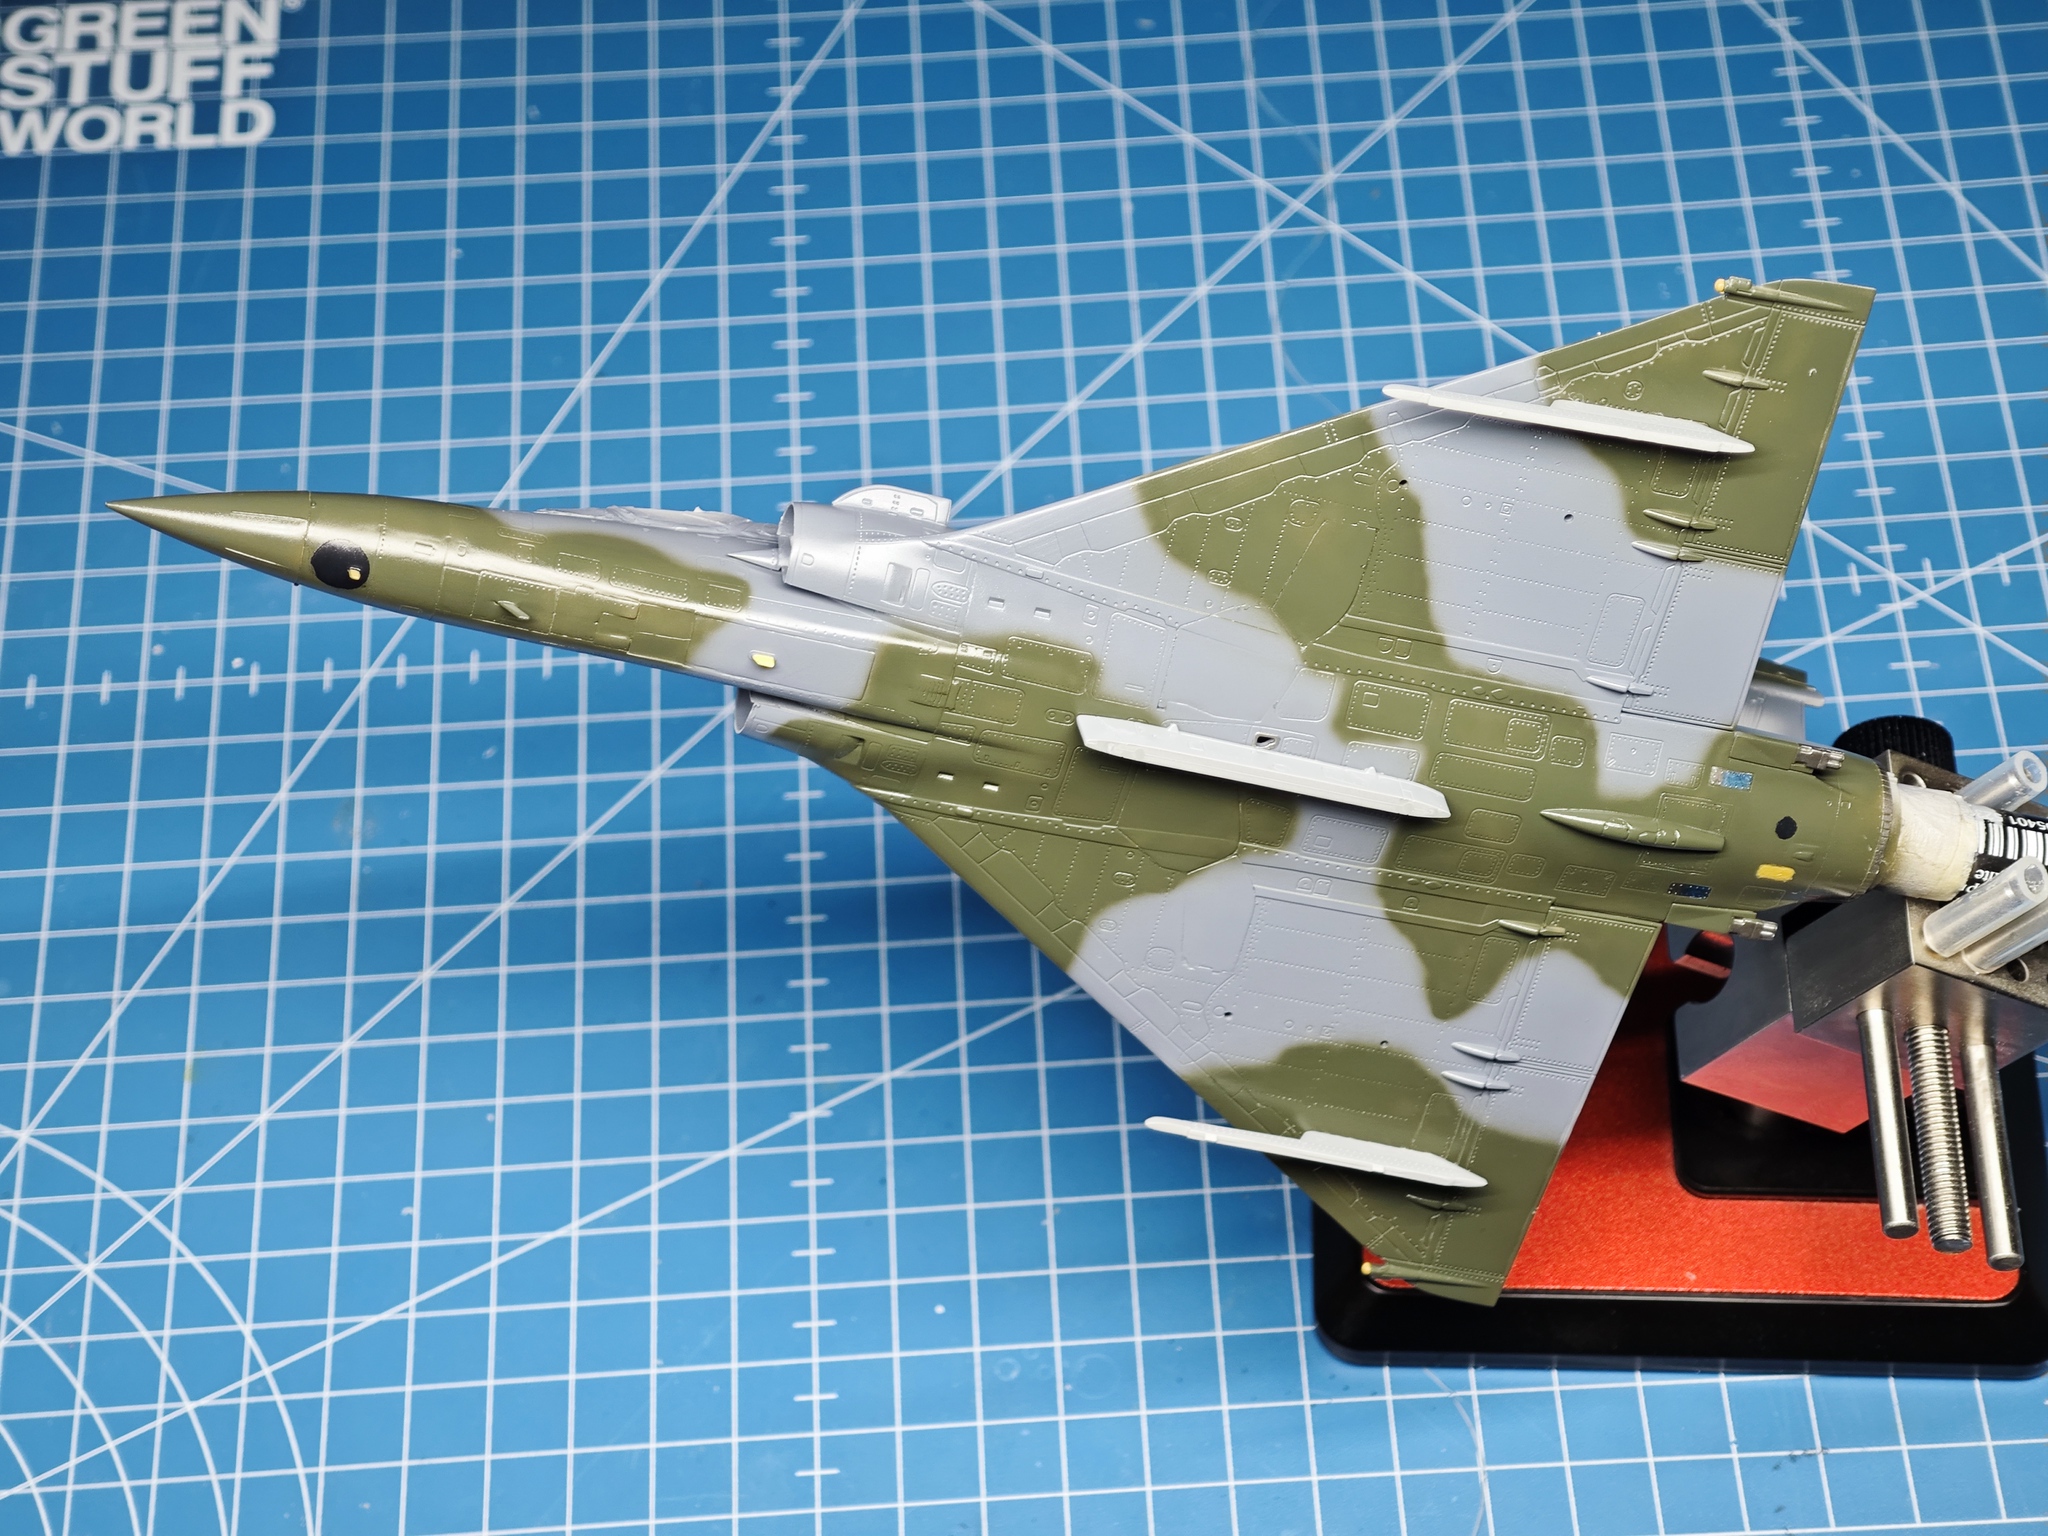
Some more detail painting was done over the weekend – mainly on details, sensors antennas and I also attached the pylons and prepared everything for the decals application.
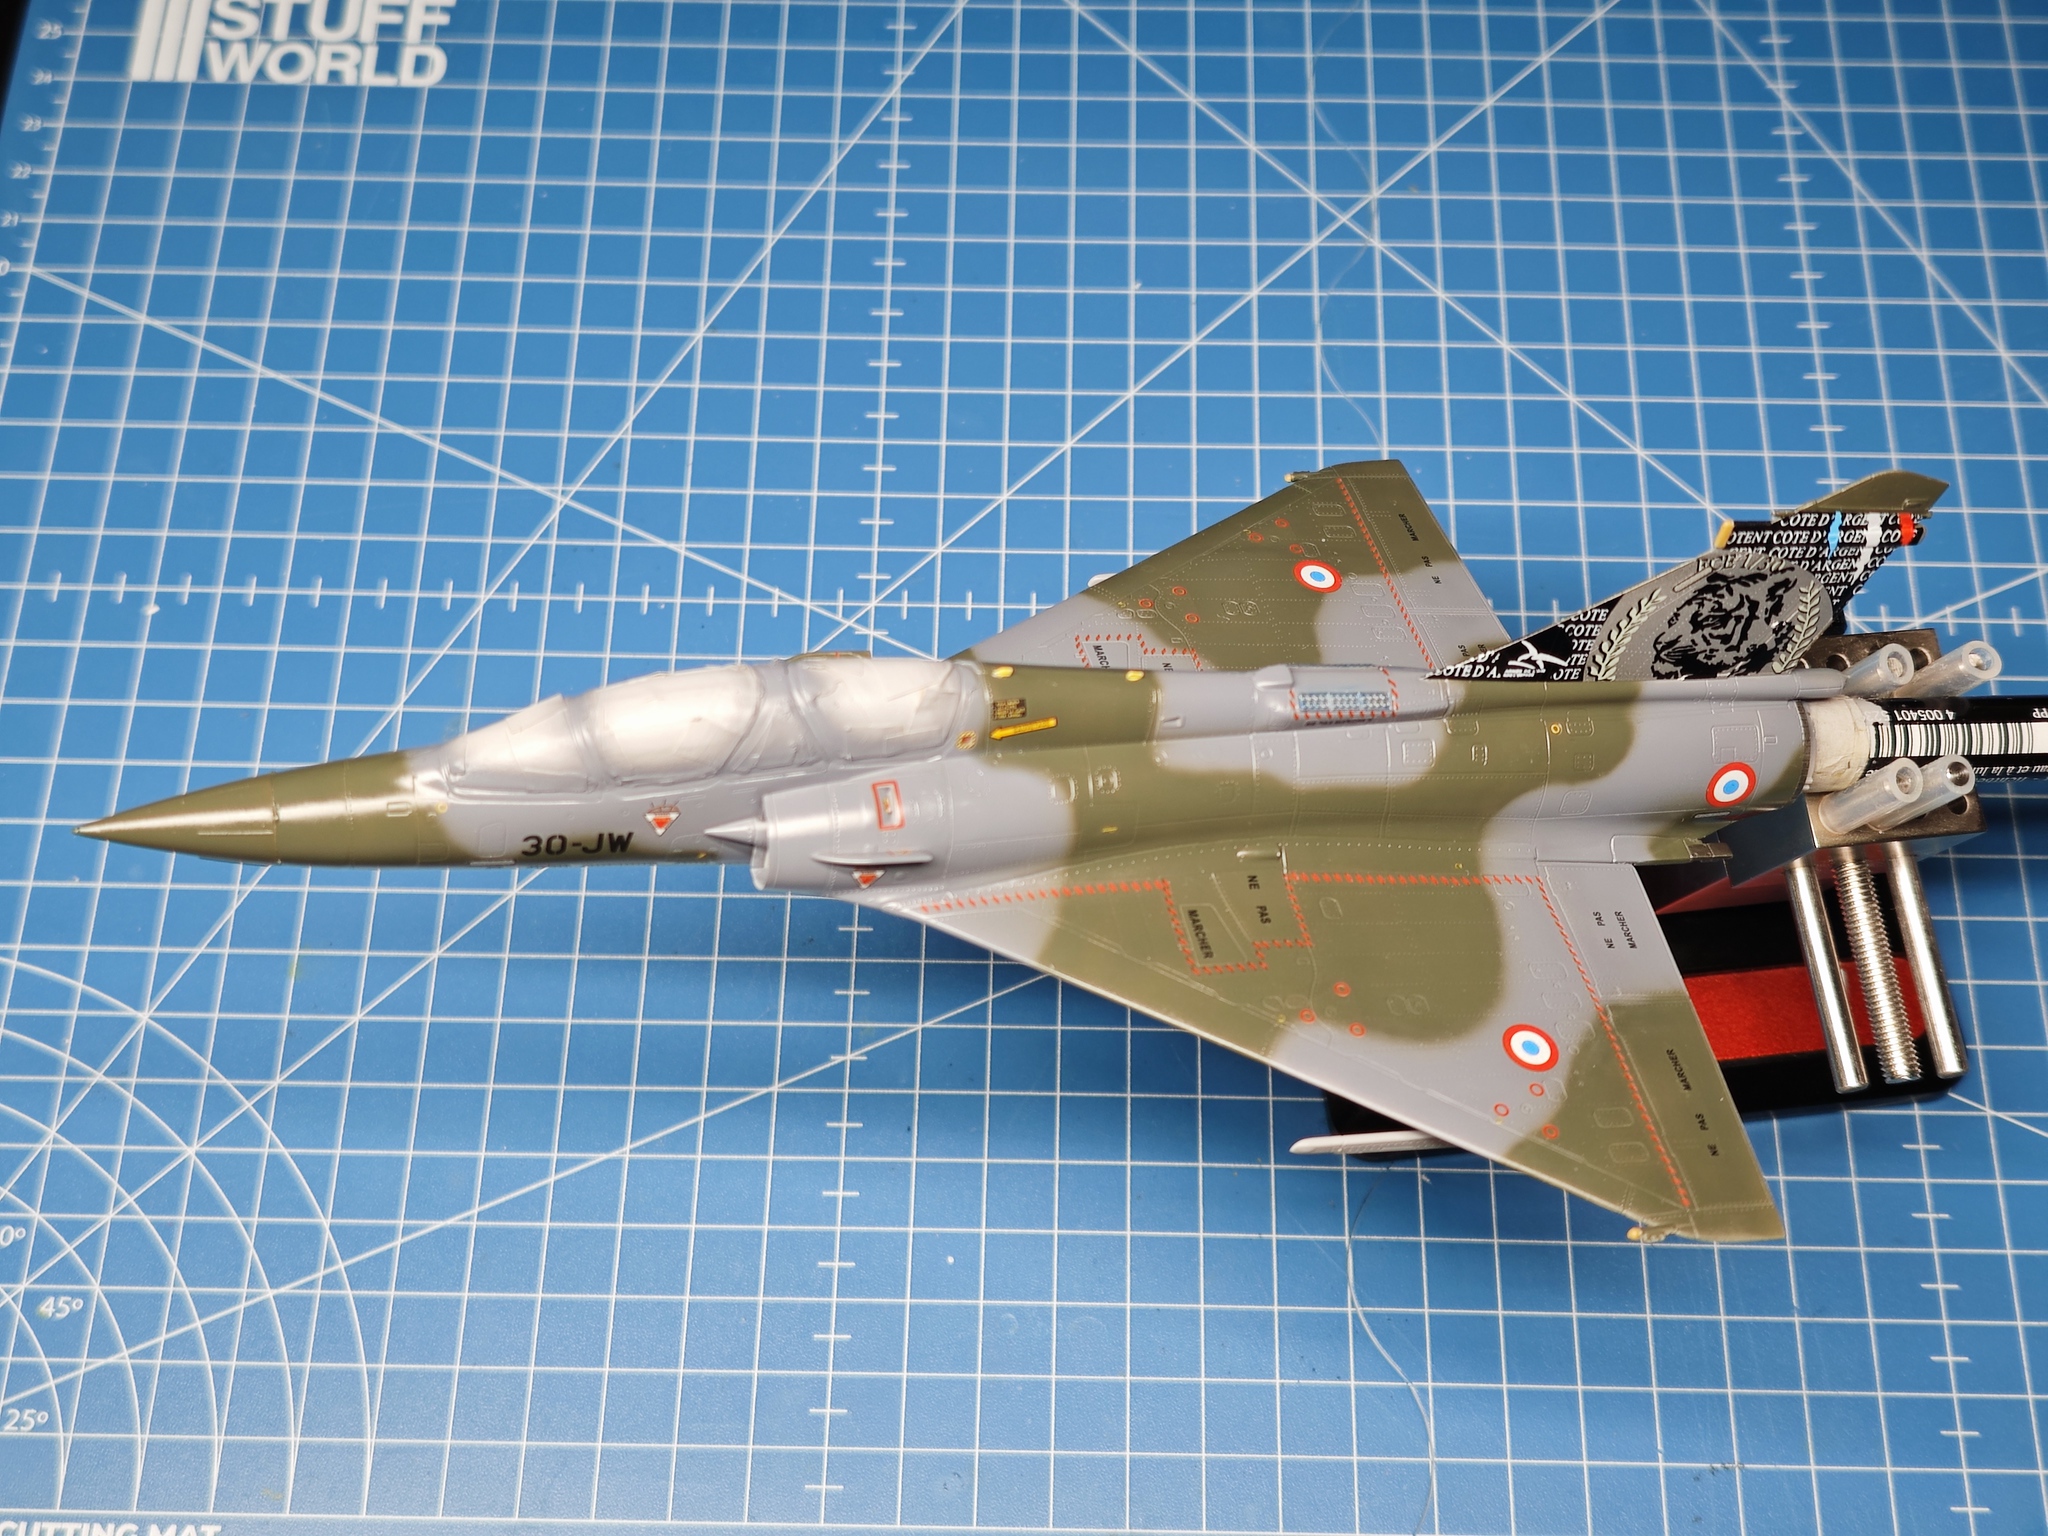

Decals applied. These Dreammodel decals are one of the weirdest I have applied to date. They have totally flat clear carrier film and no matter how much setting solutions you apply, they still look like they are silvering. Fingers crossed clear coats will solve the issue. Other than that, they also tend to stick to the surface quite hard as soon as you move them from the backing paper, so use lots of water to move them around before pushing them into their final position.
The only exception to this are the two large Tigermeet tail decals. Originally they were printed on the main sheet symetrically with silver details and French flag scratches at the top but in reality, one side was silver with French, while the other was golden with Italian flag scratches. Luckily Dreammodel corrected this by adding these decals separately and they are printed gloss and behaved exceptionally well, conforming to the surface details and no silvering at all.

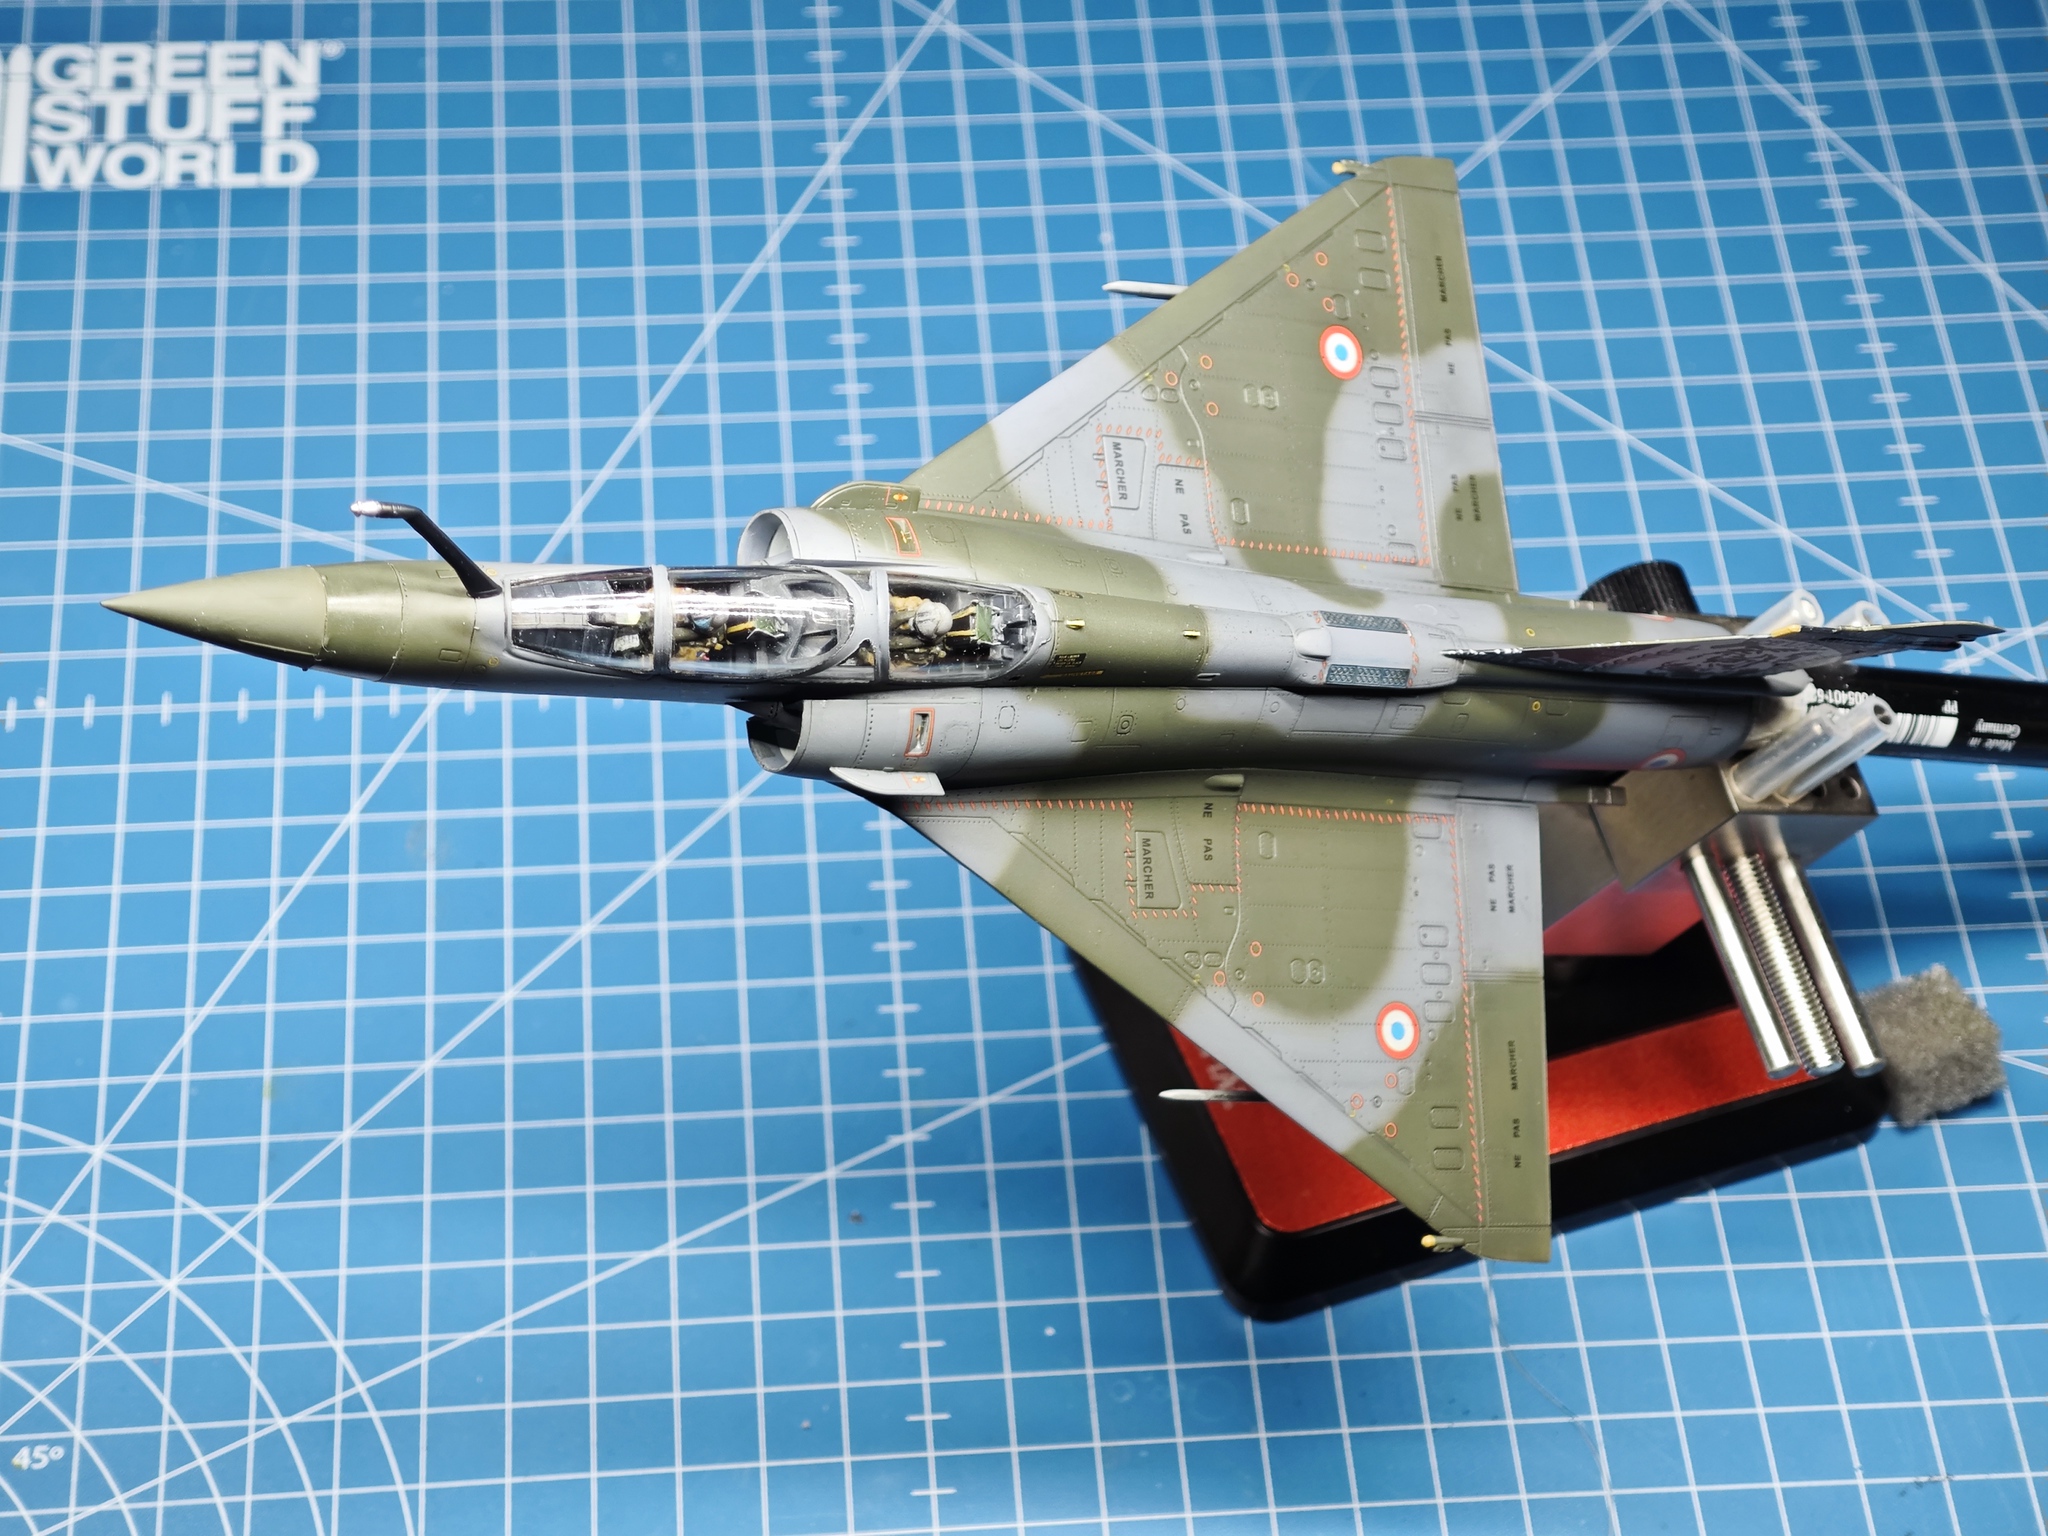
Last post was about the decals and now she has received a satin coat from VMS, with radome in matt and the area behind it in gloss, as seen on the real birds. Masks have been removed and I can already see her finished in my mind. Some light weathering is to follow and attaching all the hanging bits from her.

Excellent build, Seb! Great tip on checking seams with the AK markers. I agree on the cockpit decals, If they are printed well they look perfectly acceptable for most builds.
Thank you, Jeff! I used to paint normal acrylic paints over the seams, but these markers are just so much better and quicker option. And yeah, cockpit decals are getting better and better. When I built Arma’s Hurricane, the decaled instrument panel looked as good as Yahu replacement and in the end, they all get hidden from sight in those narrow ww2 fighter cockpits anyway 😀
Thank you! Heat gun is your friend! Looking forward to your build!