
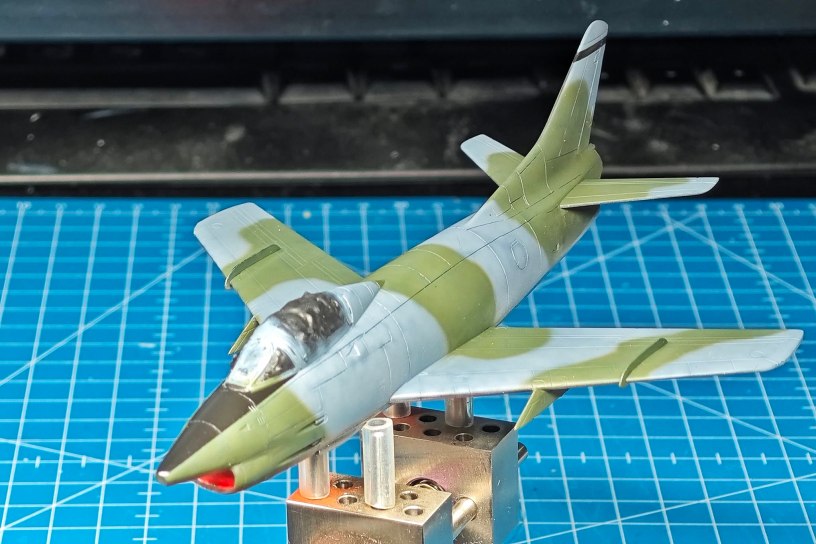
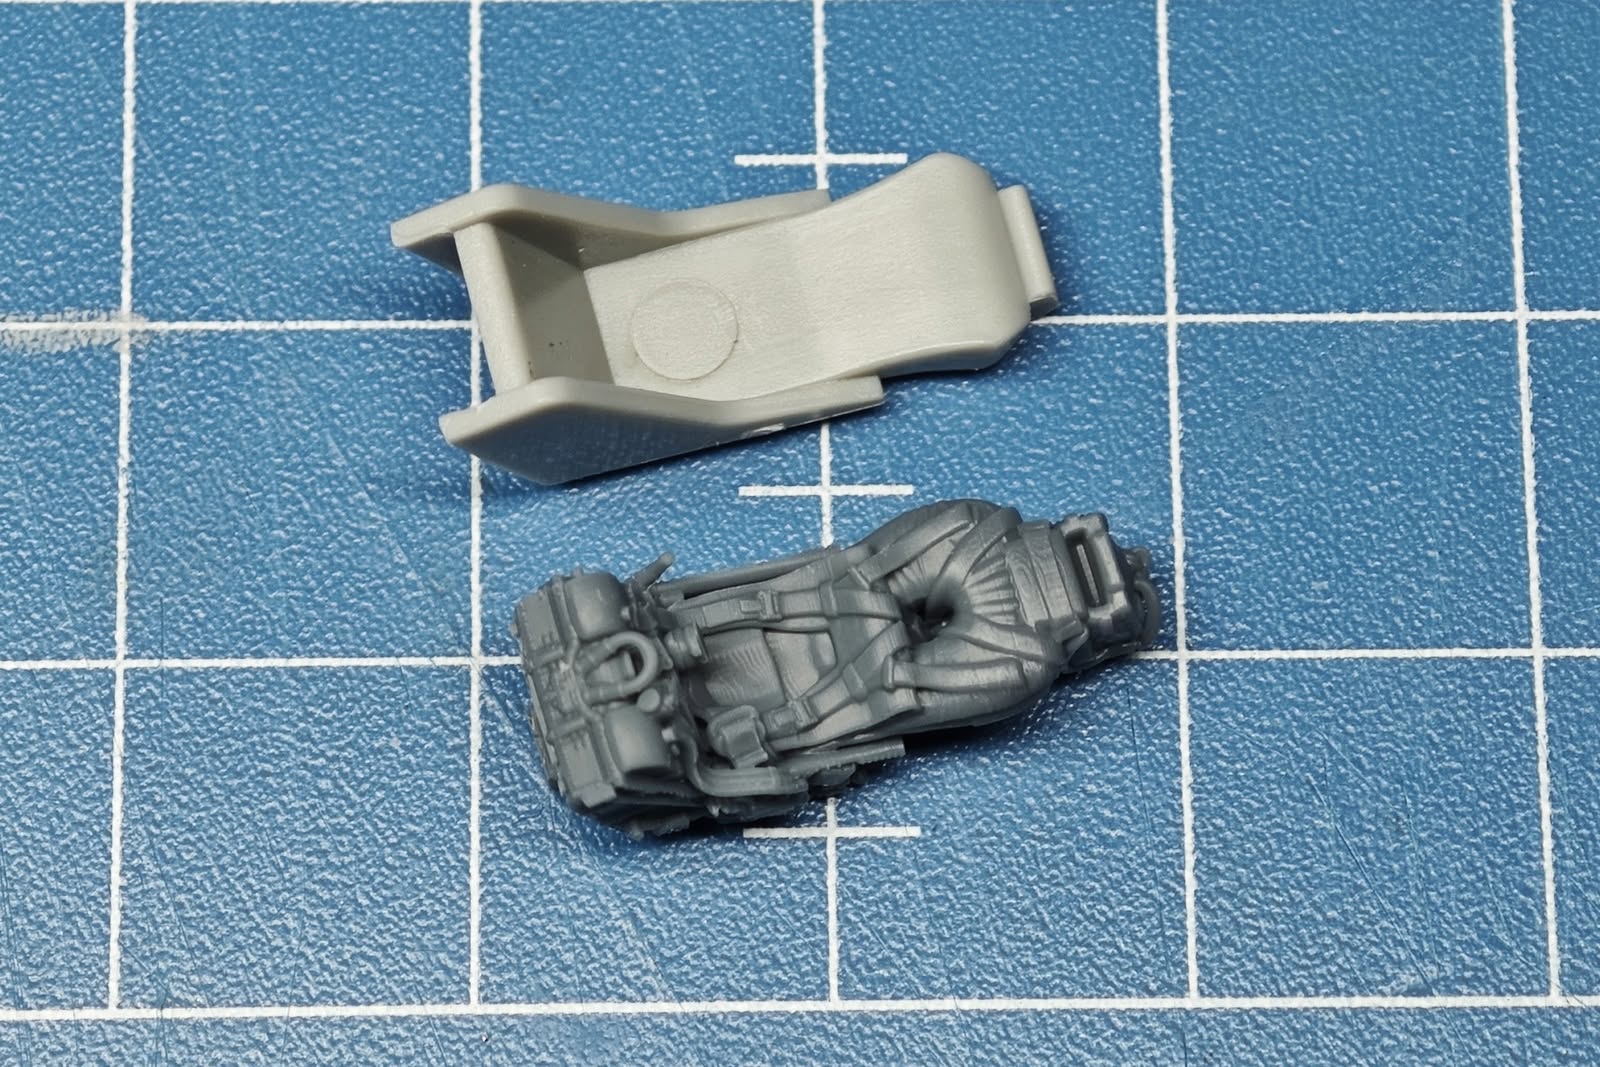
As you can see in the picture, the kit supplied ejection seat is just too simplifed and hardly resembles a real thing. While I didn’t want to go overboard detailing this model, I just had to replace it. Sparkit resin MB Mk.4 saves the day!
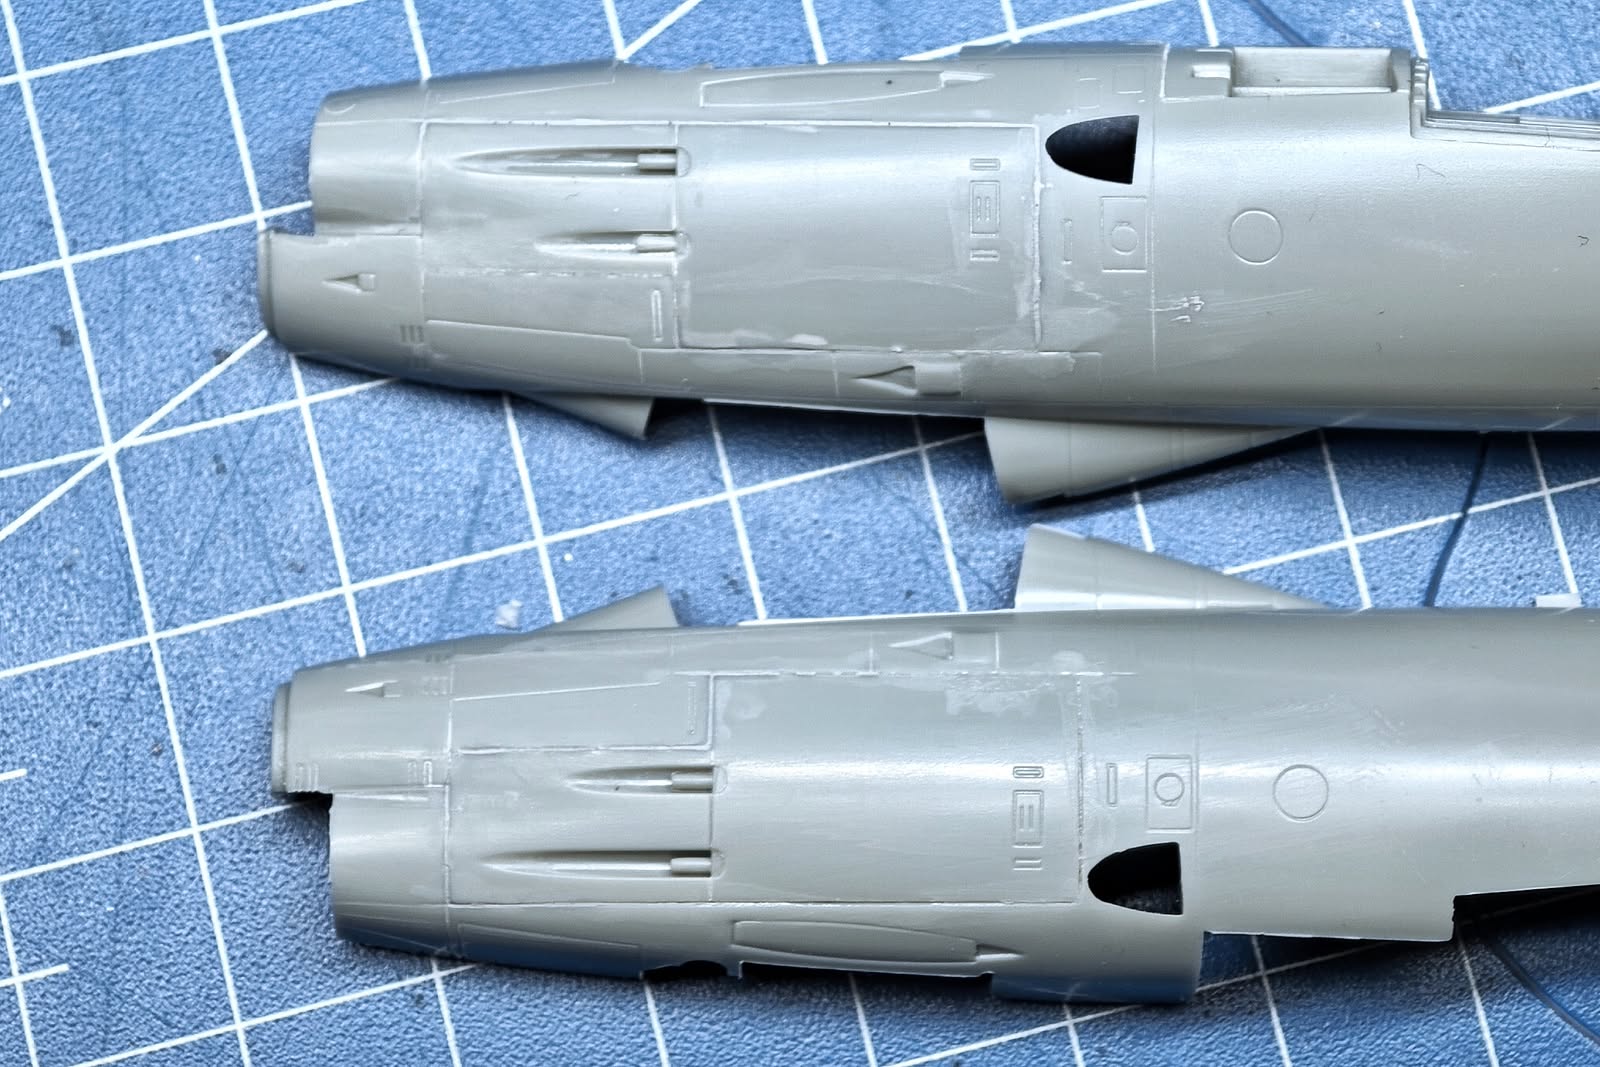
As you can build both R1 version armed with 4 .50 cal machine guns and R3 armed with 2 20mm guns (used mostly by Luftwaffe), there are separate inserts on the fuselage sides. Fit ain’t perfect so a little blending in was needed but nothing major.
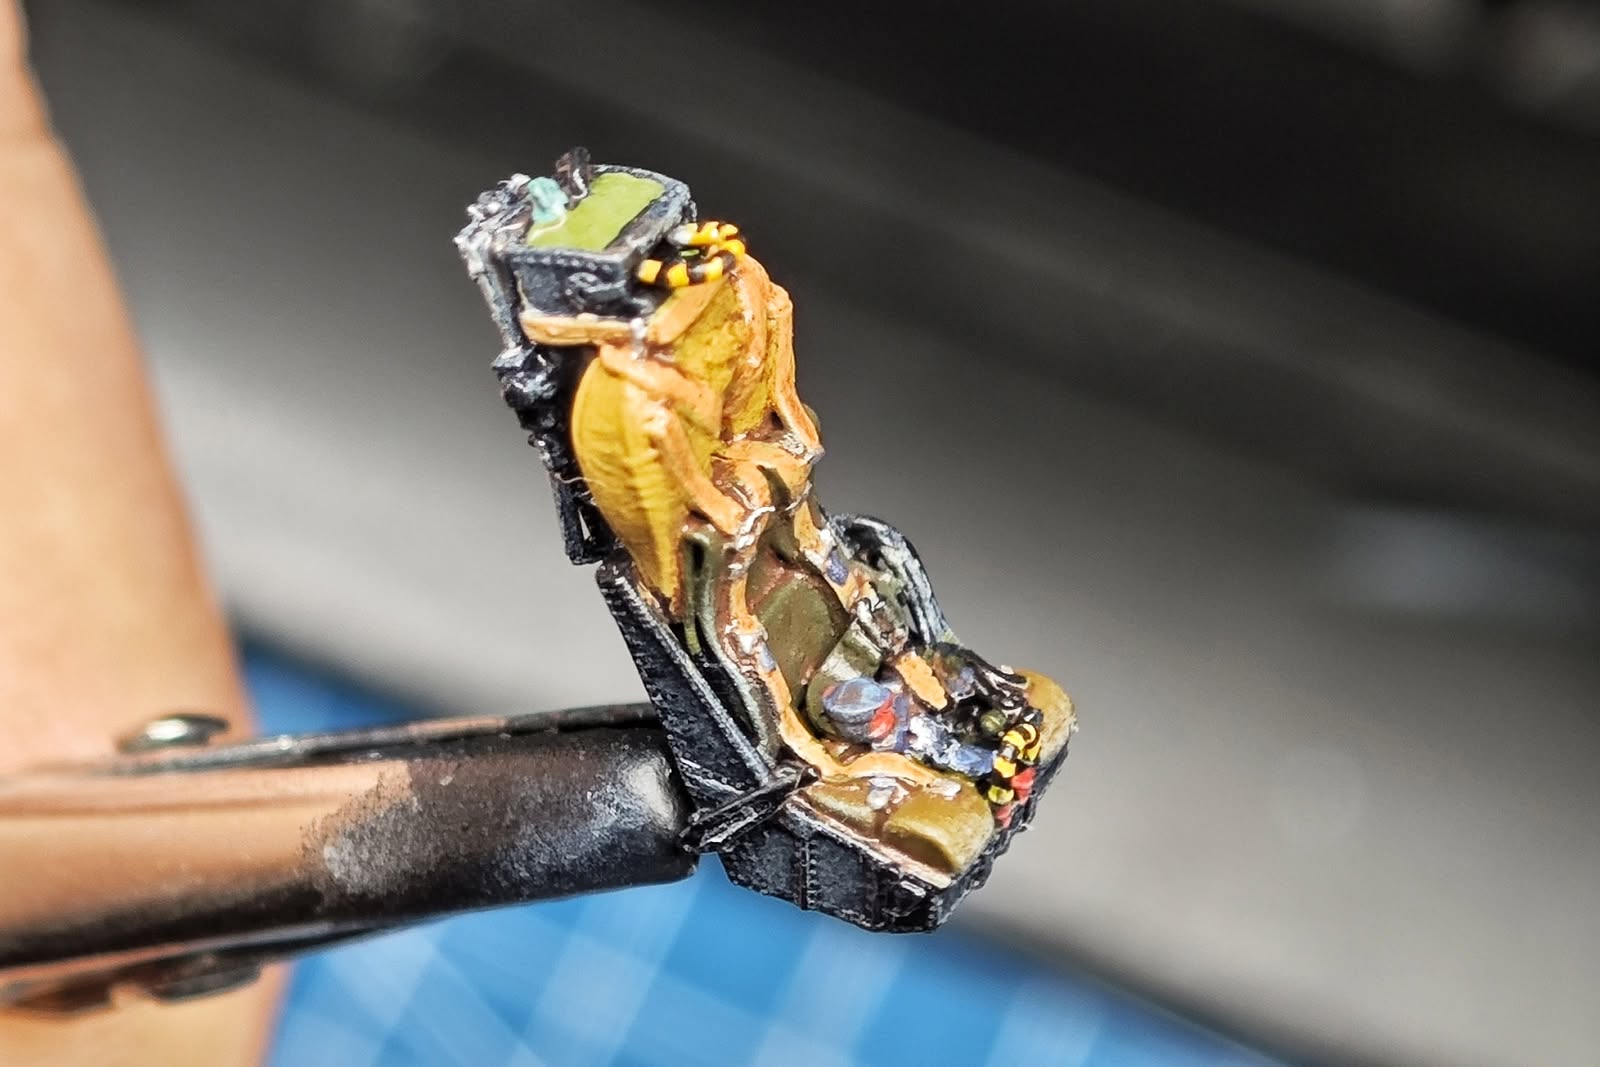
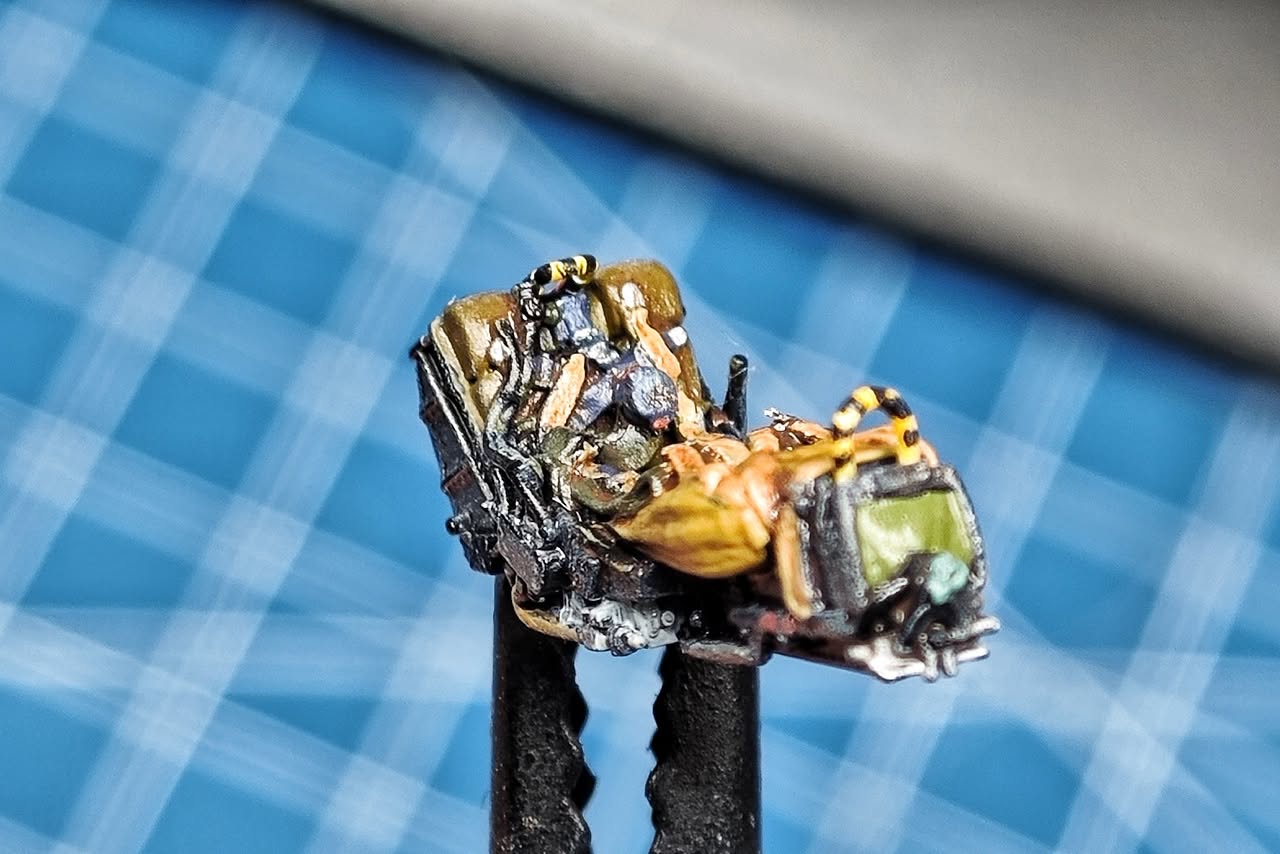
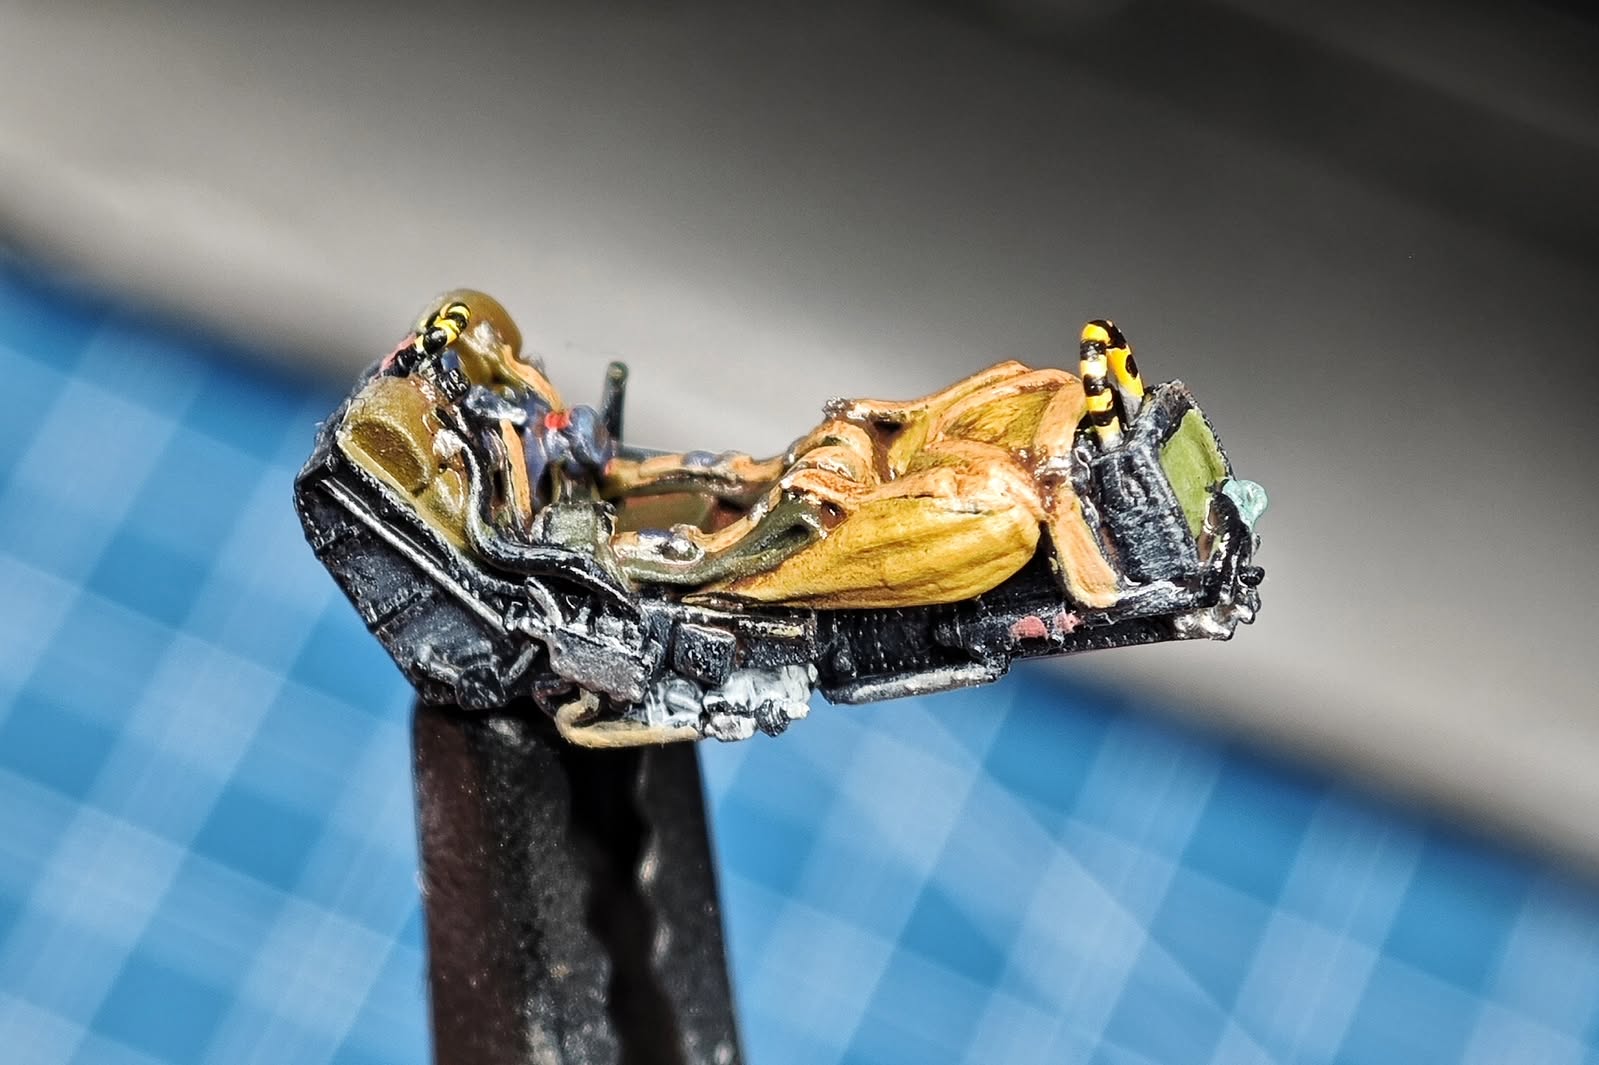
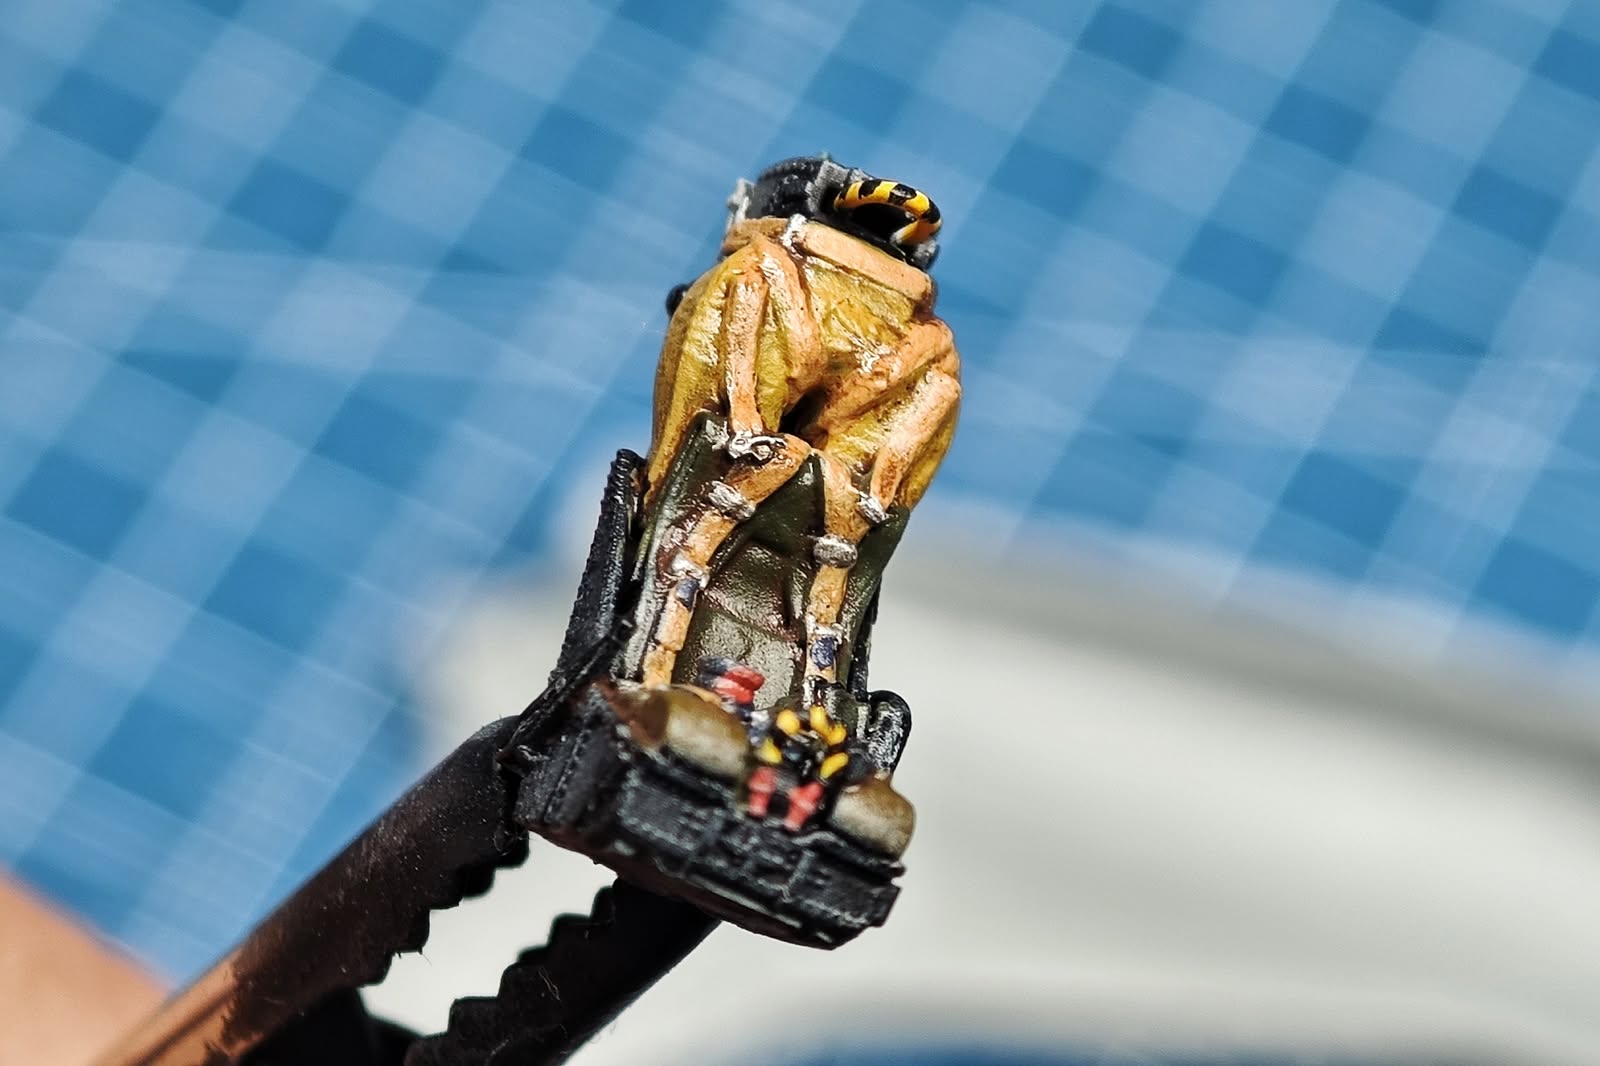
Sparkit ejection seat is a real gem detailwise and a pleasure to paint. It will definitely be a focal point of the cockpit with brighter colours compared to dull greys and blacks of the cockpit itself. Only thing left to do is putting a flat coat on to dull the shine of the oil wash.
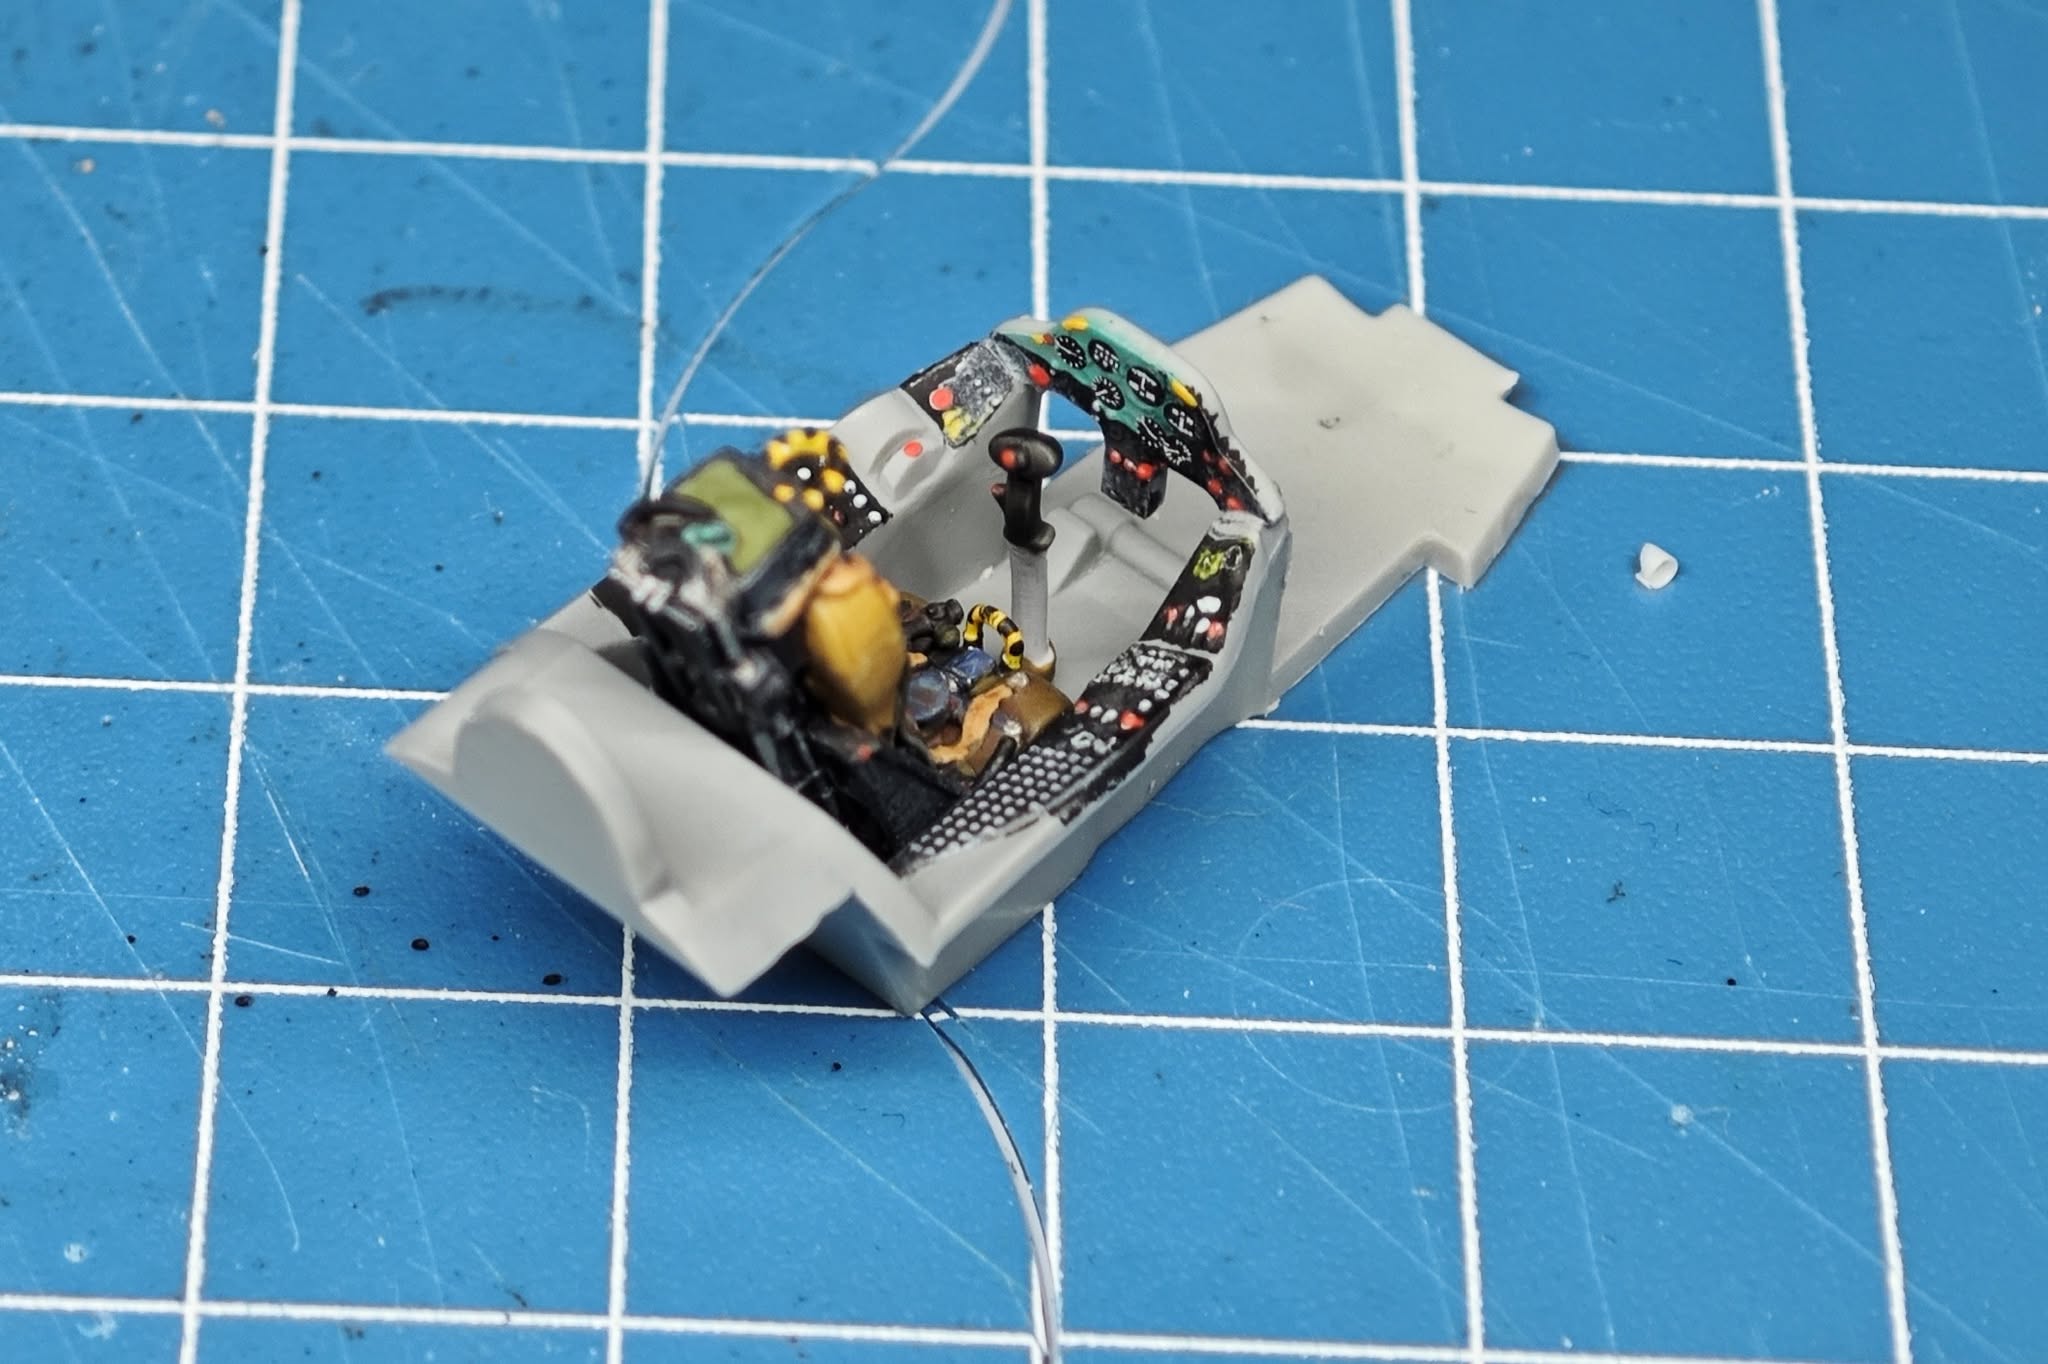
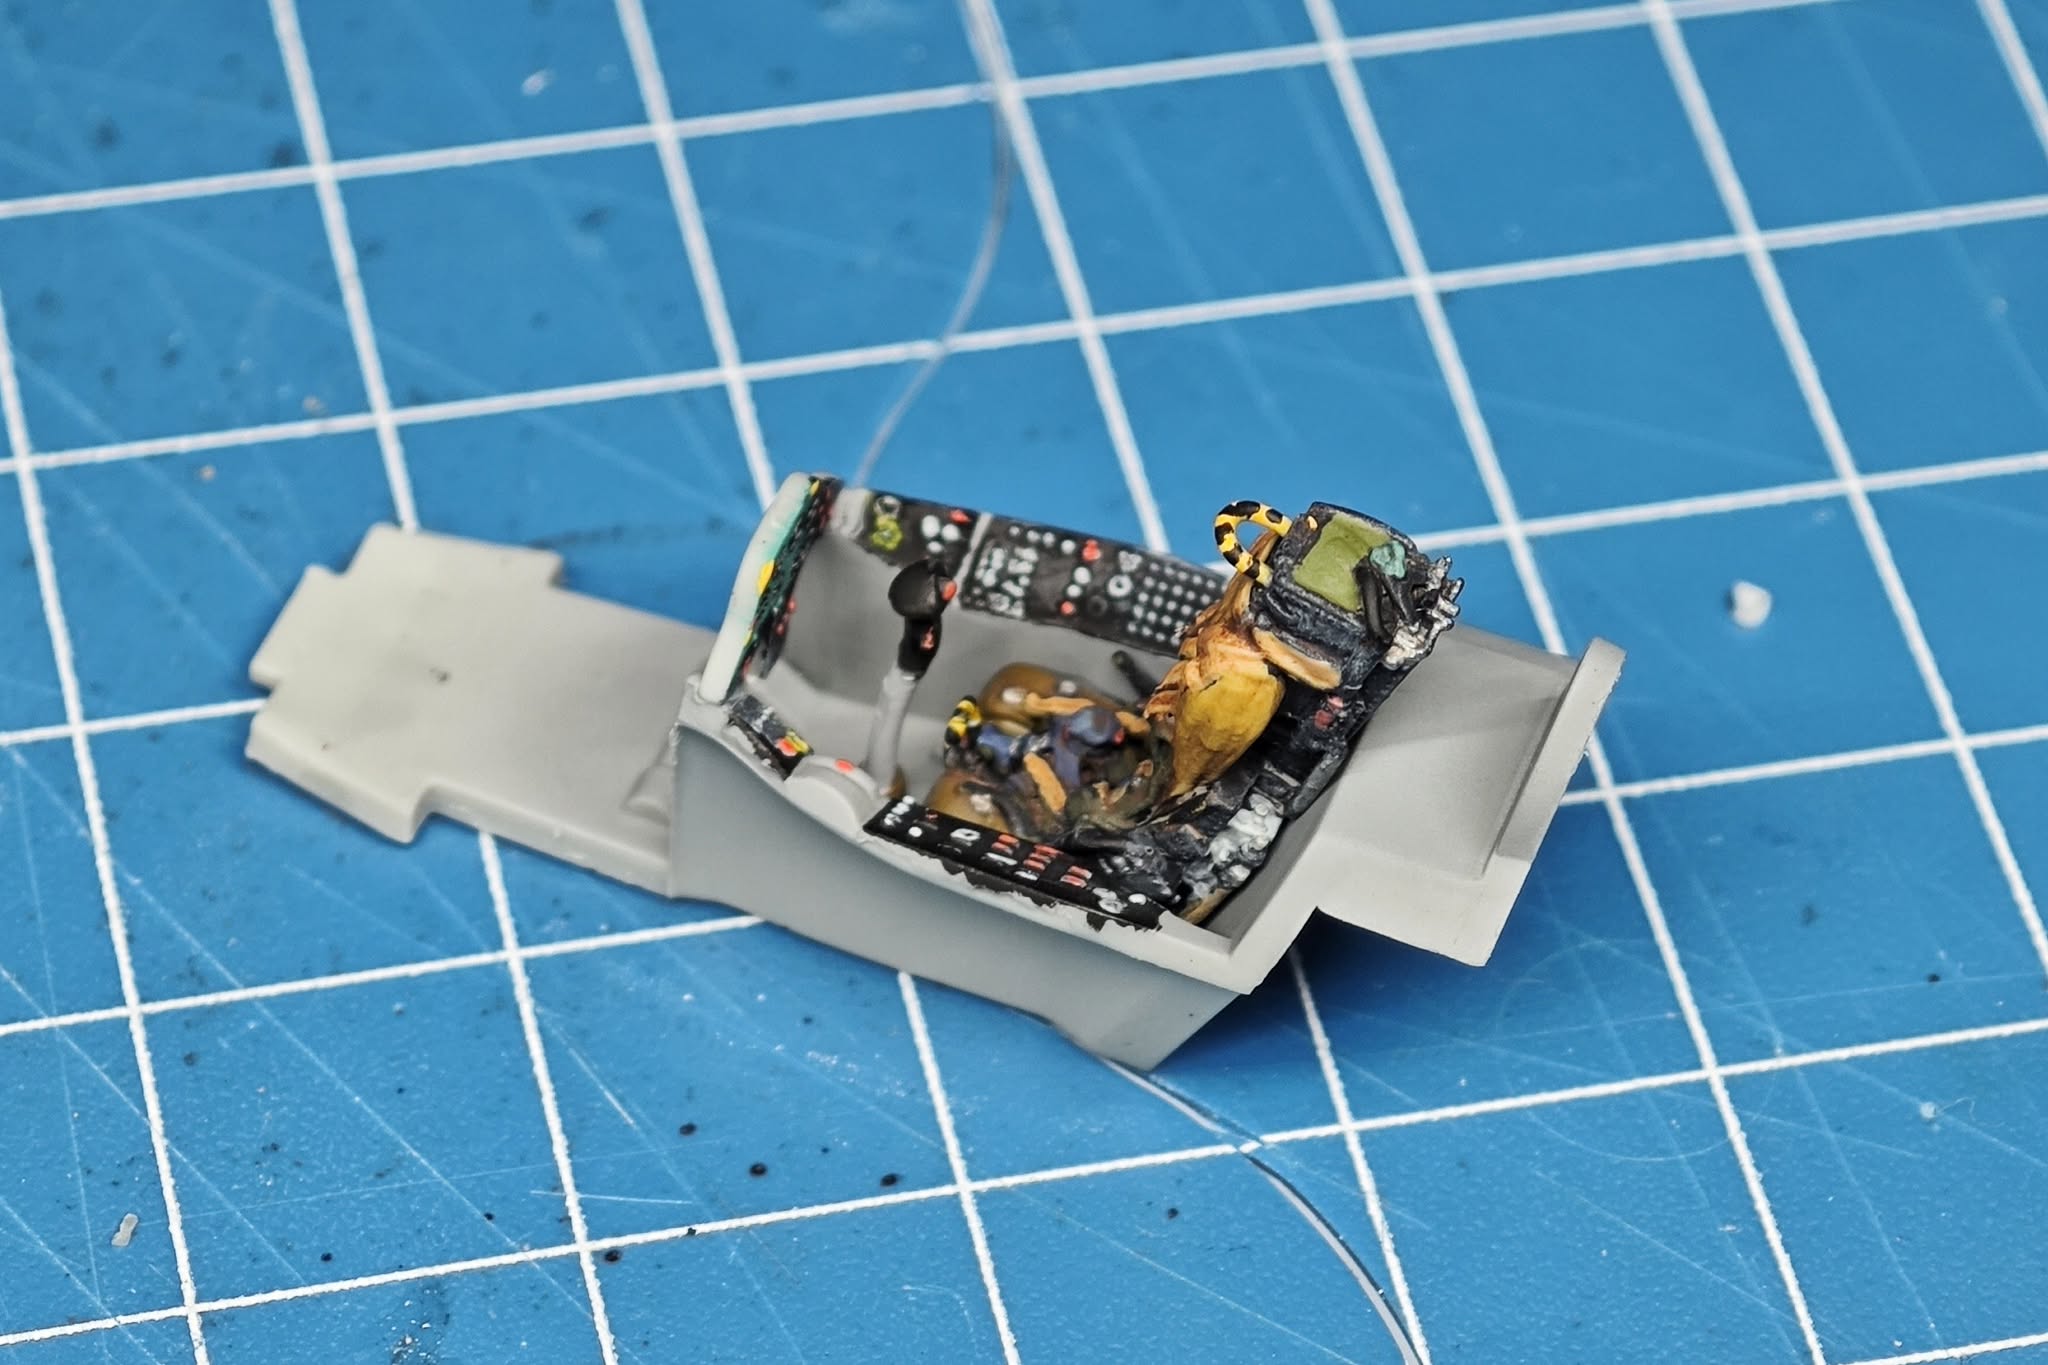
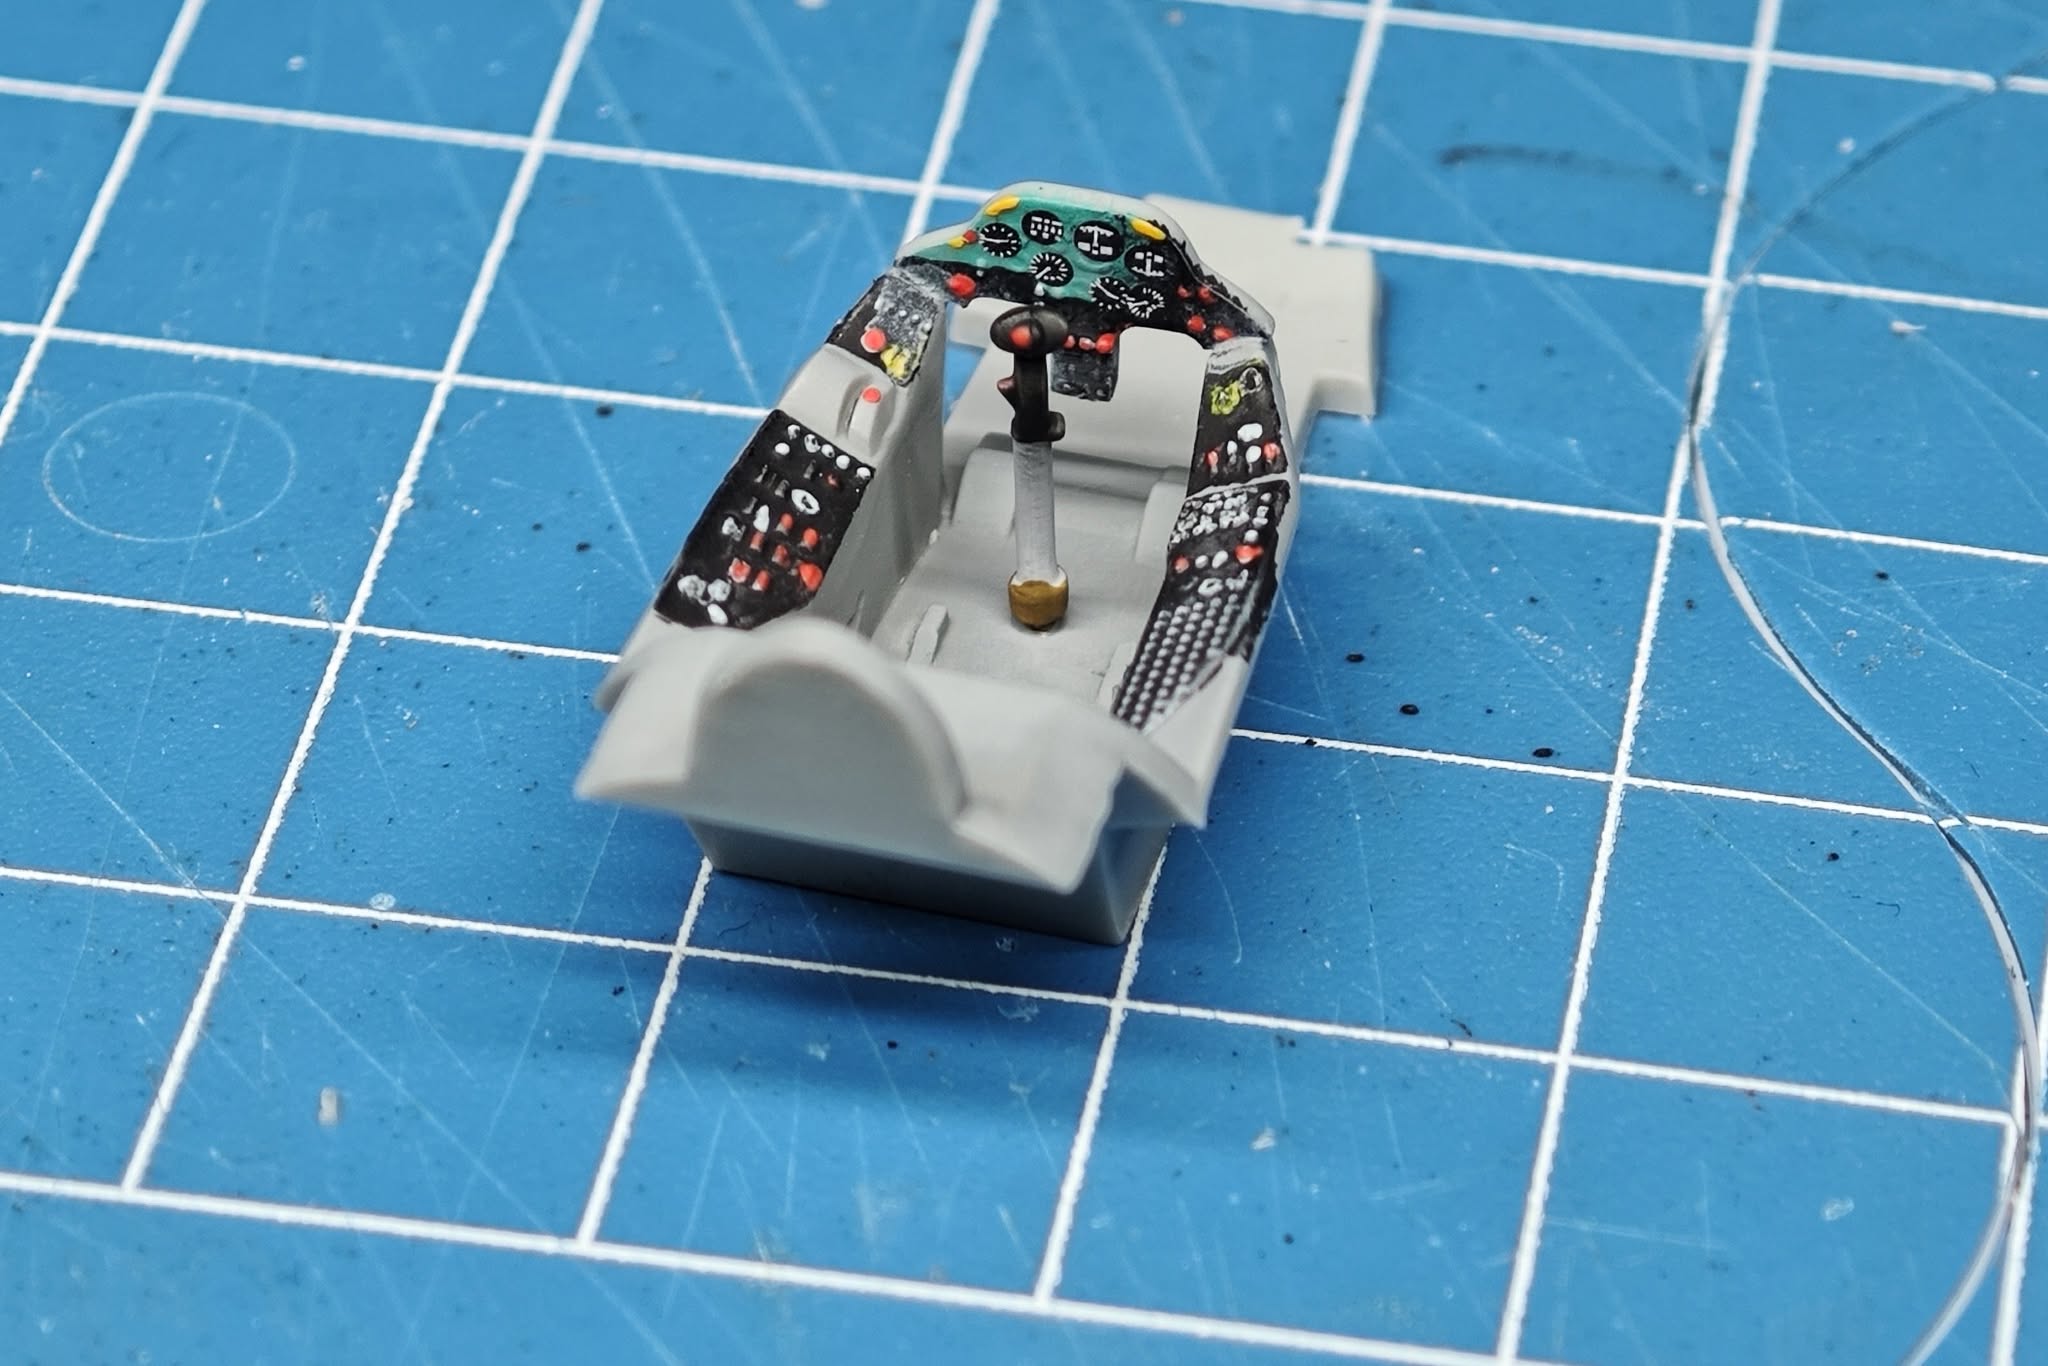
Cockpit is similar to the ejection seat – quite crude and not really accurate, but it does have some raised details so some careful painting can bring it up to an acceptable busy look through the closed canopy. For the instrument panel, I’ve used ANYZ instrument faces decals but they are a tad on a large size (more suited to 1:48 and 1:32) so I could use just a few.
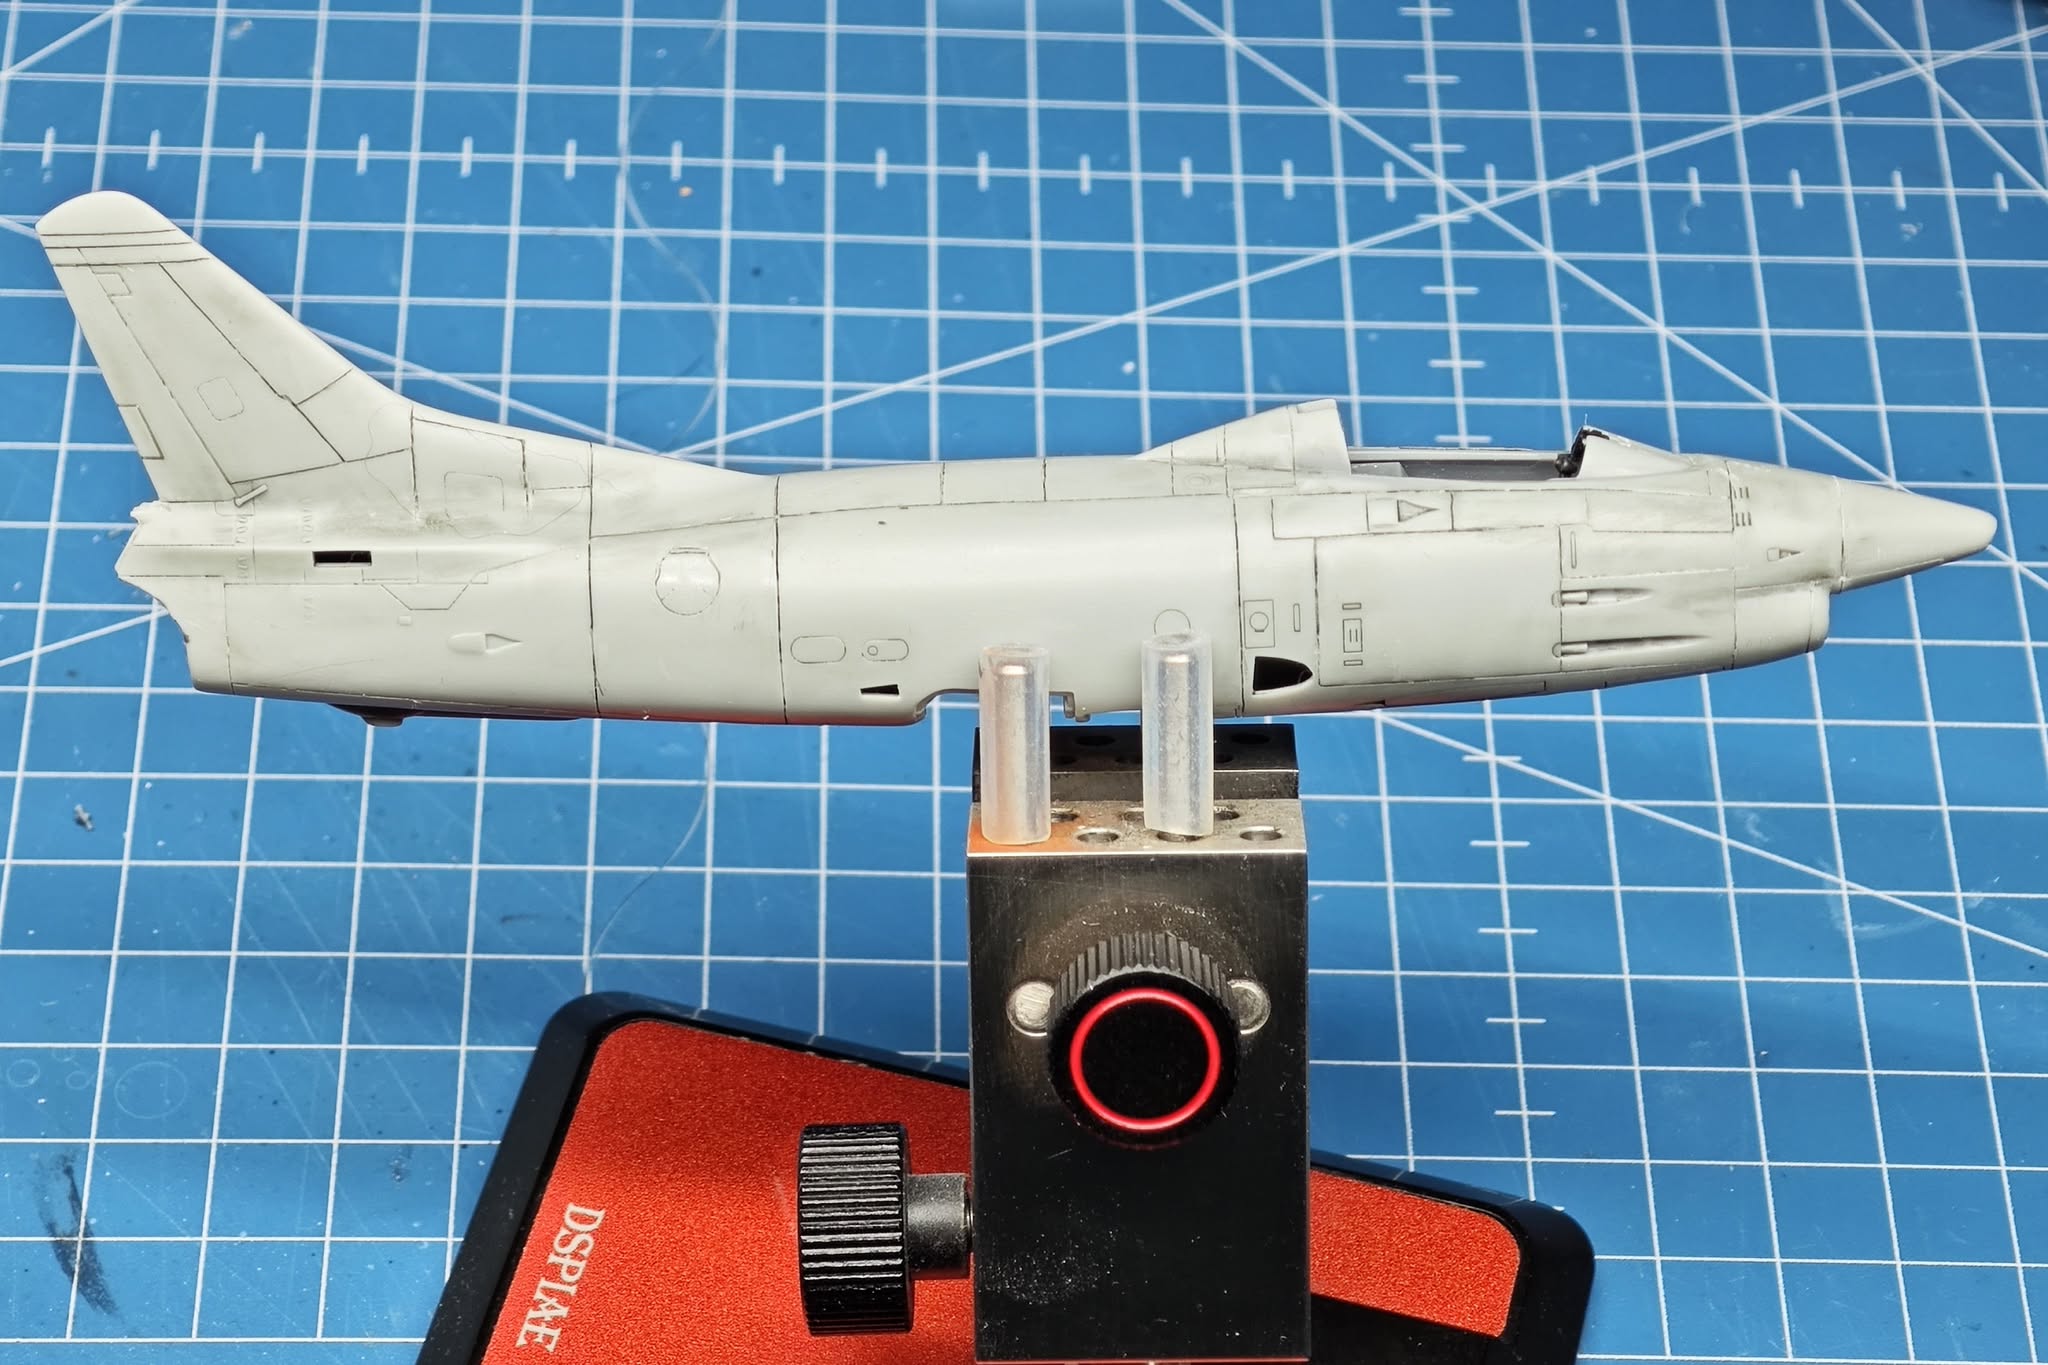
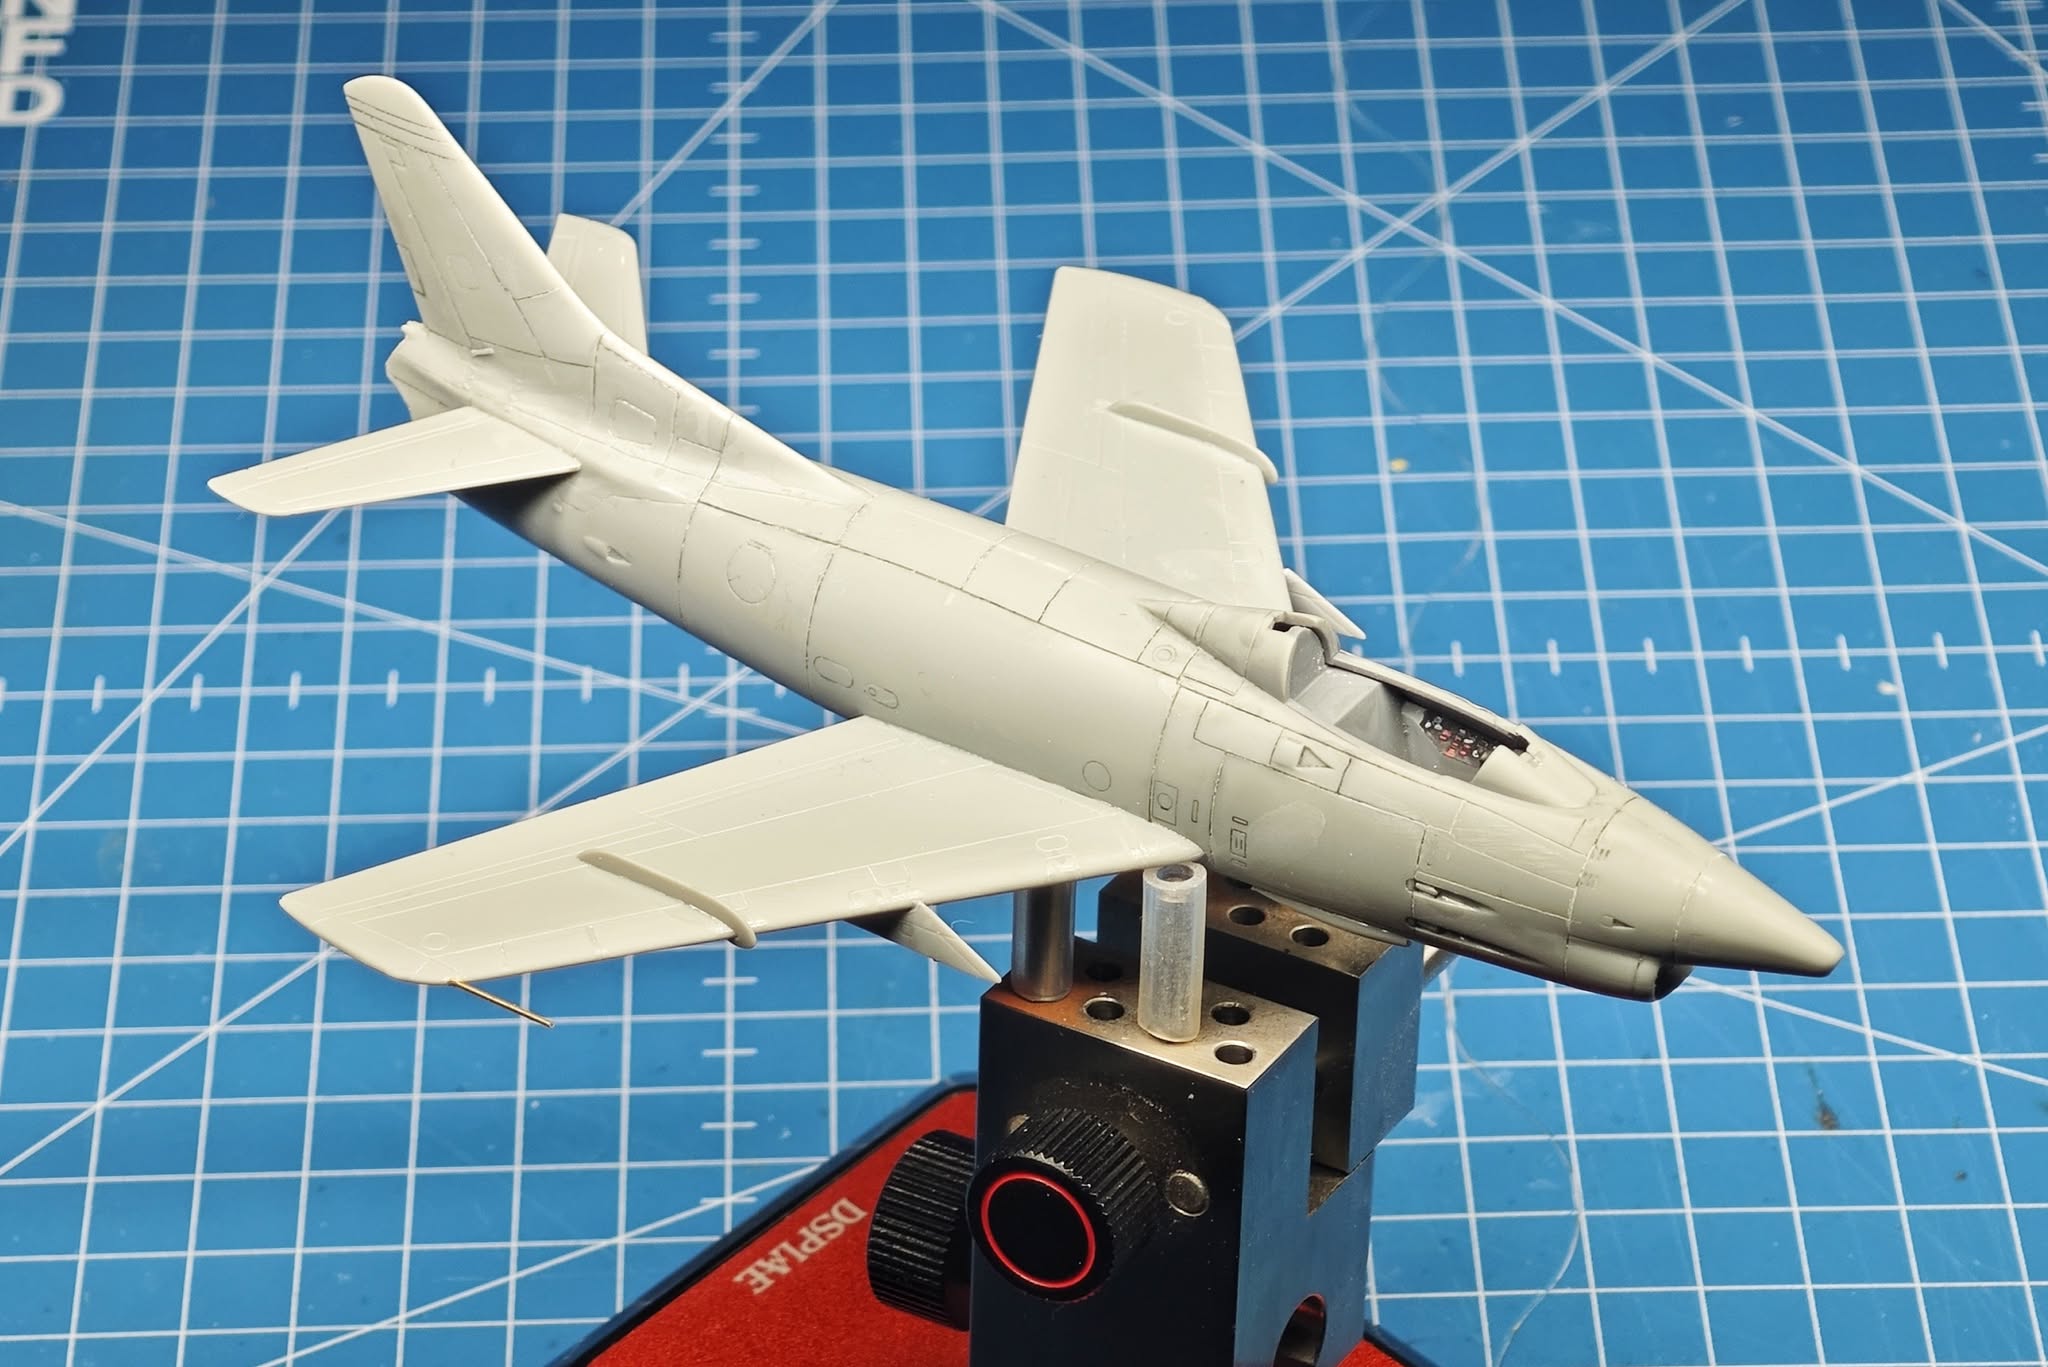
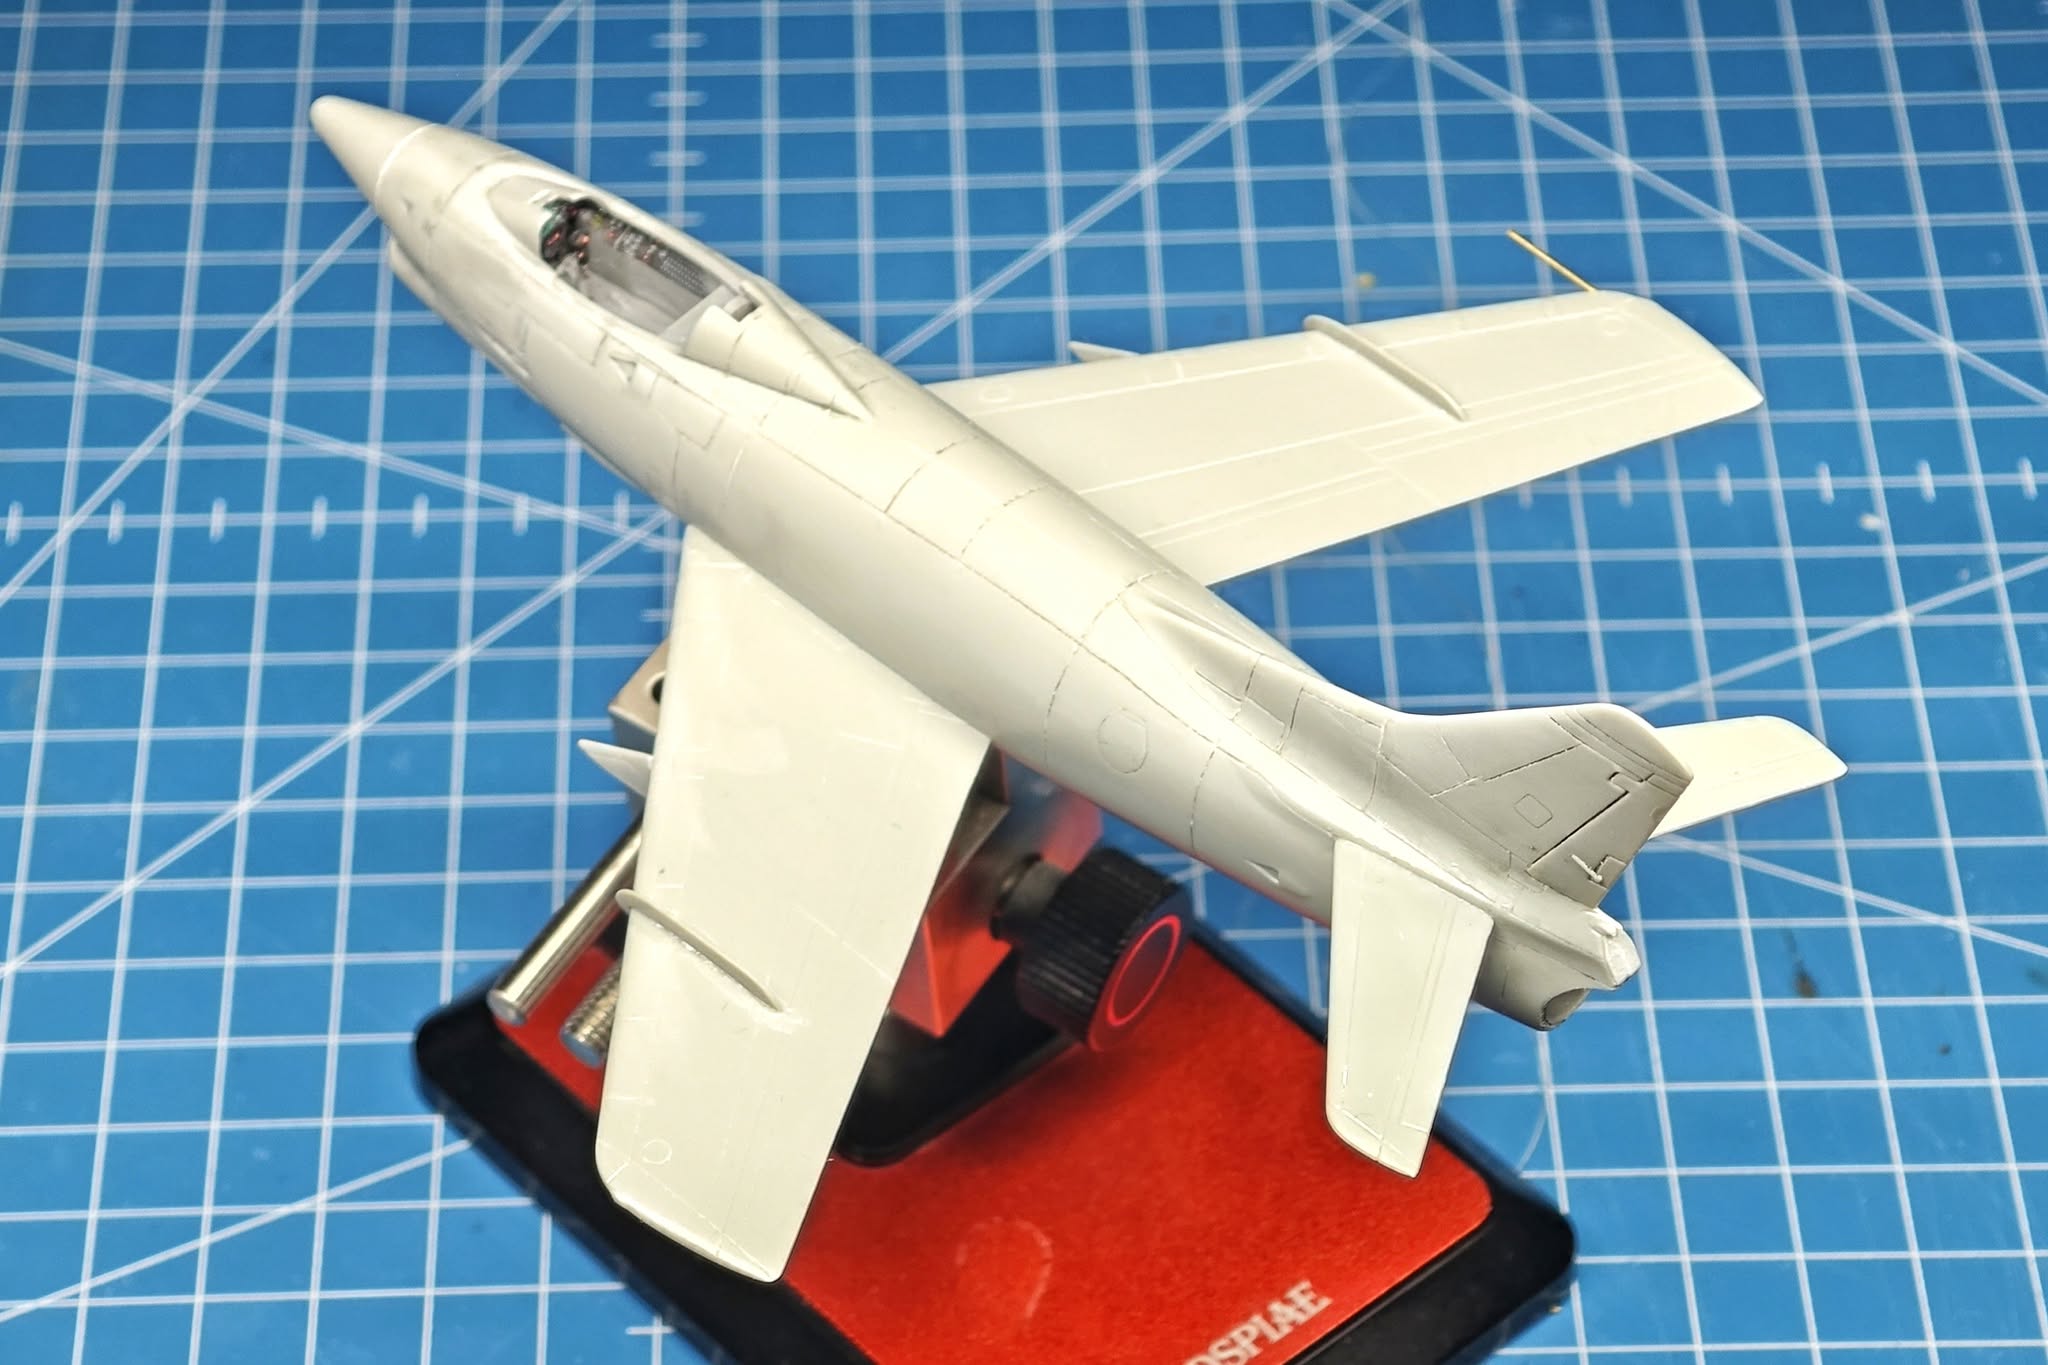
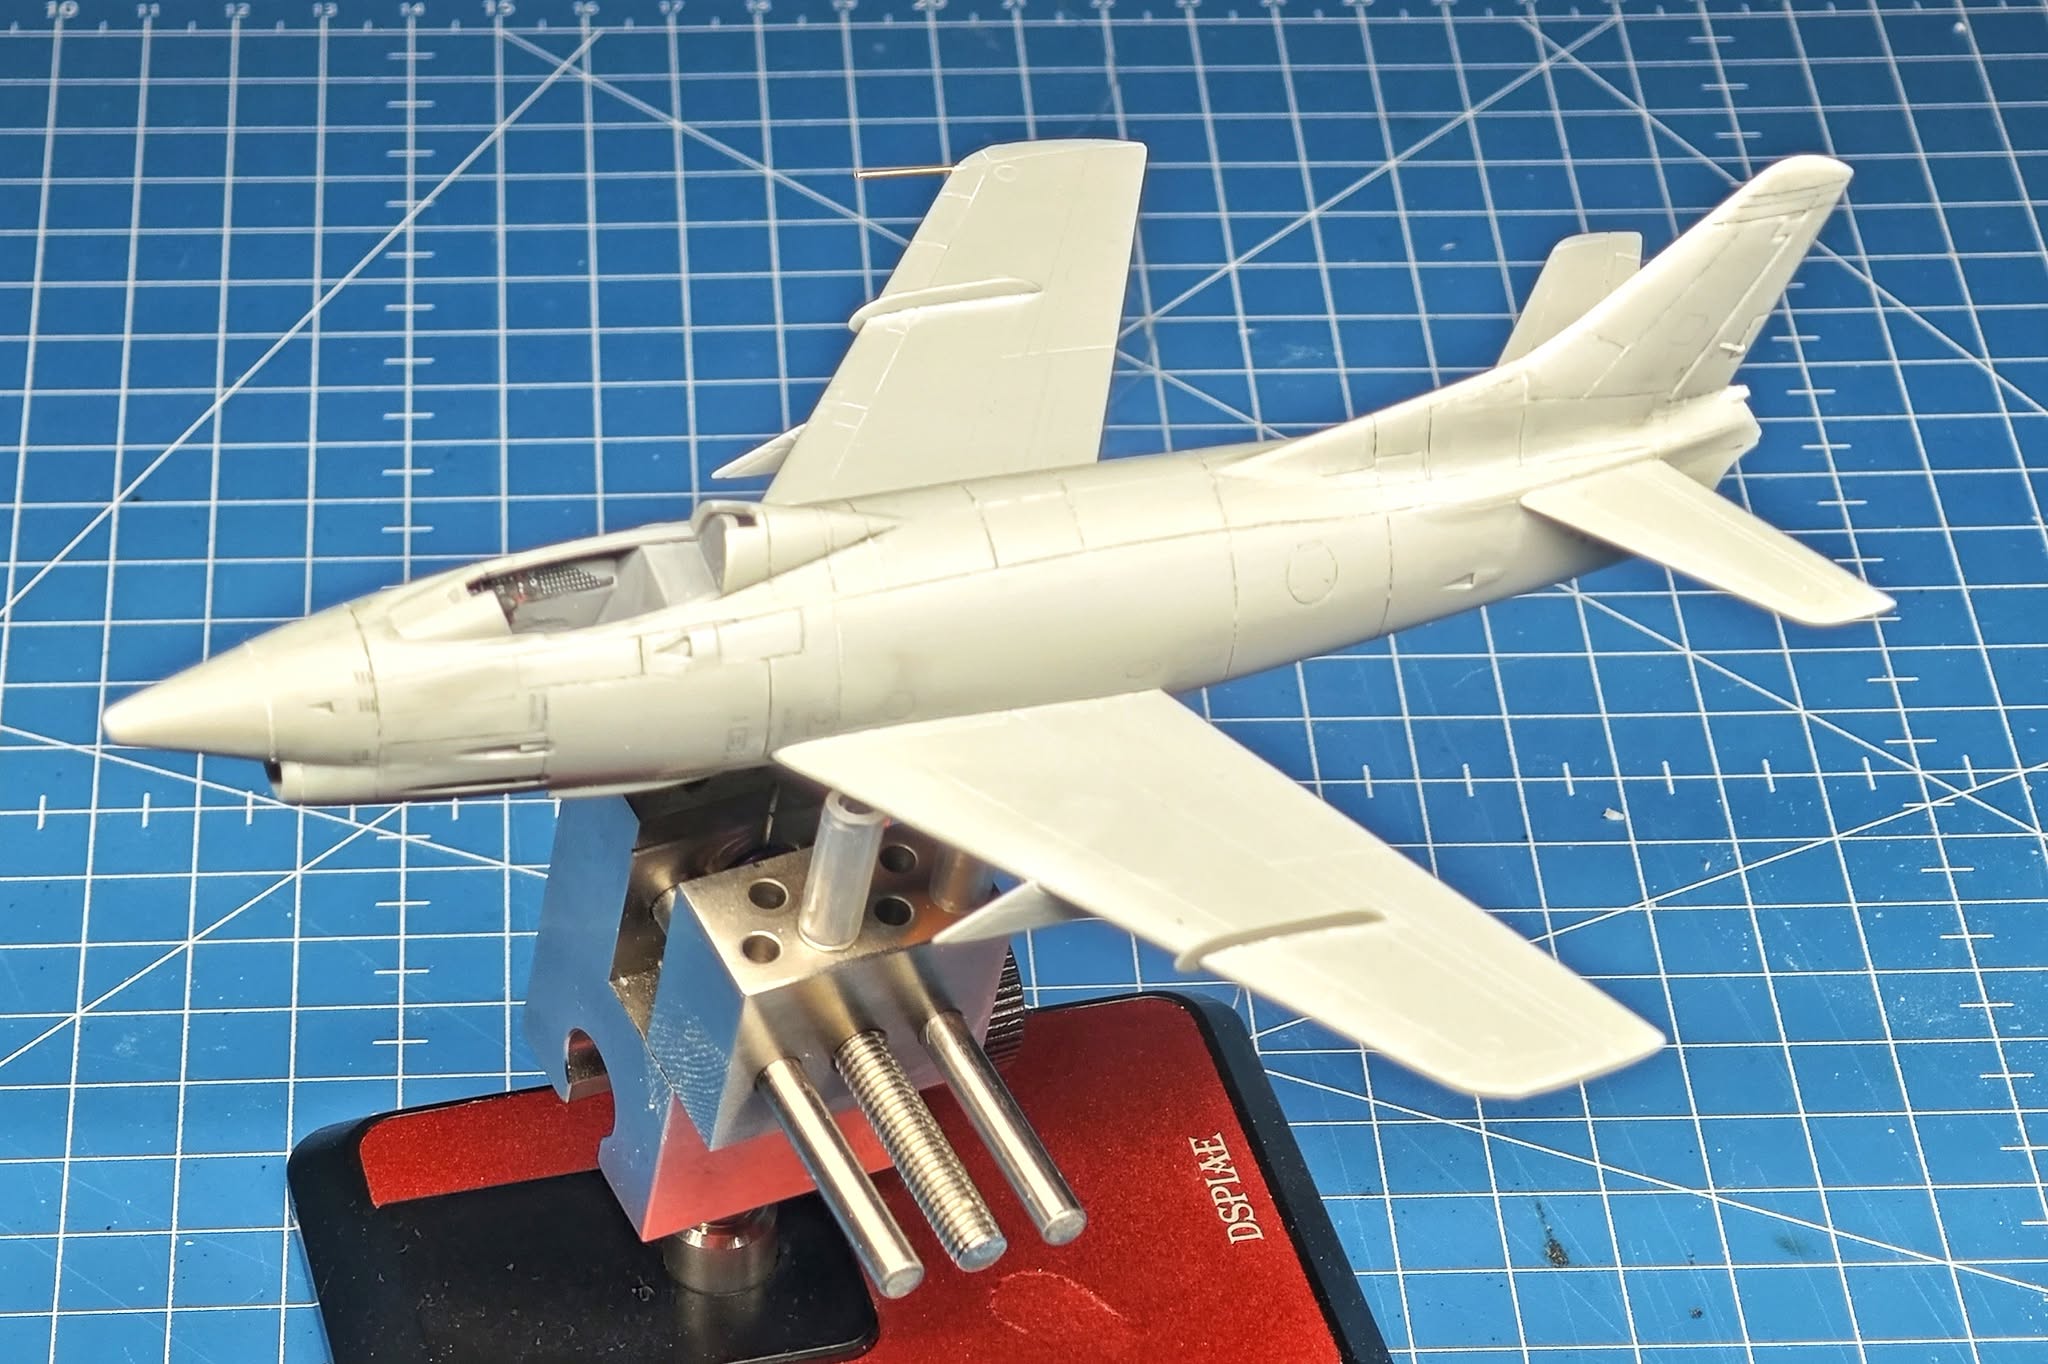
Panel lines in this kit leave a lot to be desired. While ok at first glance, close inspection showed a lot of inconsistency – and the more rounded the shape of the fuselage was, the fainter the panel lines. At the top of the fuselage, where the shape is the most rounded, you could only see them – like they’d be painted but they were not there at all. So a lot of scribing and rescribing work but at least wings fit somewhat decent.
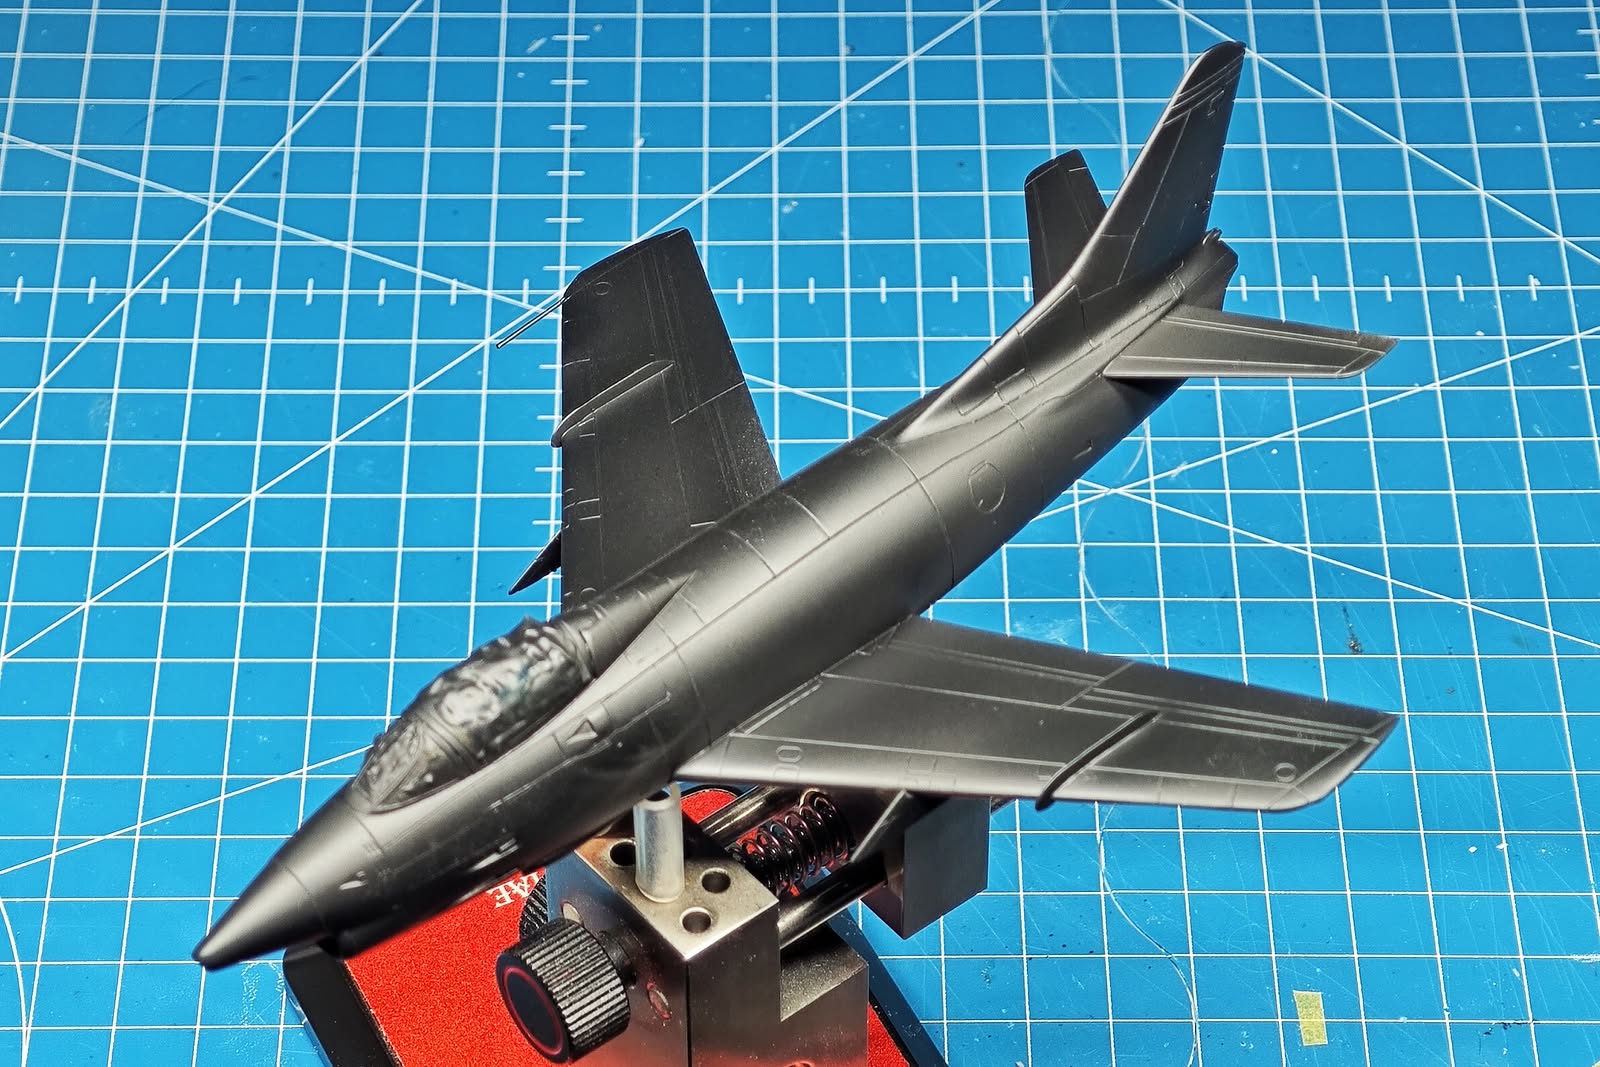
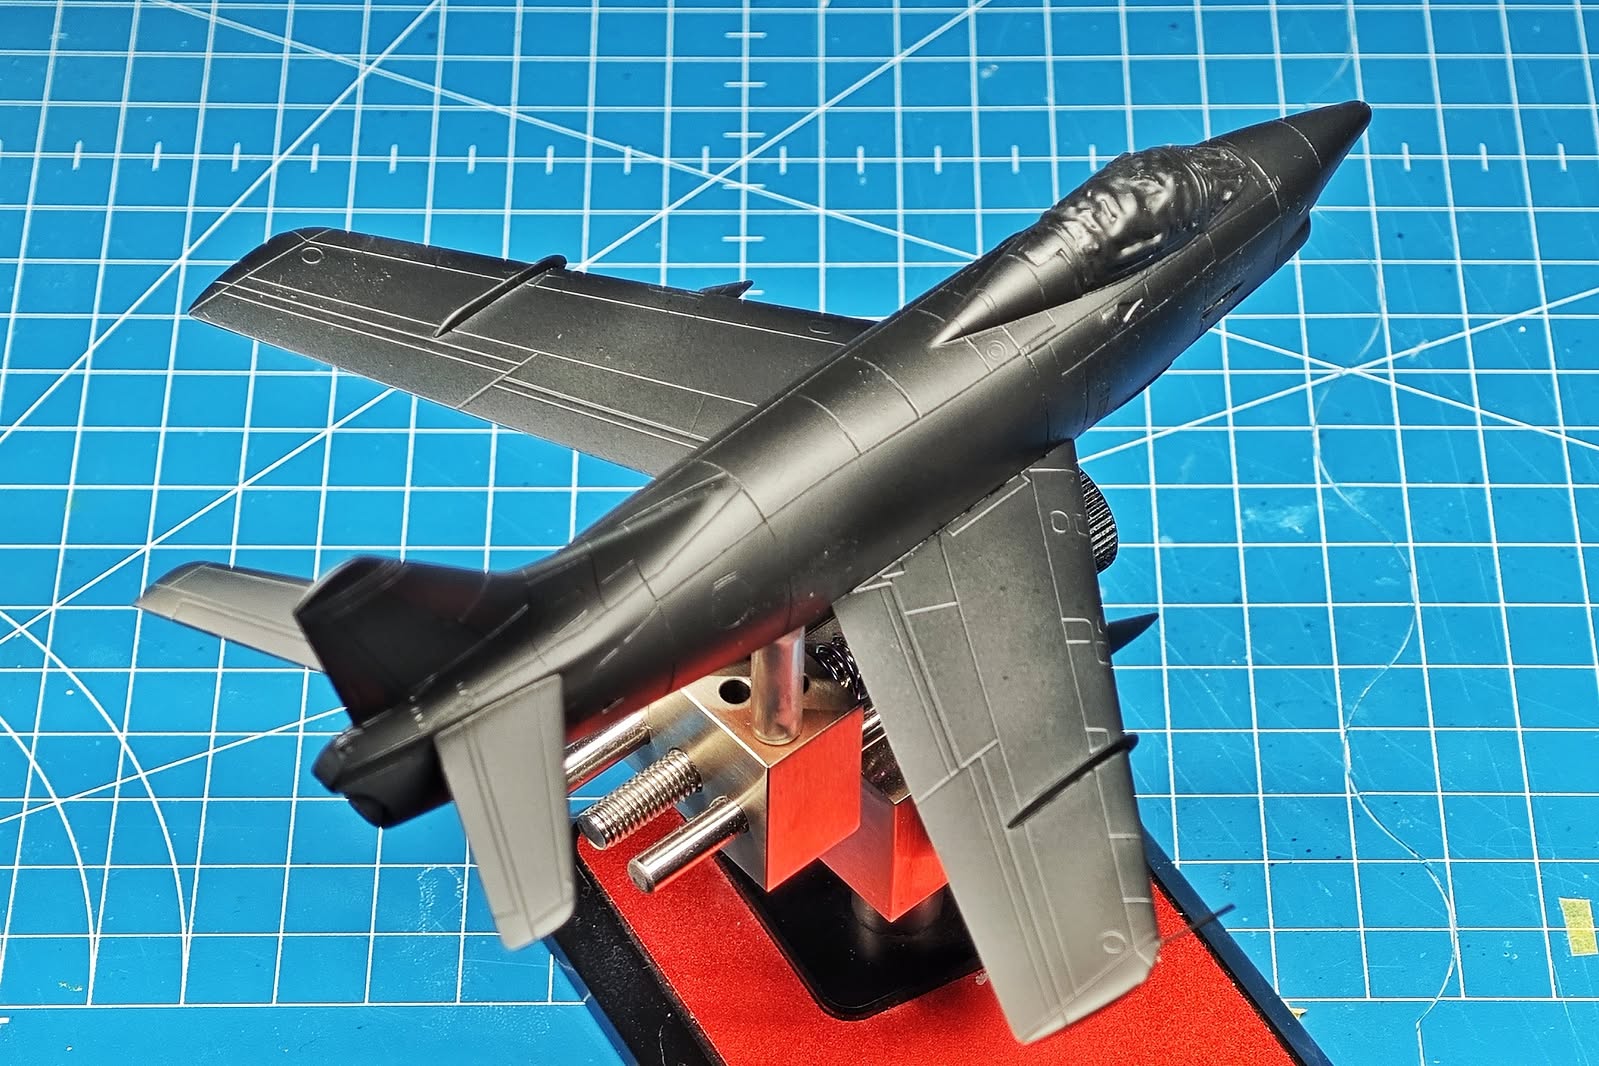
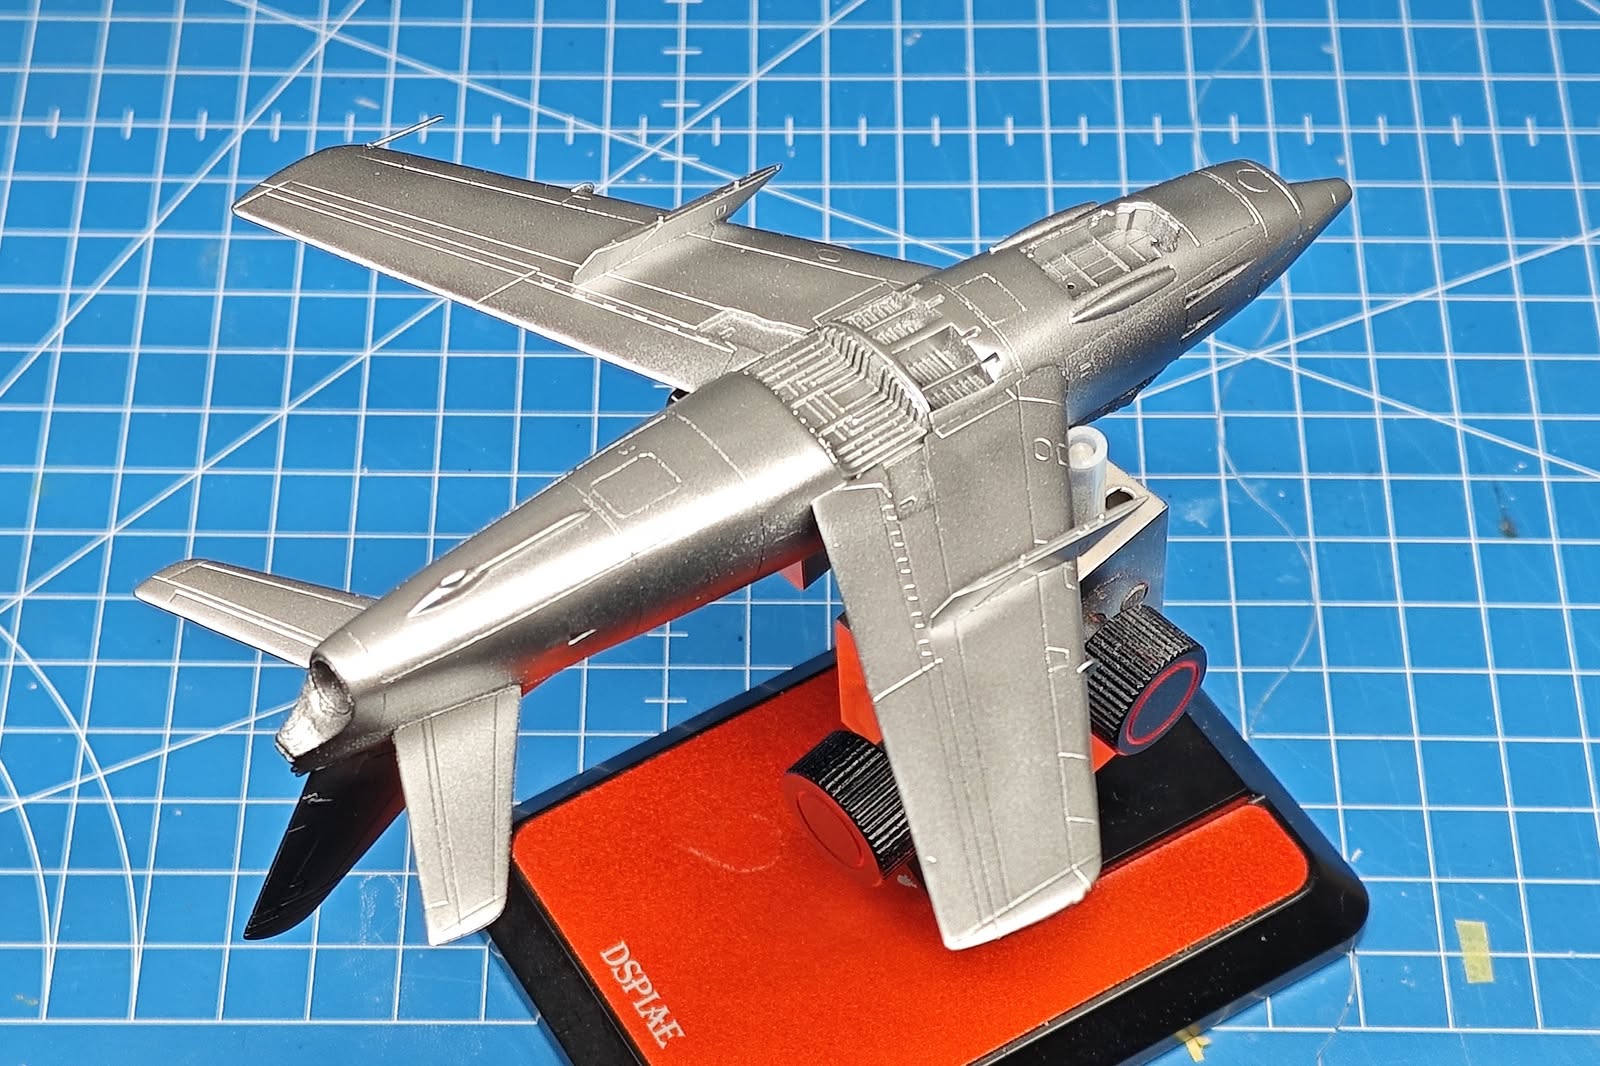
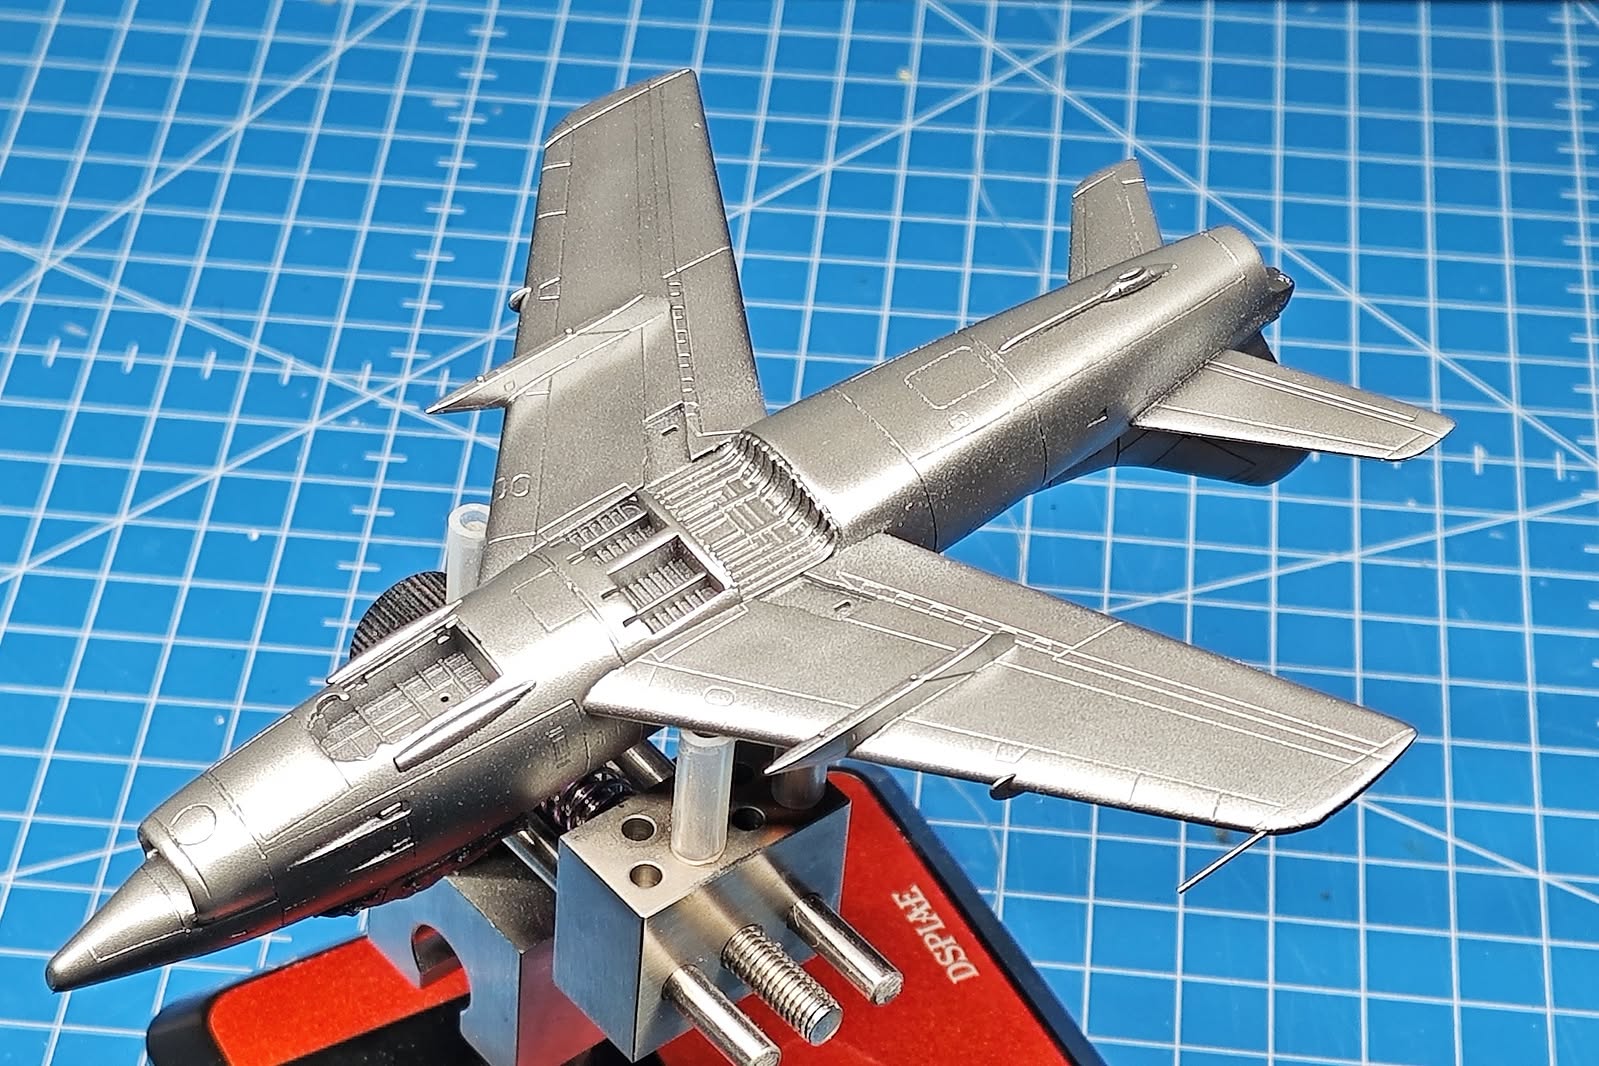
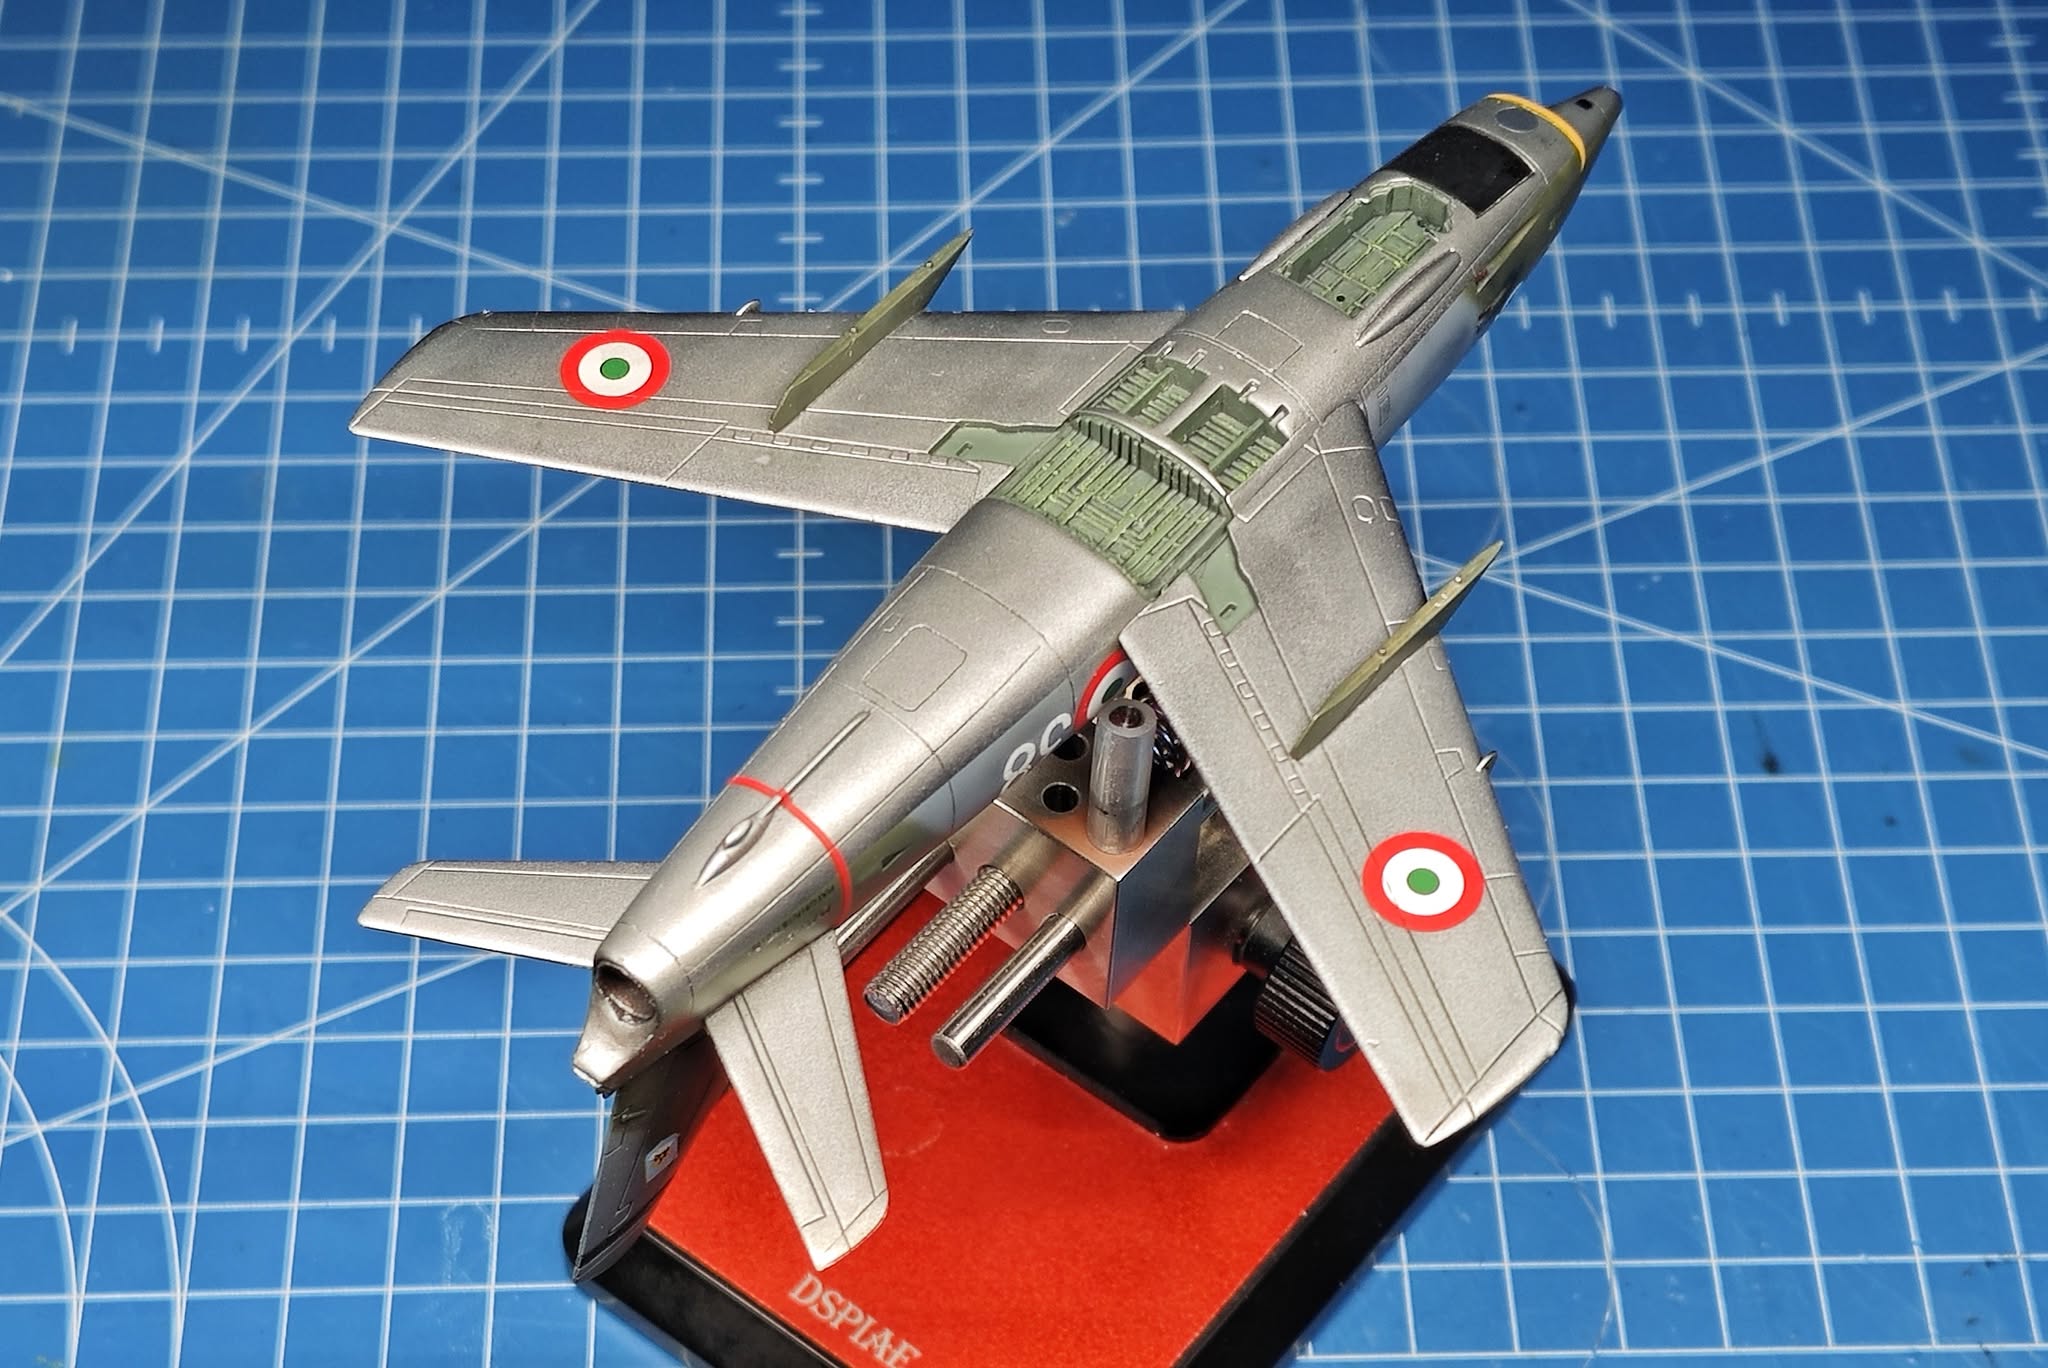
Gina got a nice smooth coat of Mr.Surfacer 1500 Black and as I was satisfied with the look (not perfect but good enough) I went on with the painting. The lower surfaces got a coat of Aluminium. Further treatment of the surface will significantly reduce the shine, so no worries in that department.
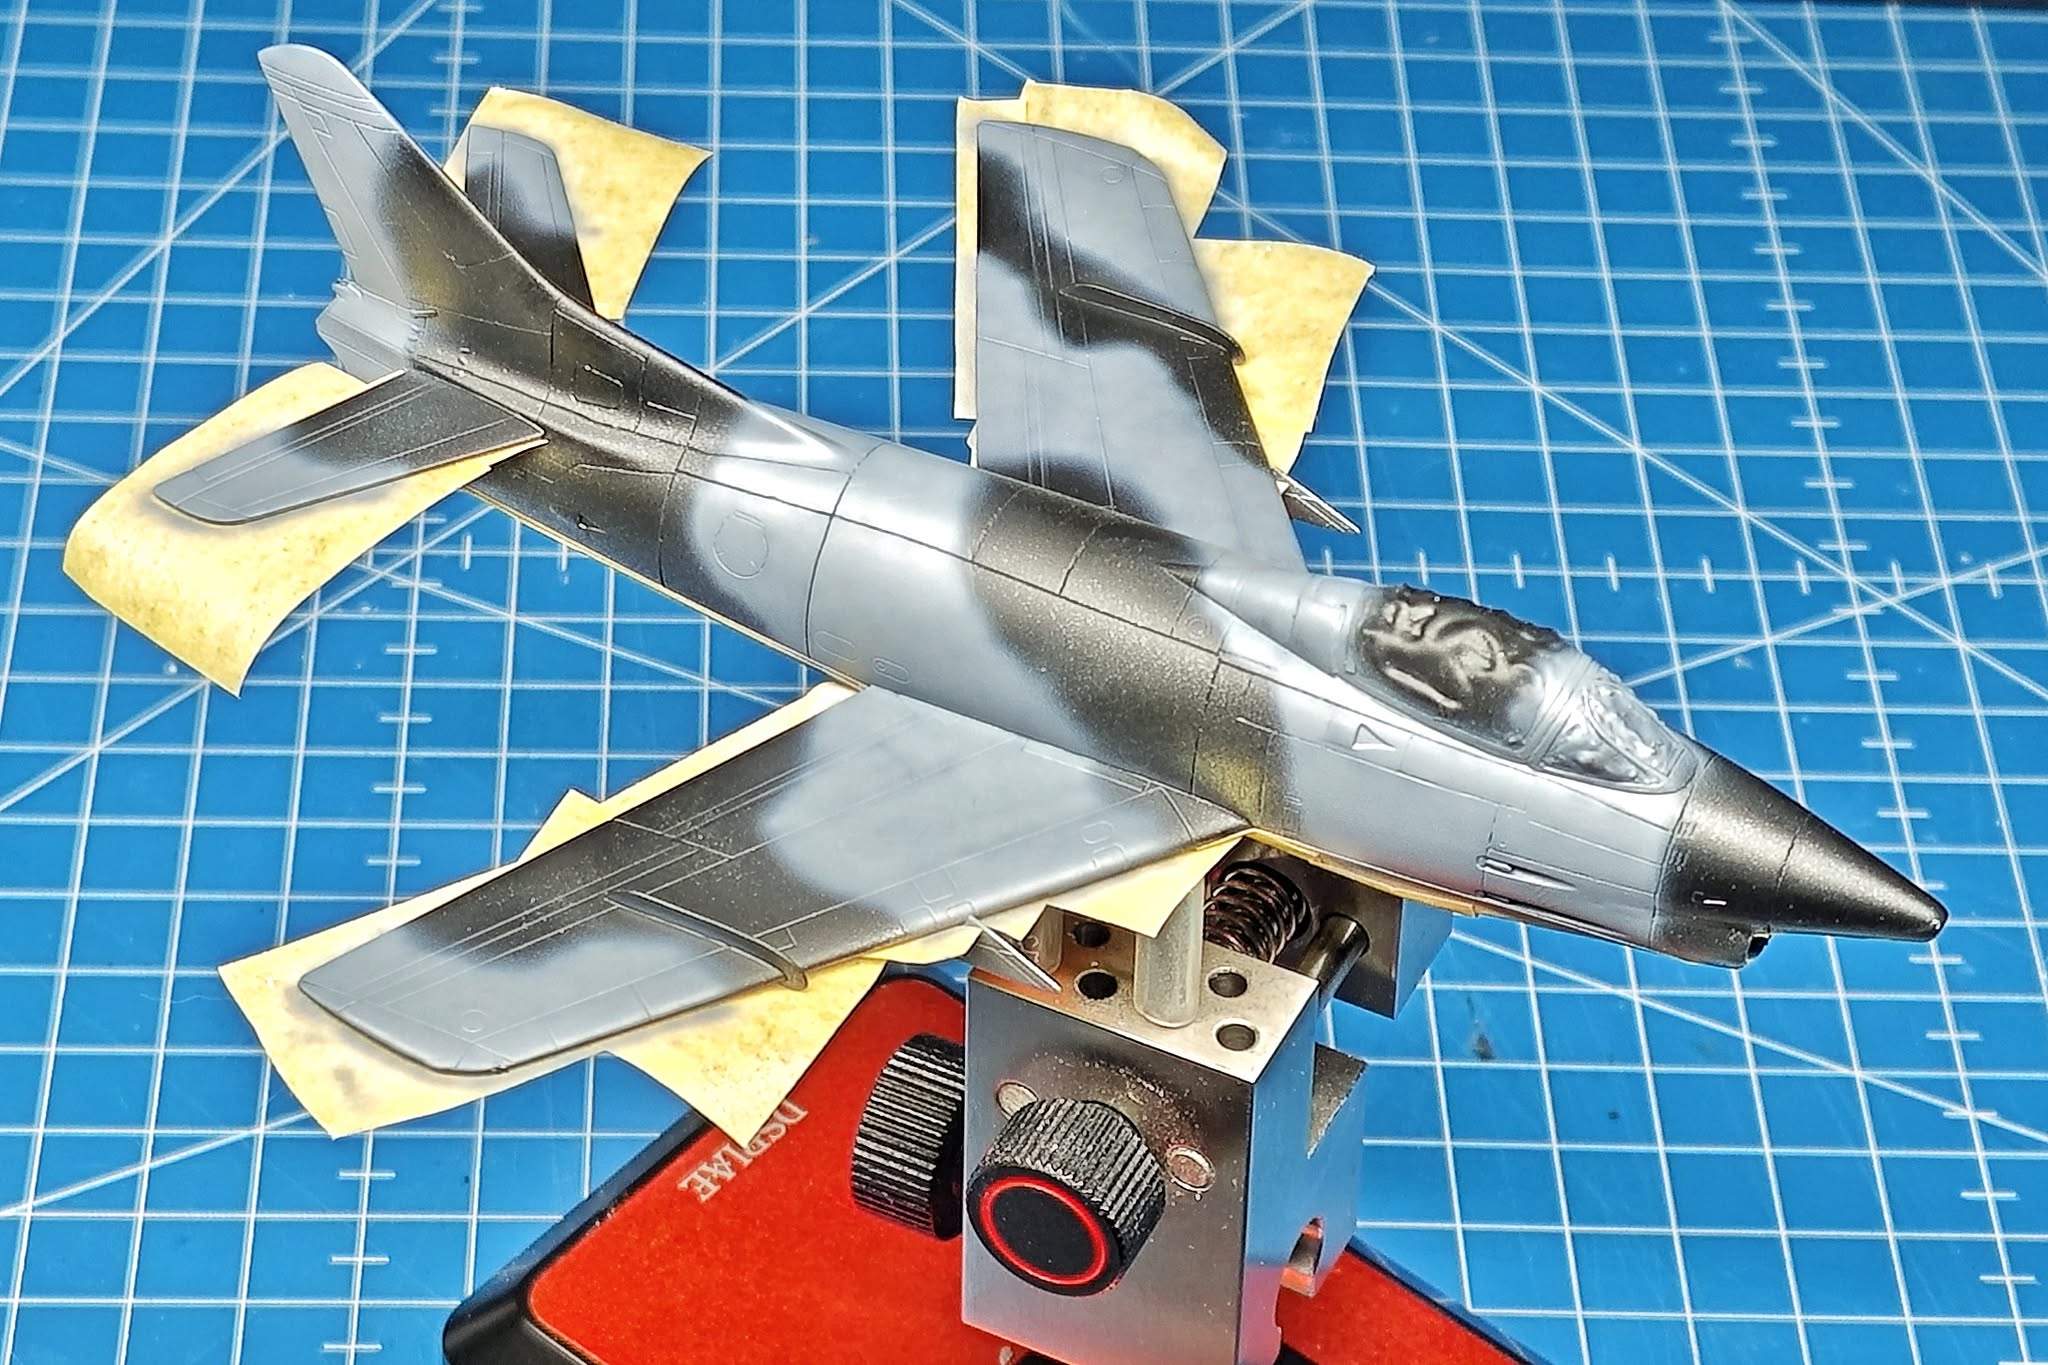
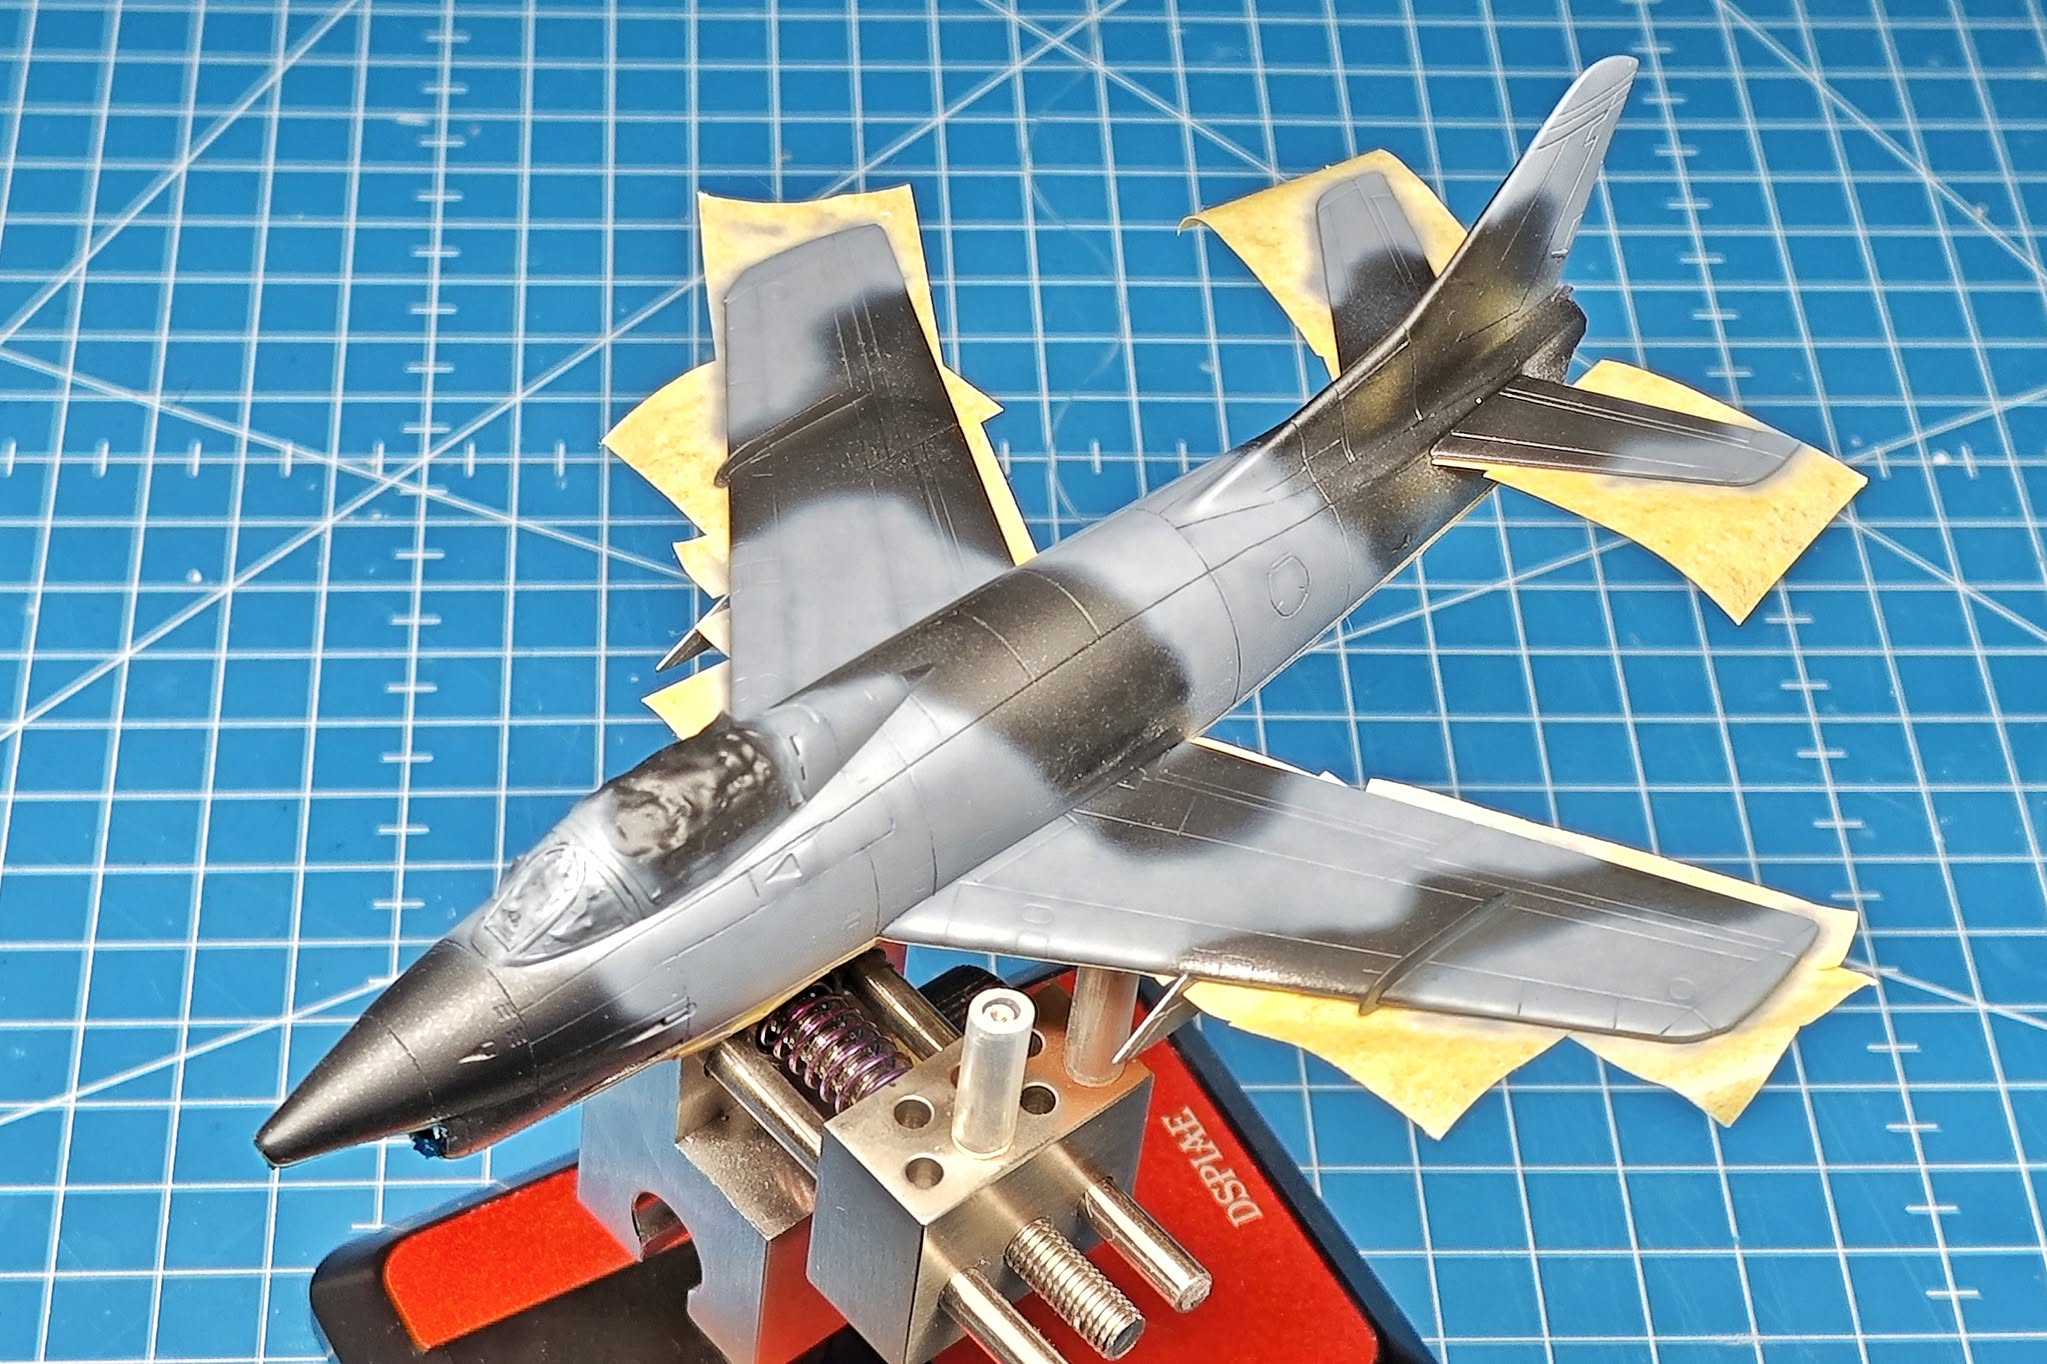
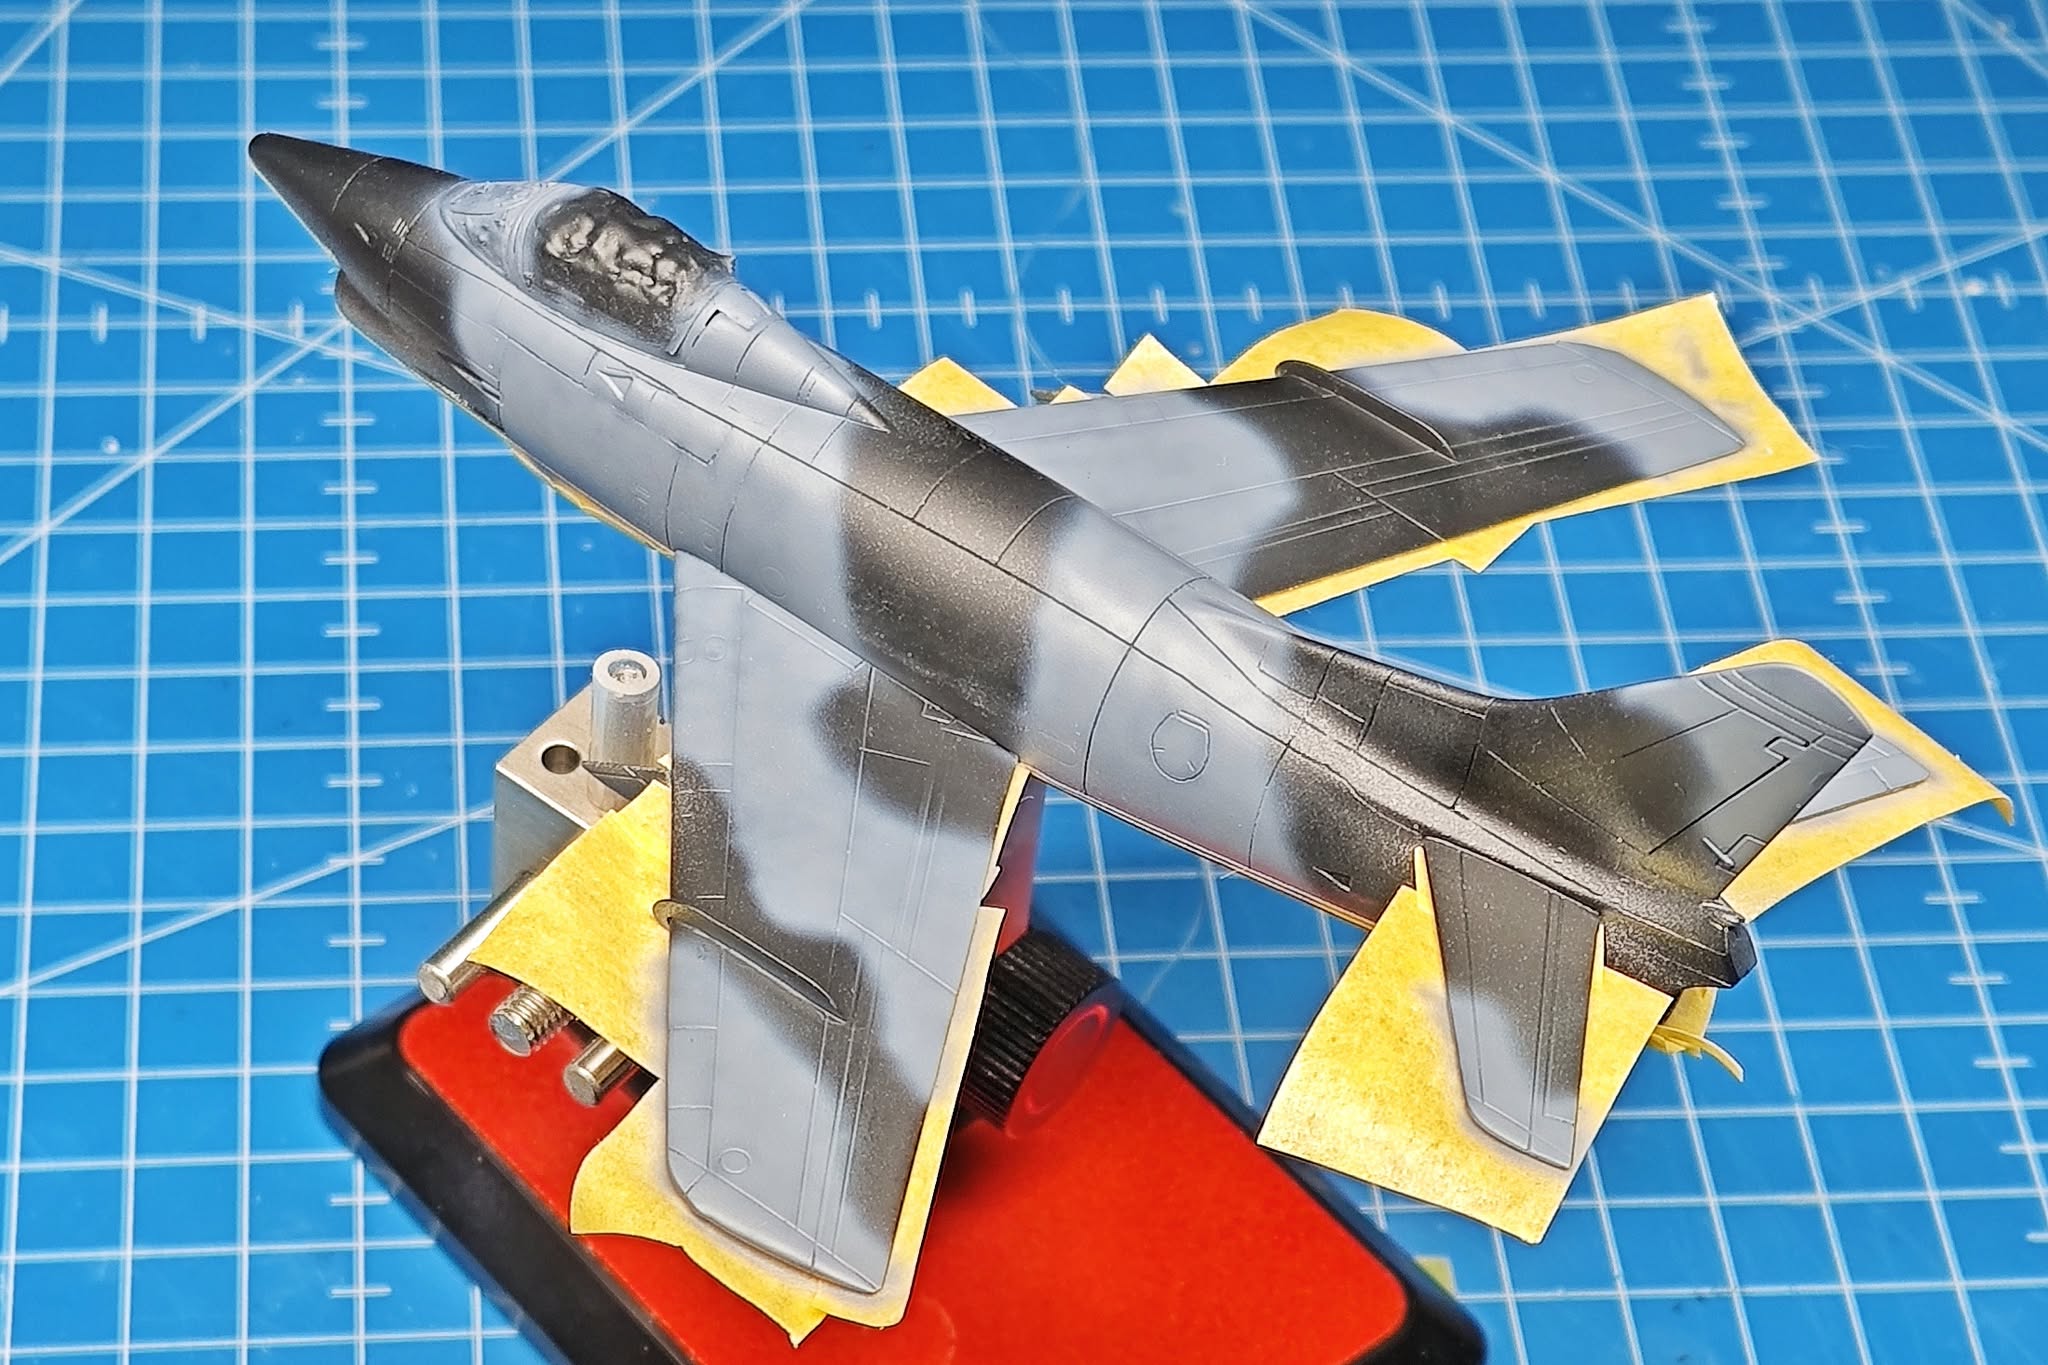
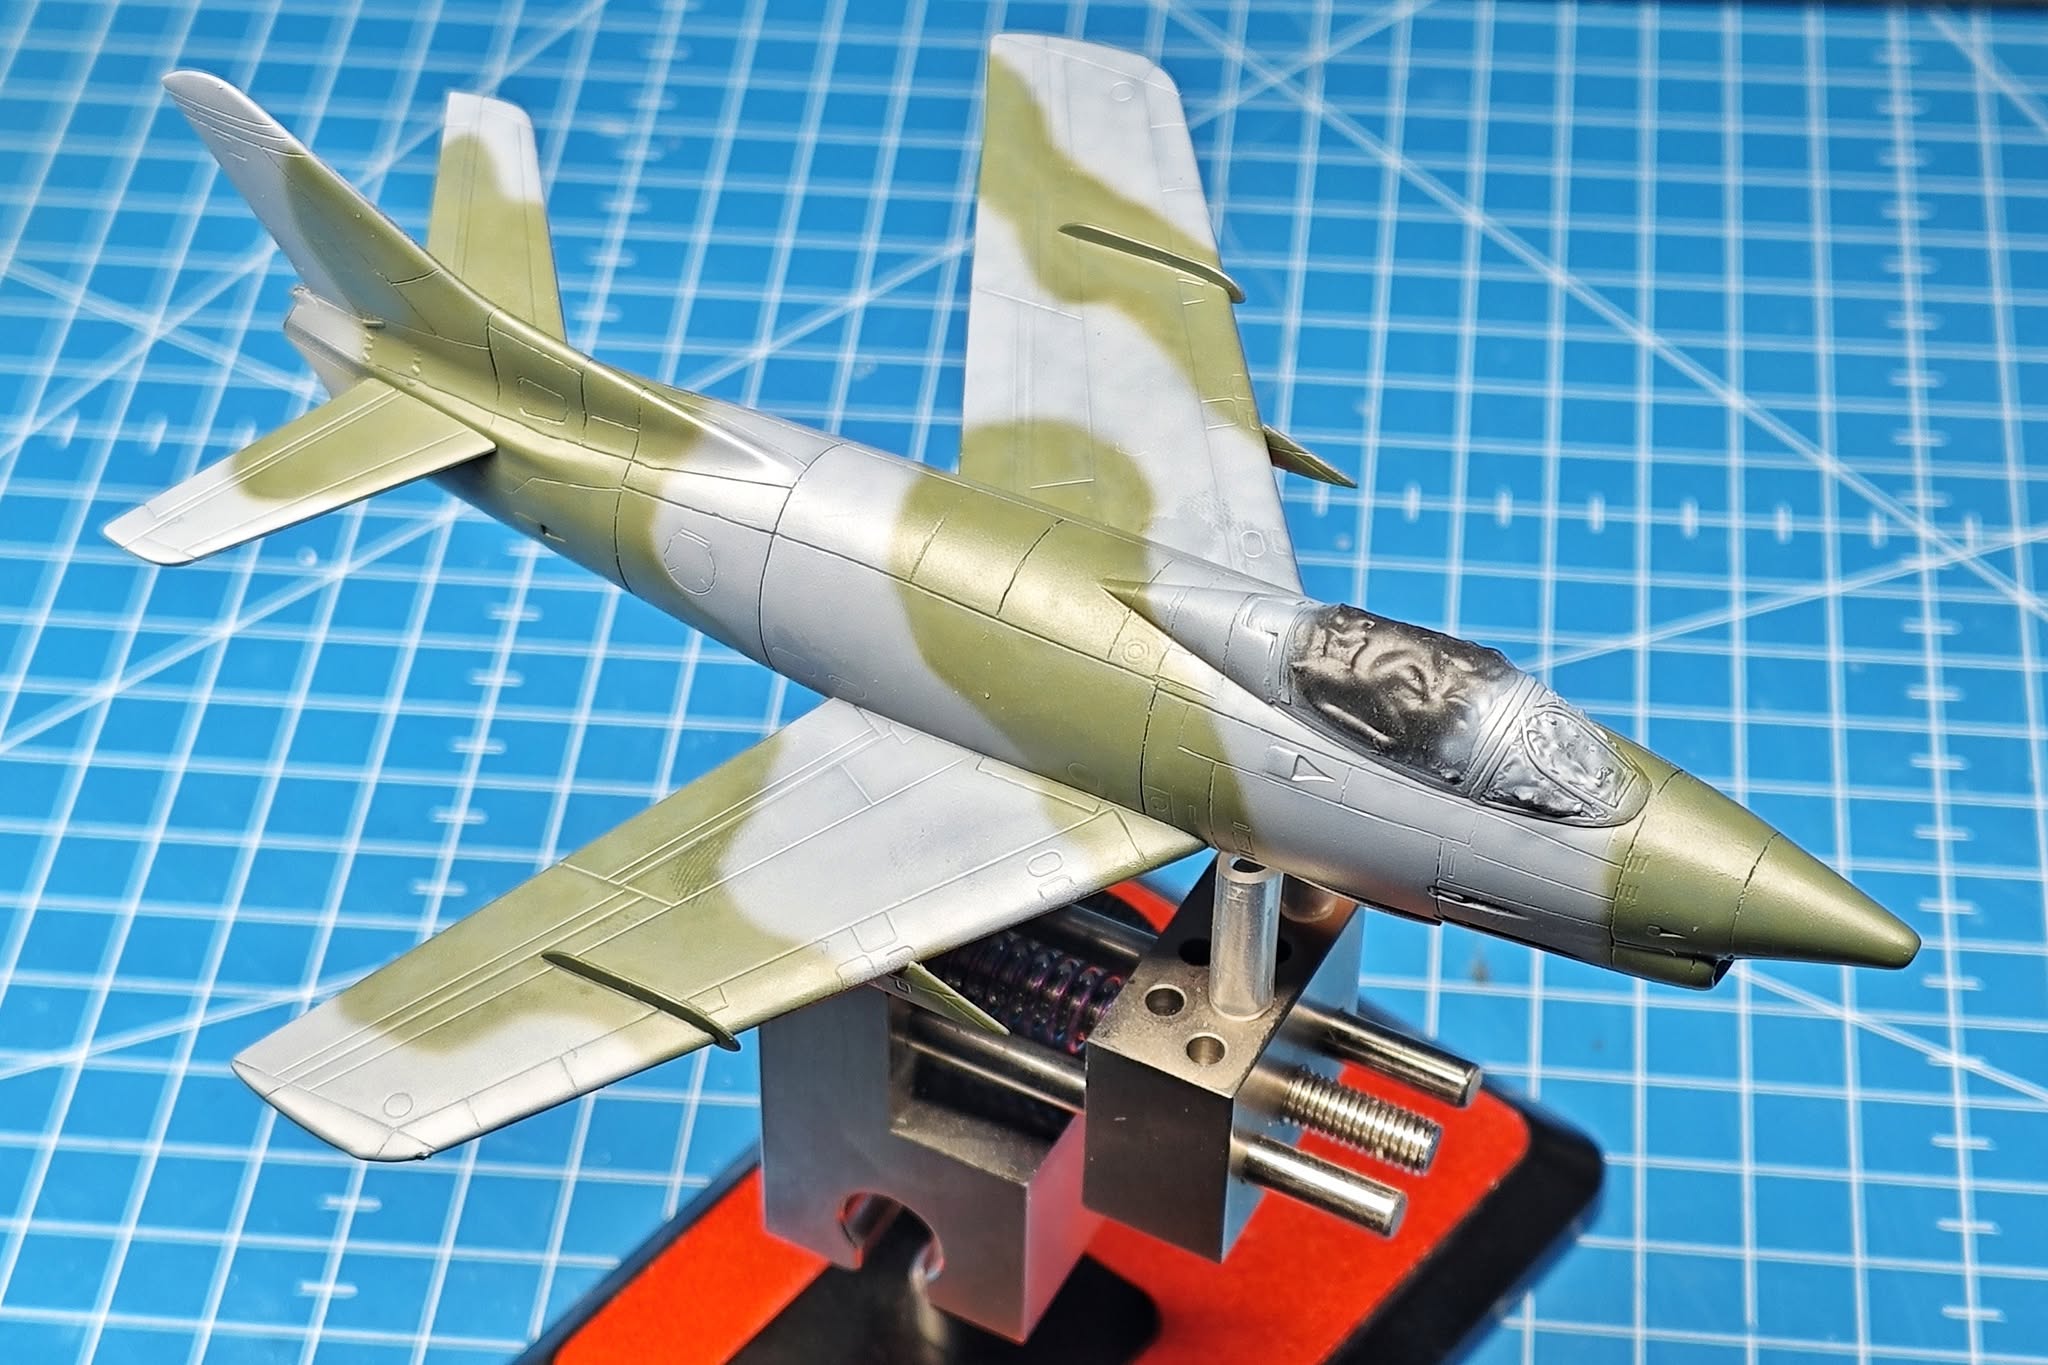
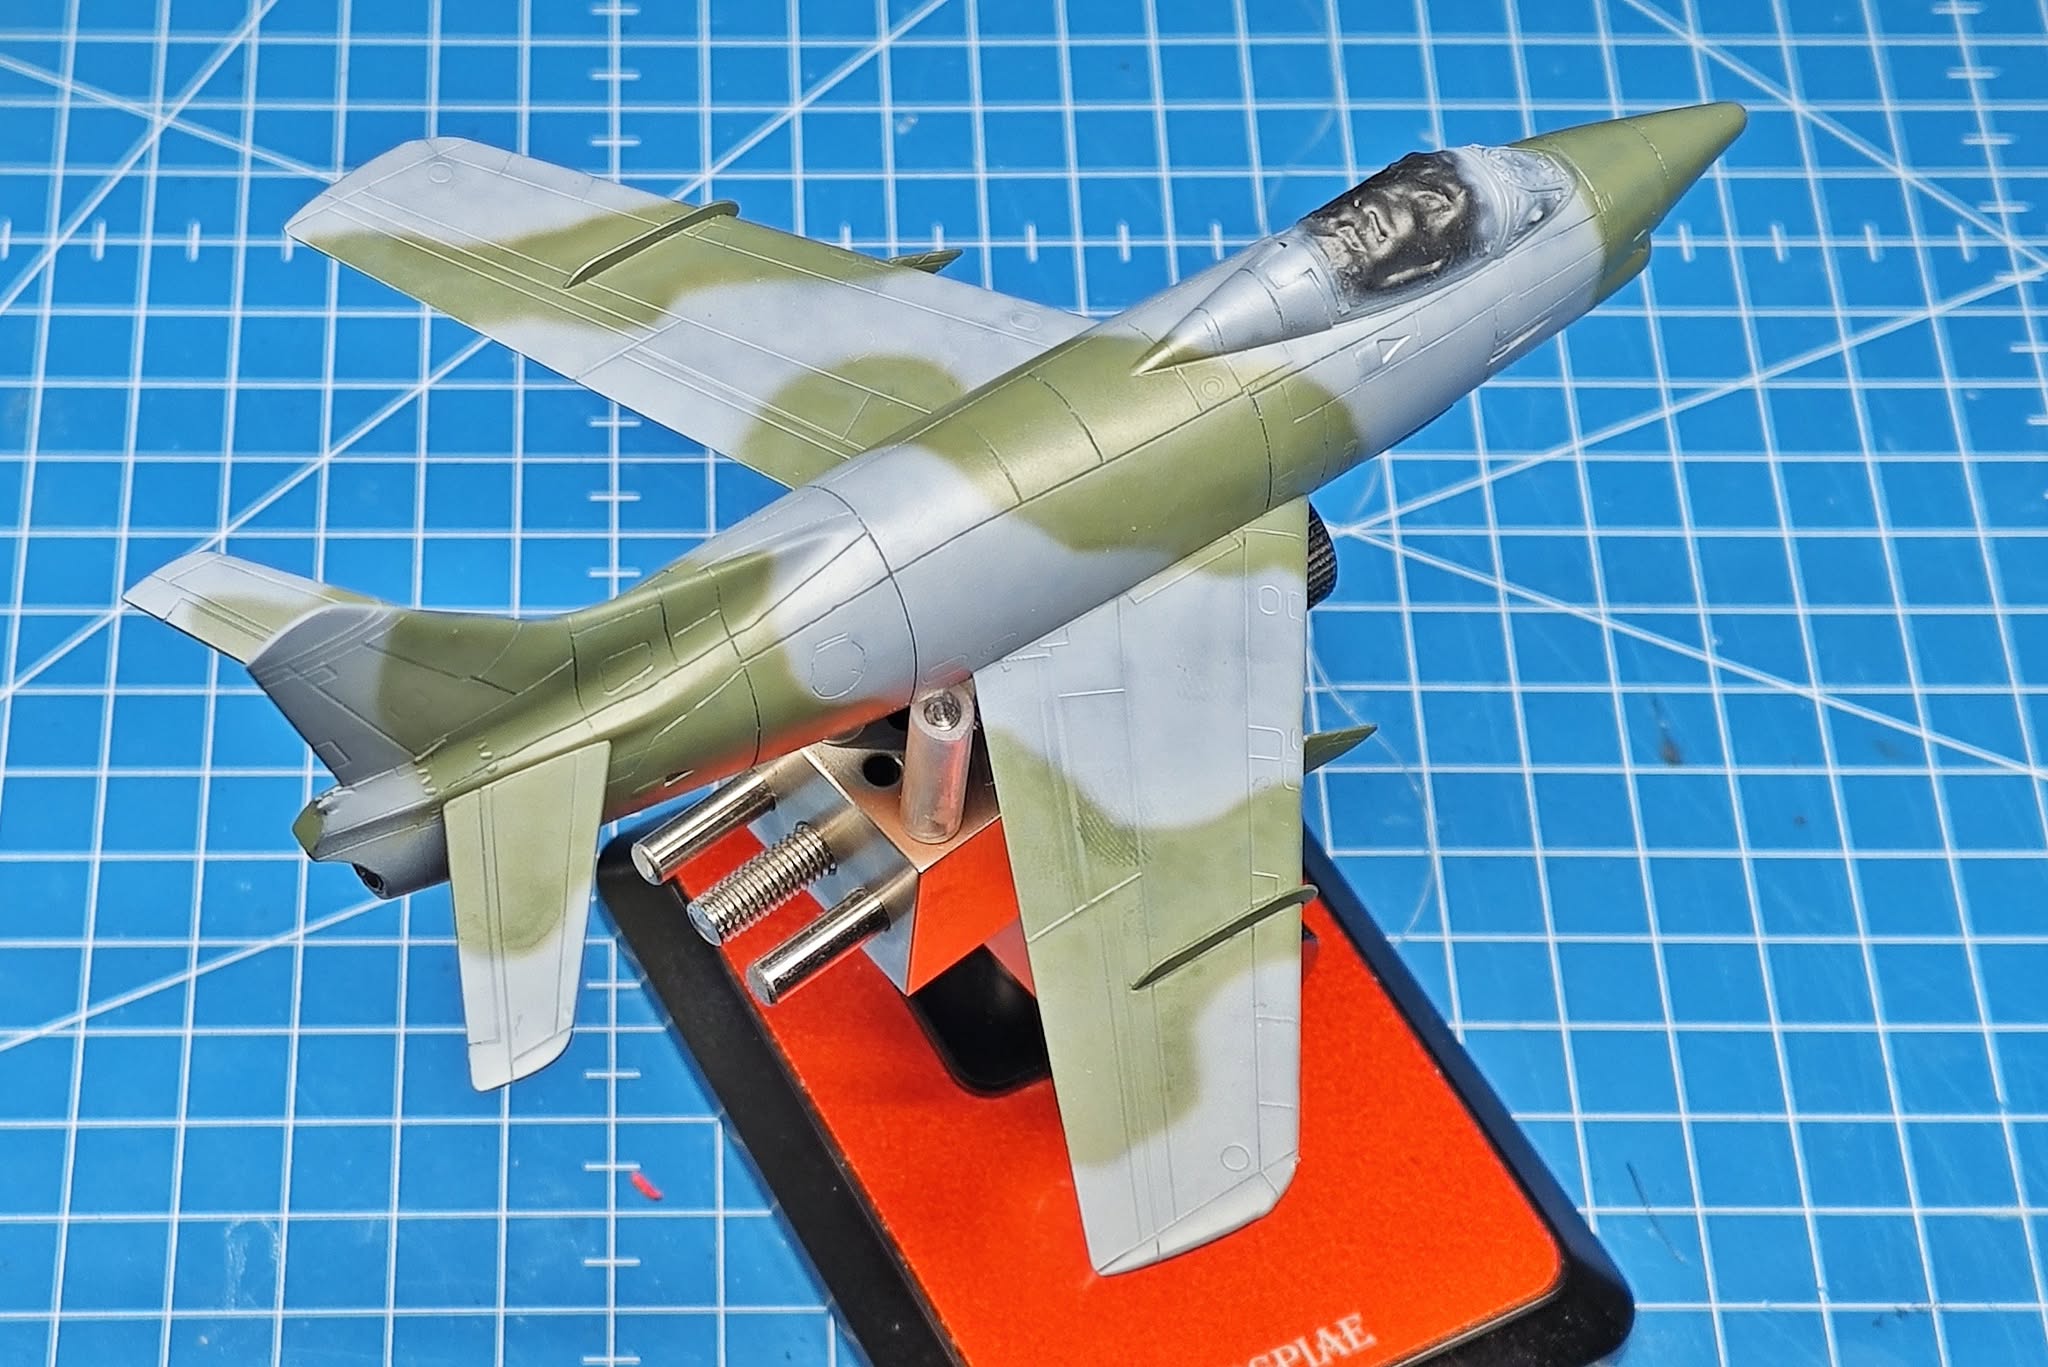
After the aluminium coat of the bottom side, it was time to paint the upper camouflage – first the general layout of the grey areas, followed by fine airbrush work with tight freehand painting of the green areas.
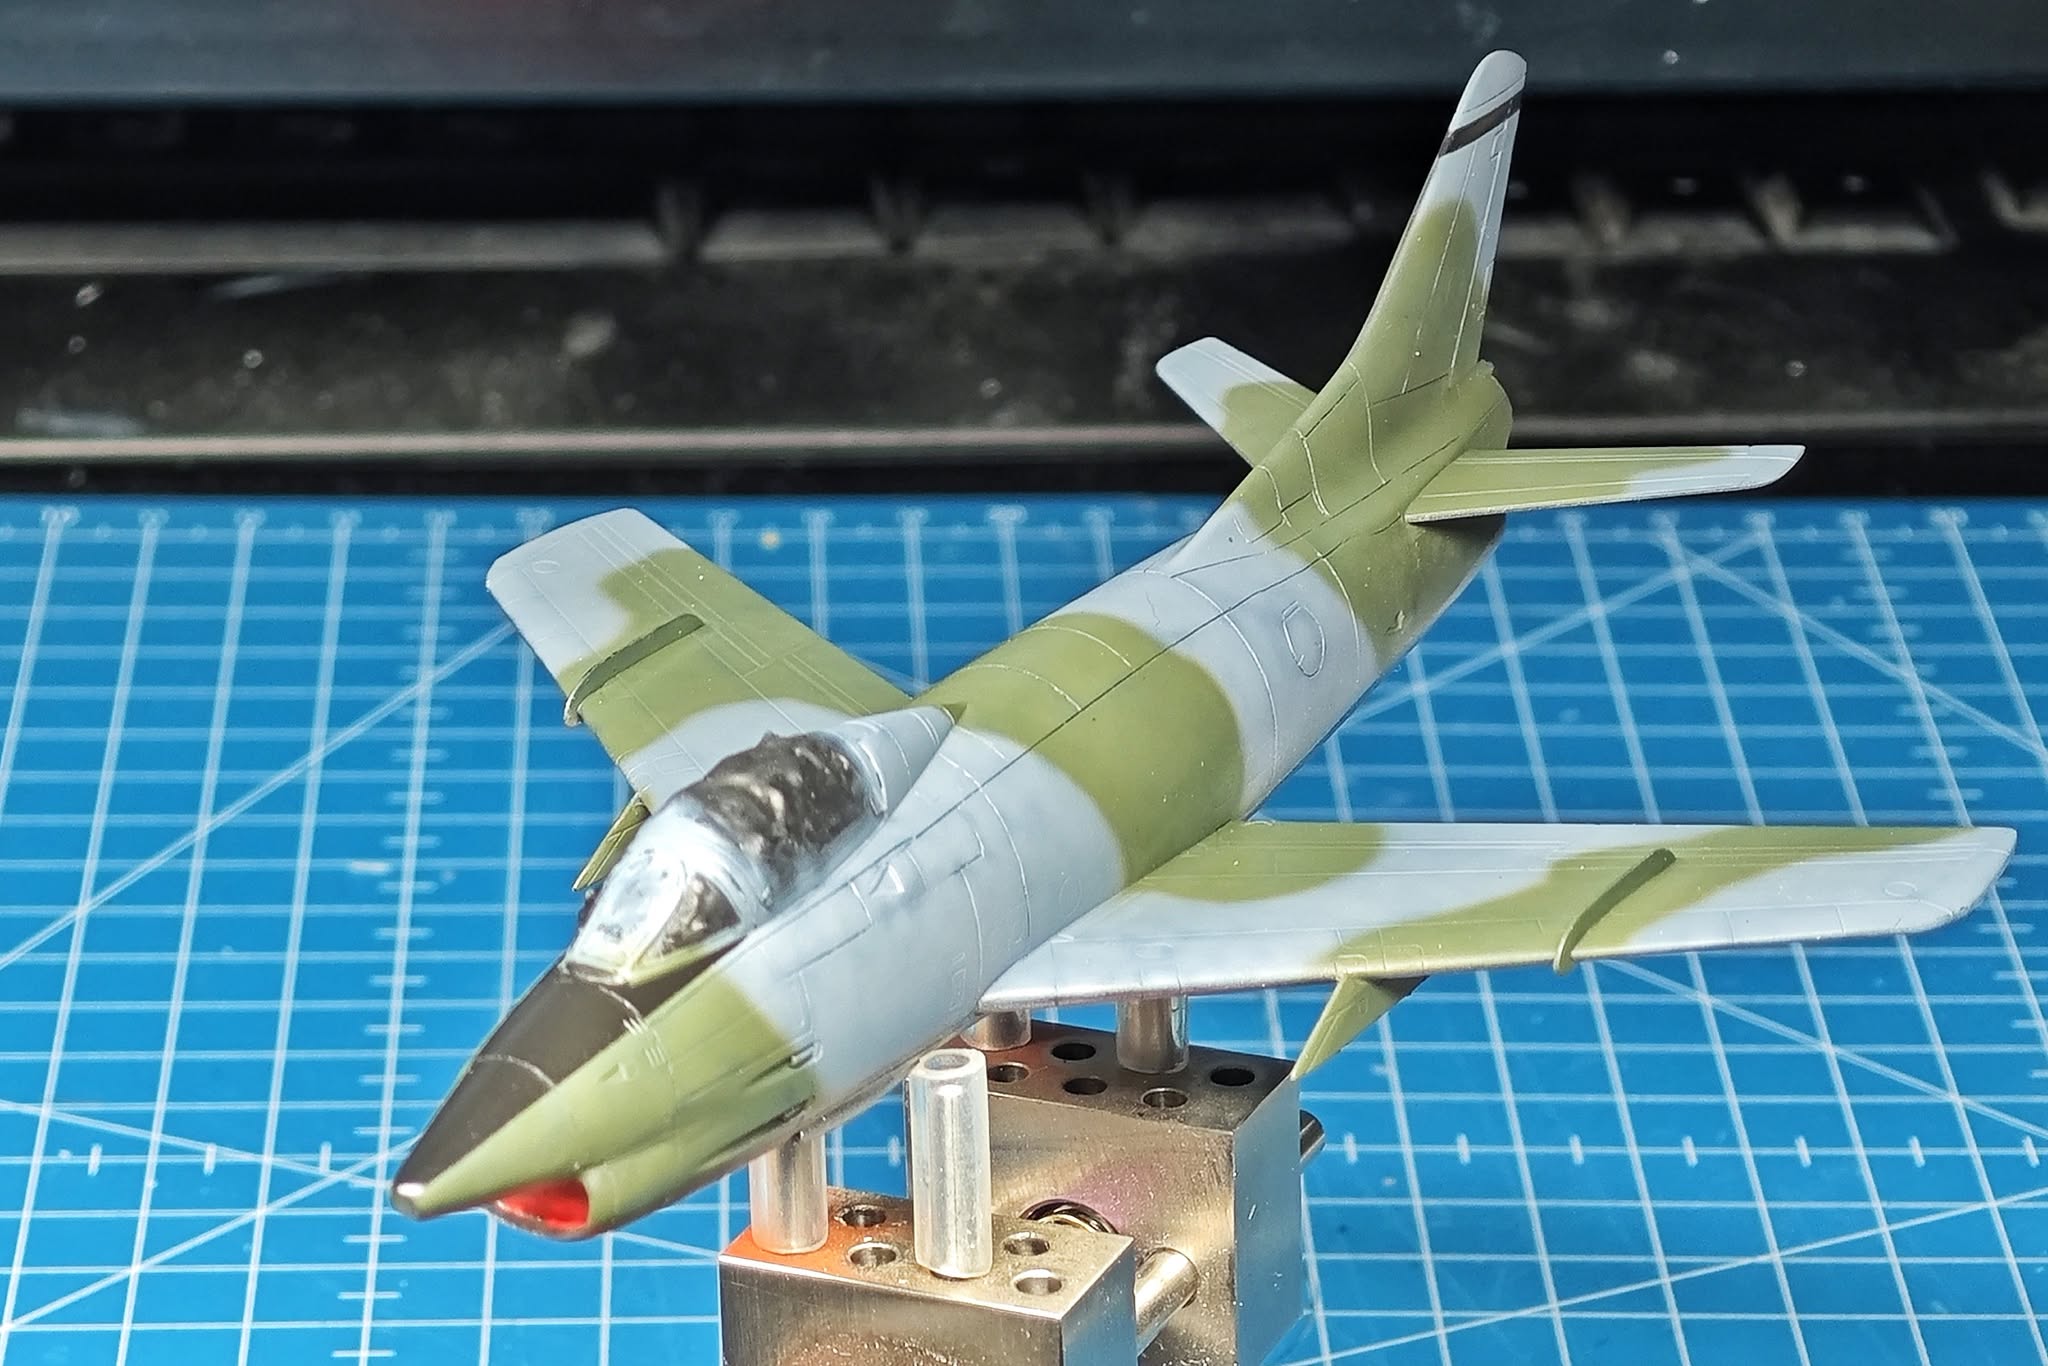
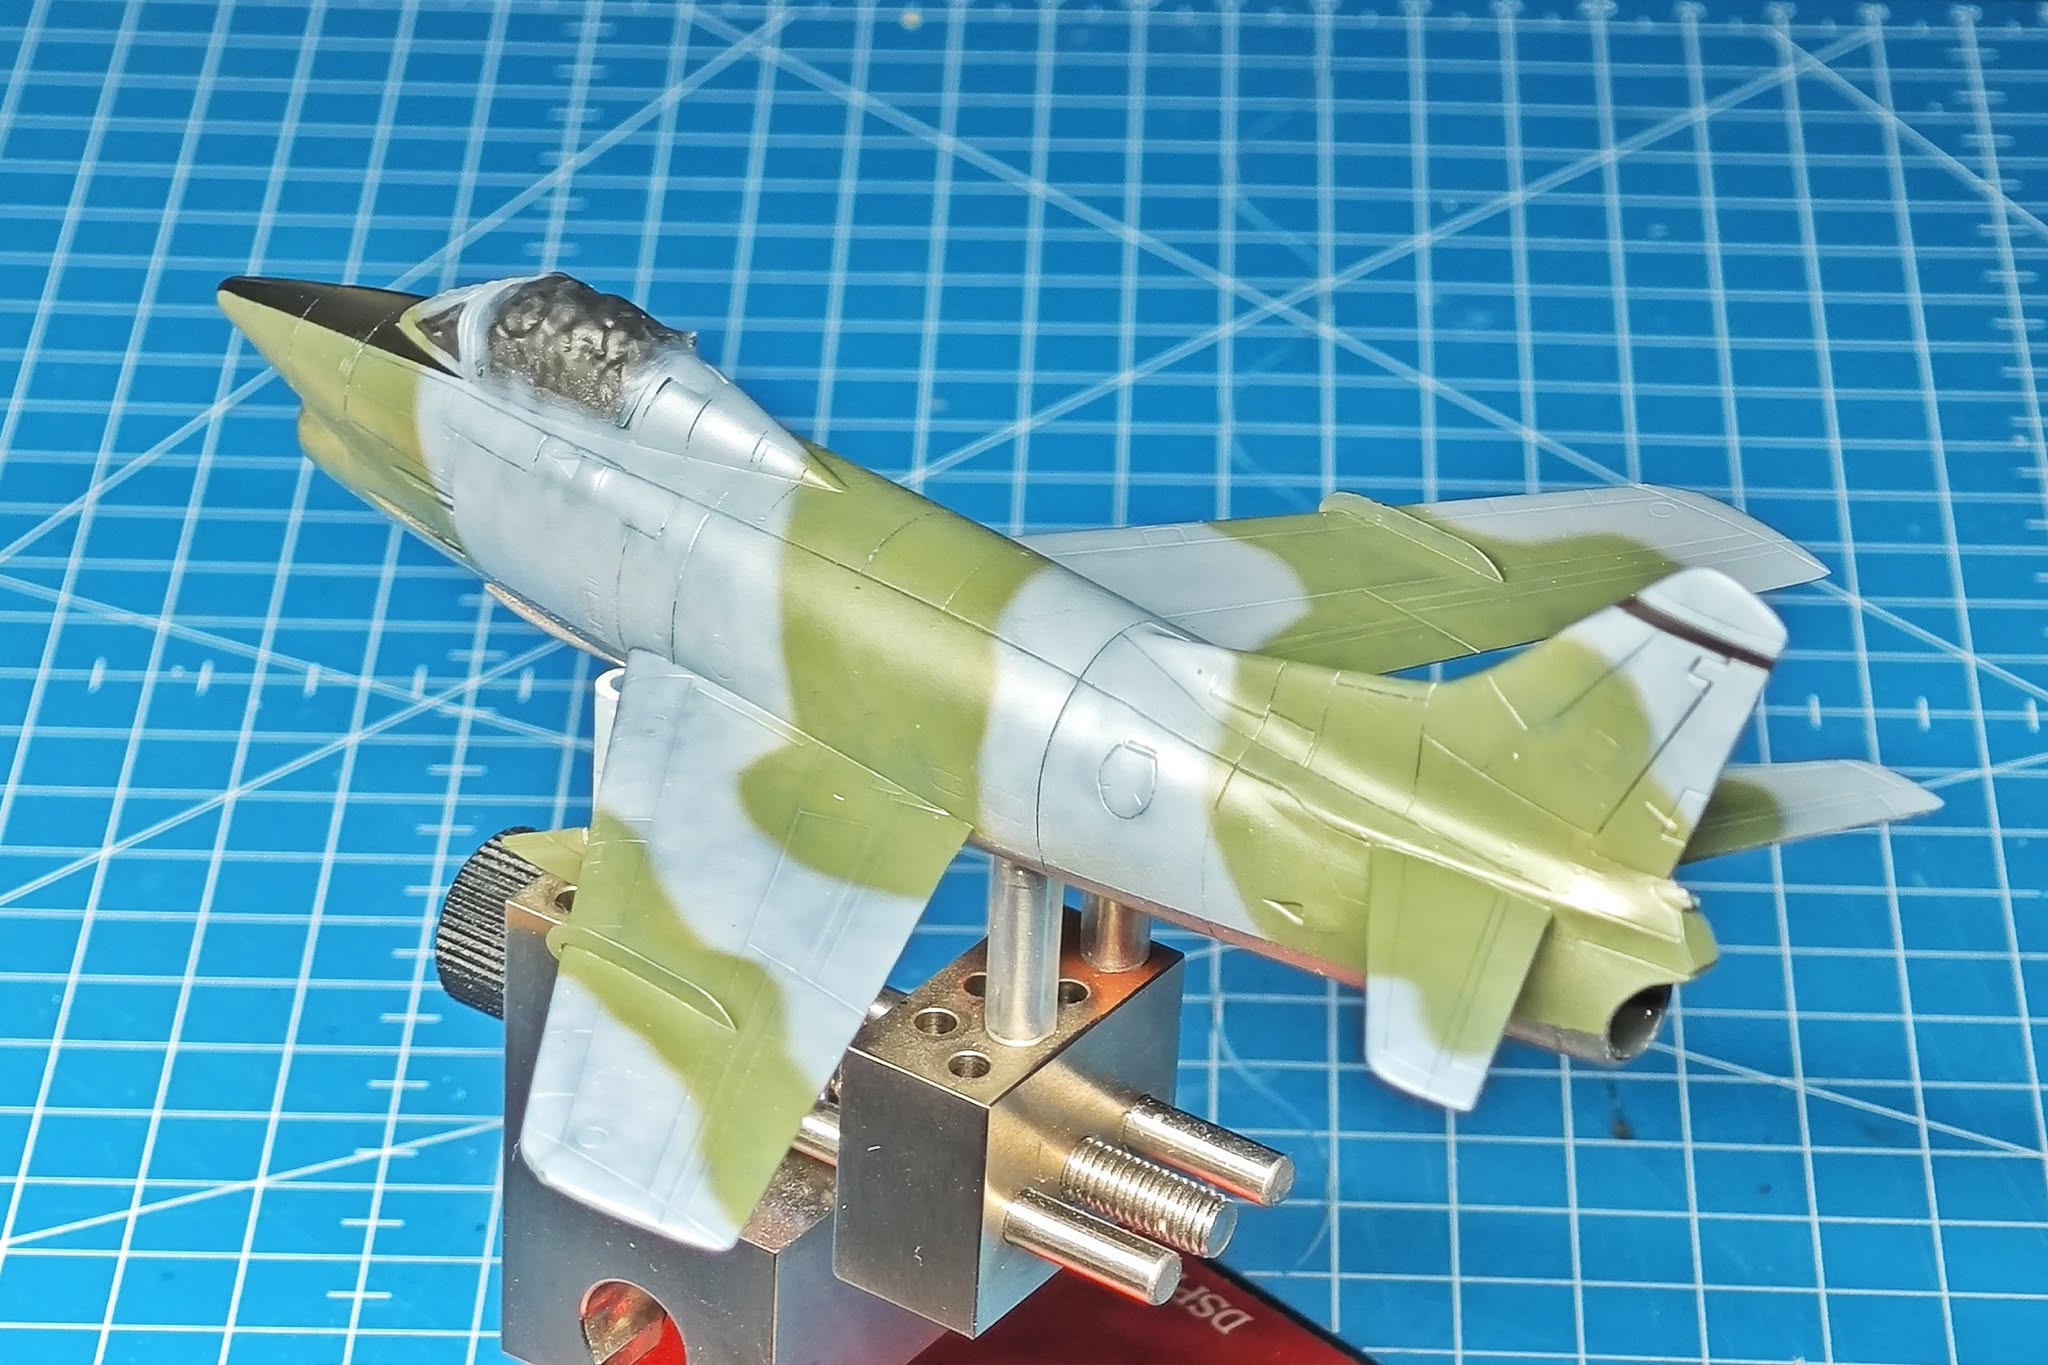
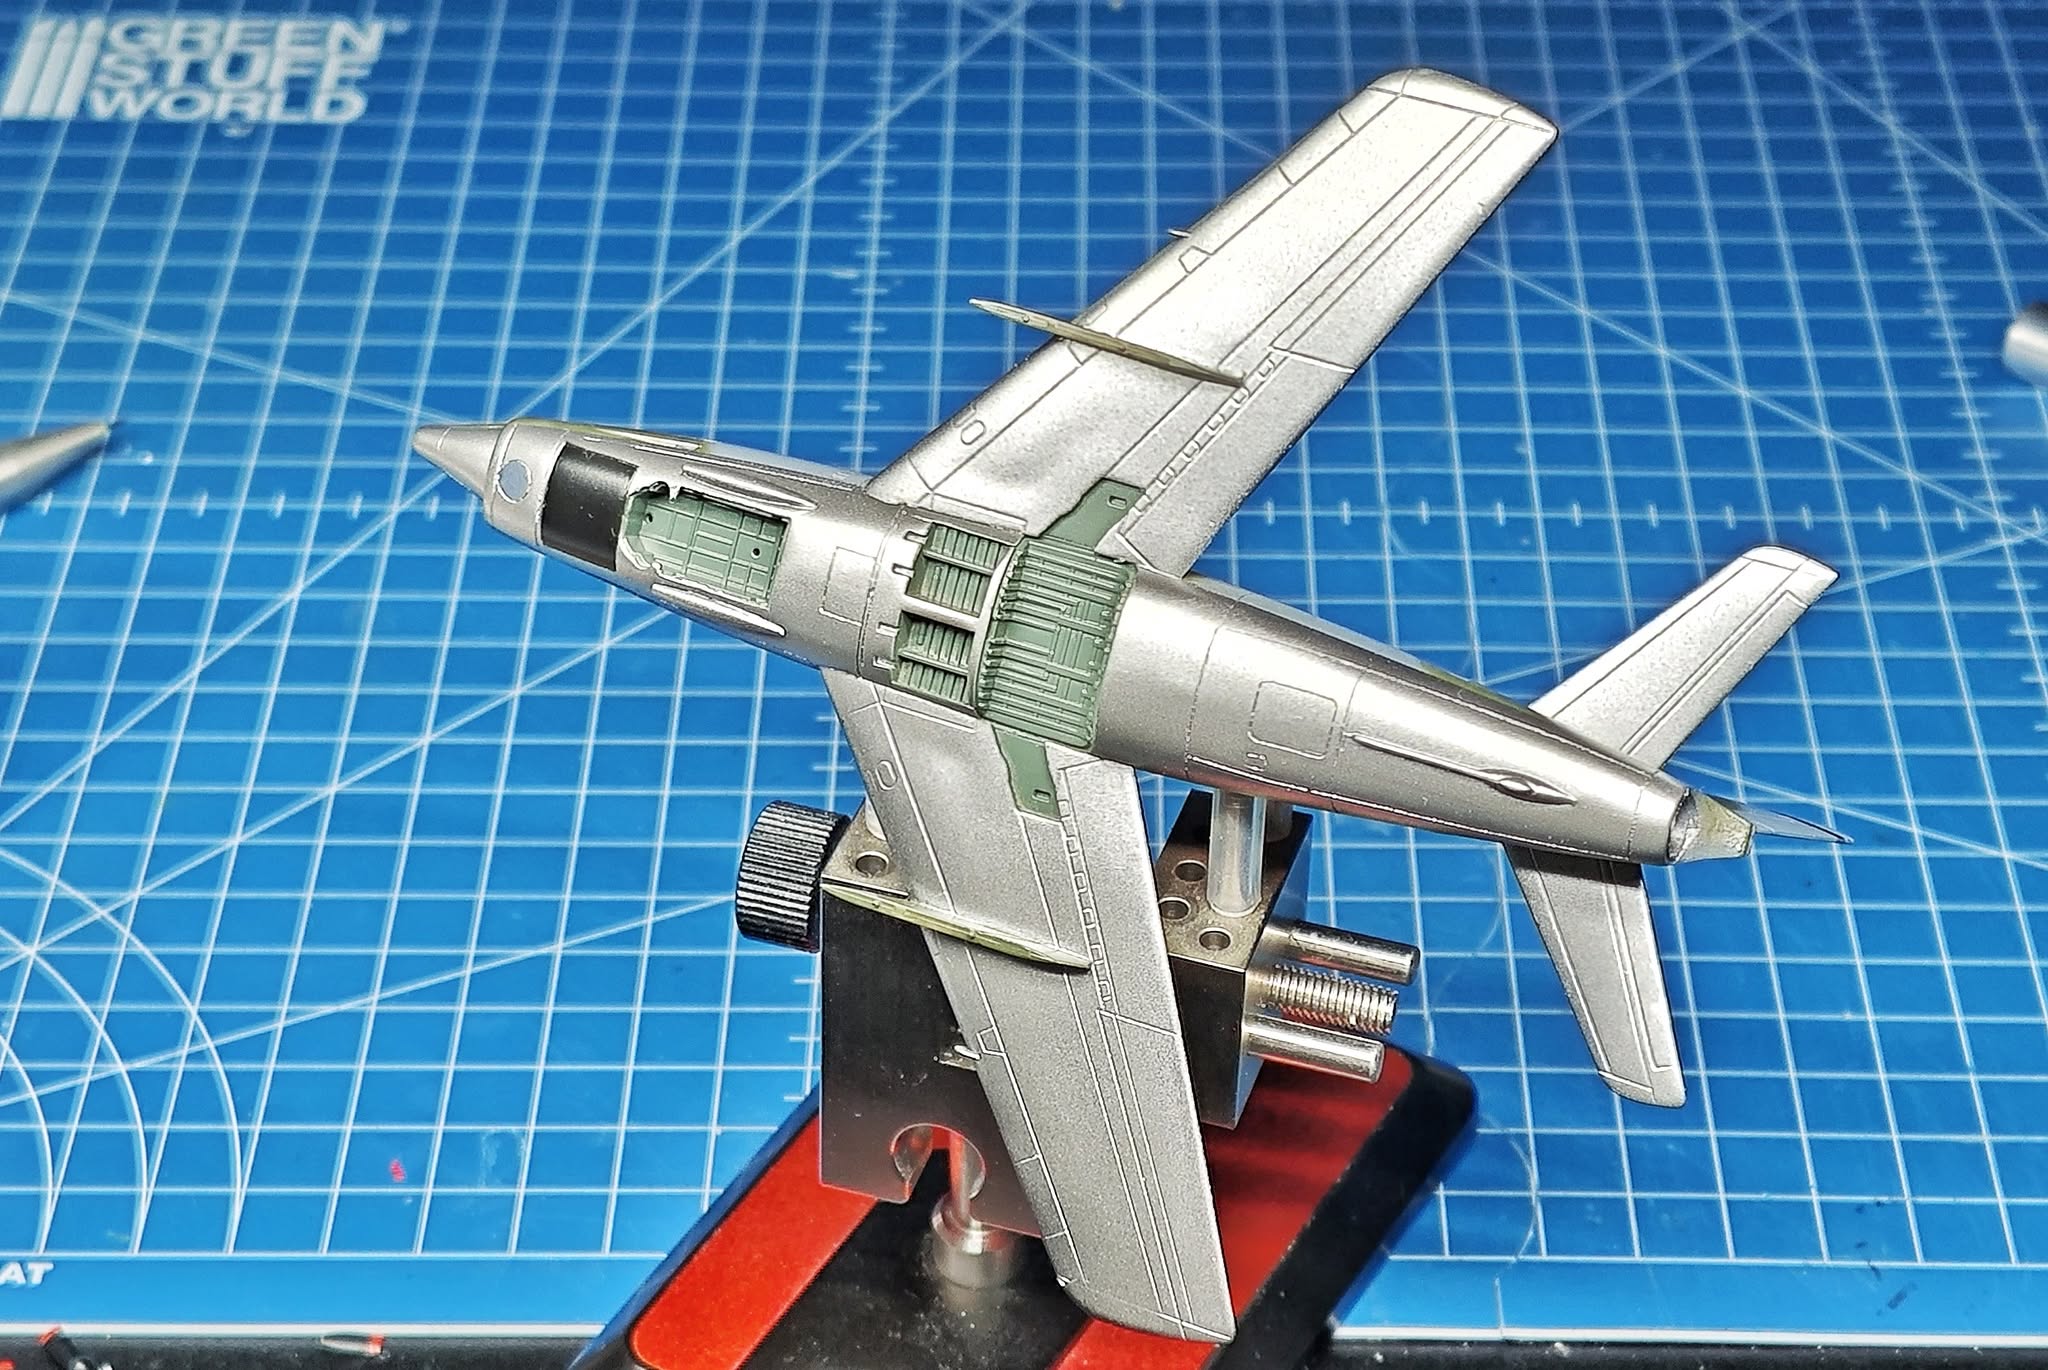
Some details were painted like antiglare panels, landing gear/airbrake wells, intake plug, etc. And this means she is ready for decals!
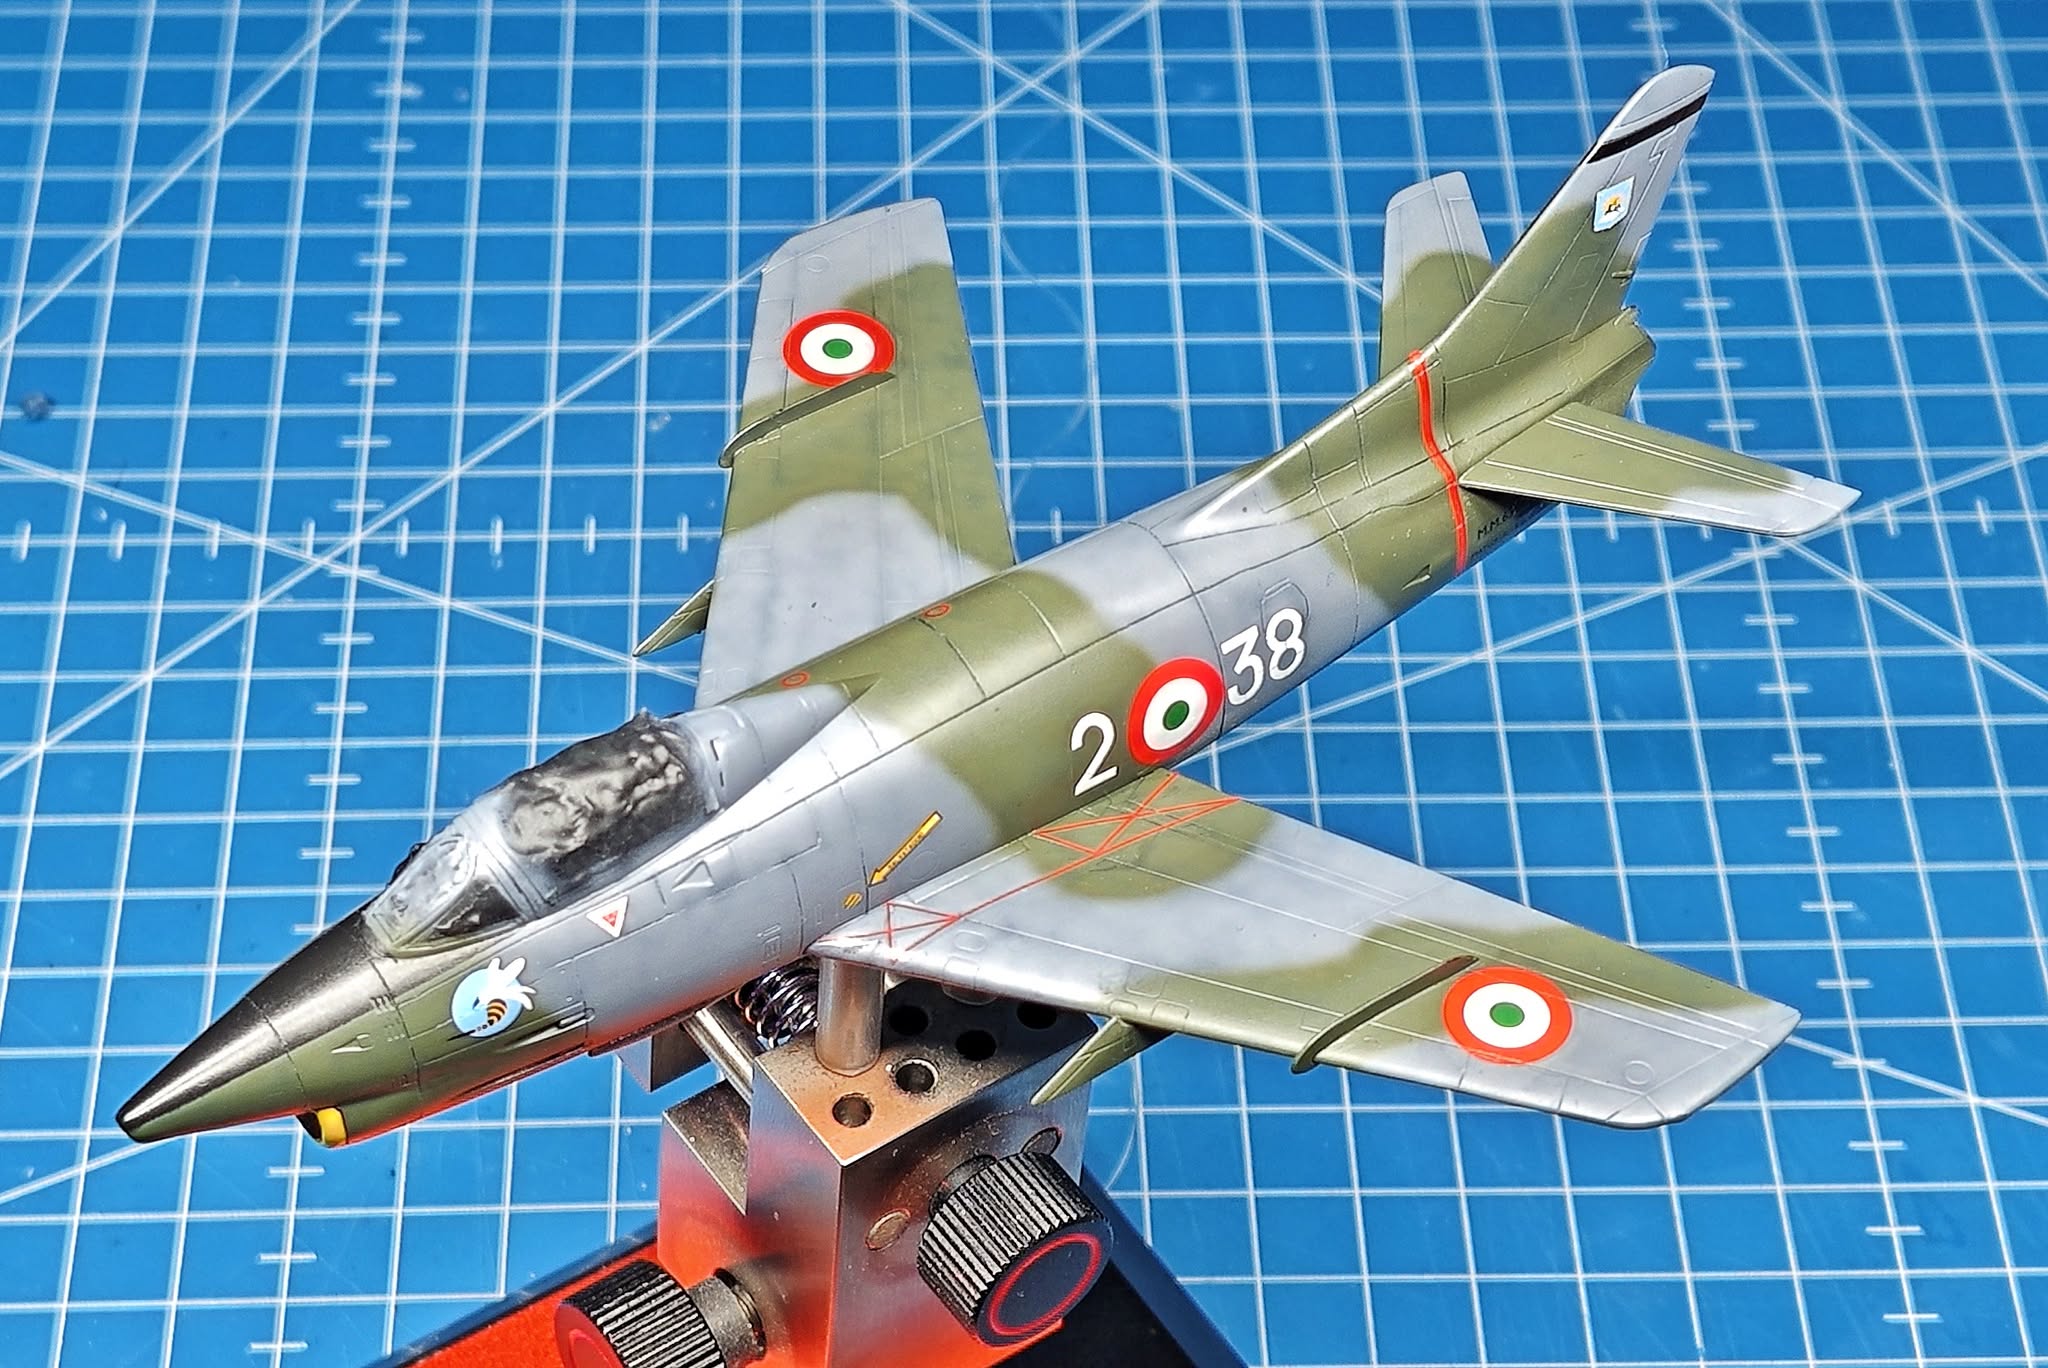
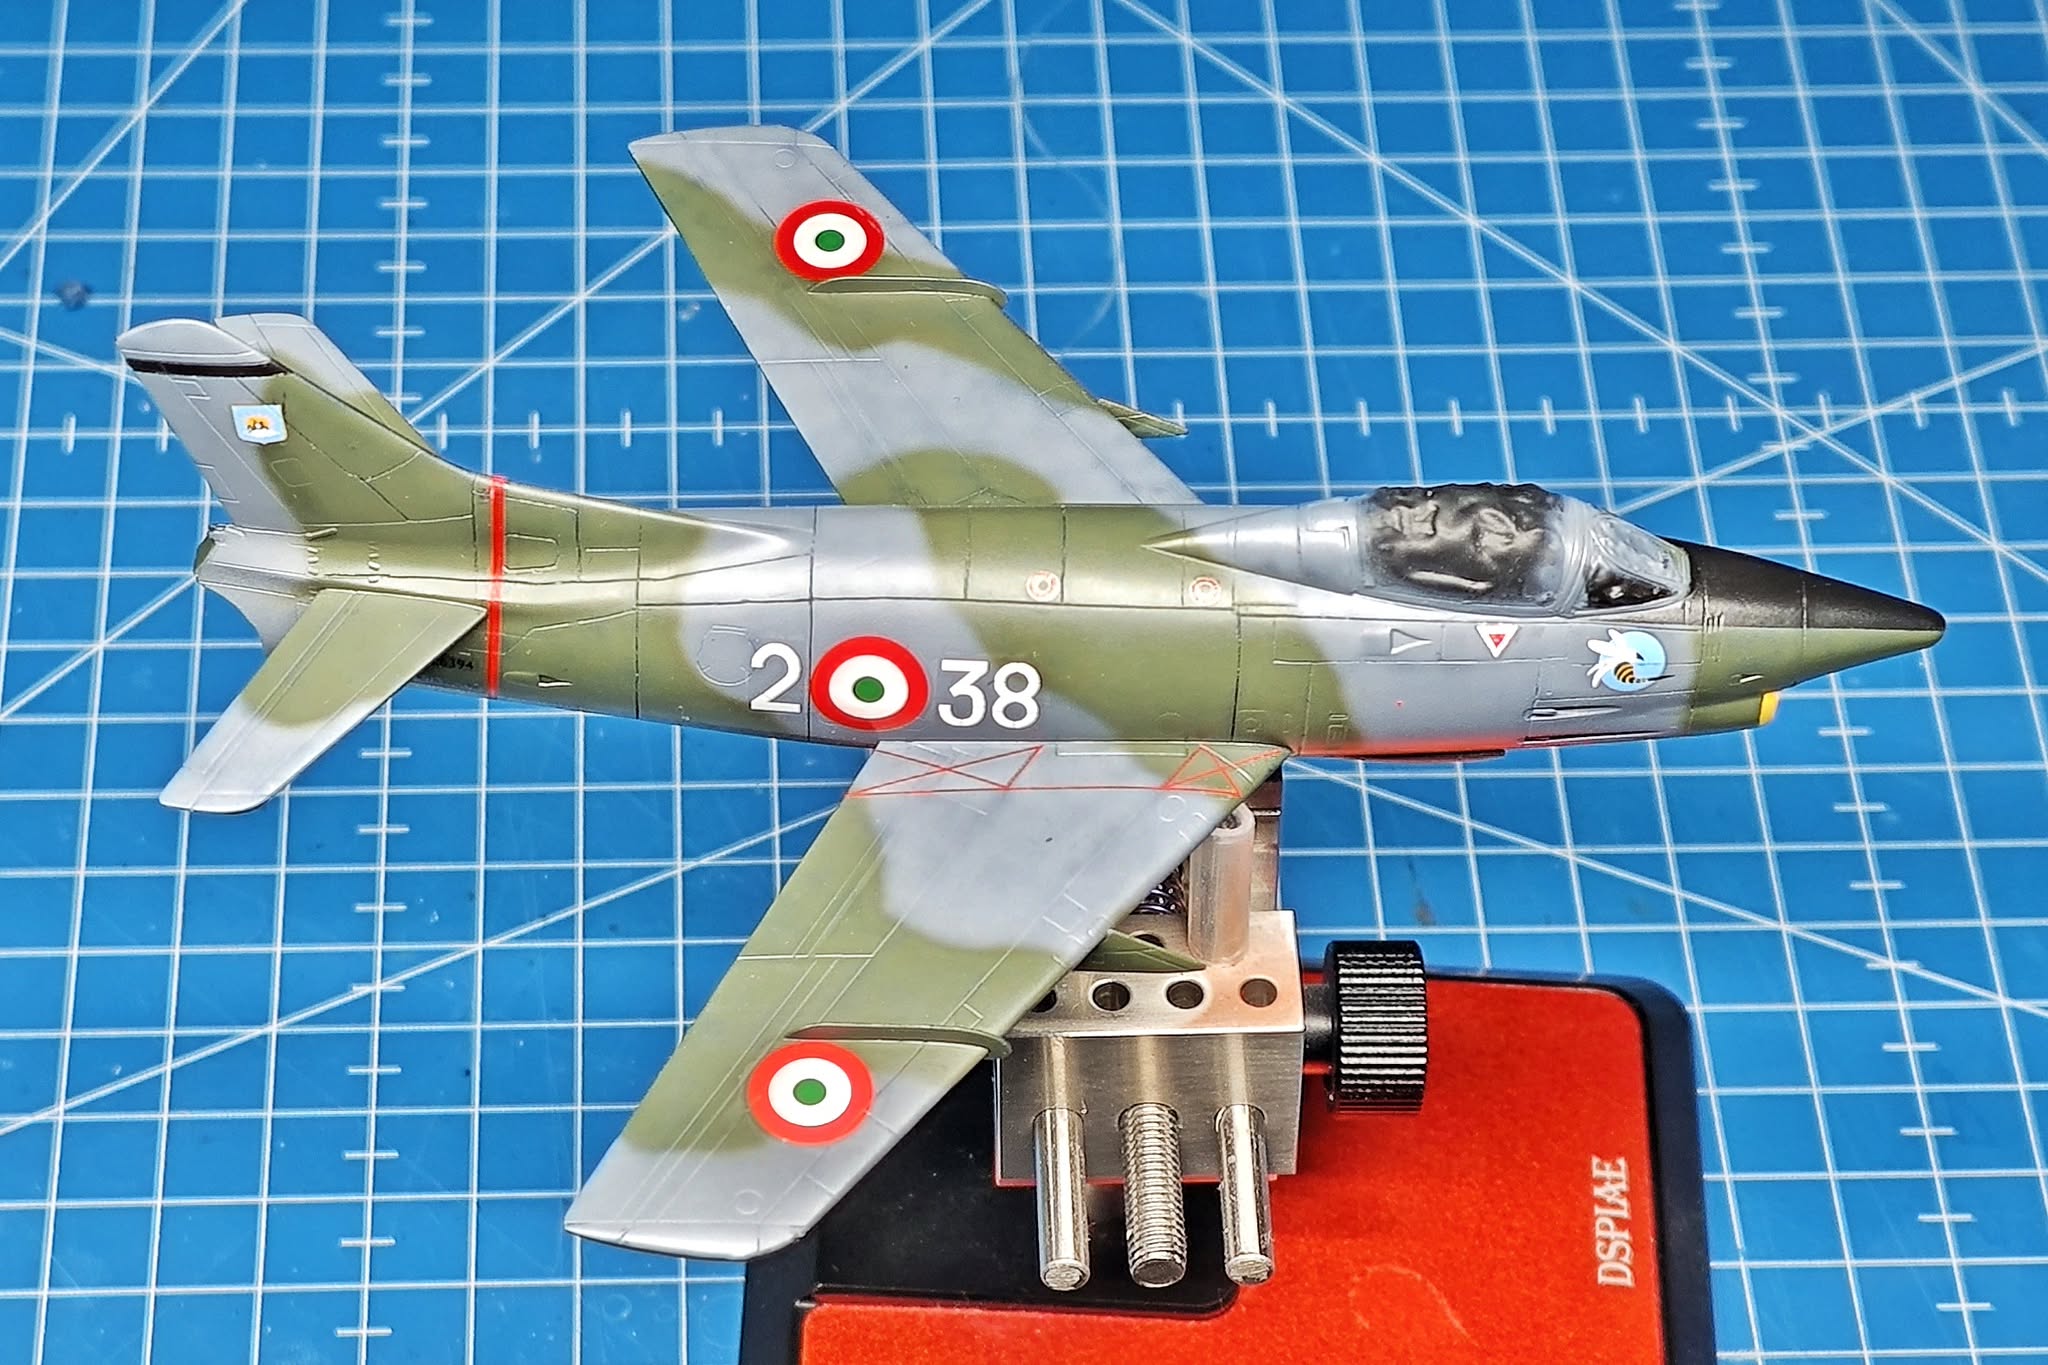
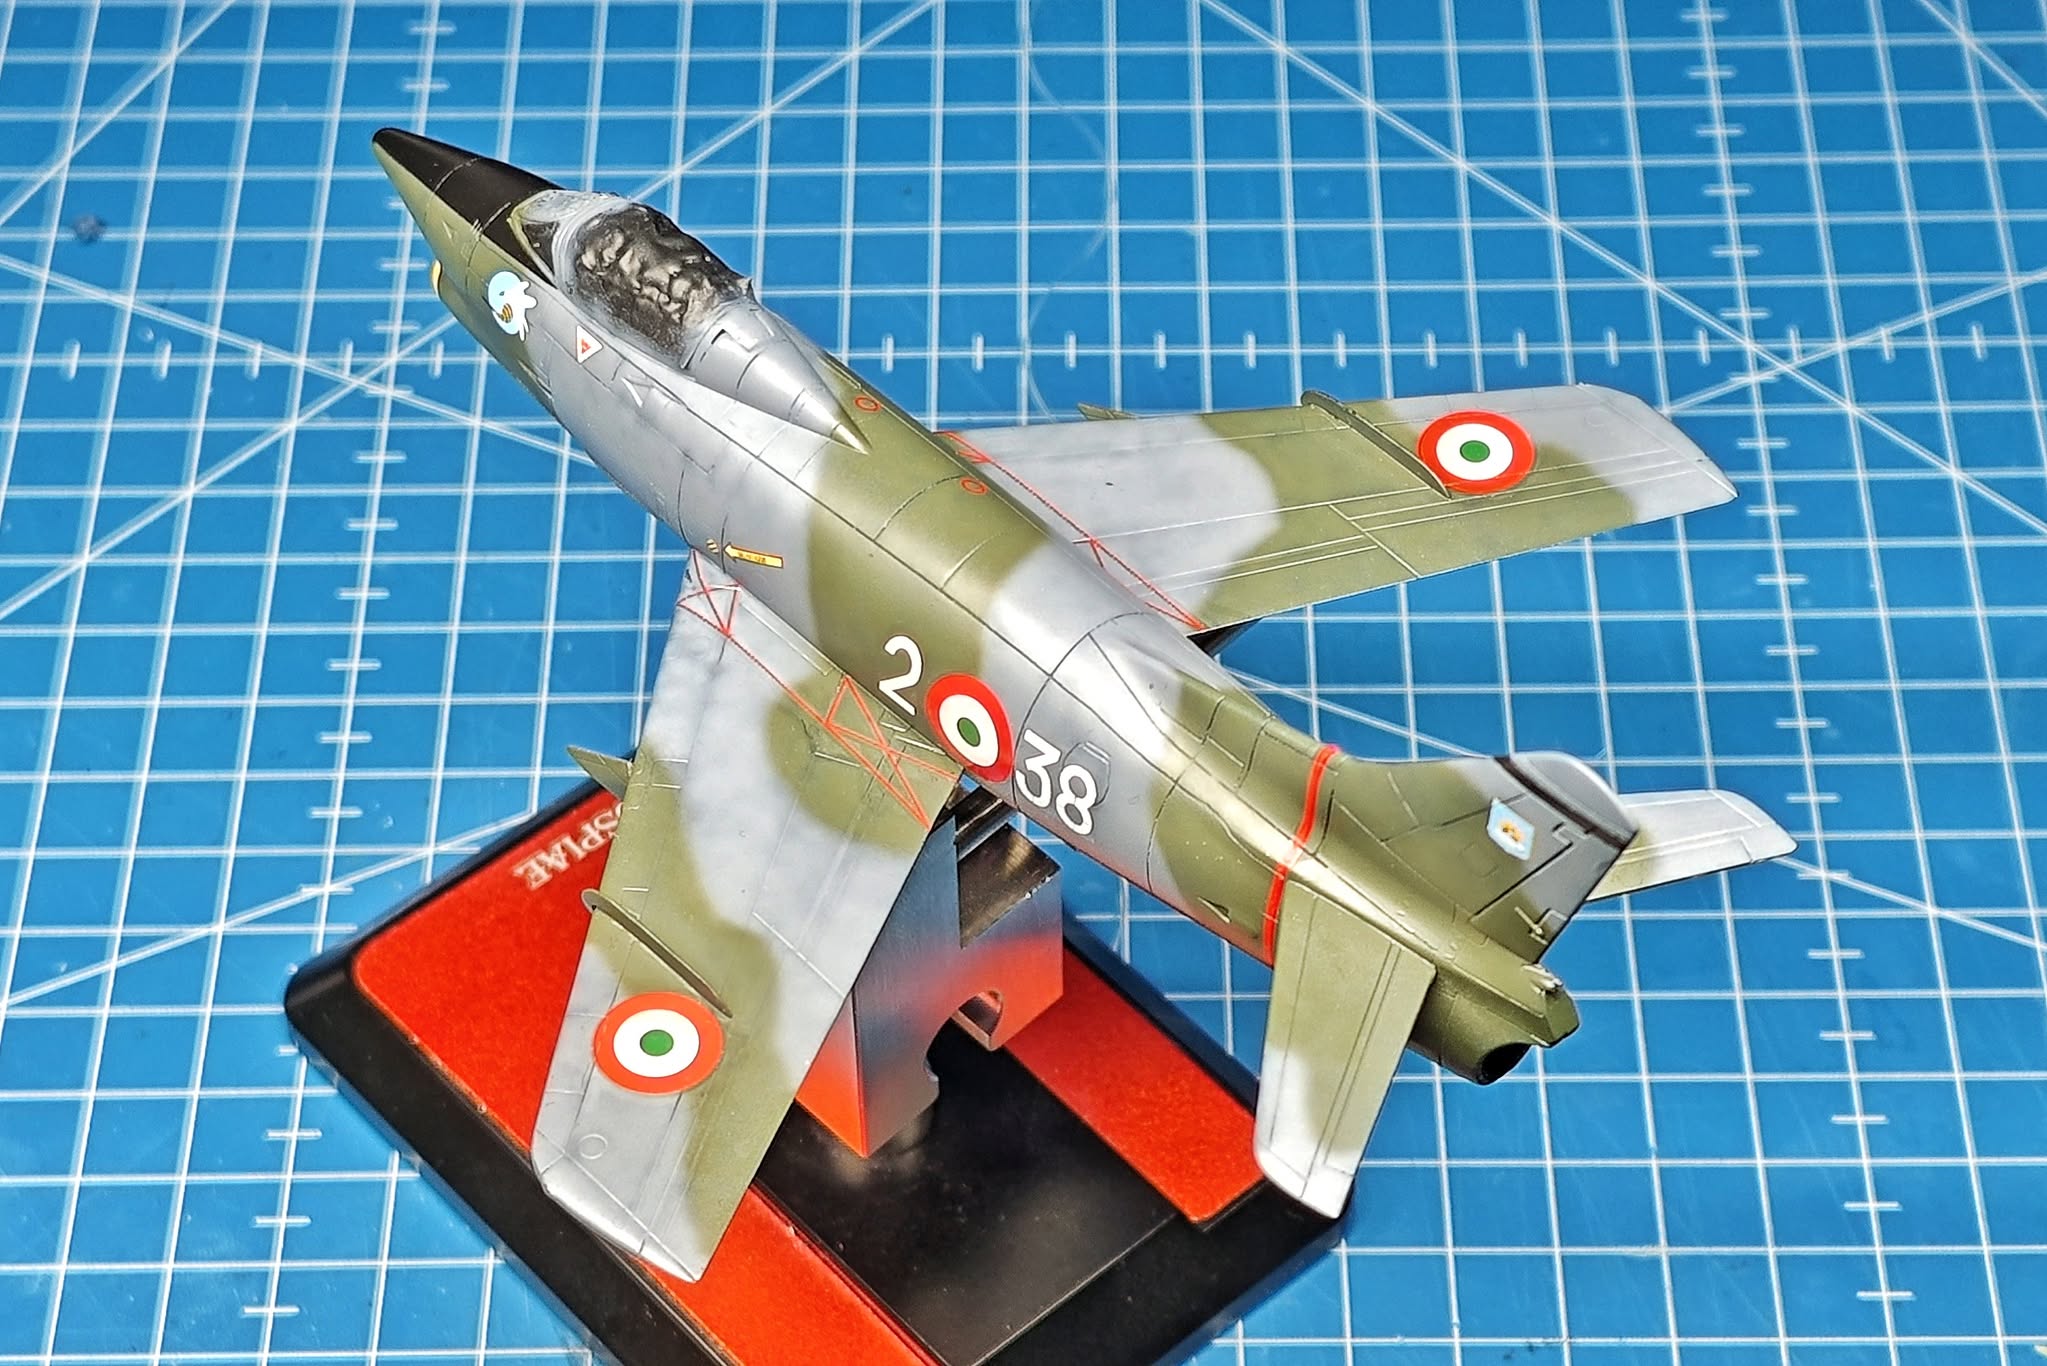
Decals have been applied – I chose this particular scheme as I liked the yellow intake lip, giving her a bit more character and colour.
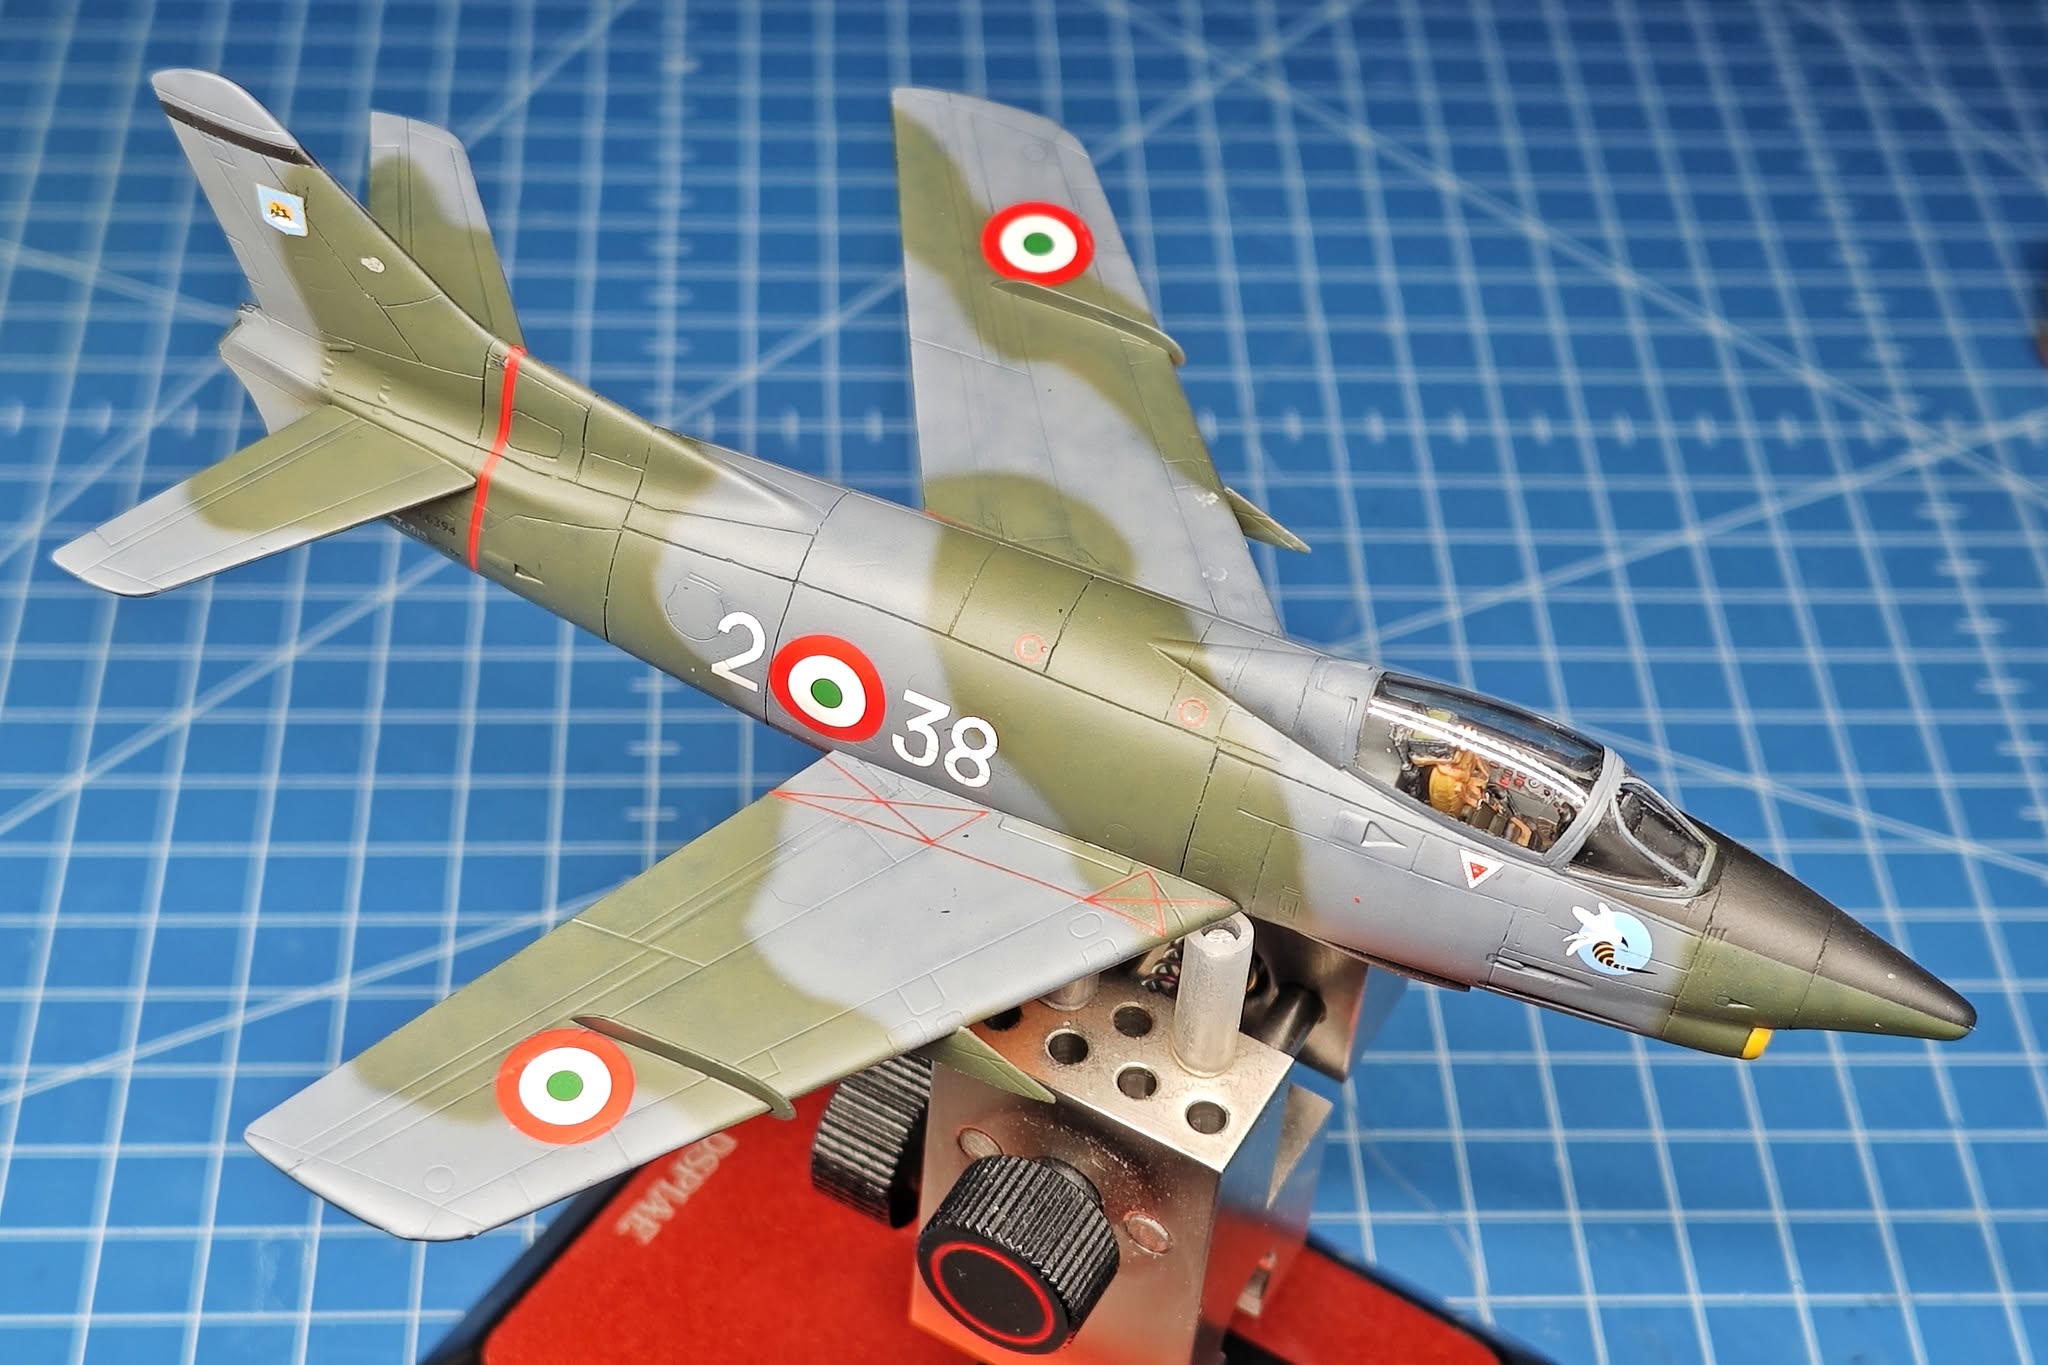
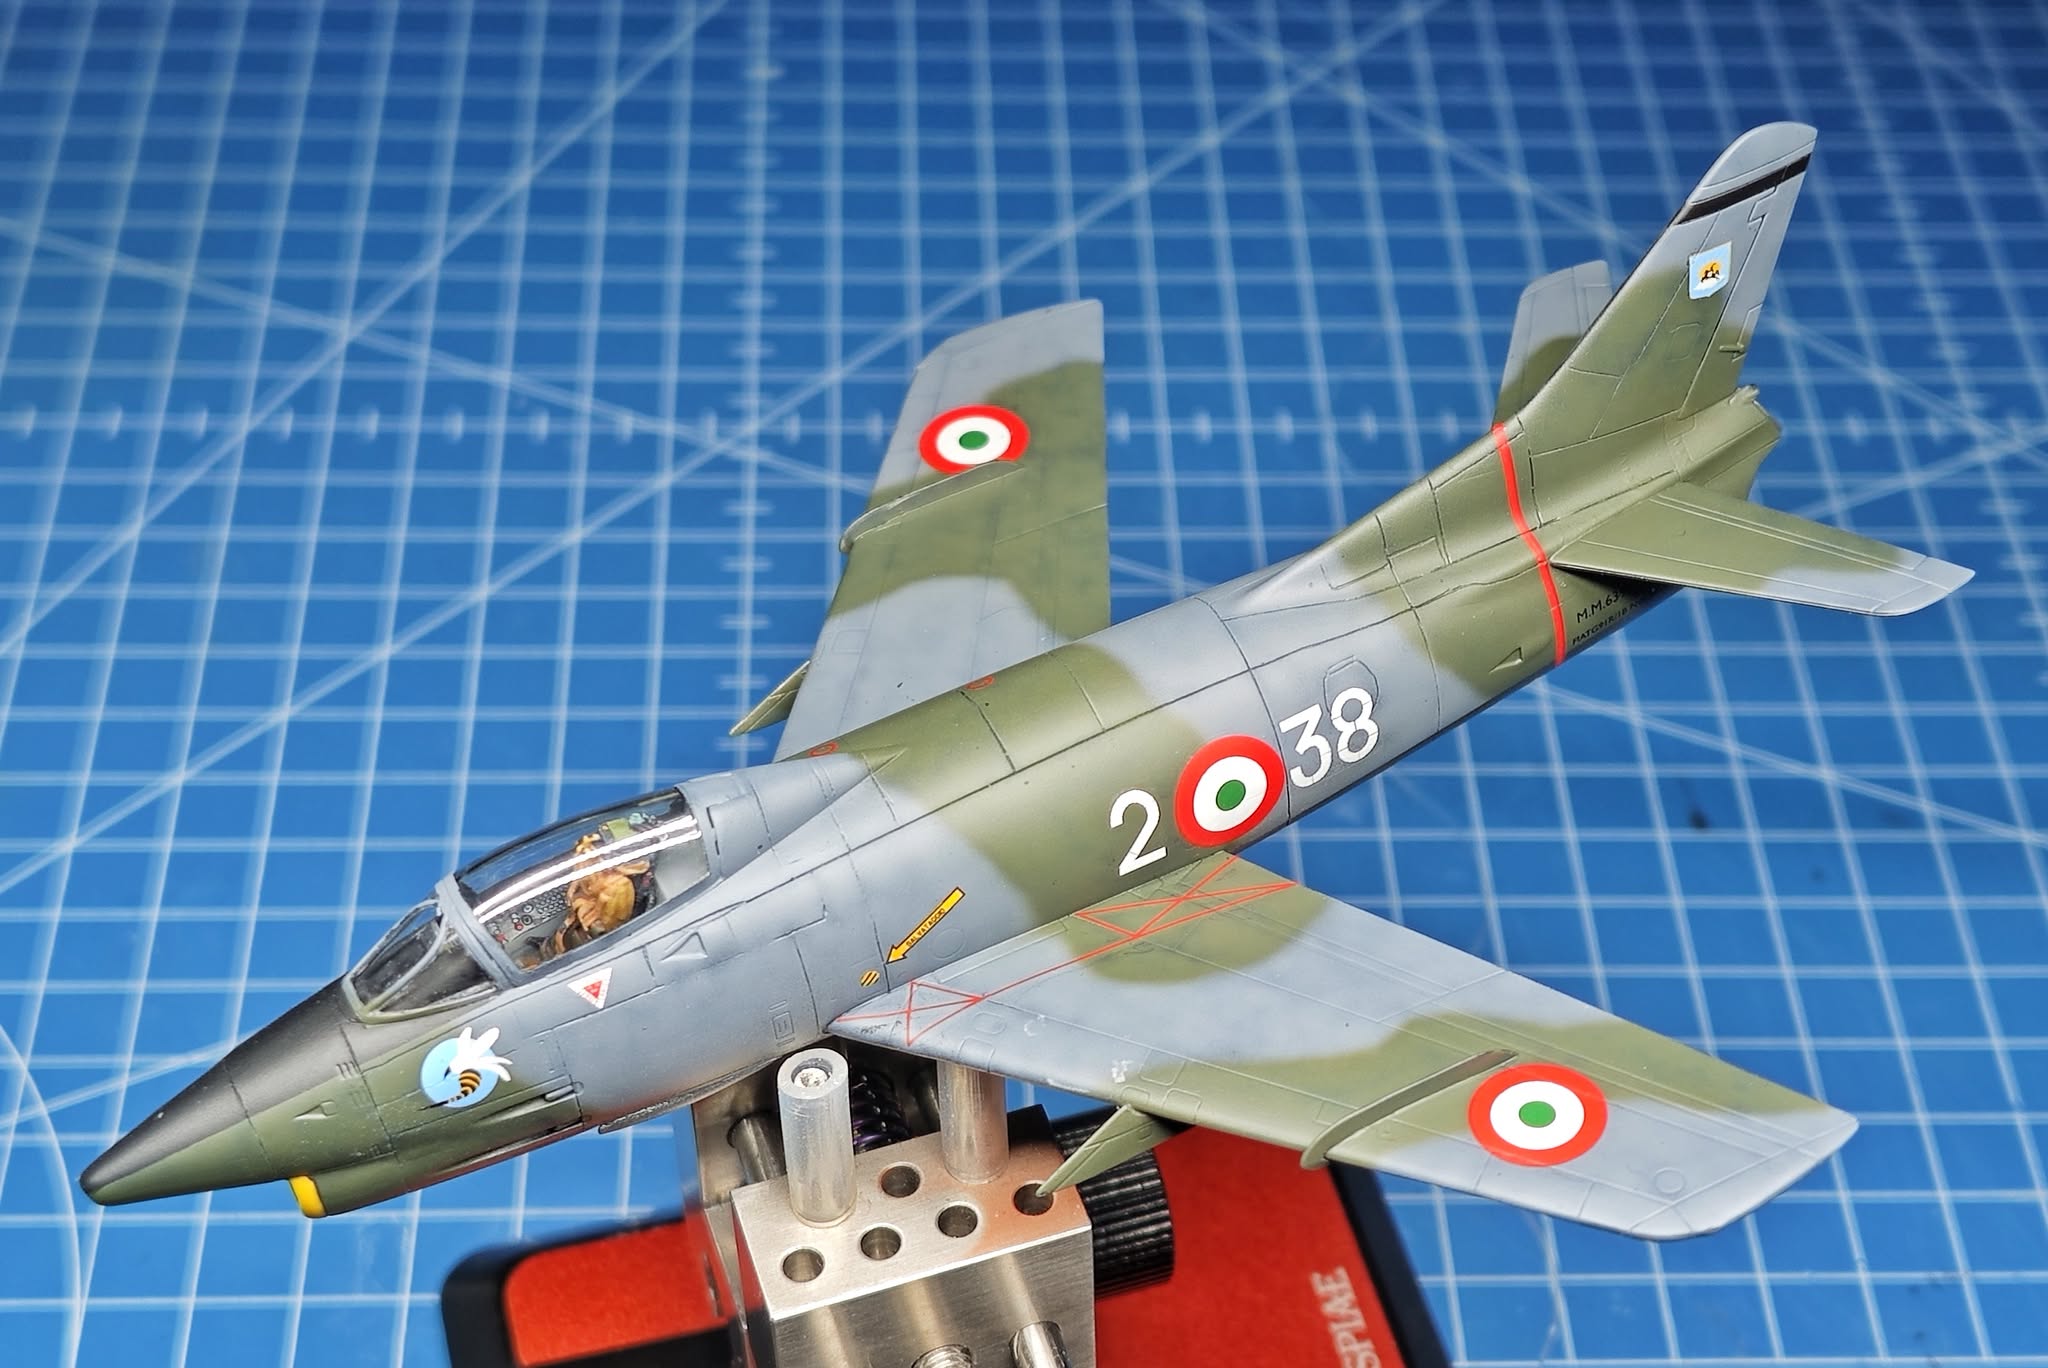
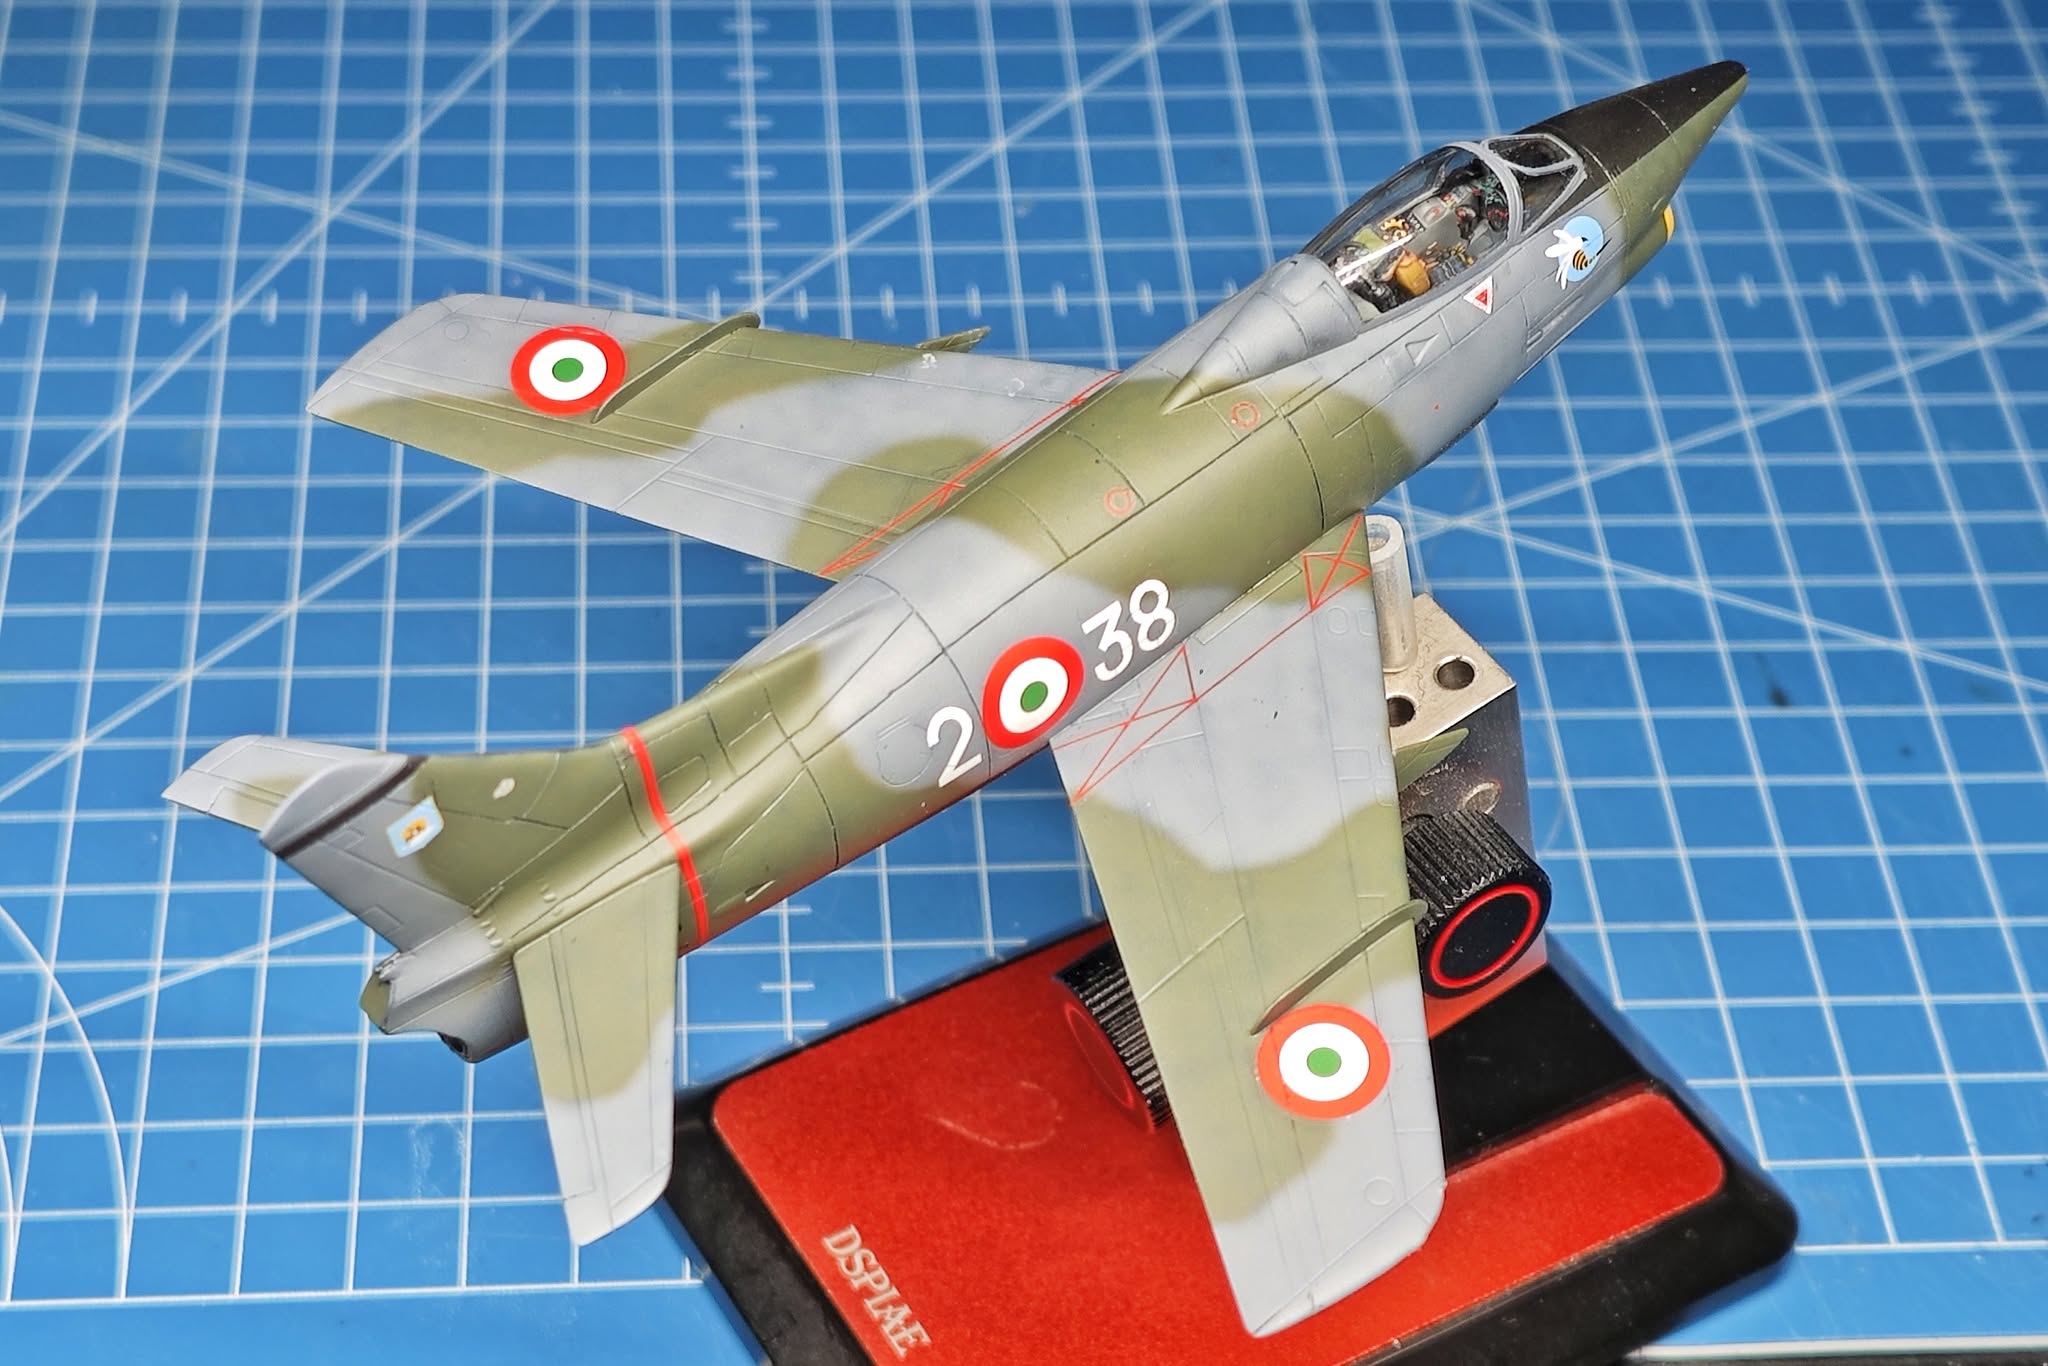
VMS Supplies Satin coat applied and masks removed.
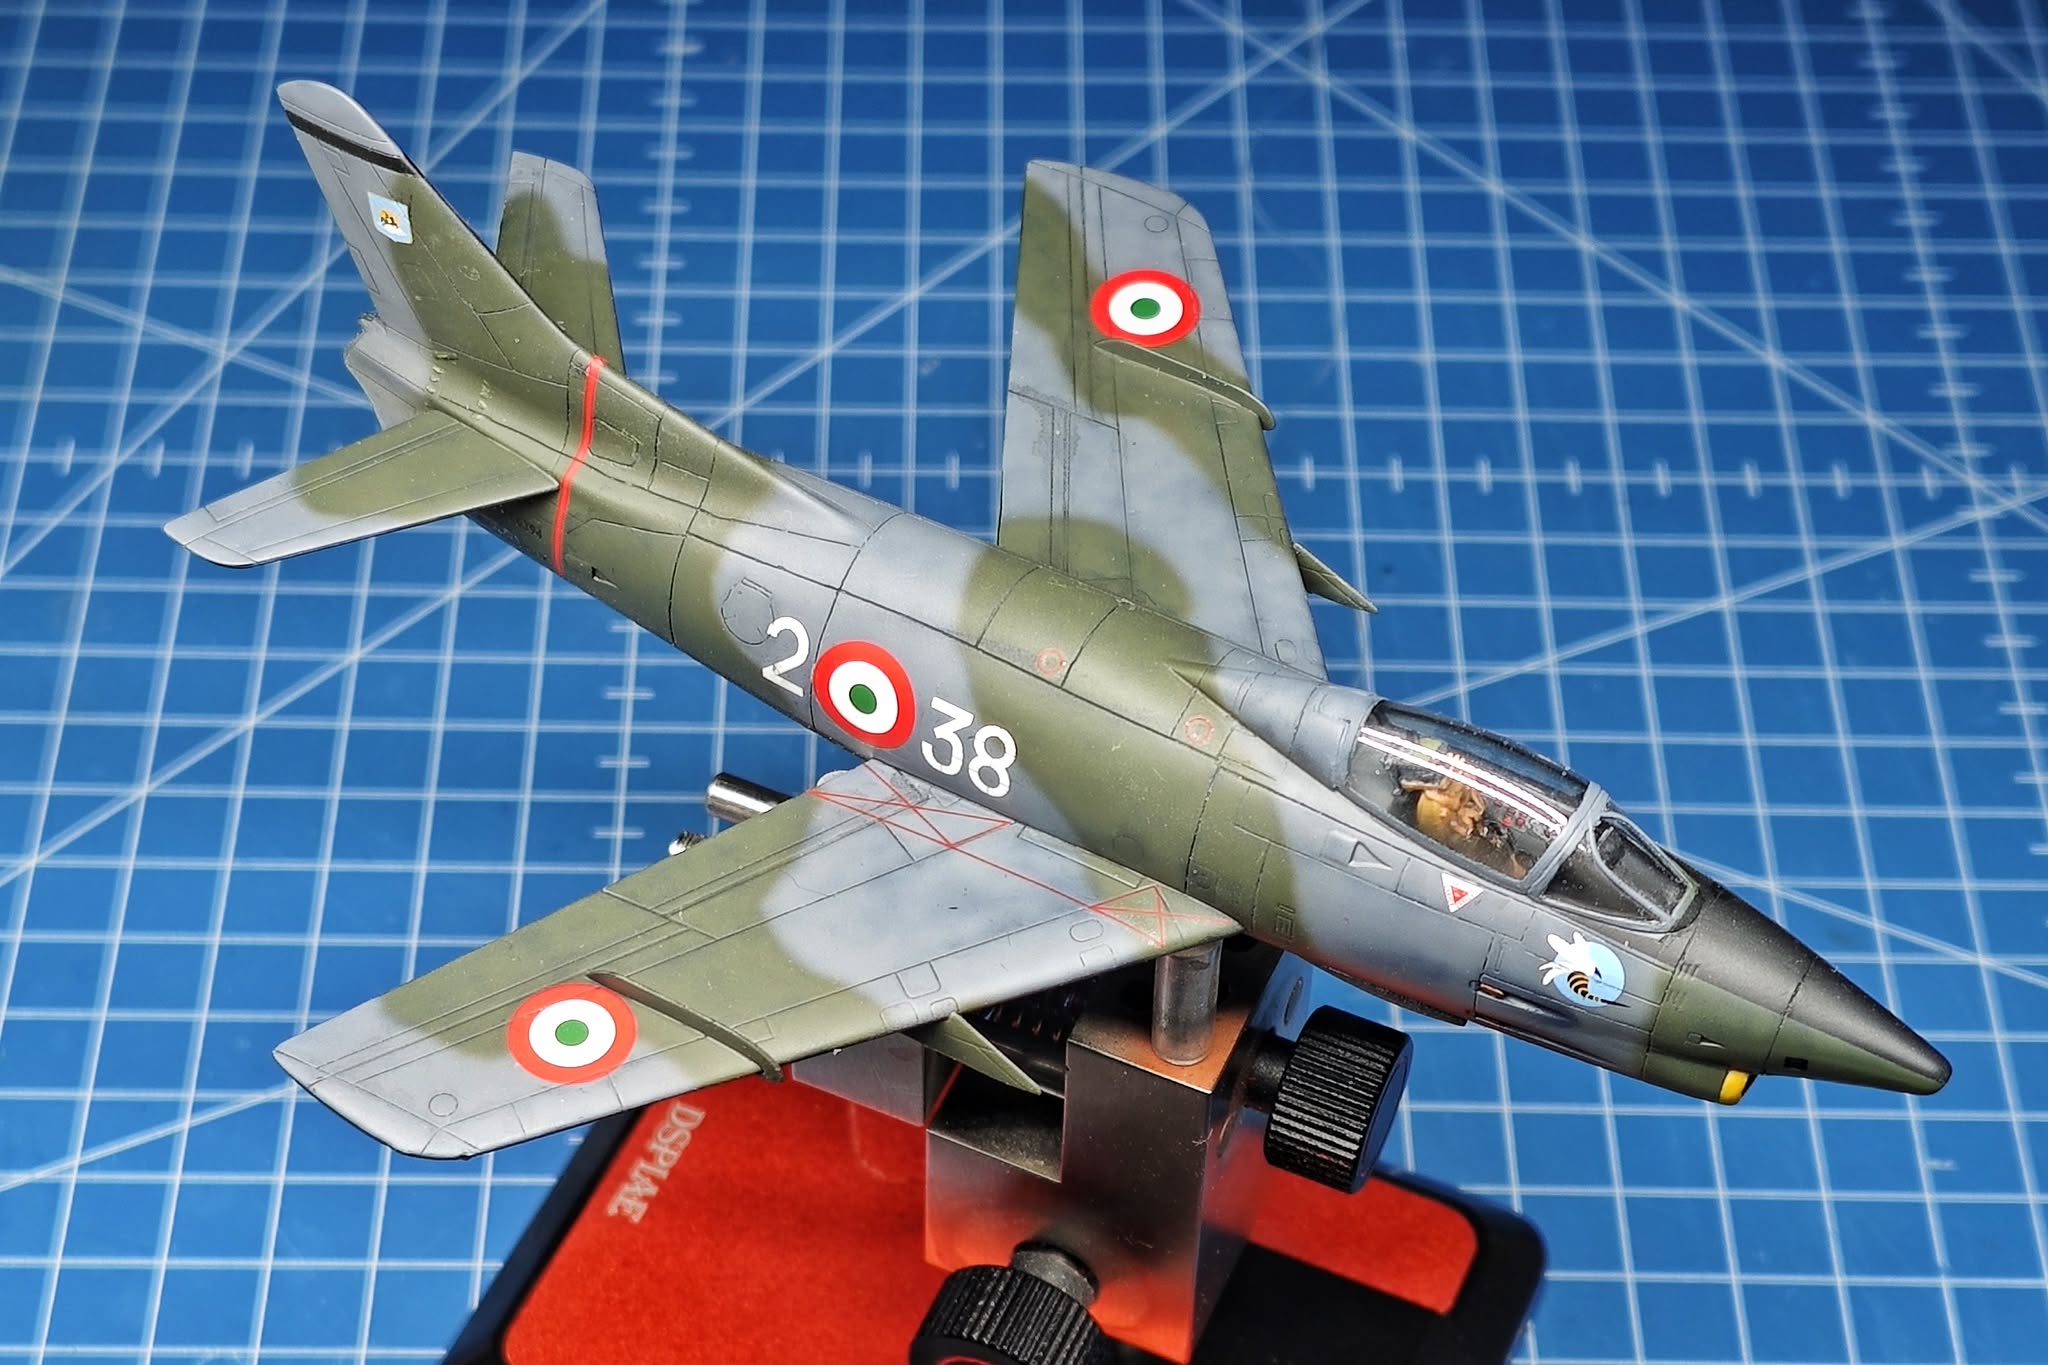
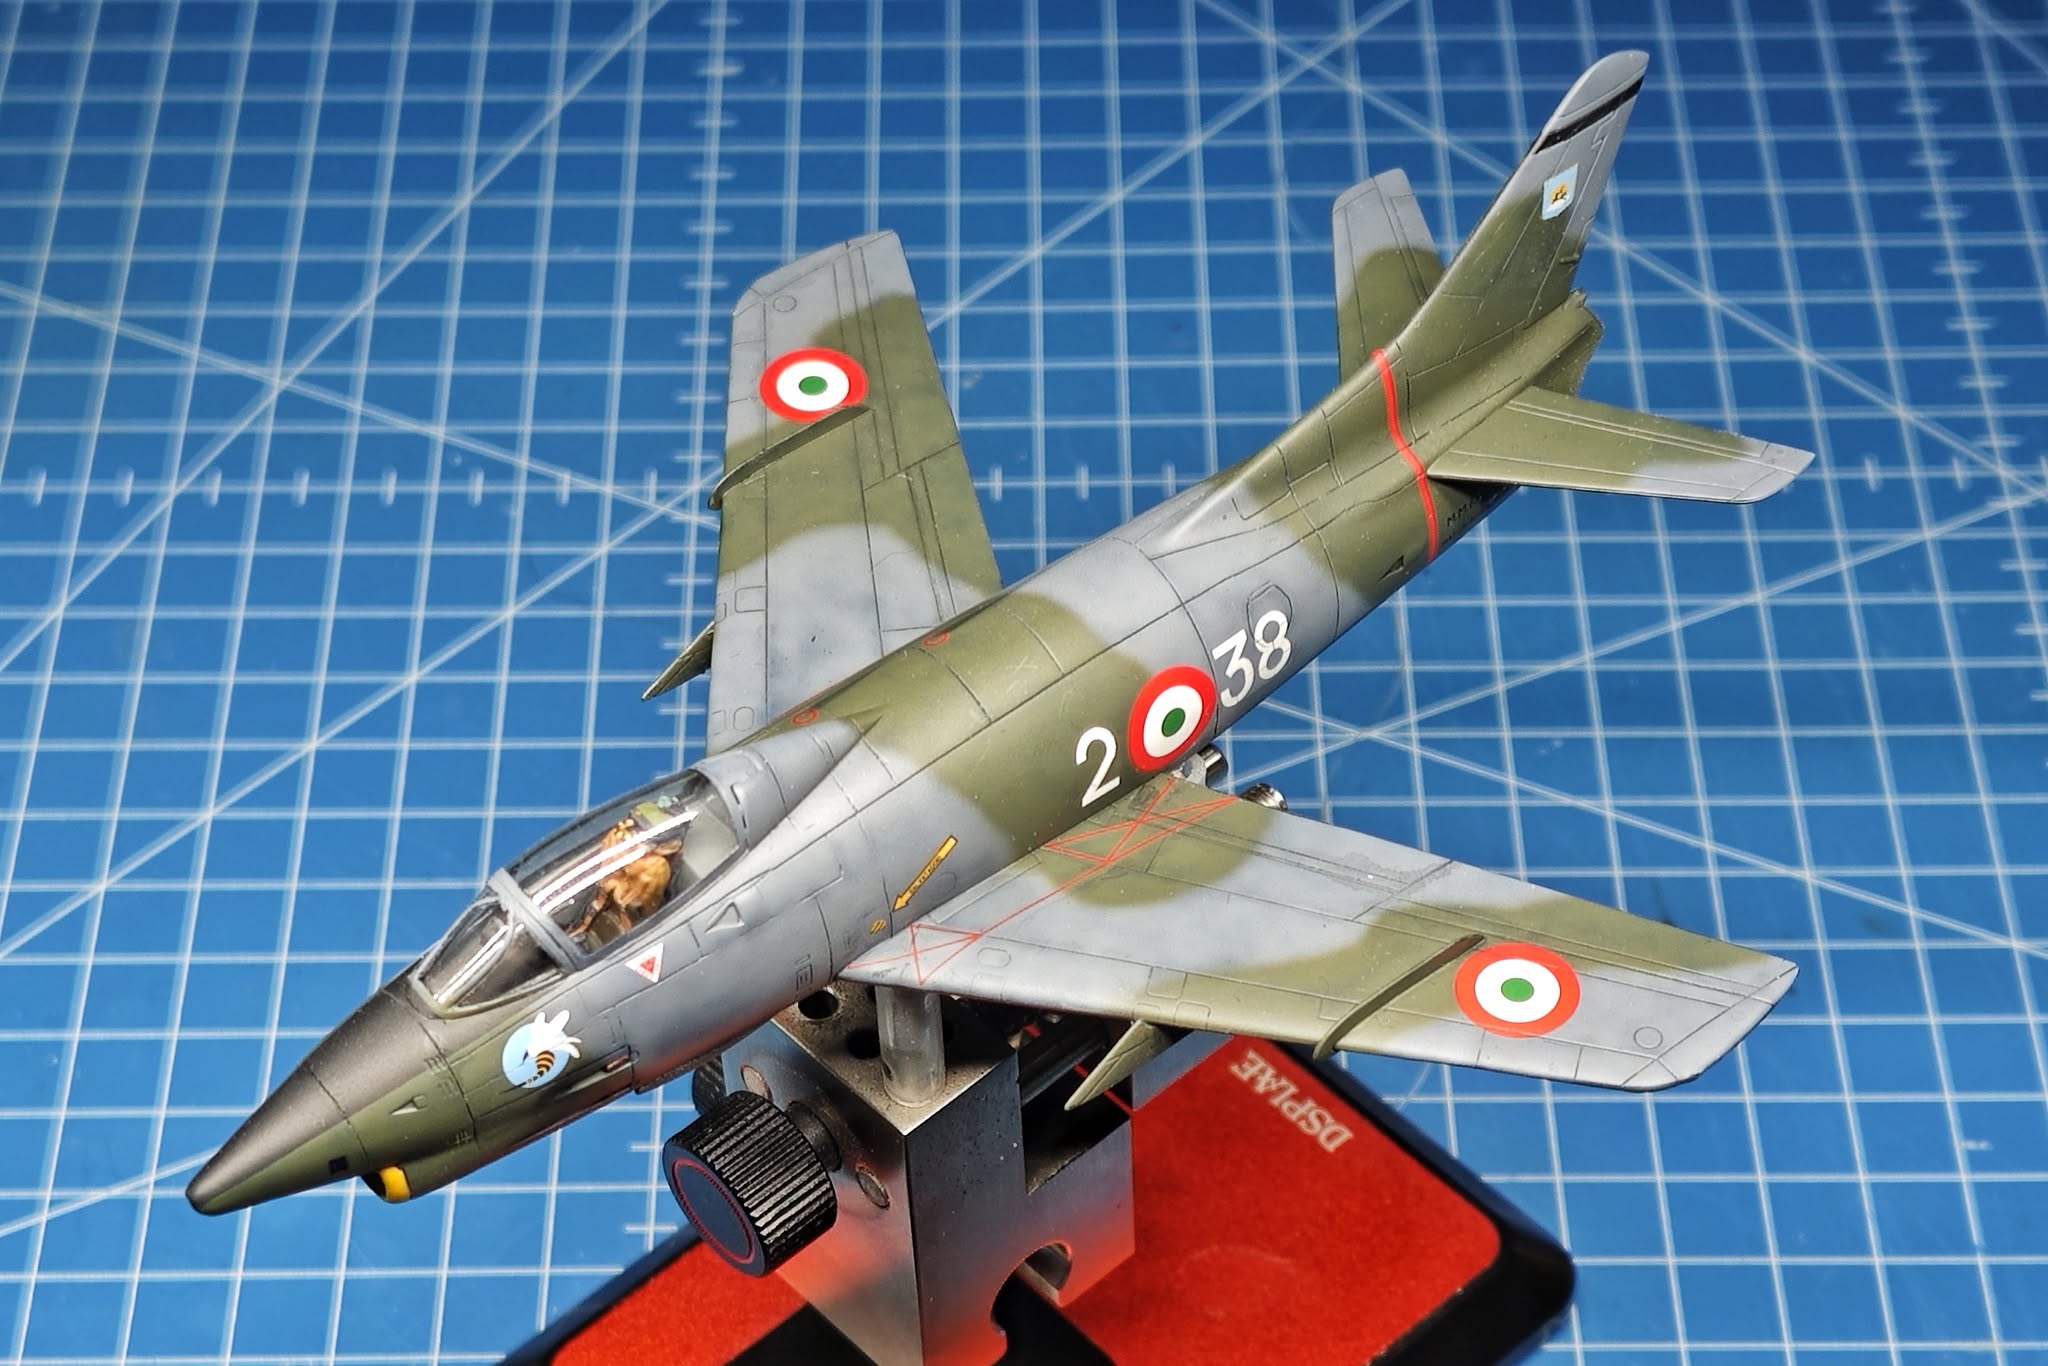
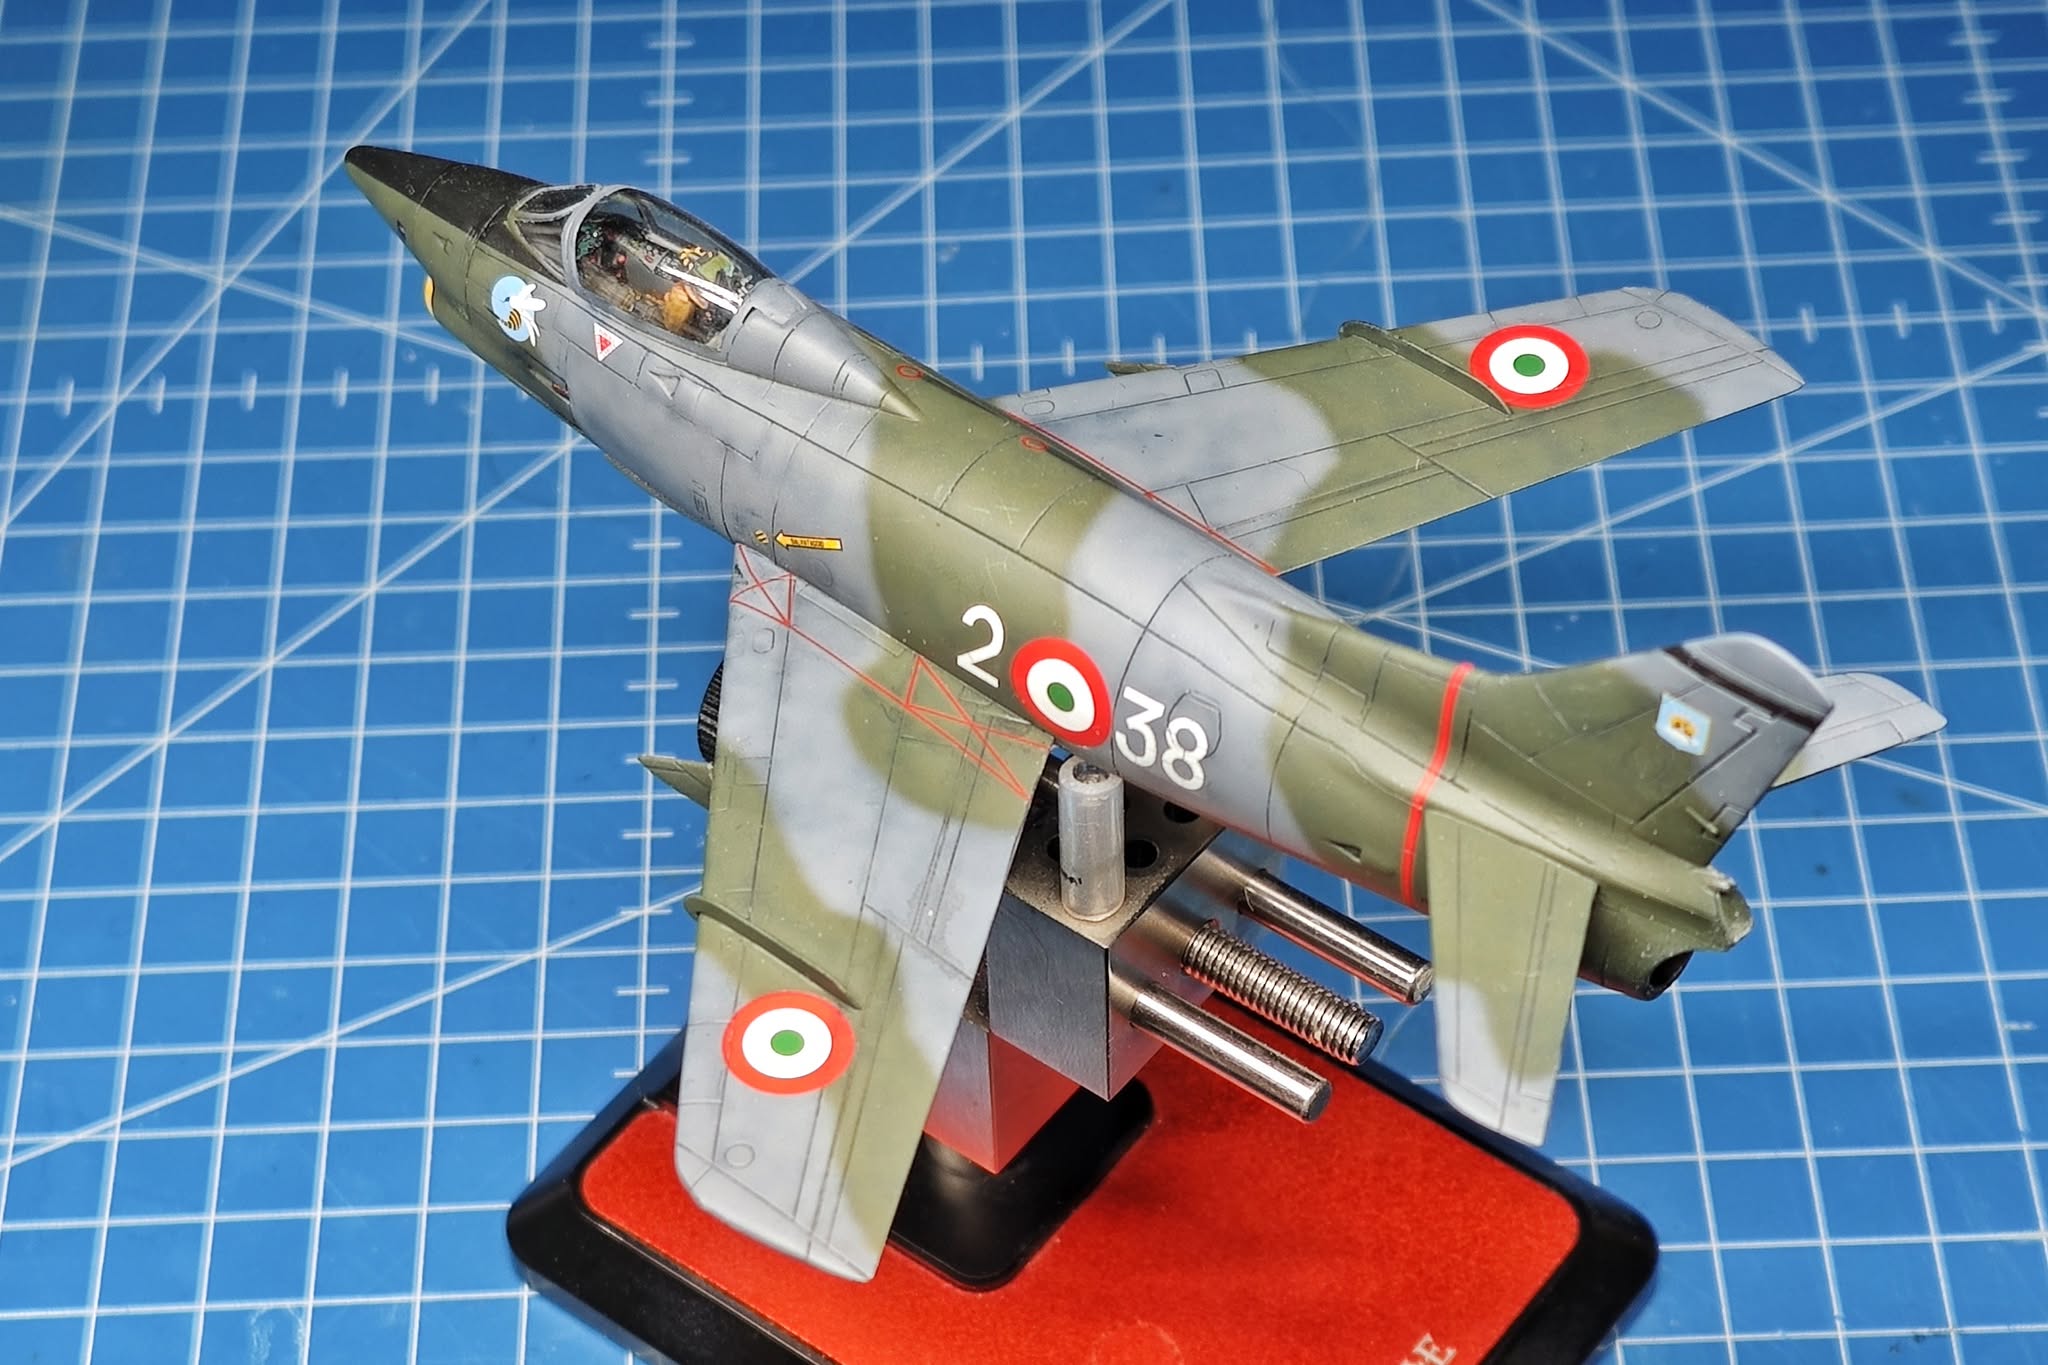
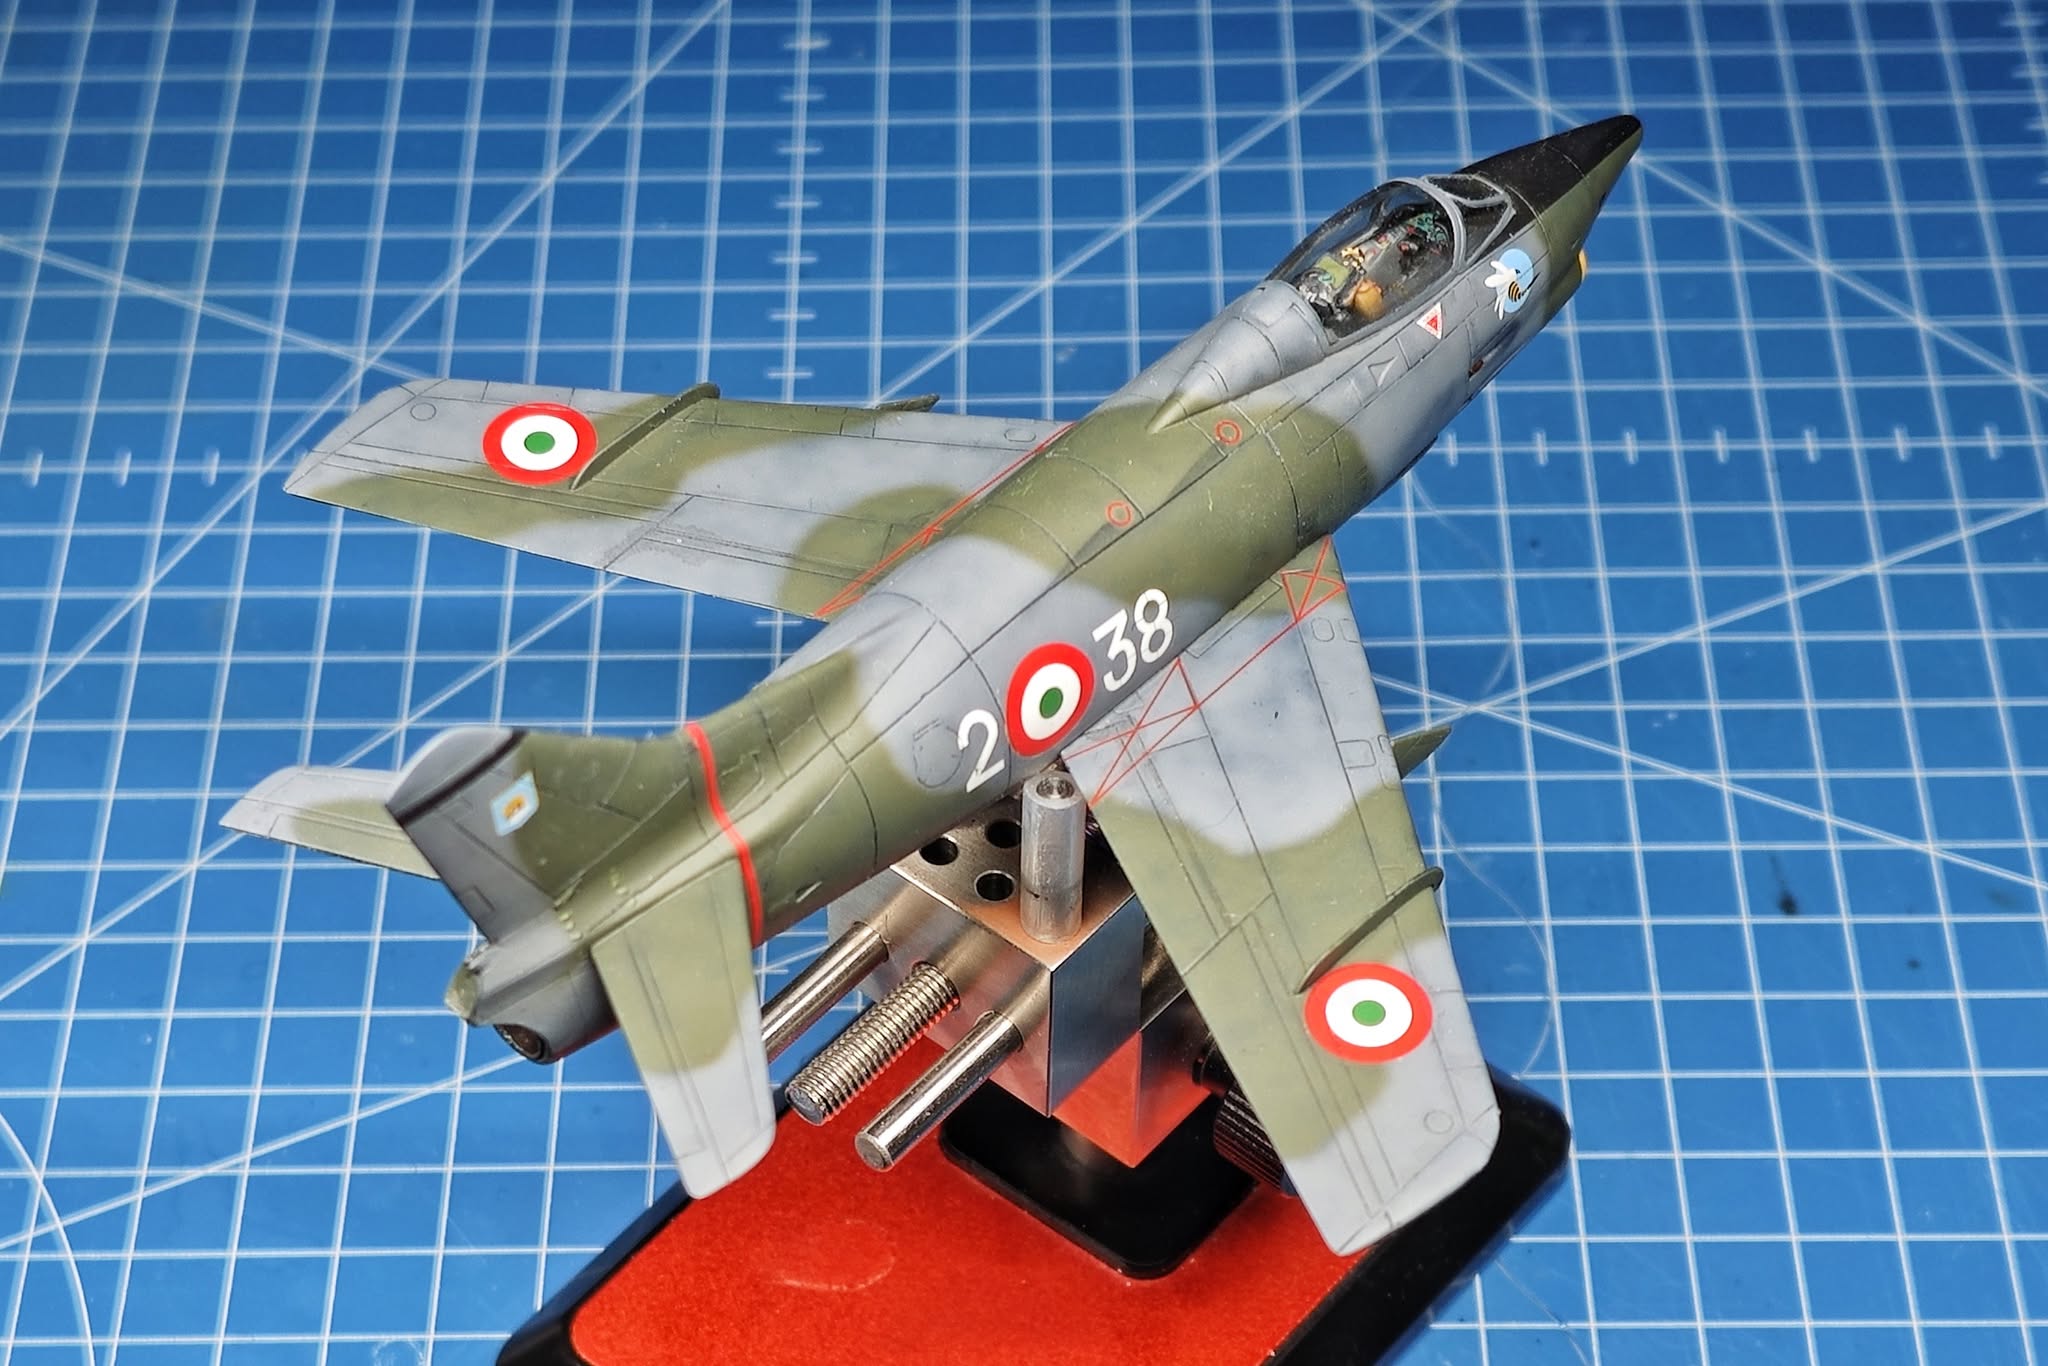
Washes and some oil paints applied. The end is in sight.

