

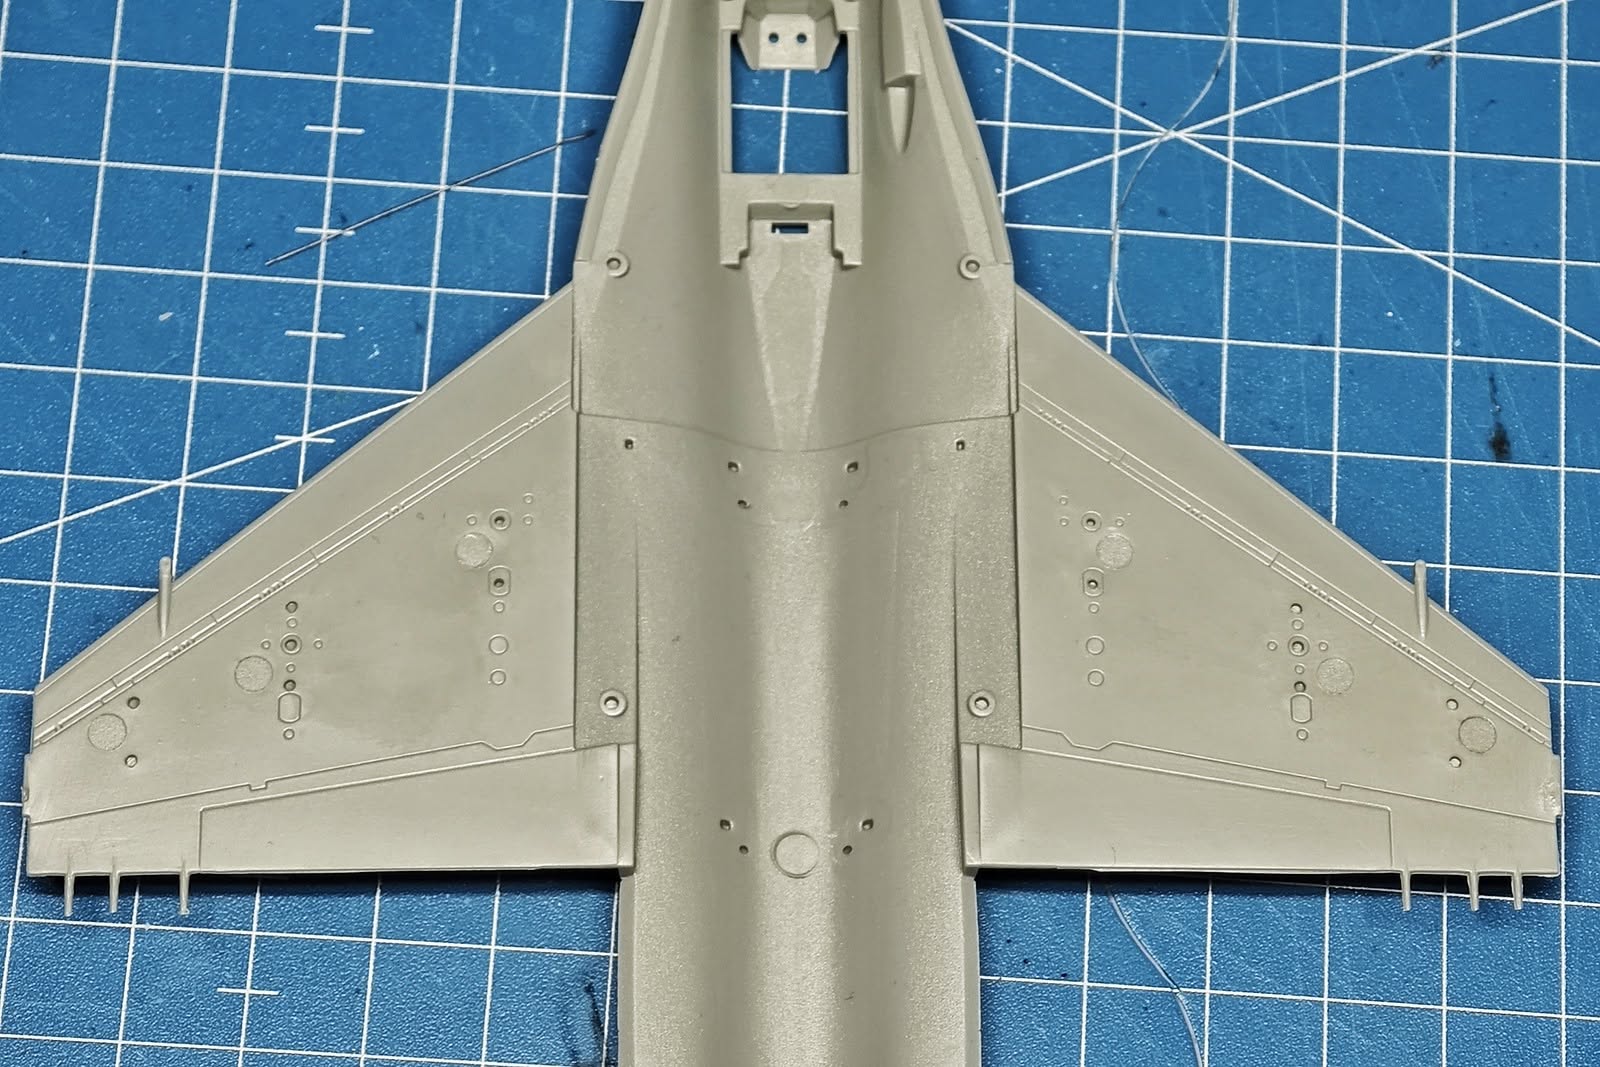
Boy oh boy I hate such things. I know that the kit is based on 2010 released F-16I, but having these big nasty pin marks on the bottom of the wings is a big no no in my book. Even if they will get covered somewhat by the weapons pylons.
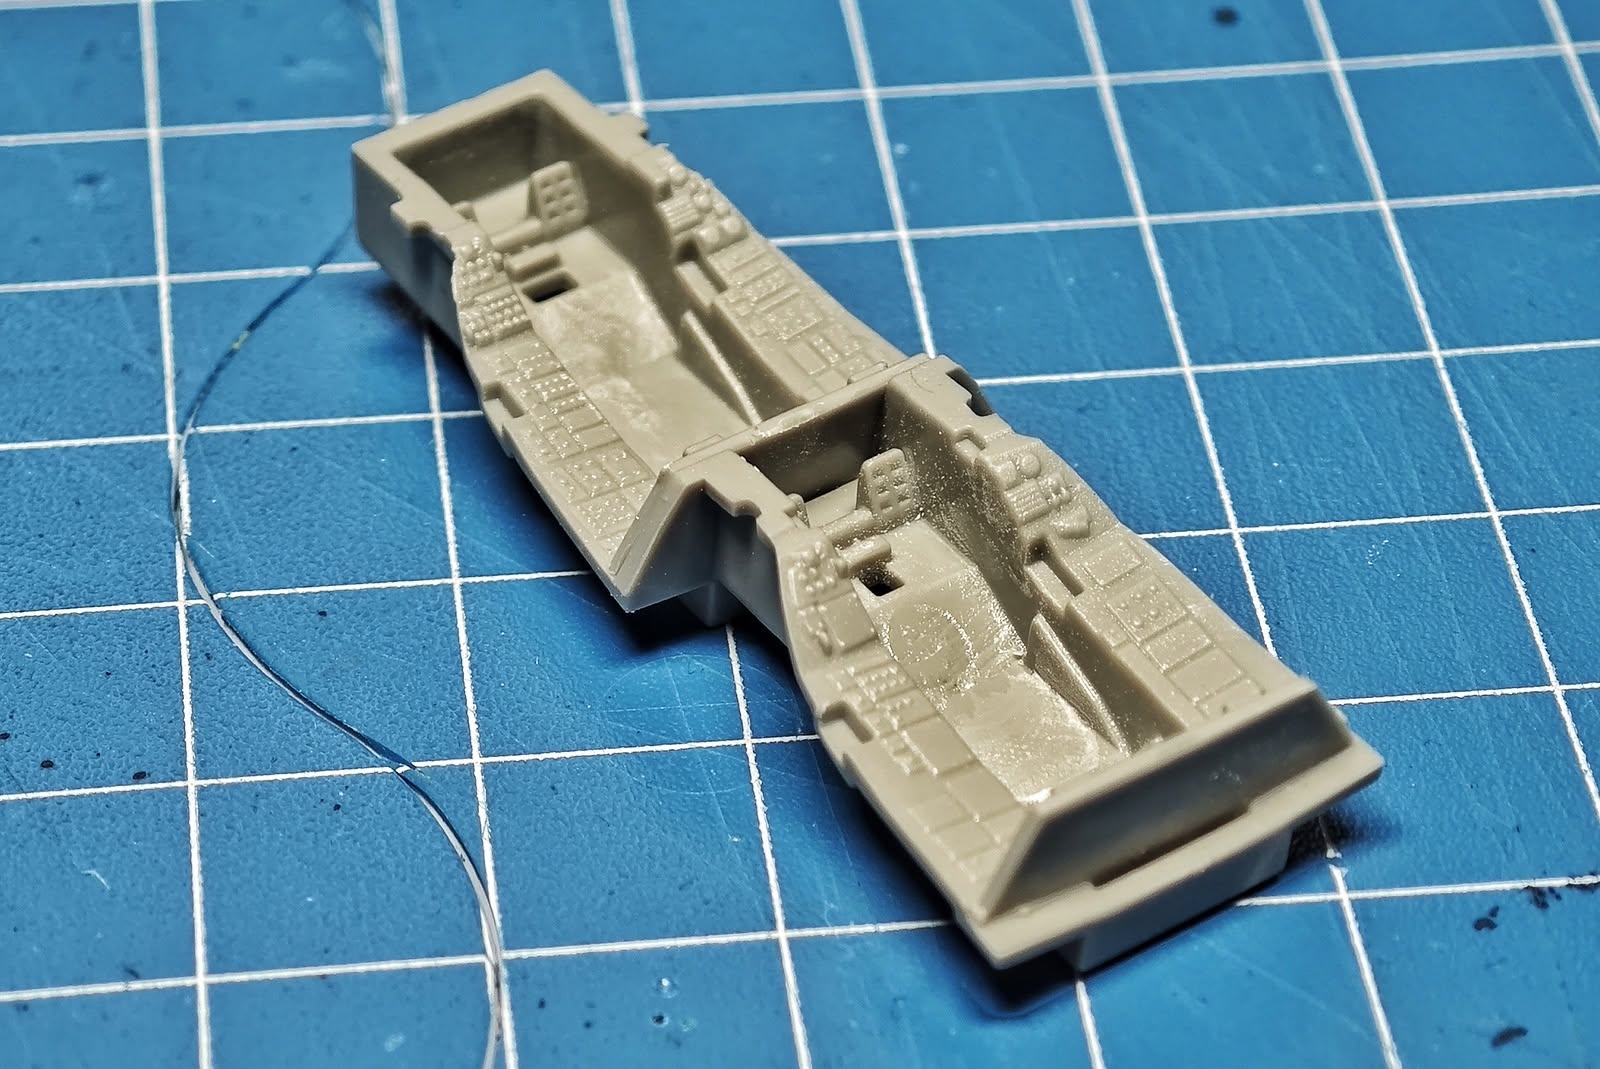
While the cockpit tub is pretty nice regarding the details, there are again a couple of nasty big pin marks on the cockpit floor. Quite hard to reach in this smaller scale and on the visible sloped part and not covered by either instrument panels or seats.
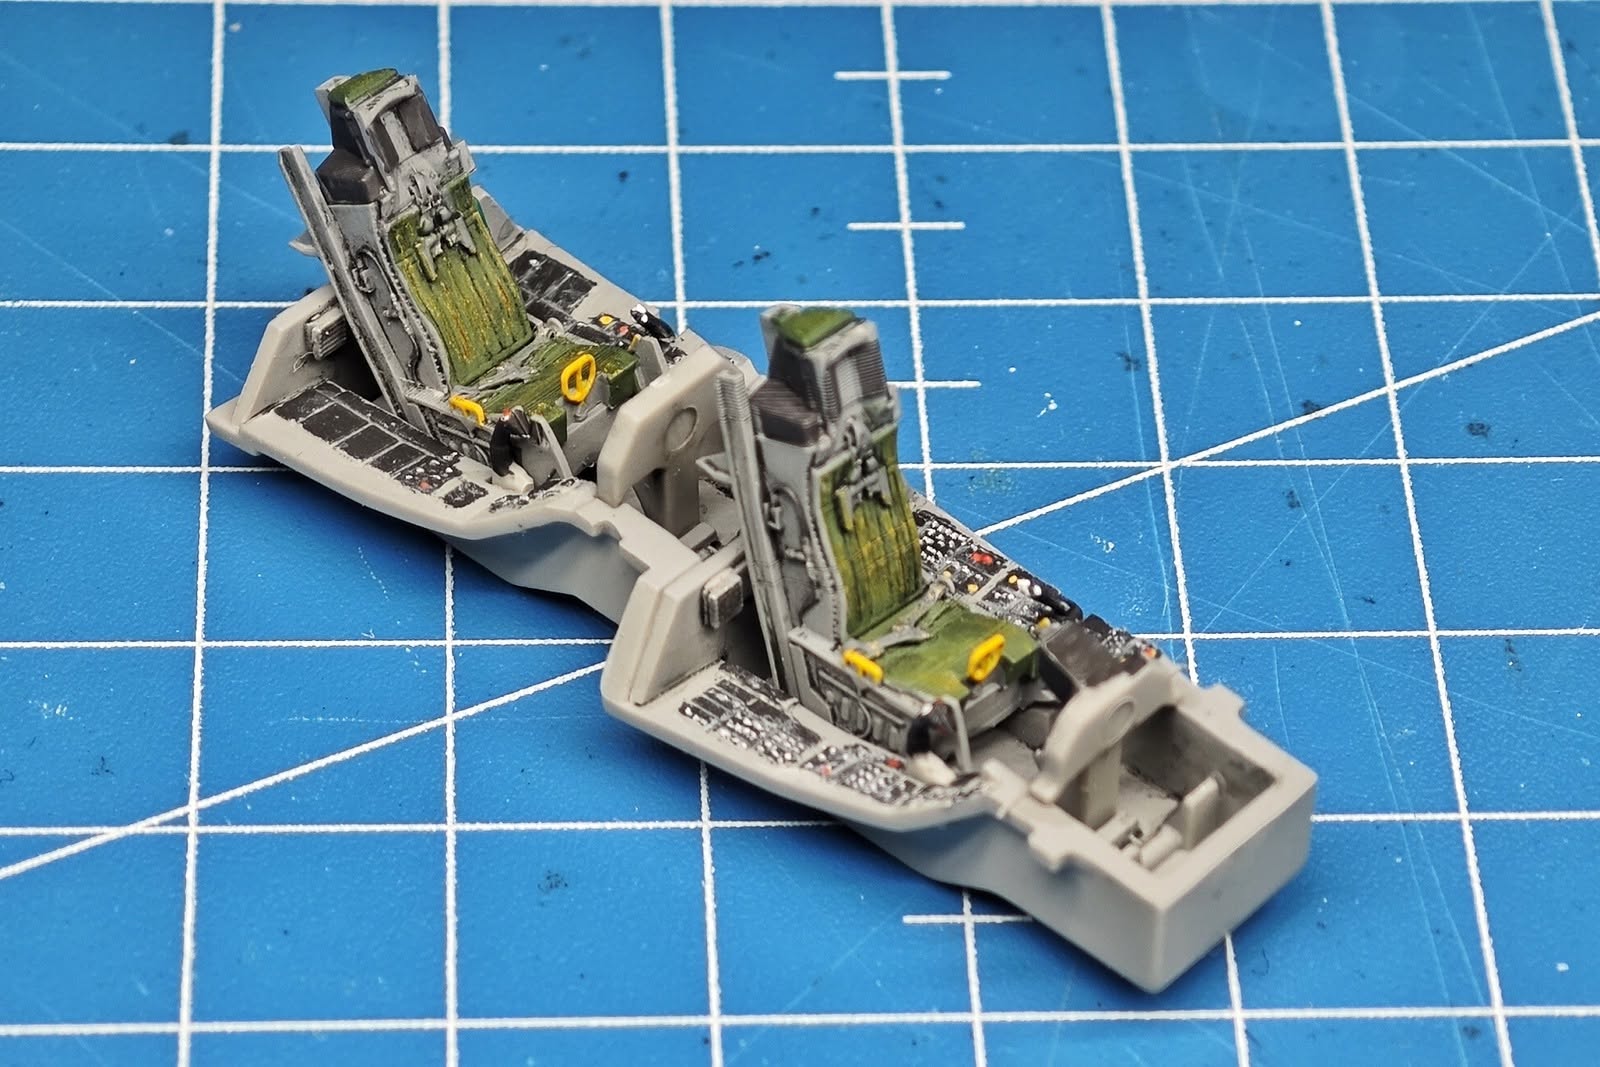
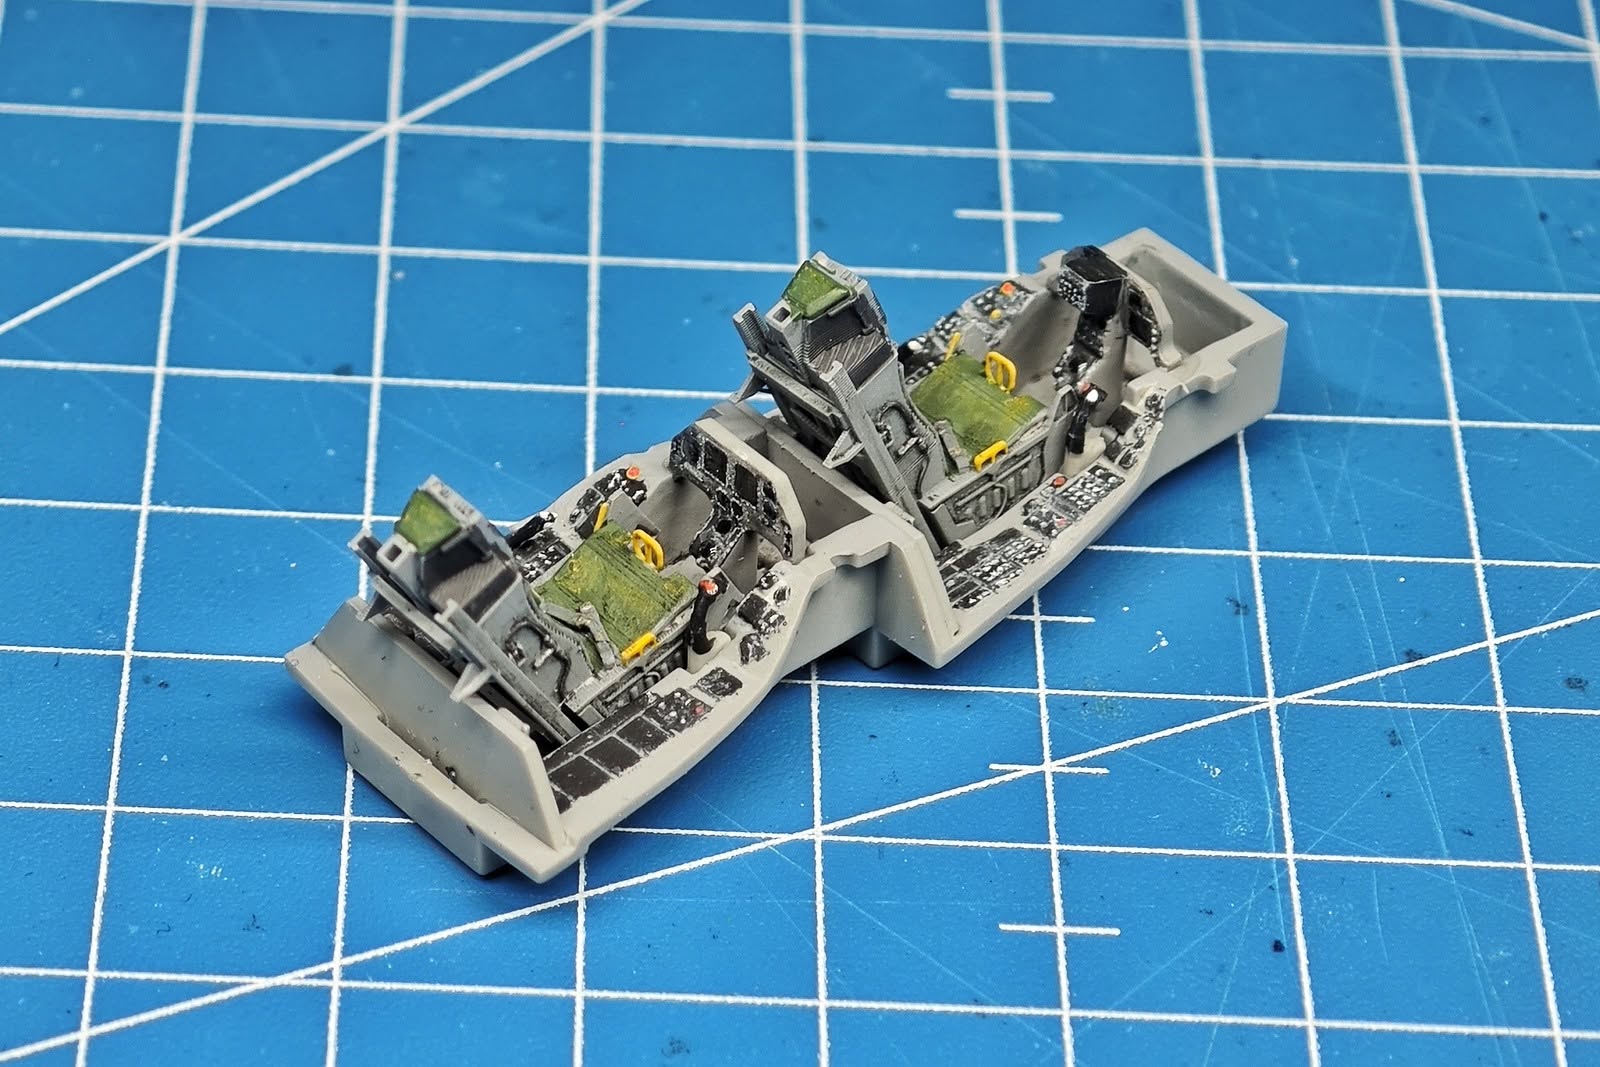
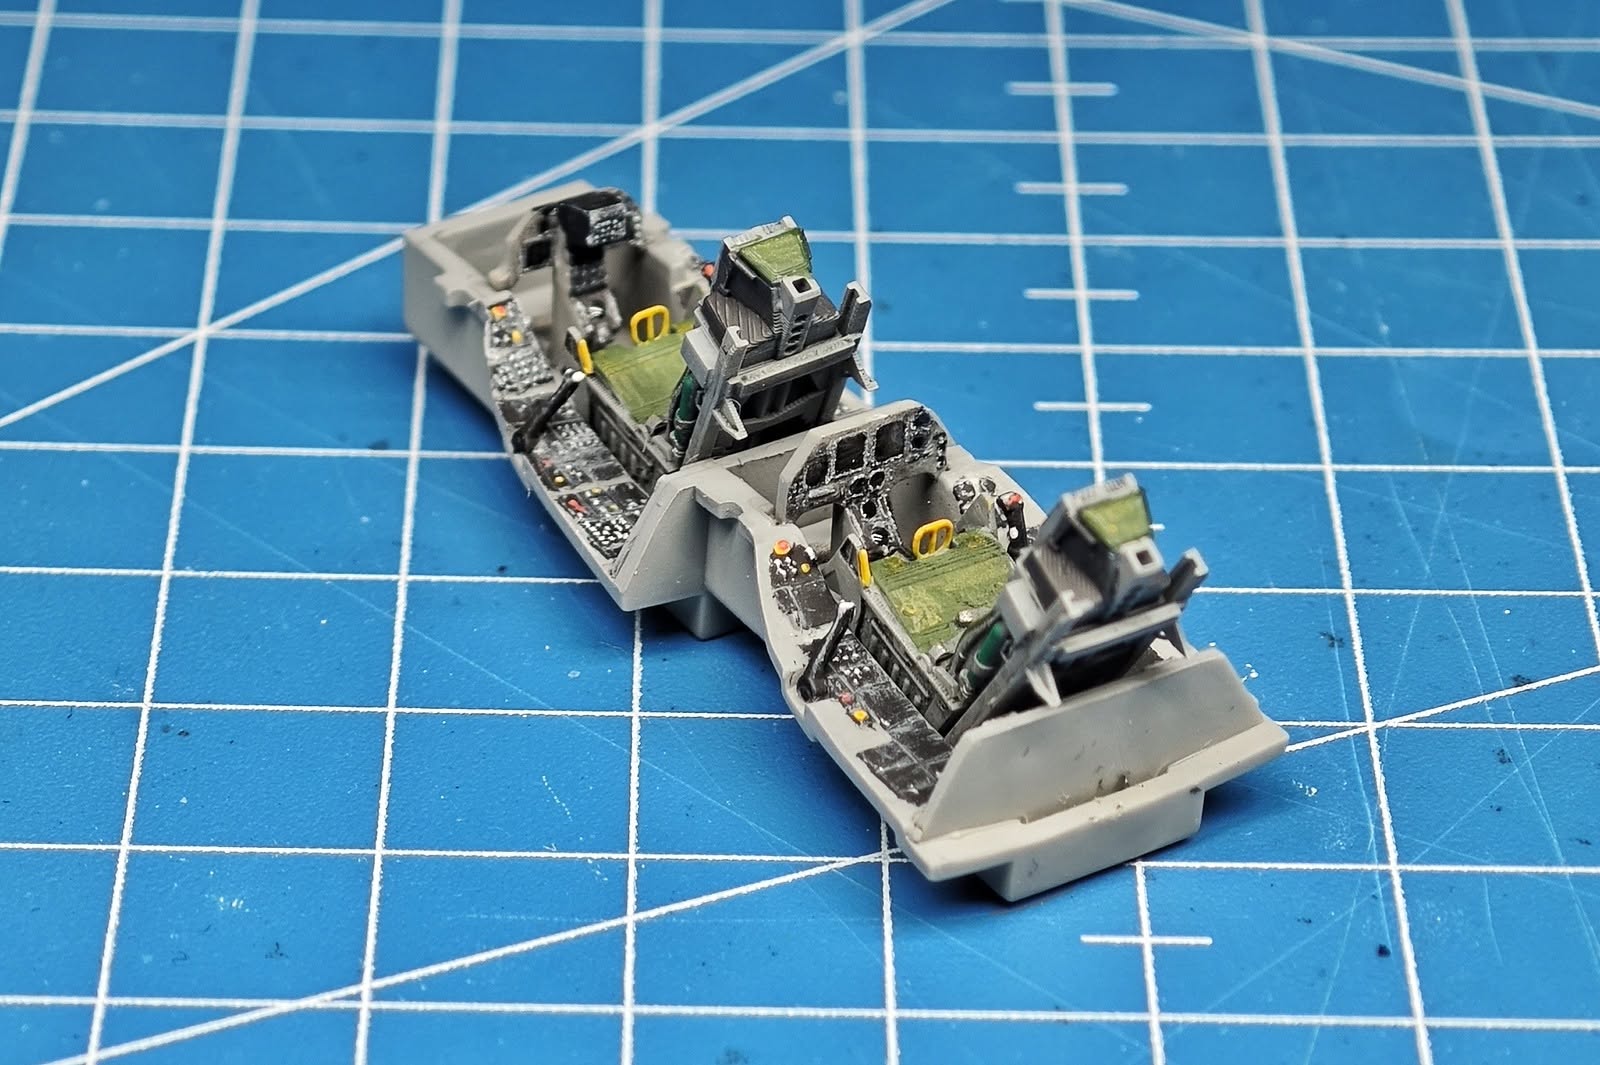
Done with the cockpit. While the cockpit tub had nice raised details on the side consoles, the instrument panel ones were much fainter thus making painting the details quite hard. But I guess it will be good enough for the closed canopy. The kit supplied sits are rather basic so I replaced them with 3D printed ones found on Cults3D.
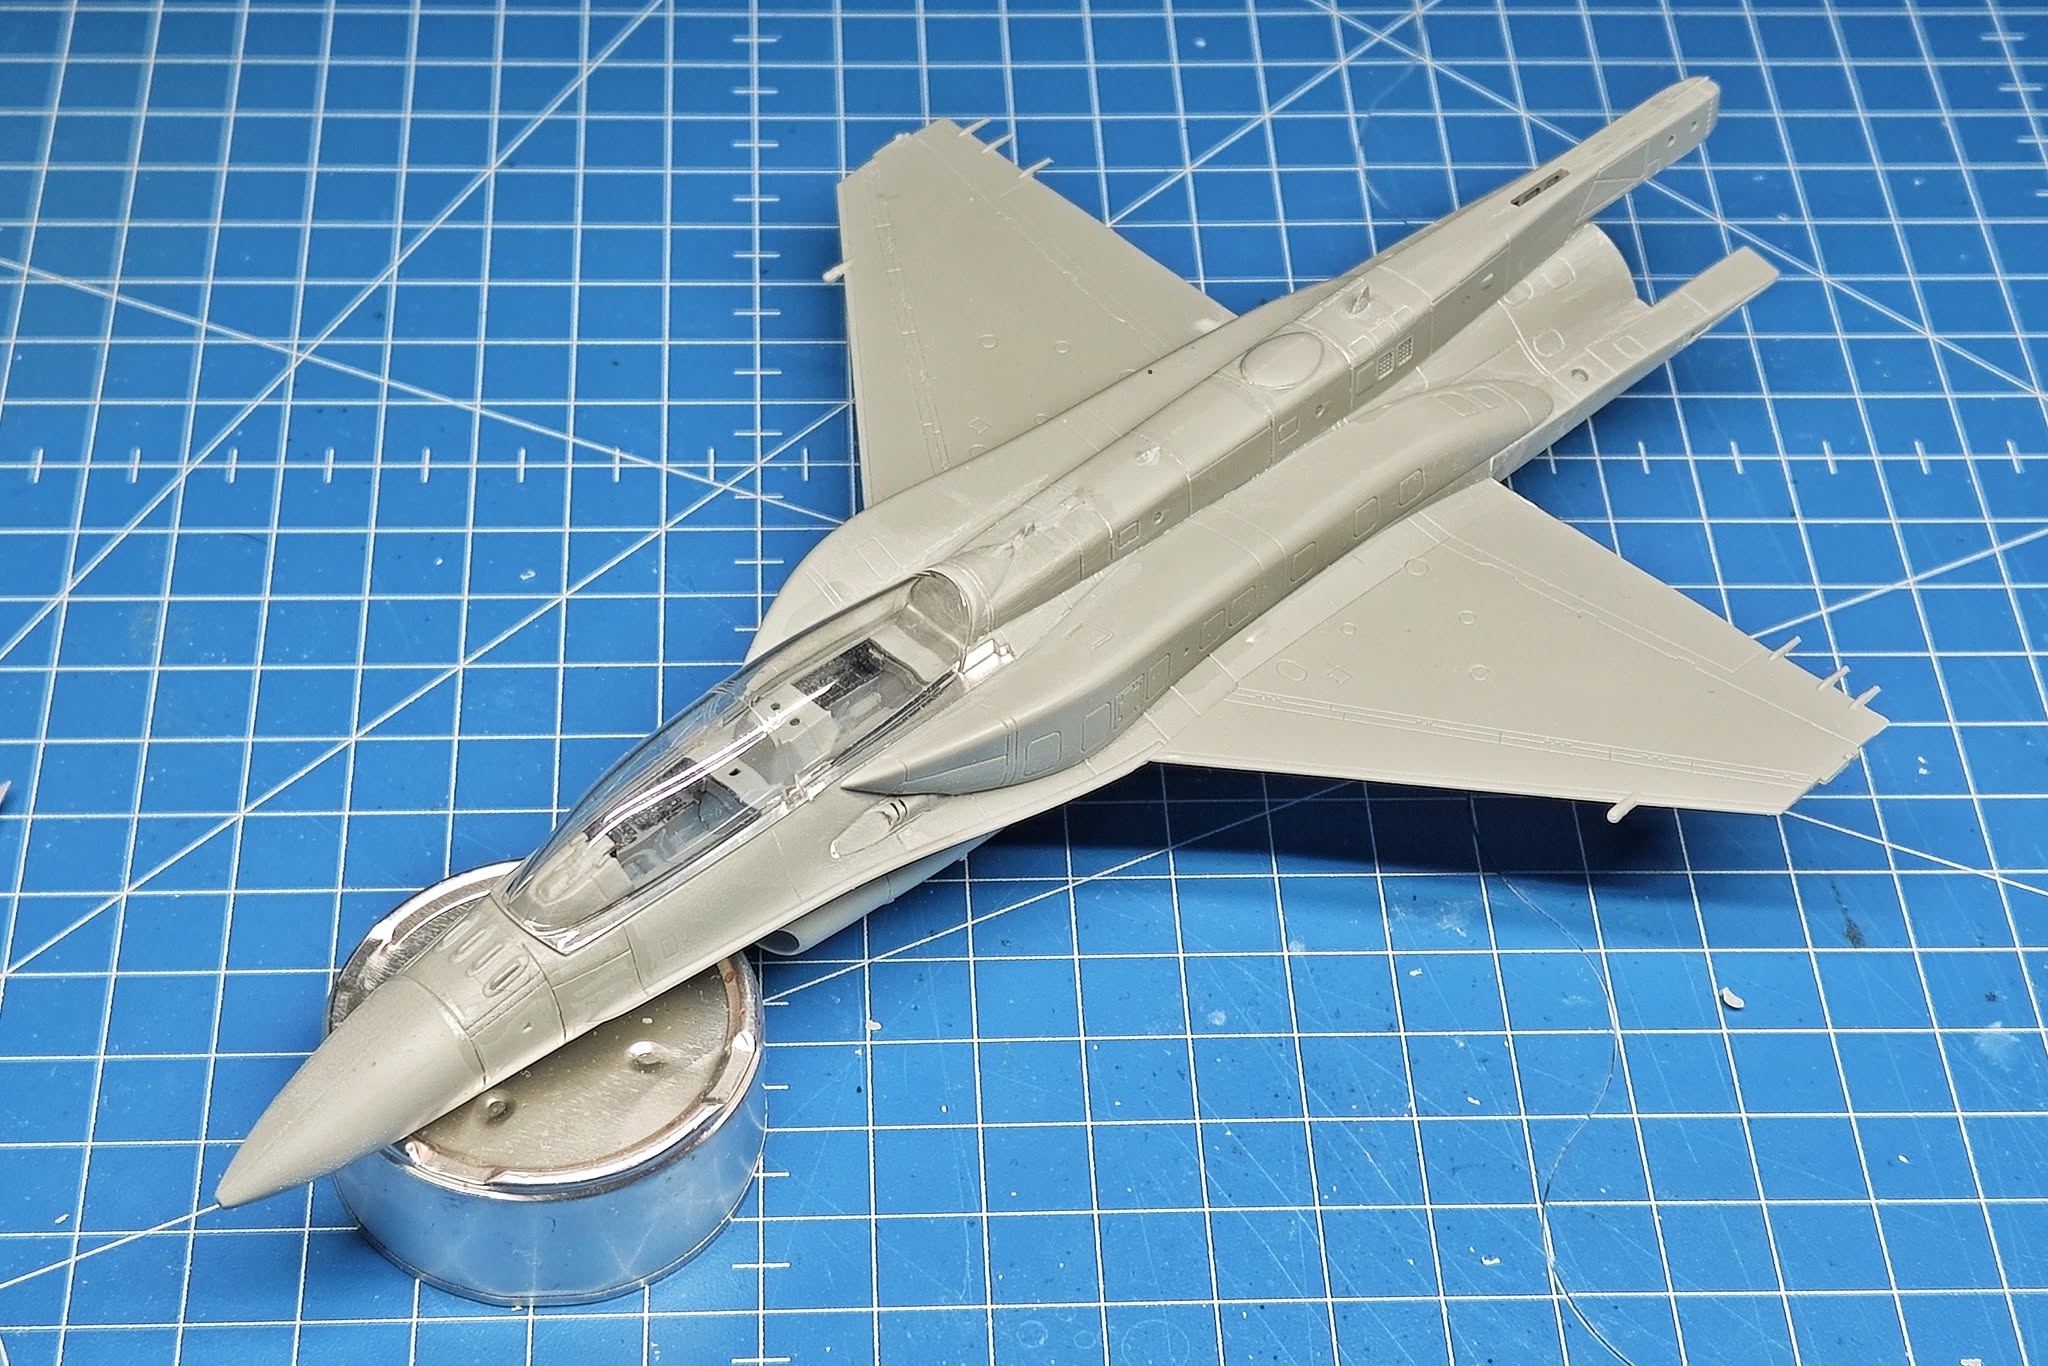
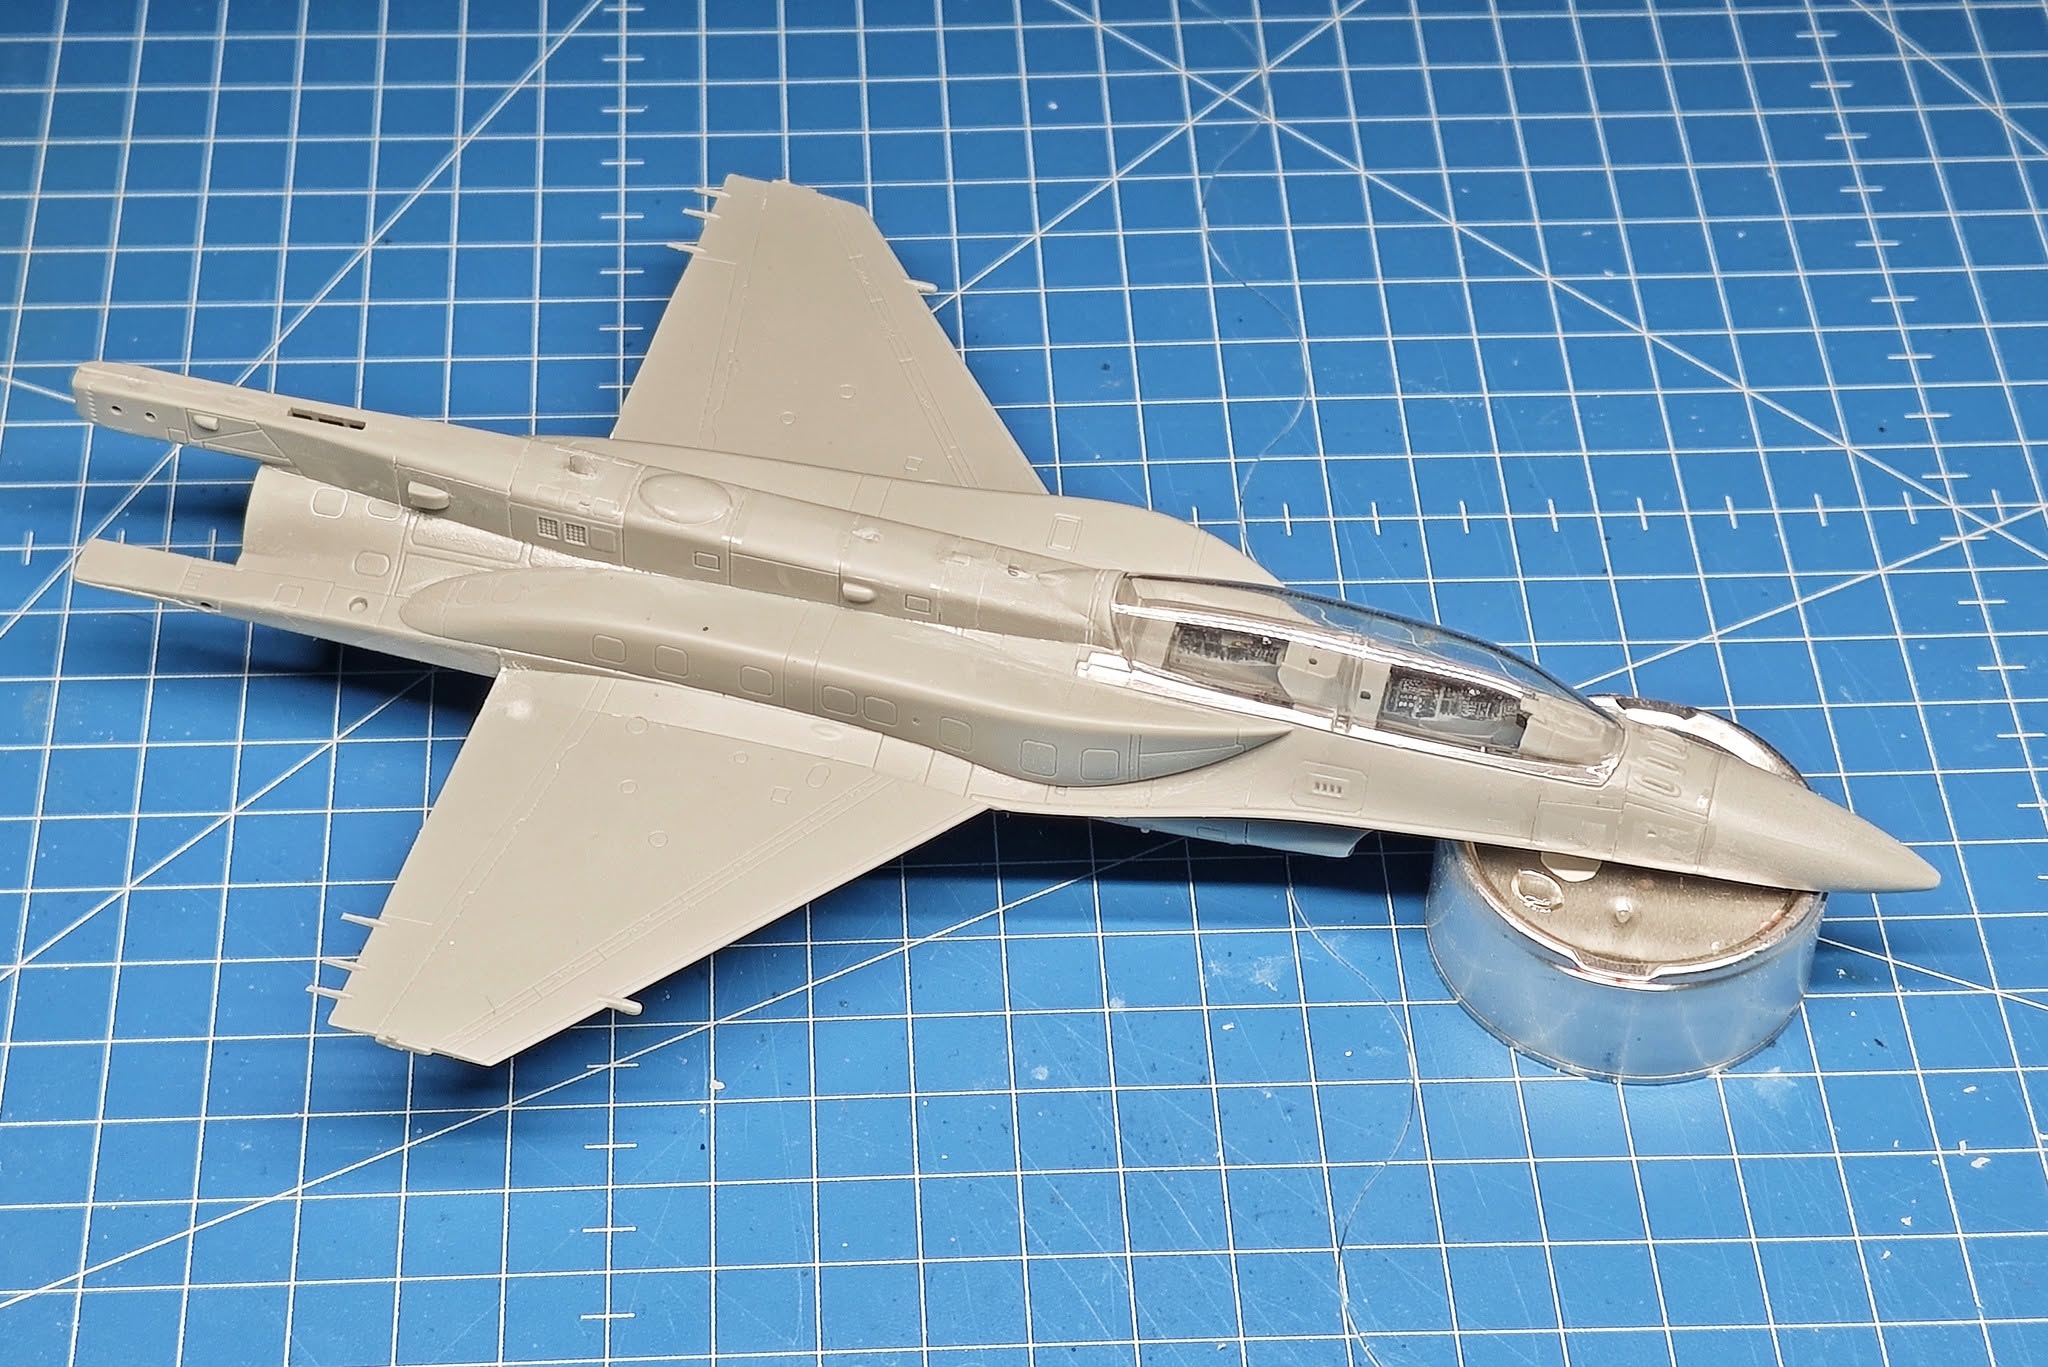
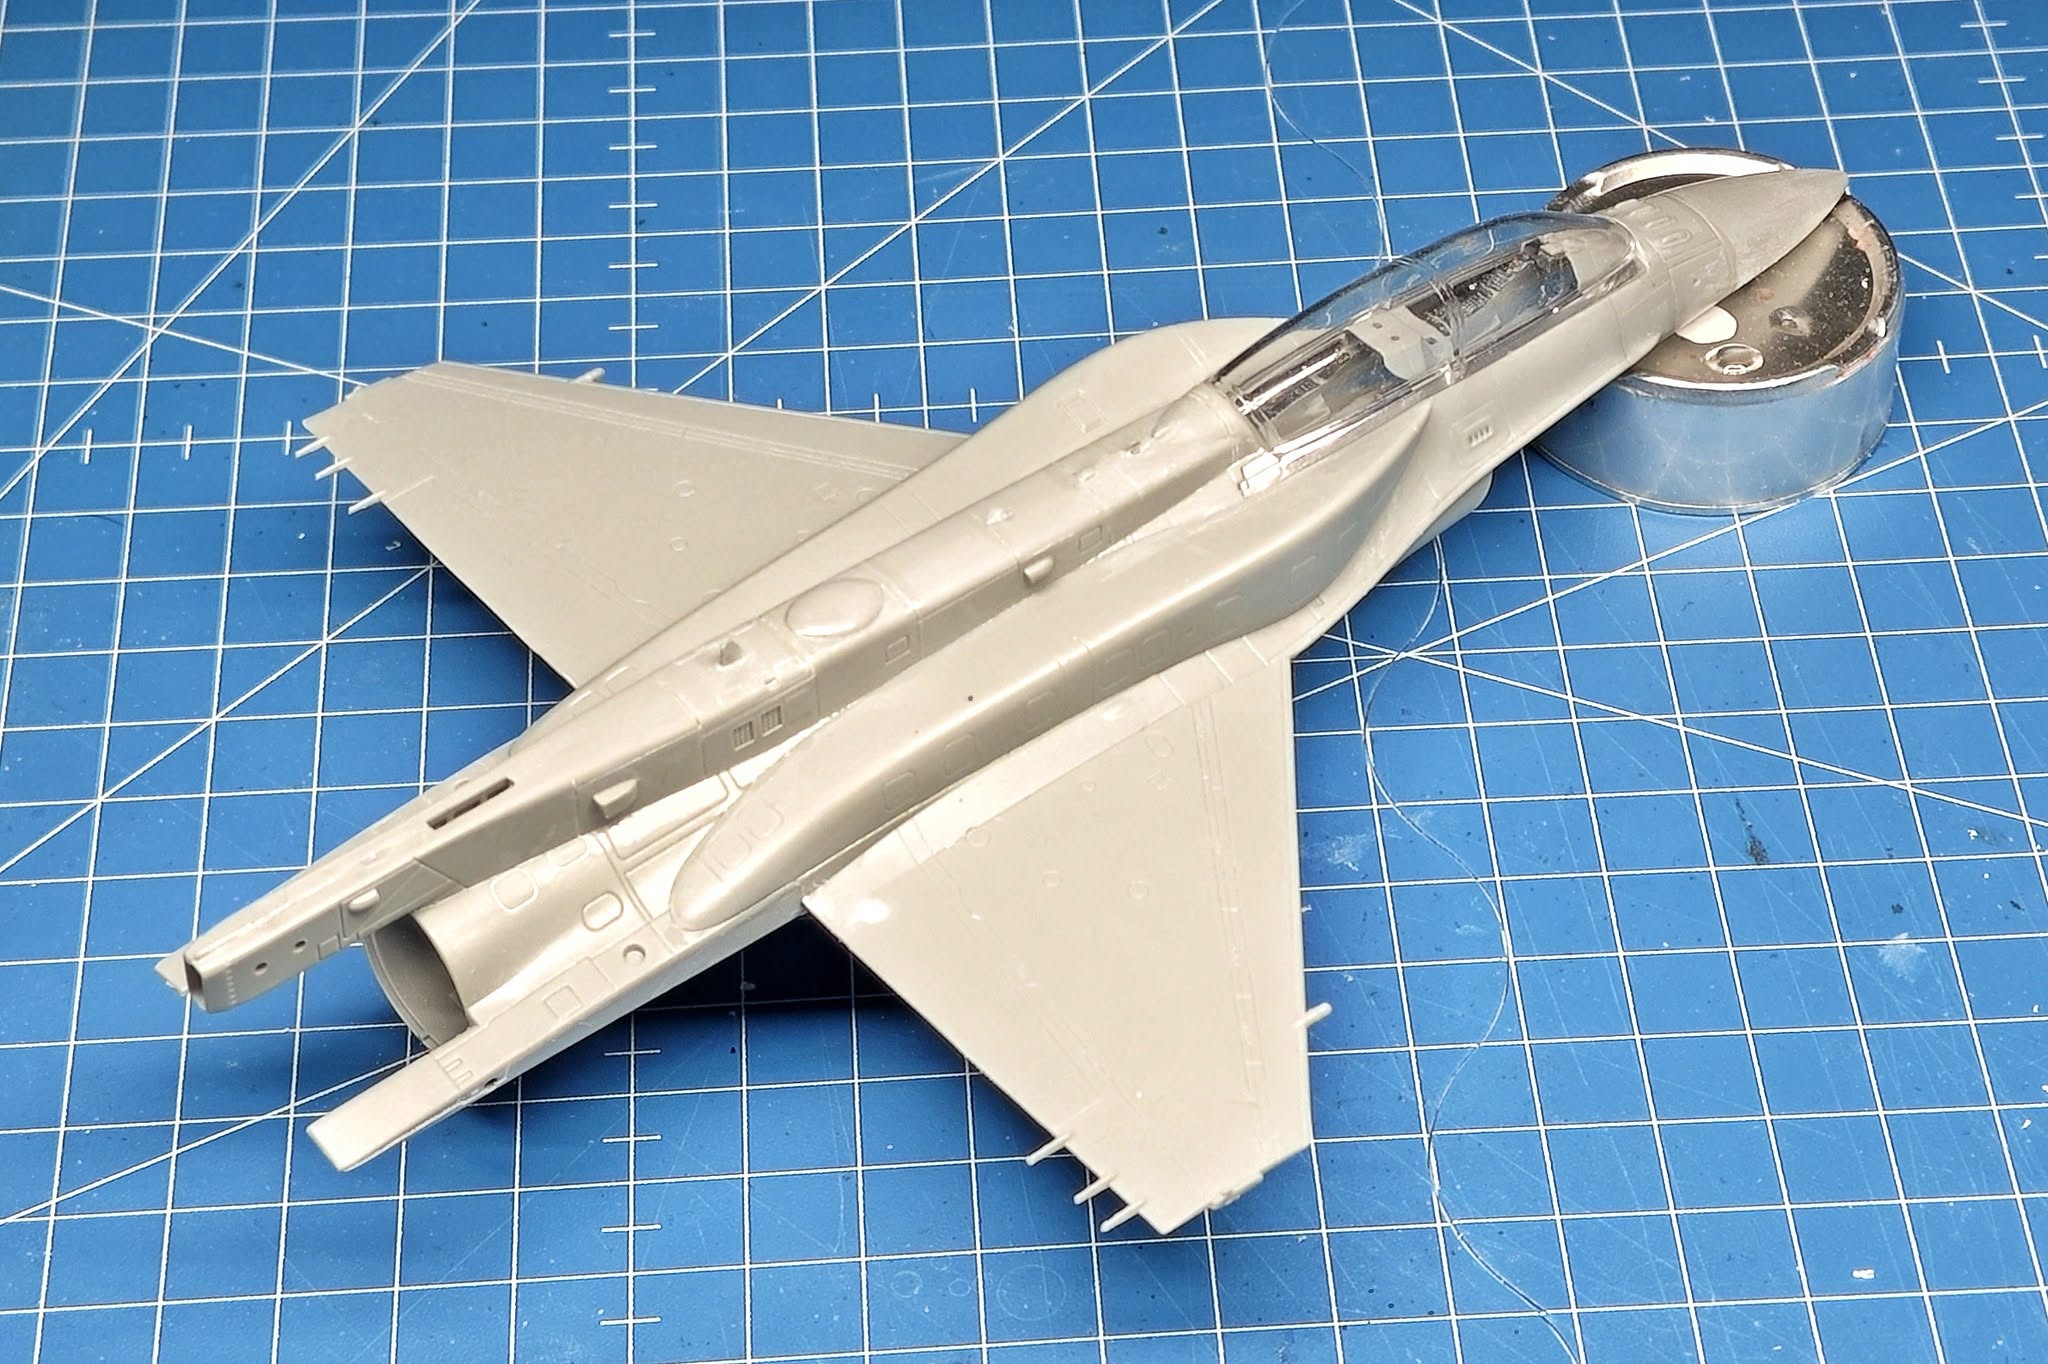
The build was progressing rather trouble free. I was a bit affraid how the complex shaped CFTs will fit the upper fuselage, but they went on rather nicely.
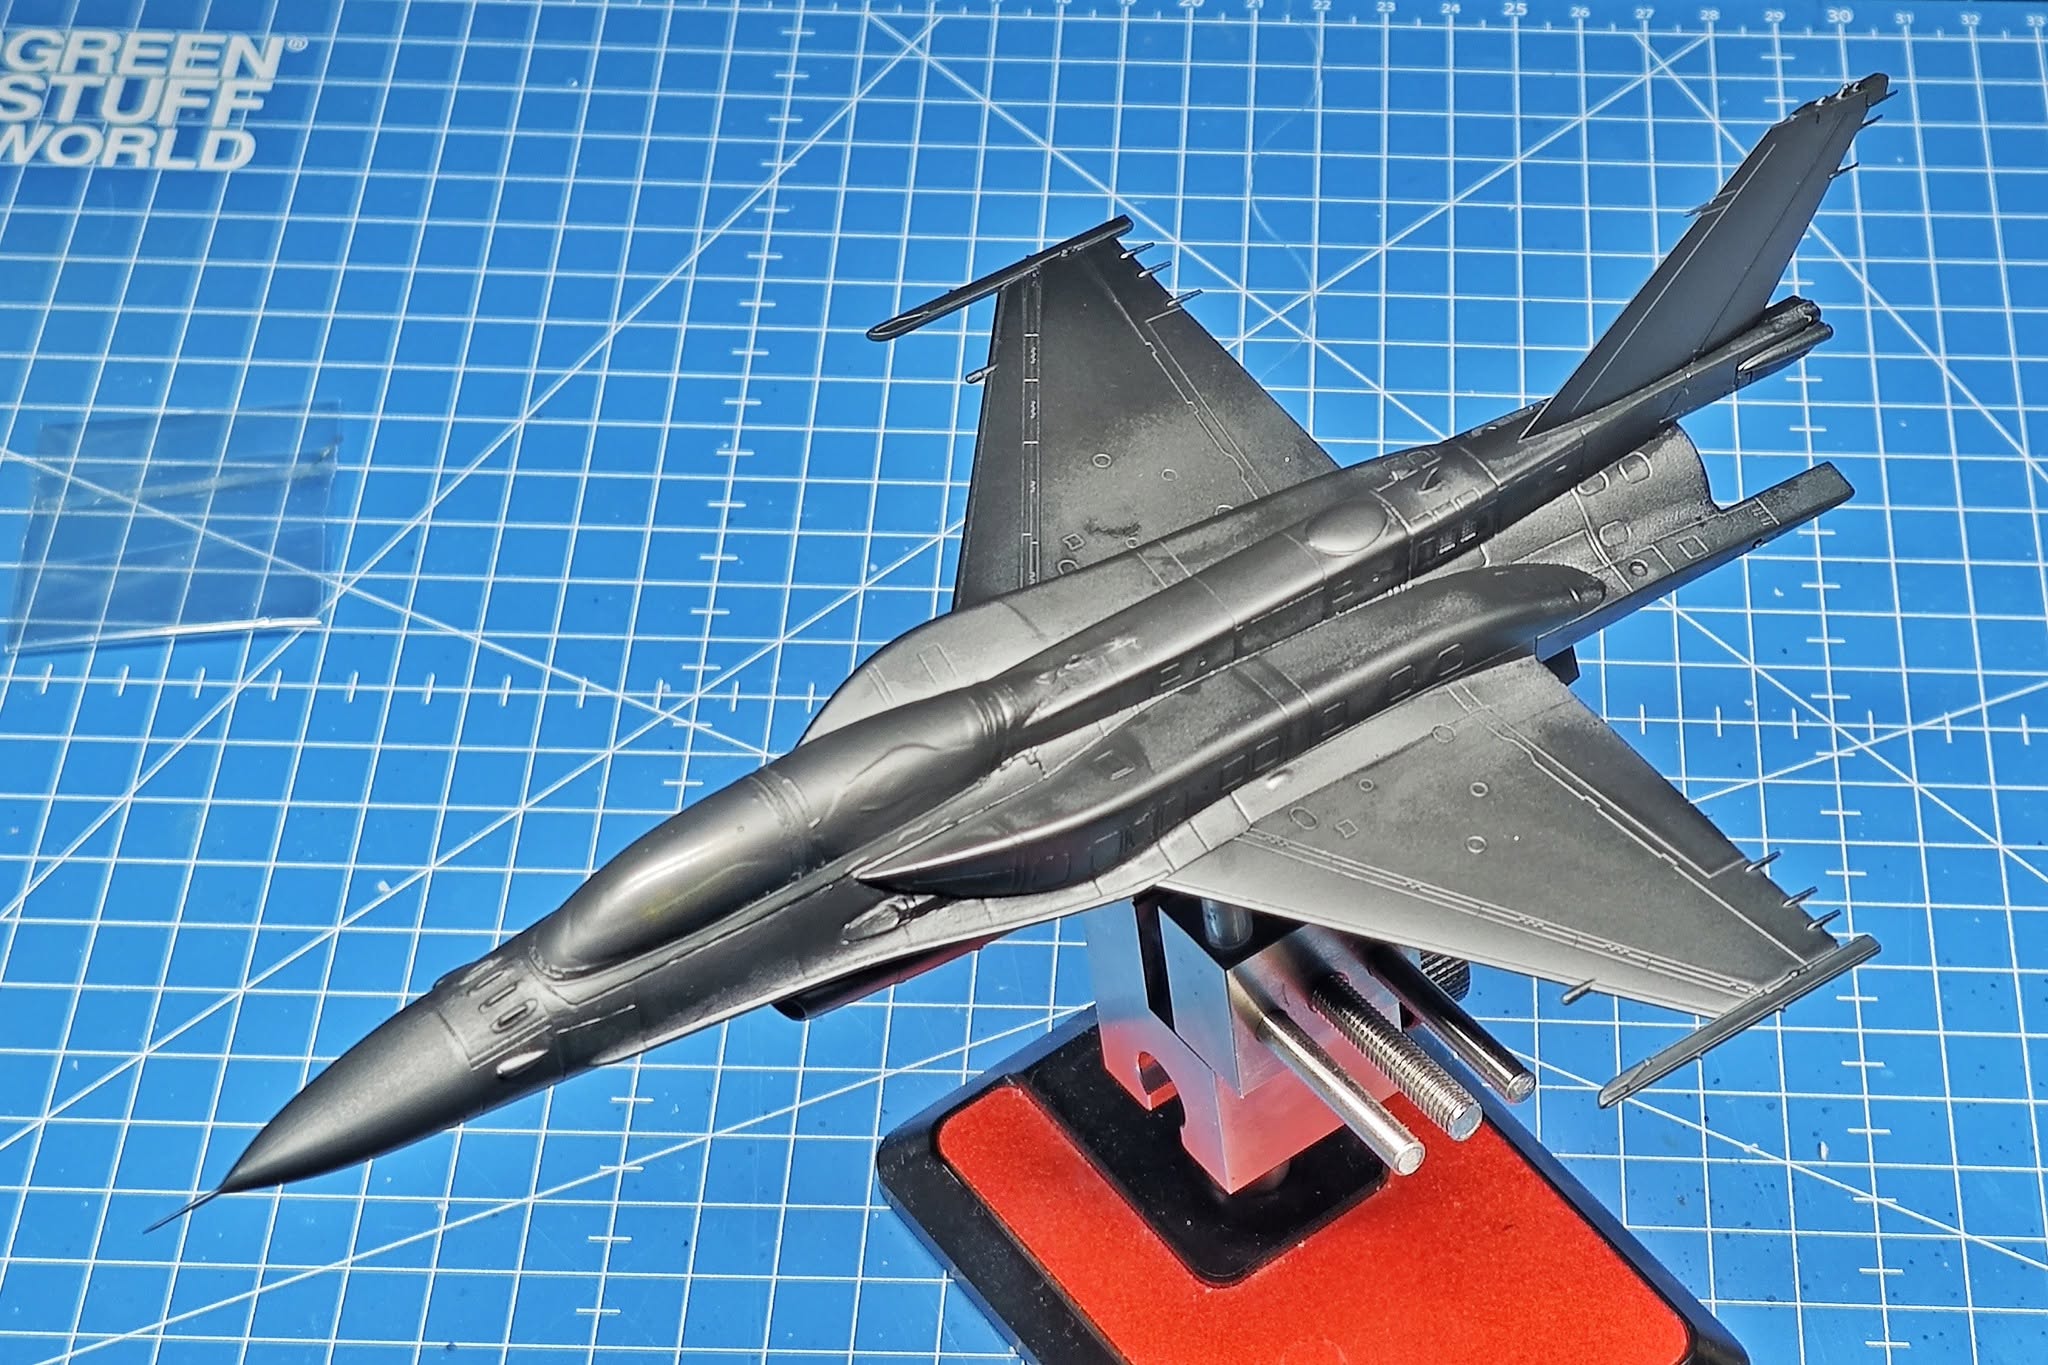
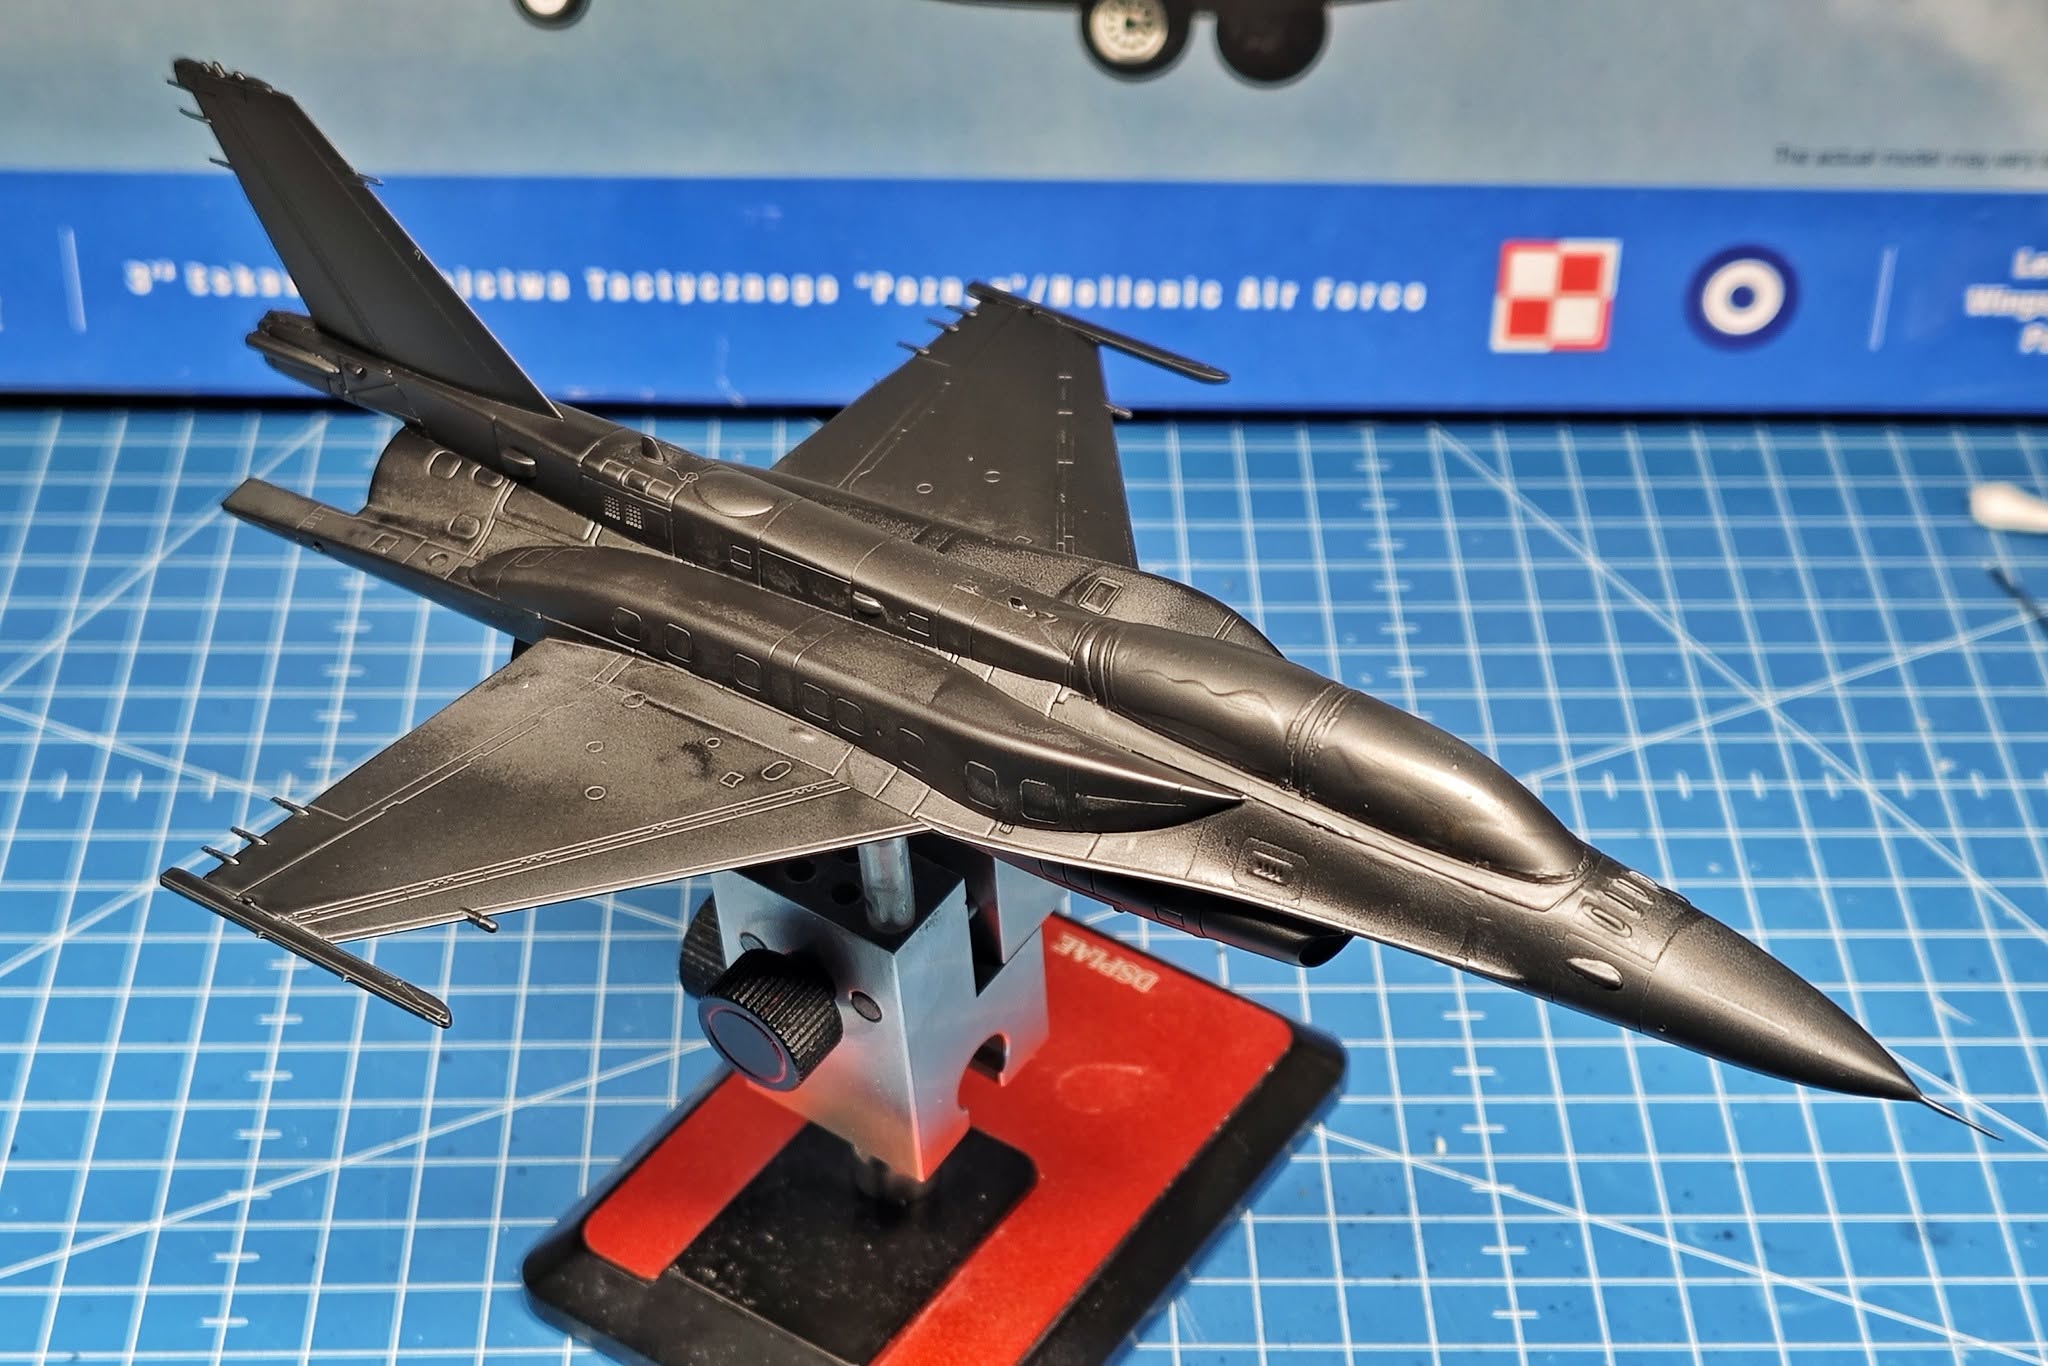
Black surfacer 1500 applied. Some polishing will be required but nothing major. And black base is perfect for the weathering I have in mind.
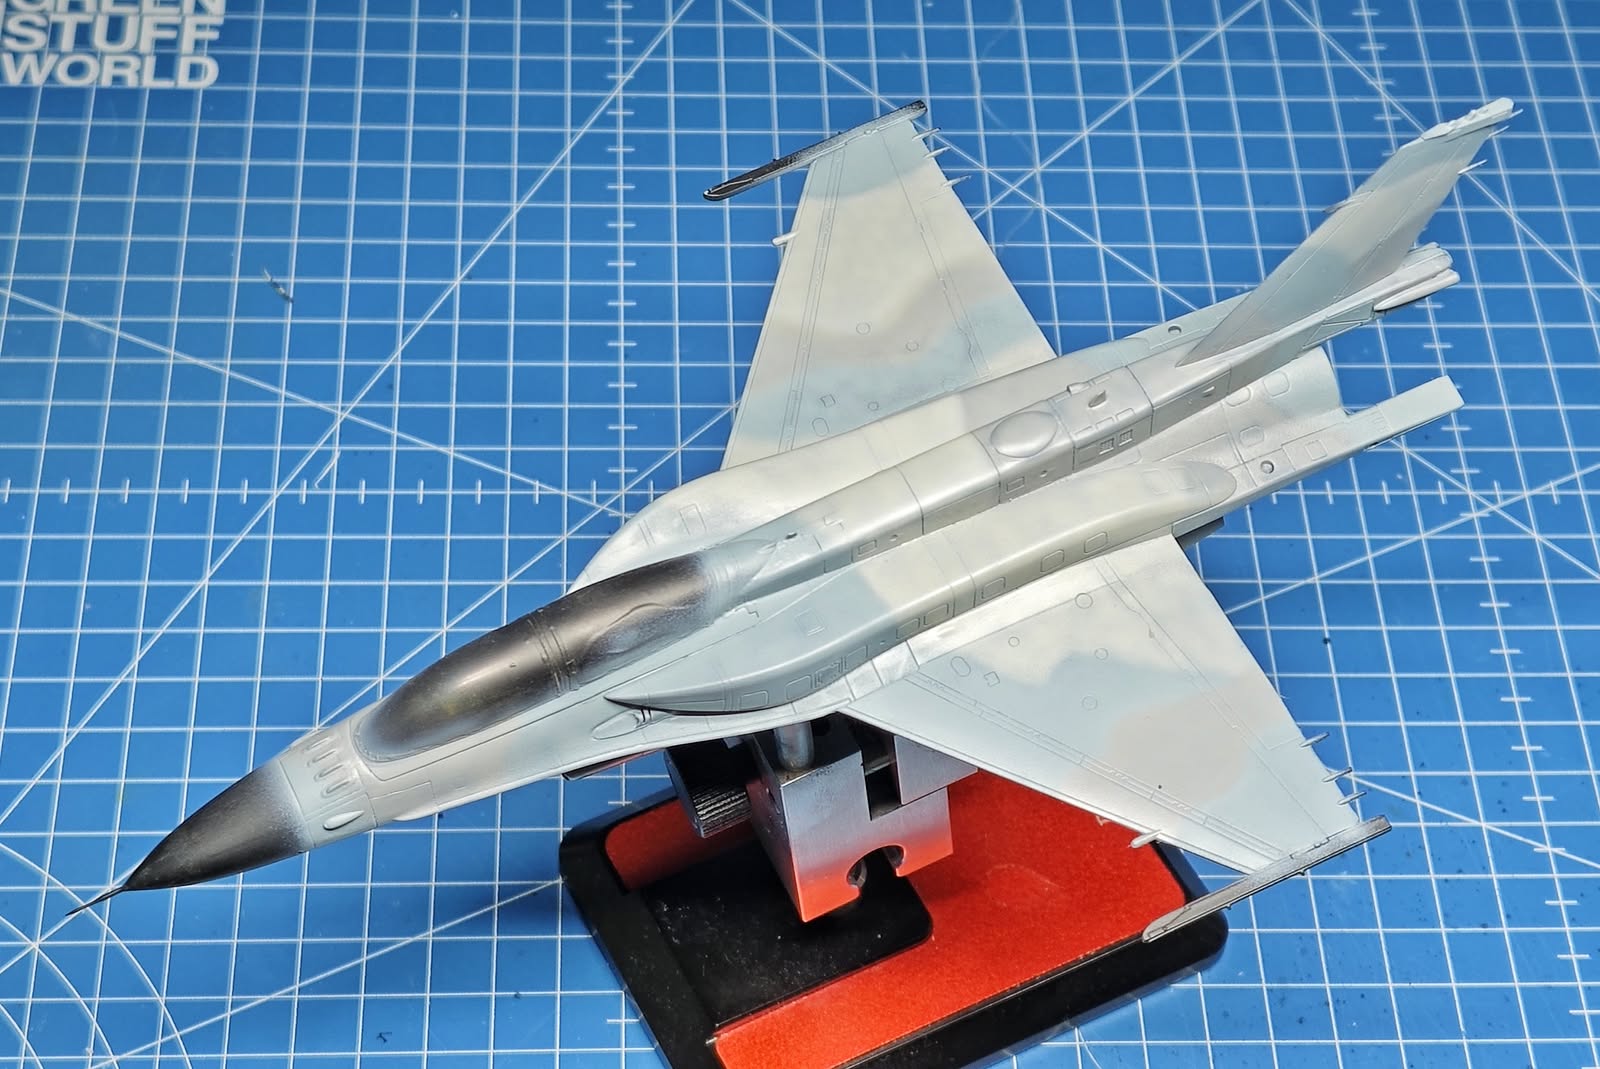
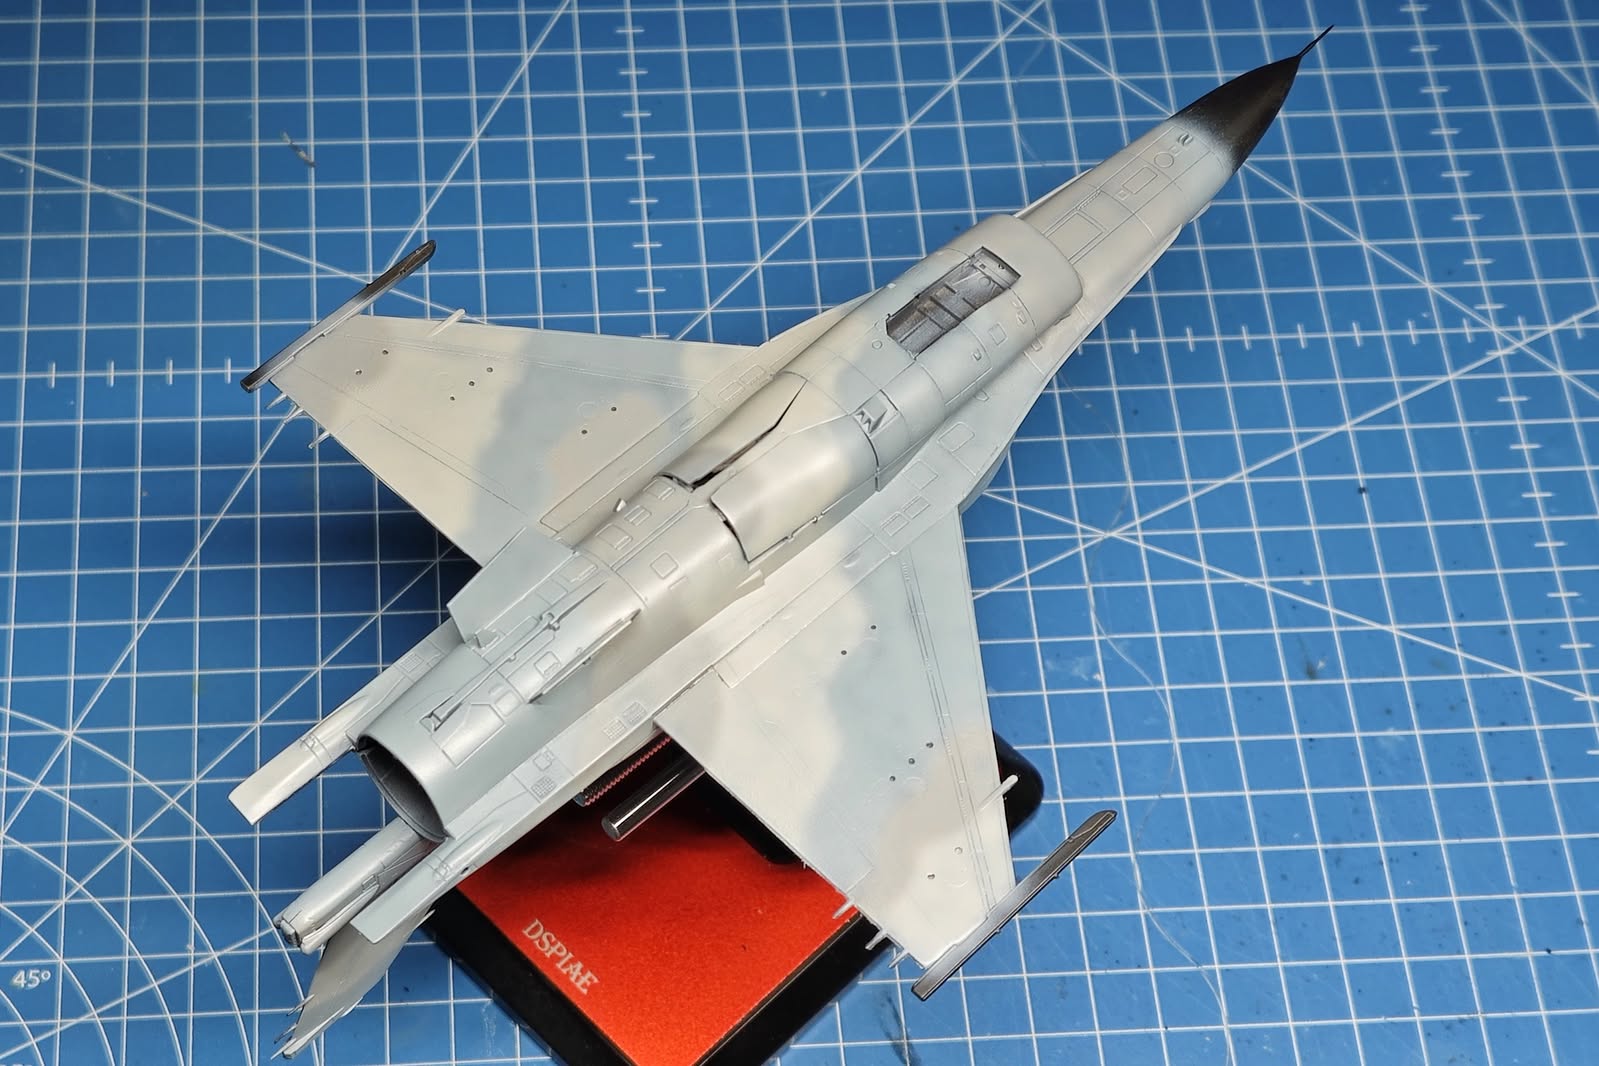
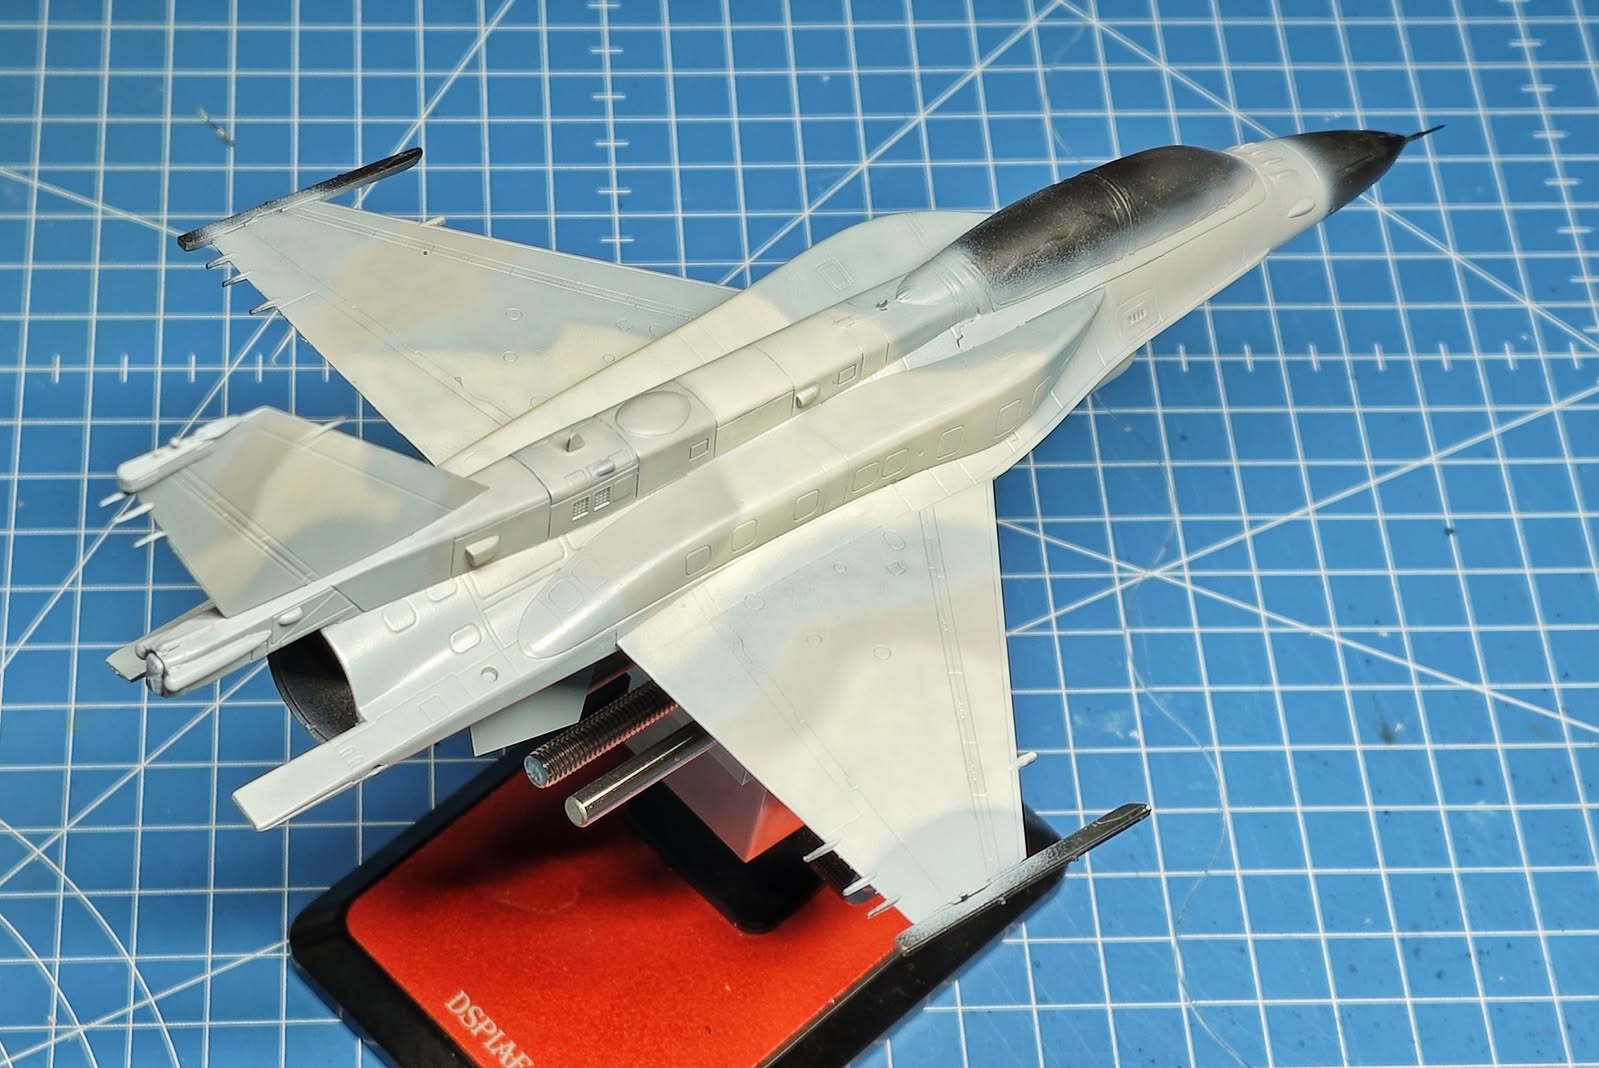
The camouflage was airbrushed freehand using excellent MRP lacquers.
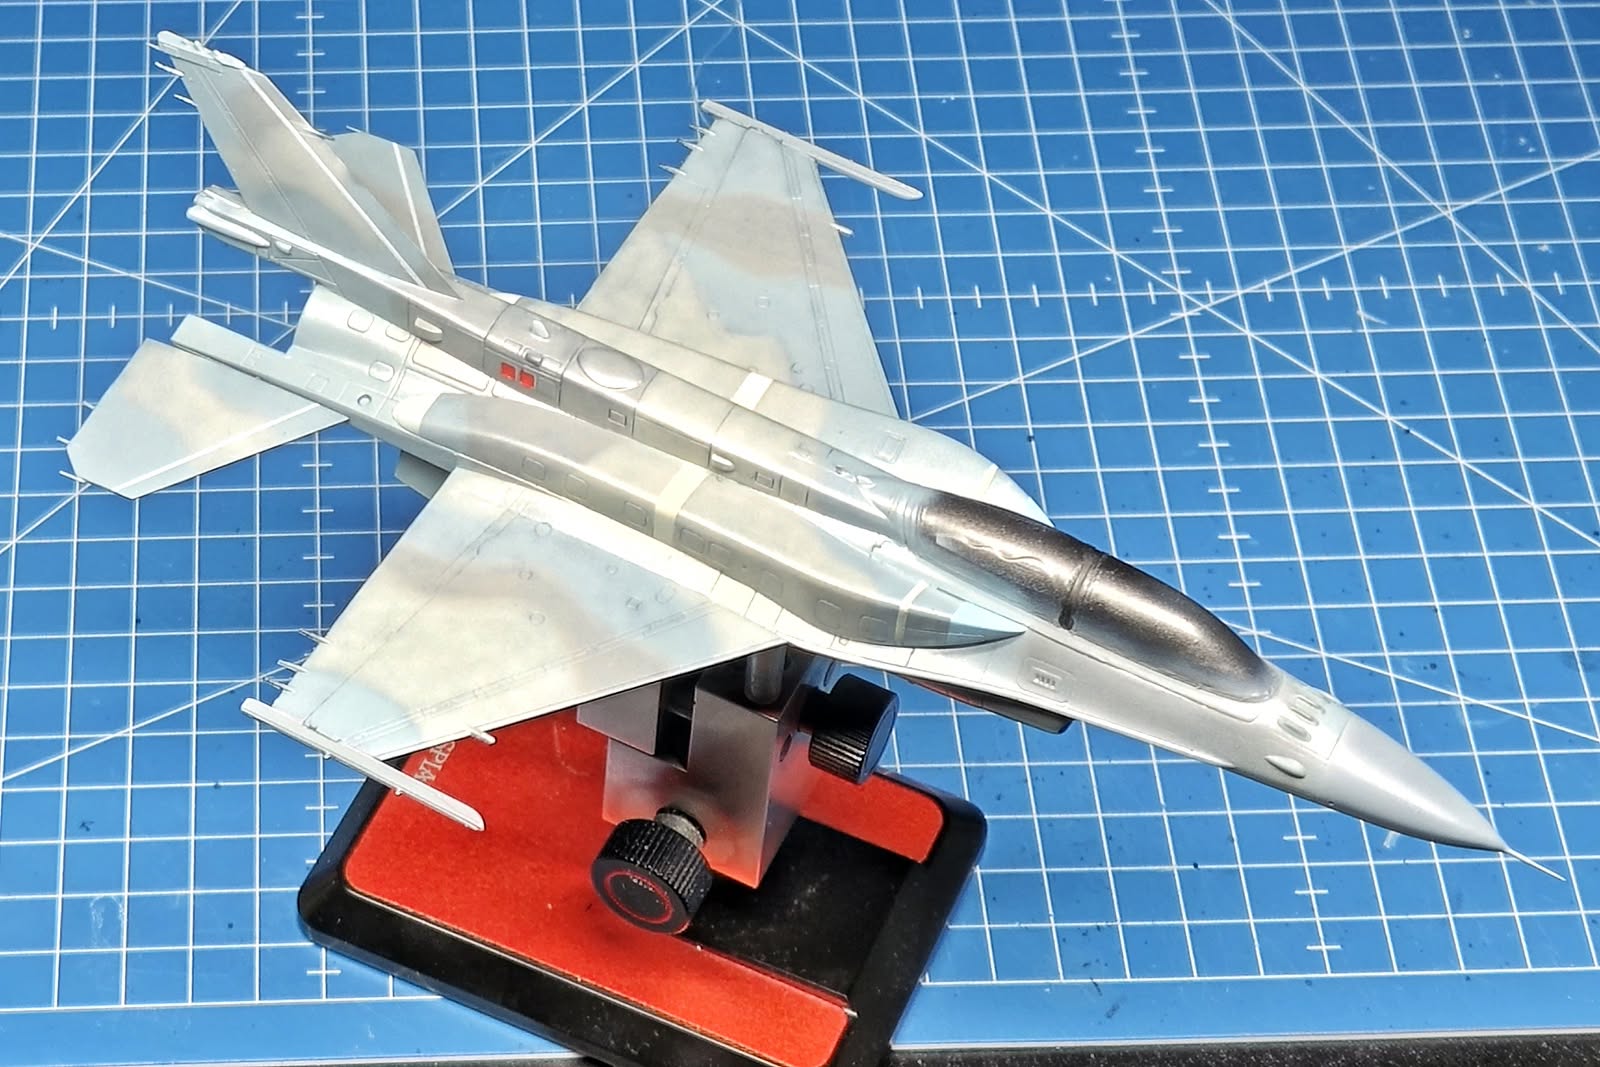
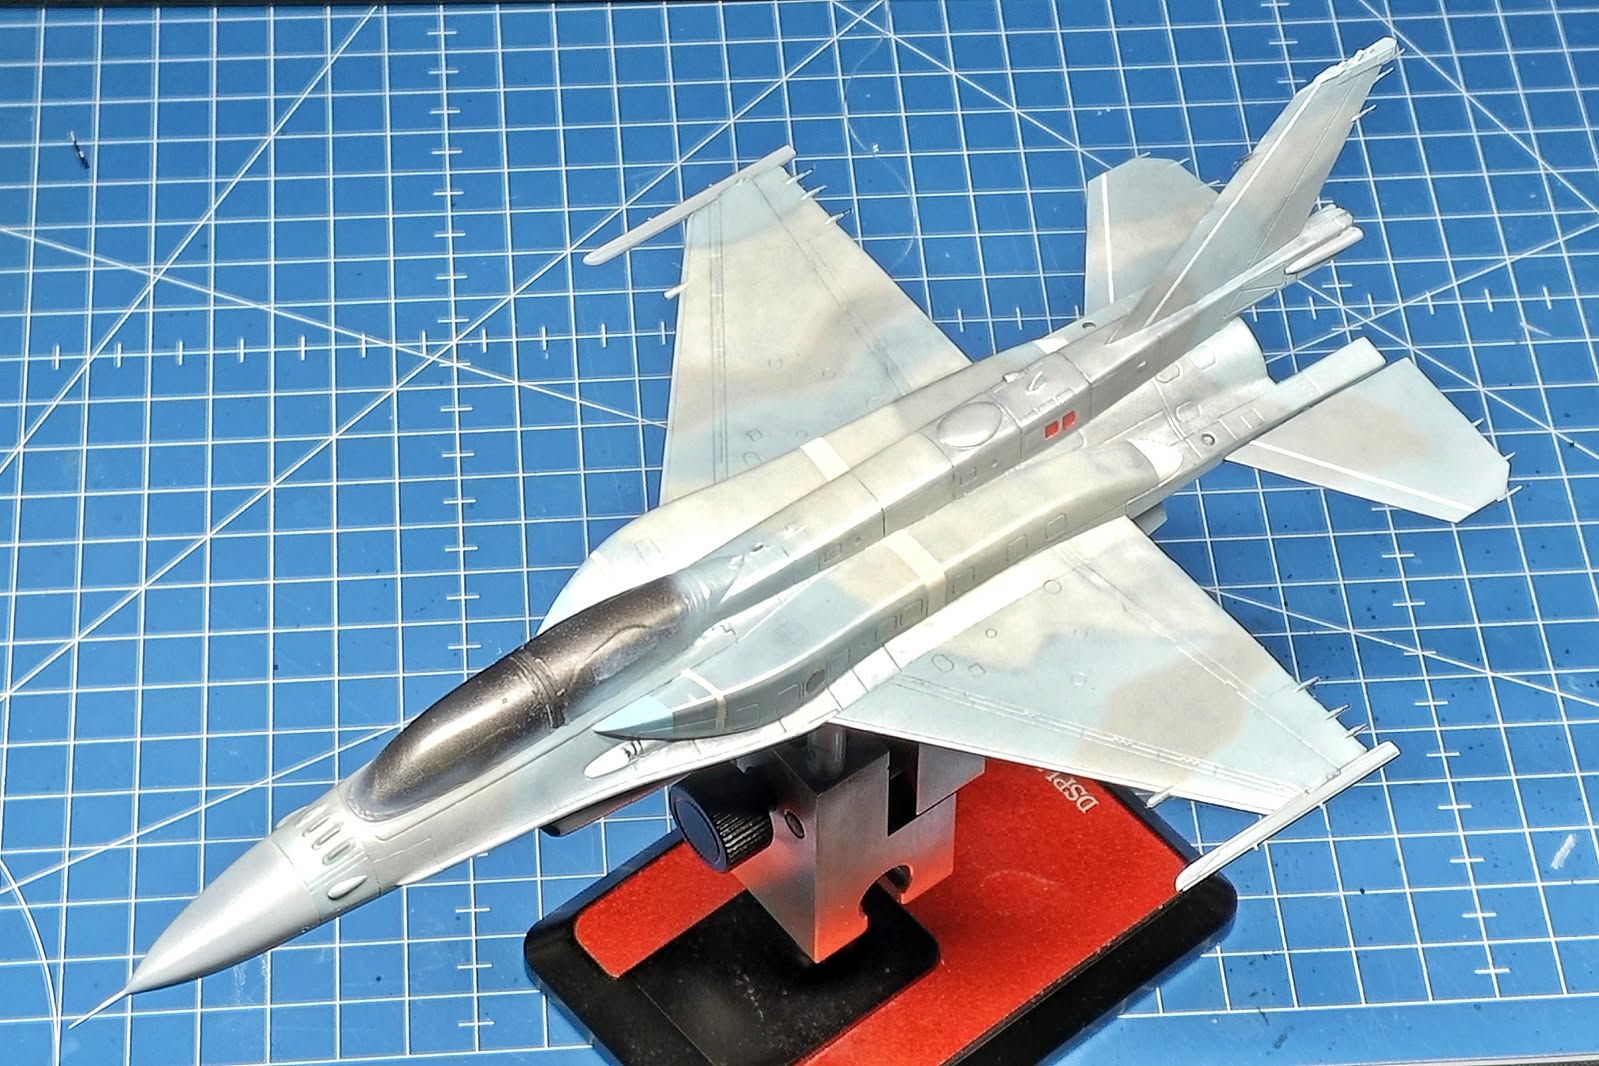
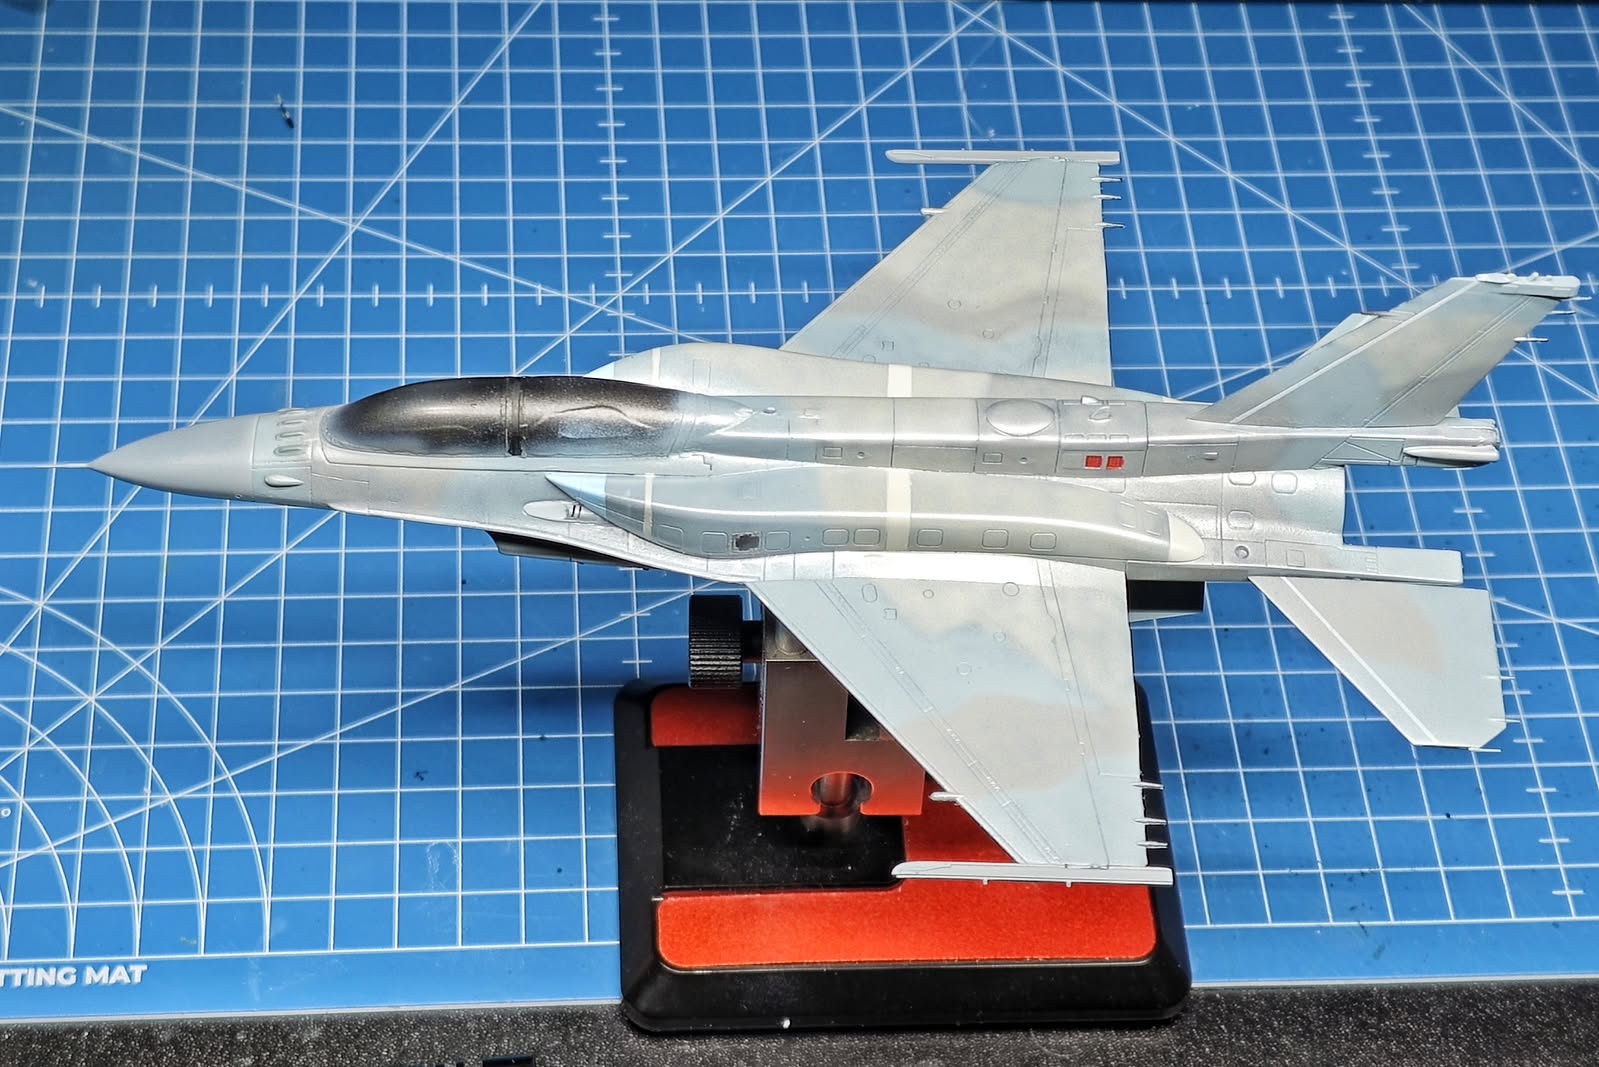
Some more painting. I experimented a bit with recreating Have Glass coating. I find most paint makers make the metallic coat too coarse. So I tried mixing MRP gloss coat with a few drops of their Chrome paint and applied a few layers until I was satisfied with the result. Once the coat fully dried, I painted the all the little details around the airframe.
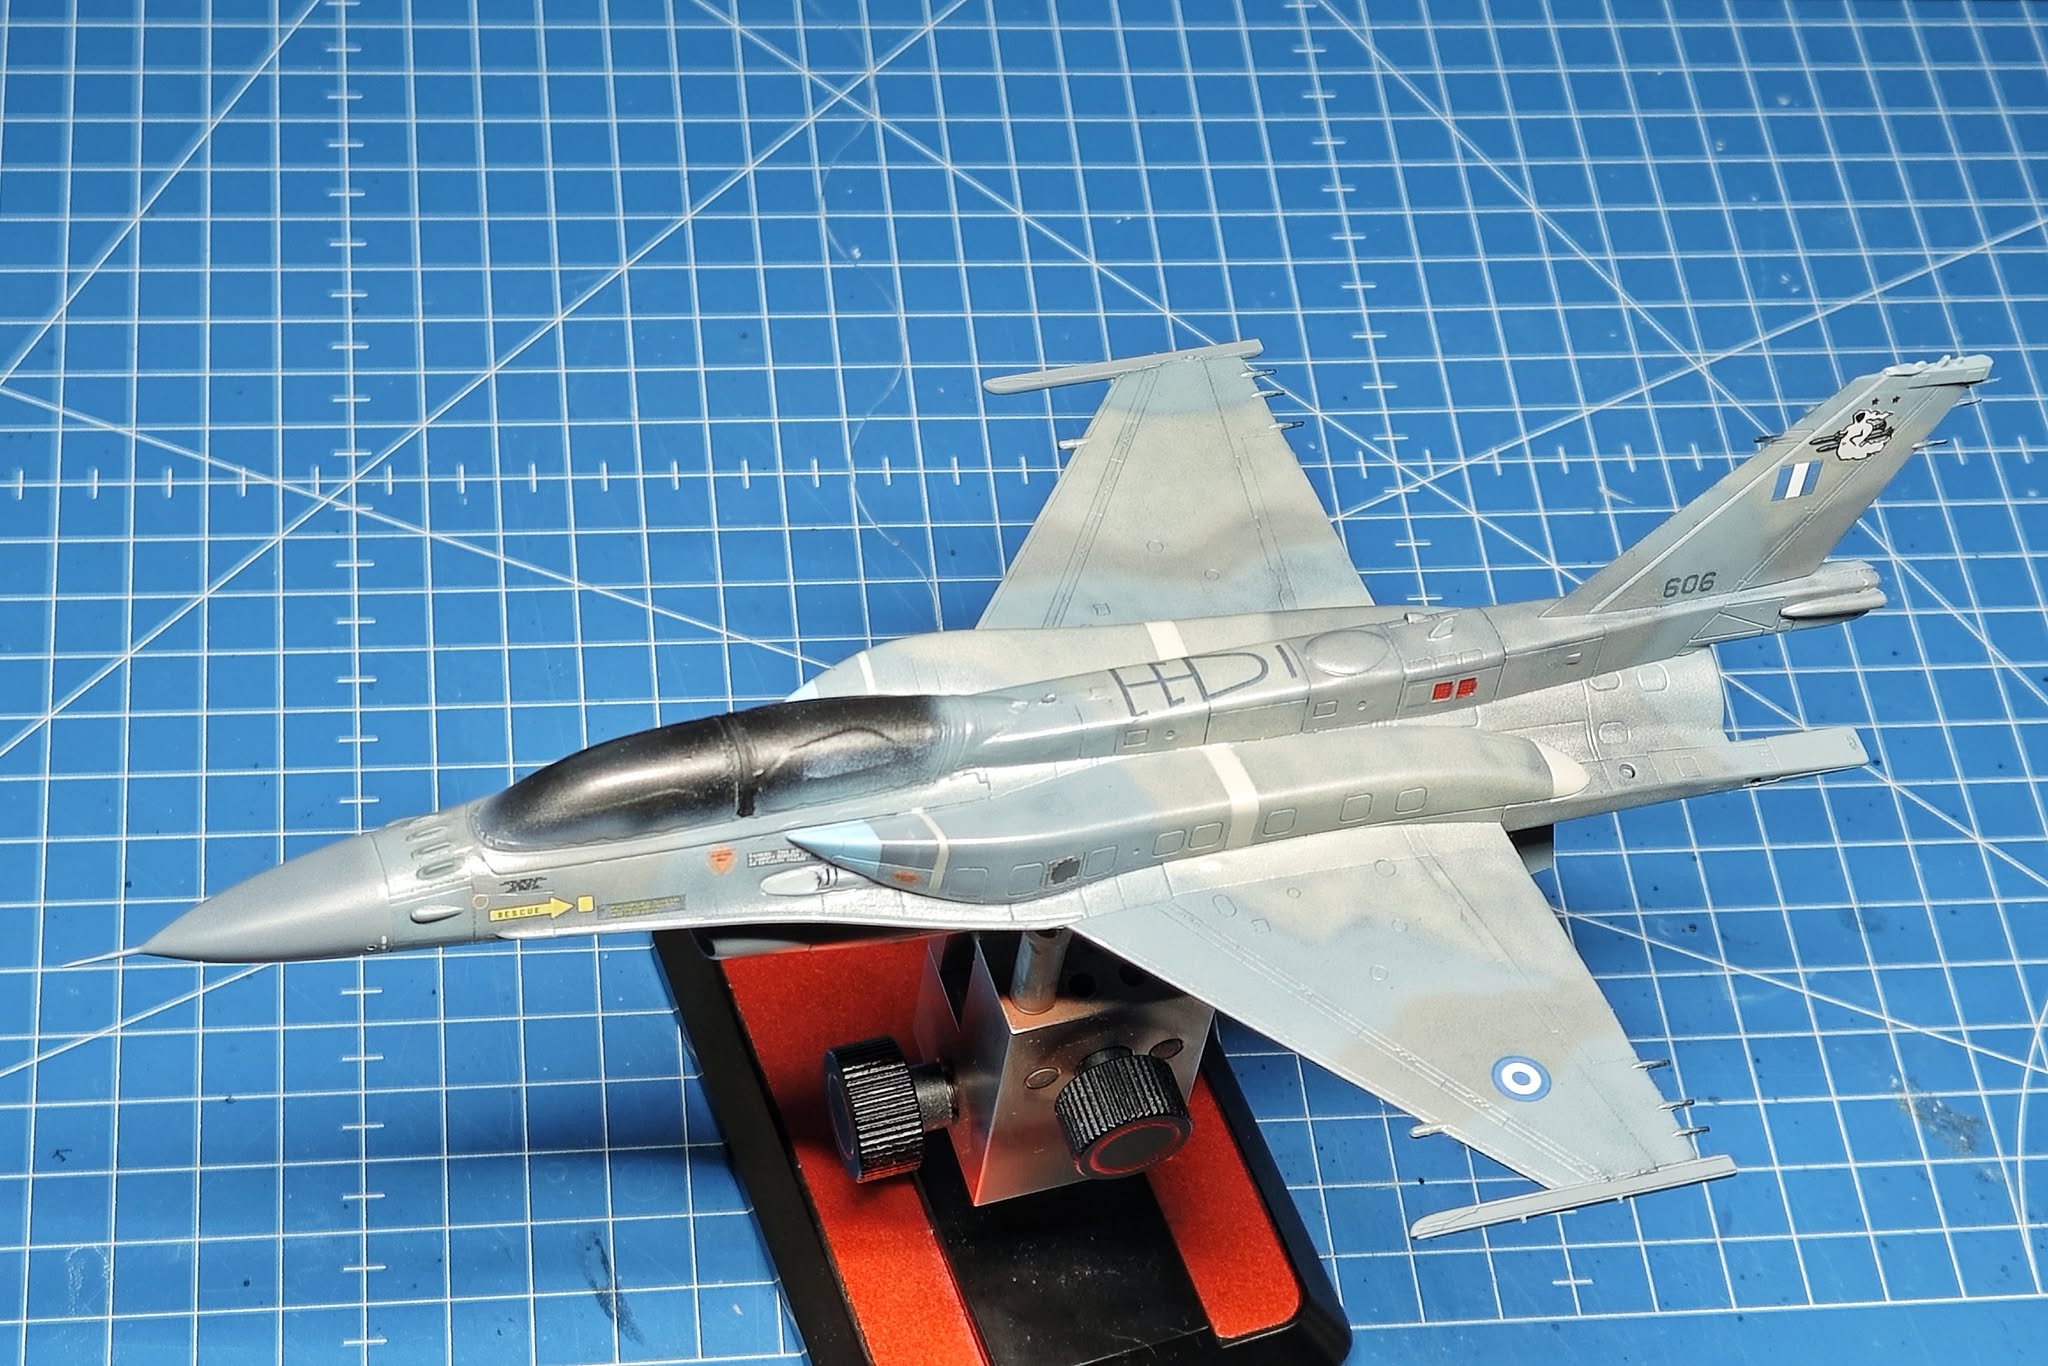
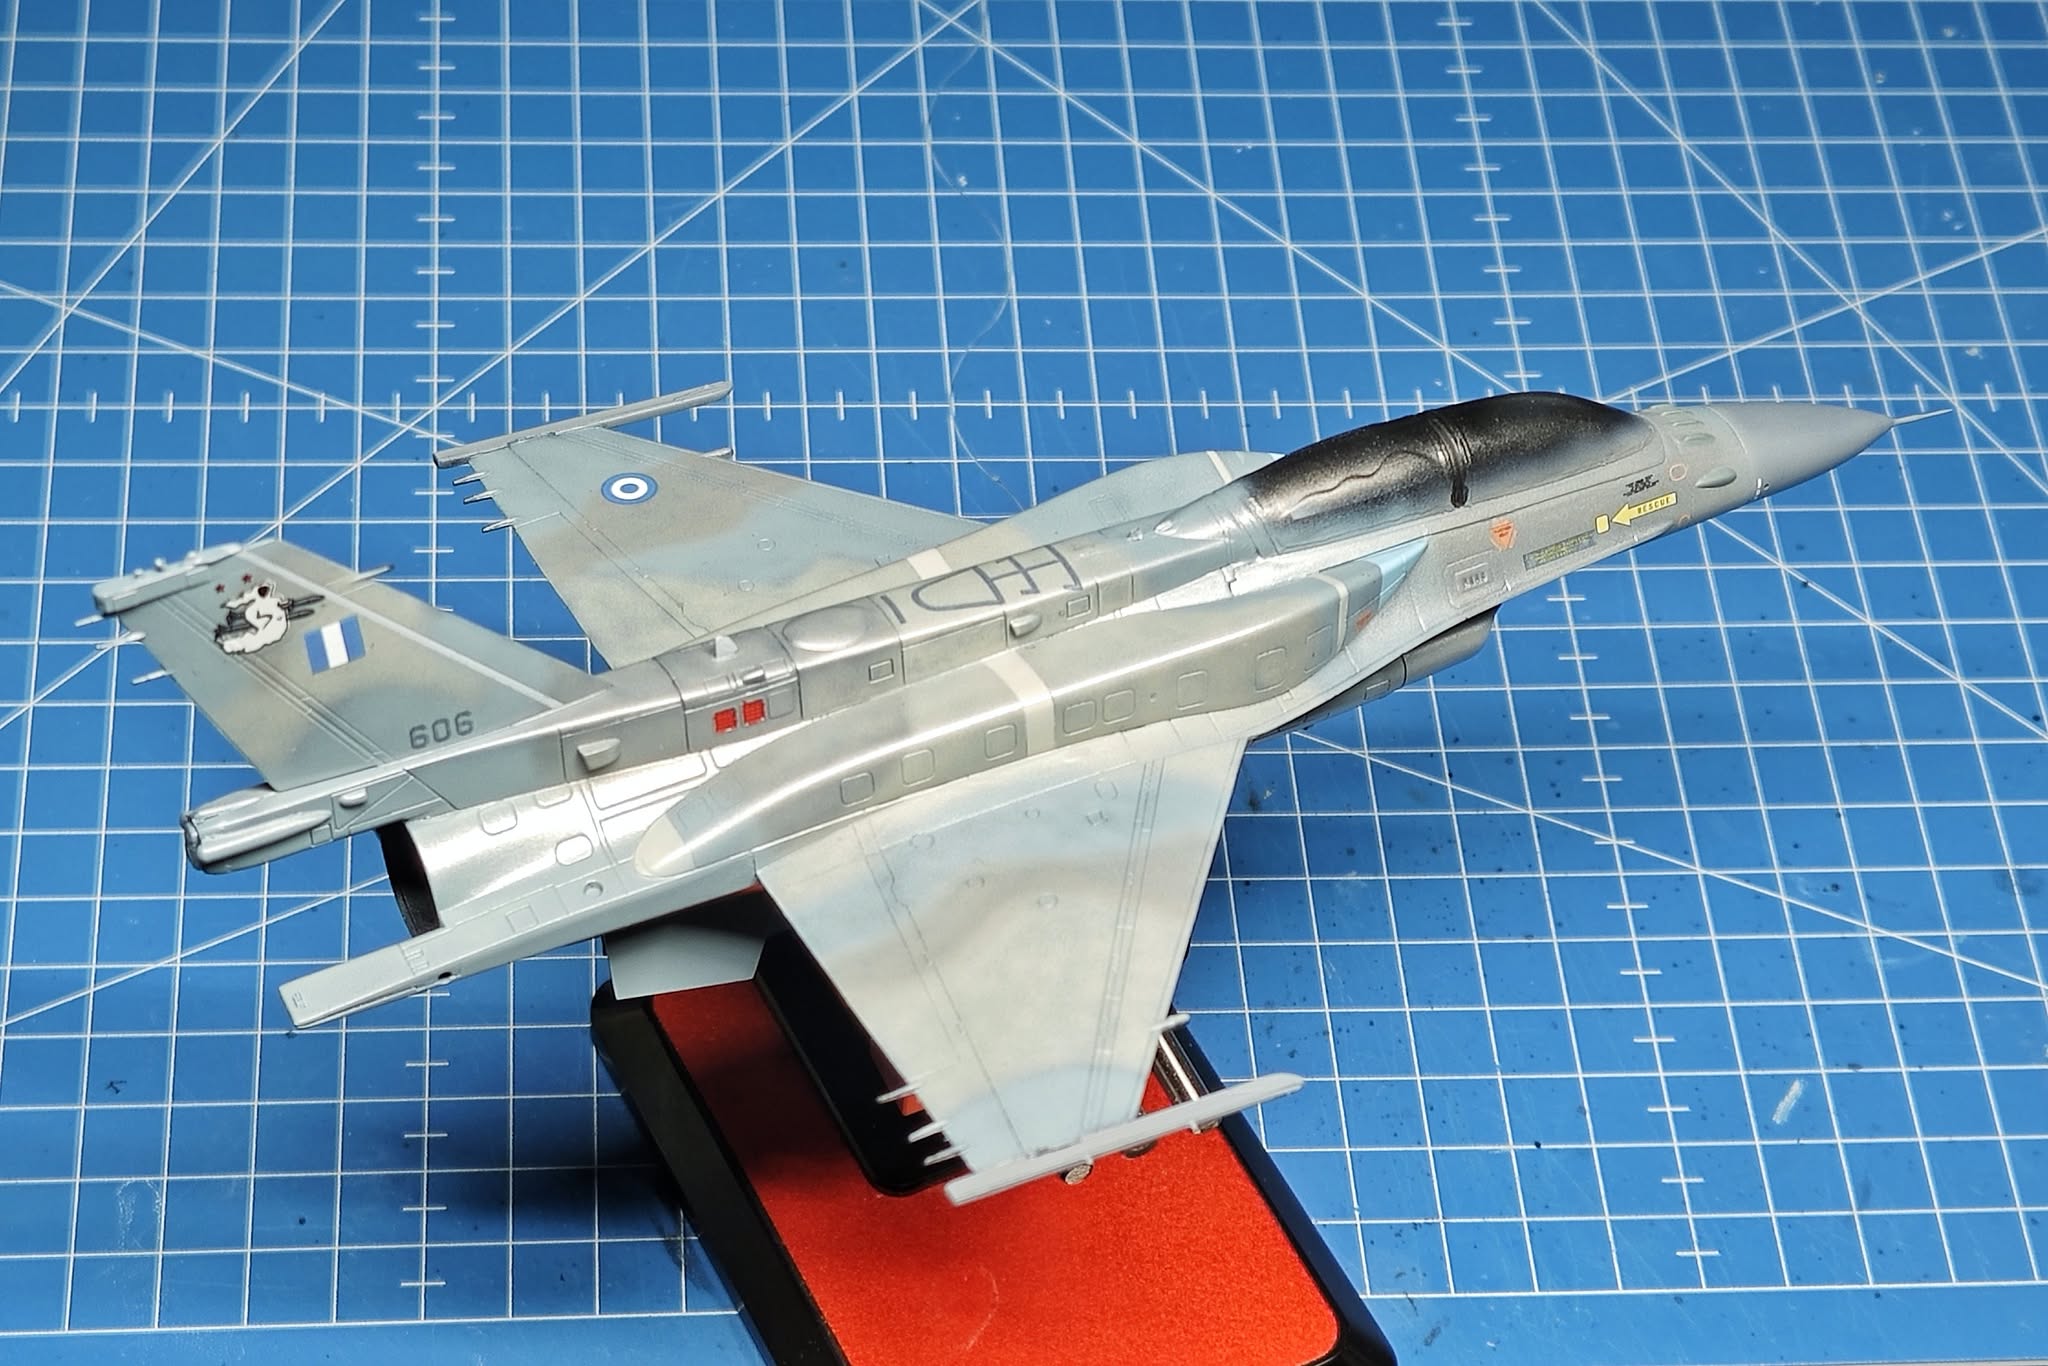
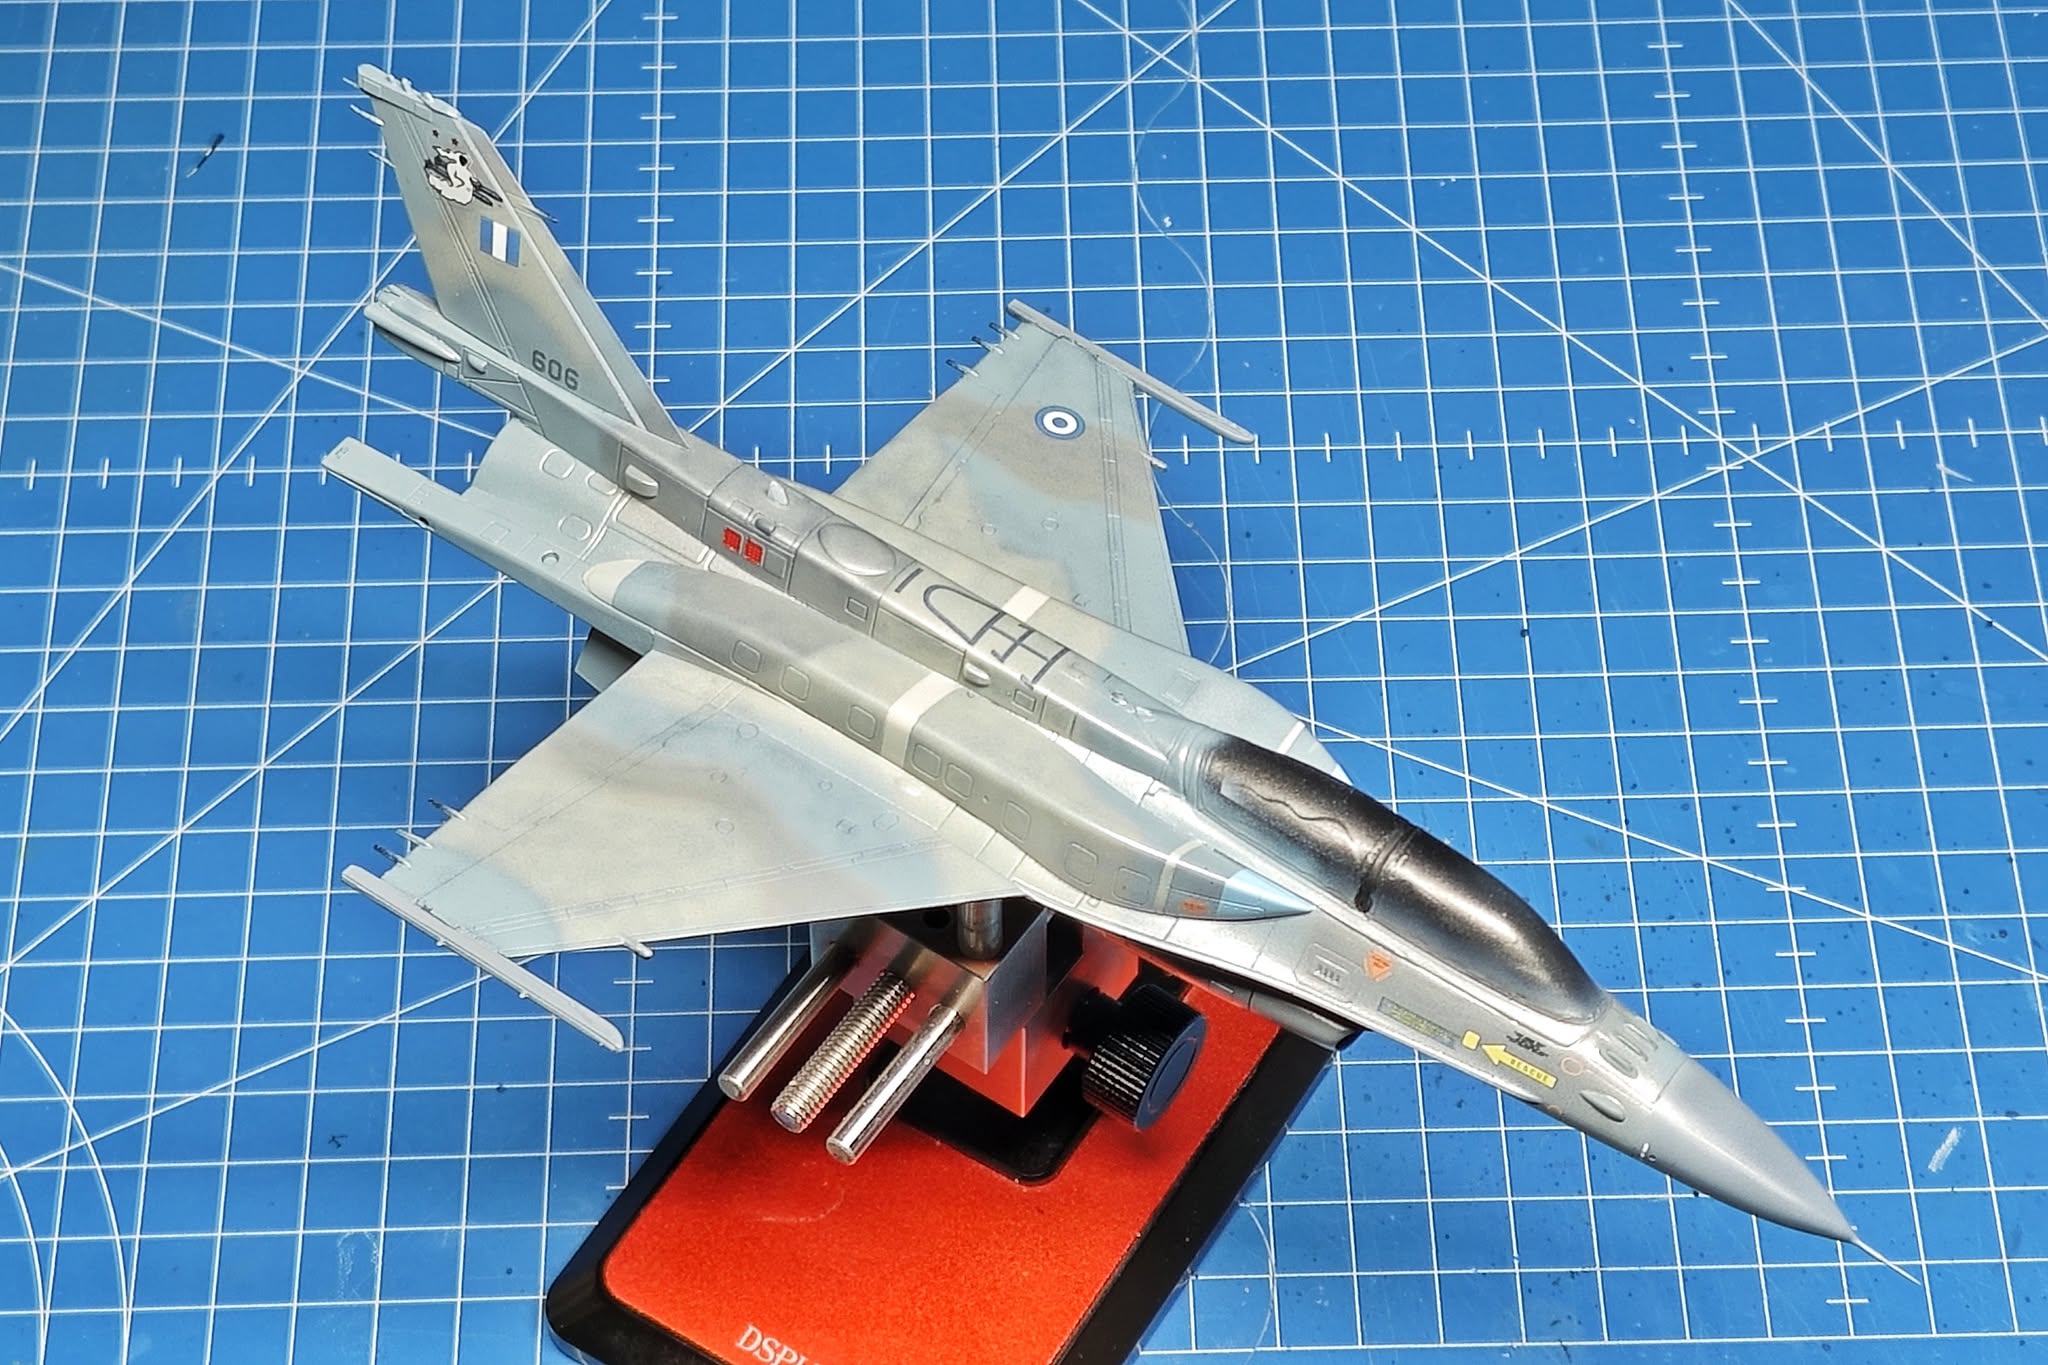
Kinetic decals were so so. They laid down nicely but accuracy was not on the menu the day they printed them. Roundels were just blue circles without any white part and the blue (same as on the fin flash) was almost fluorescent and far from correct. So I used some aftermarket ones I found in the stash, as well as tactical codes and squadron tail markings.
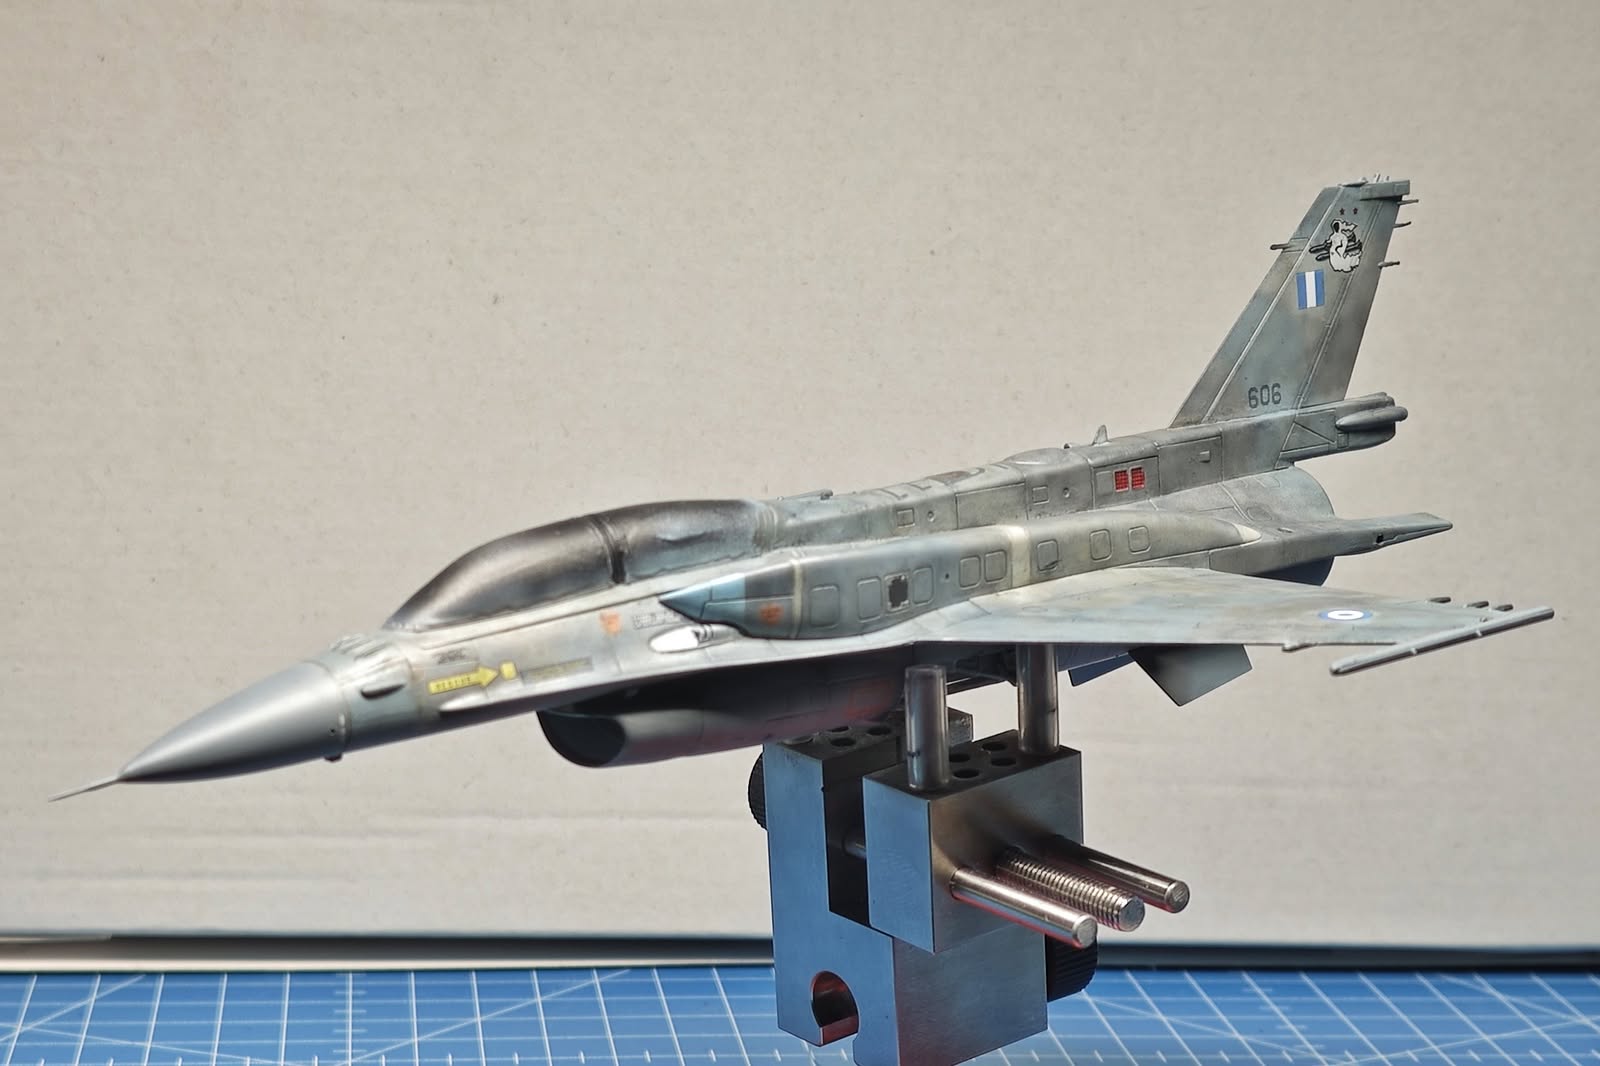
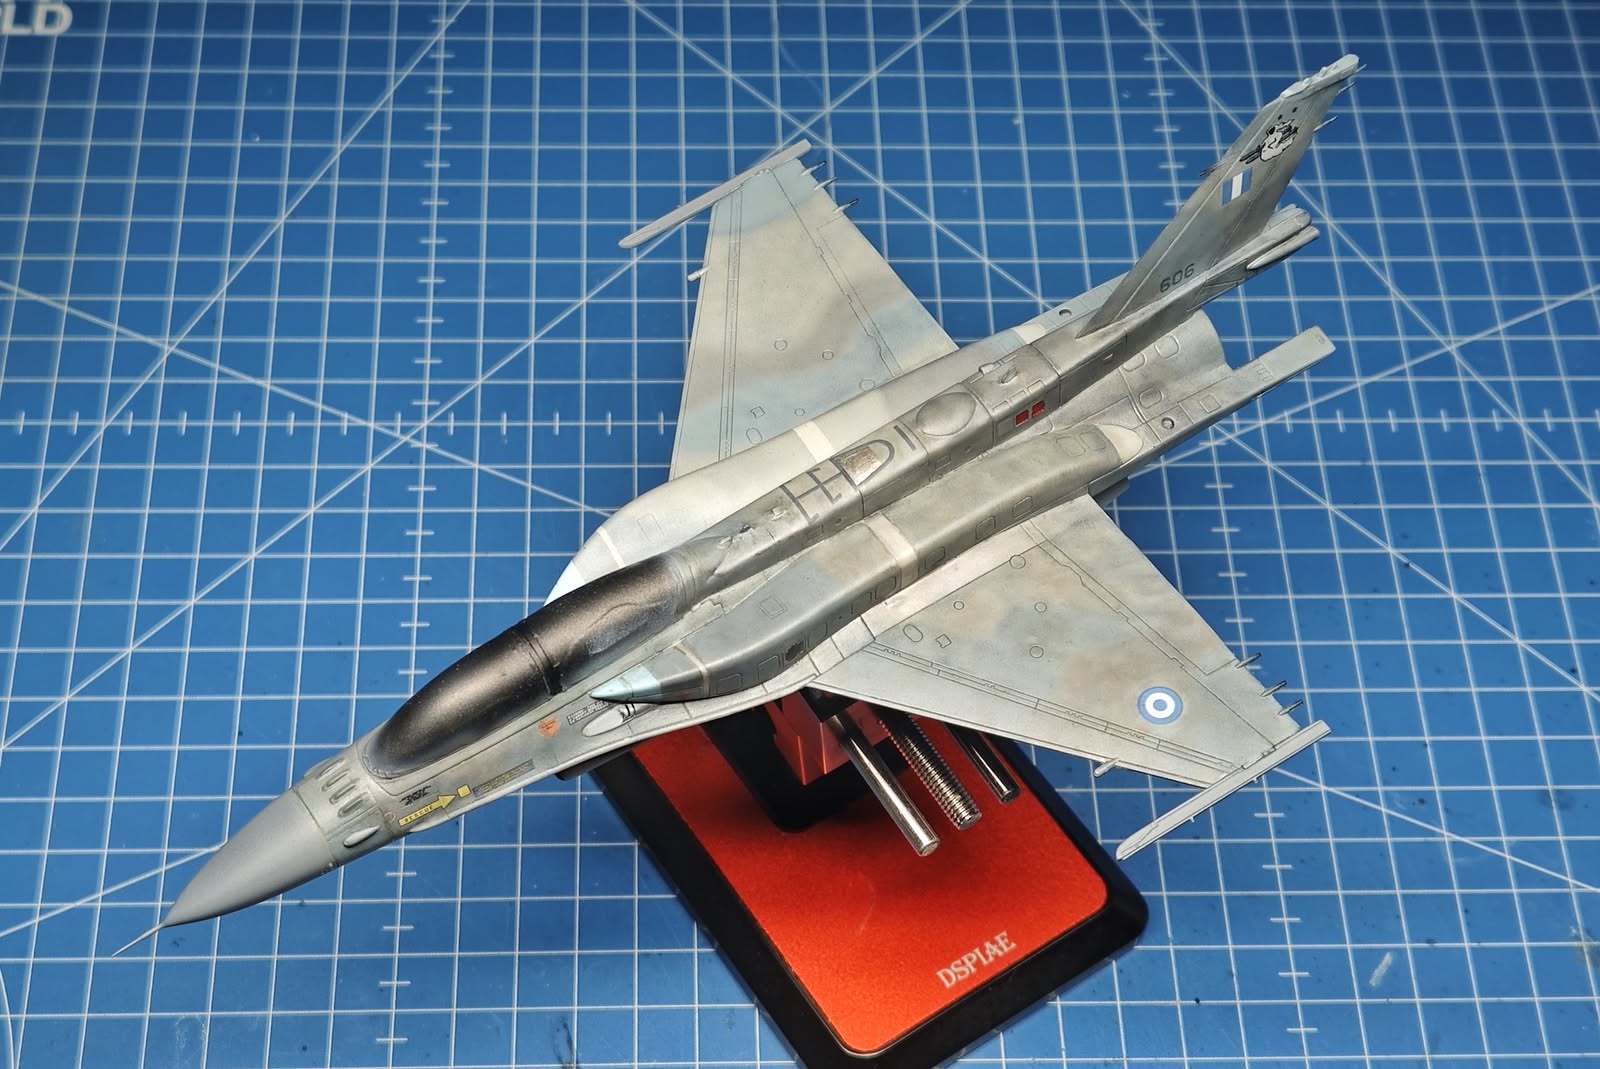
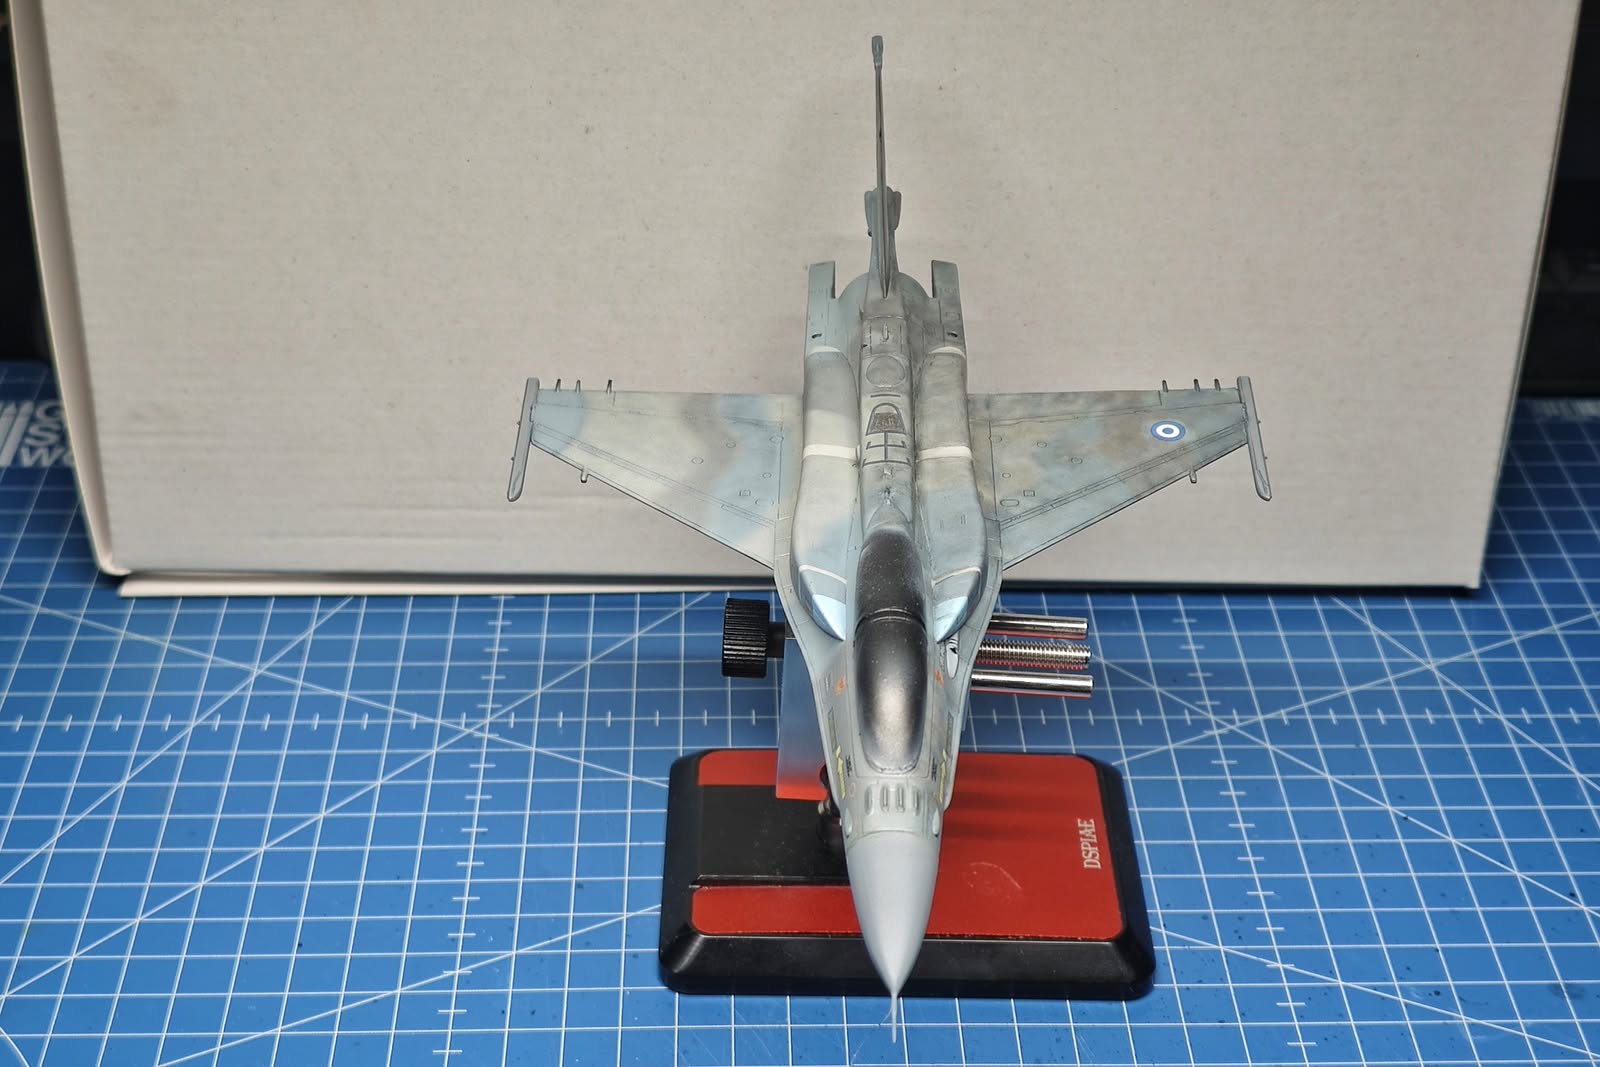
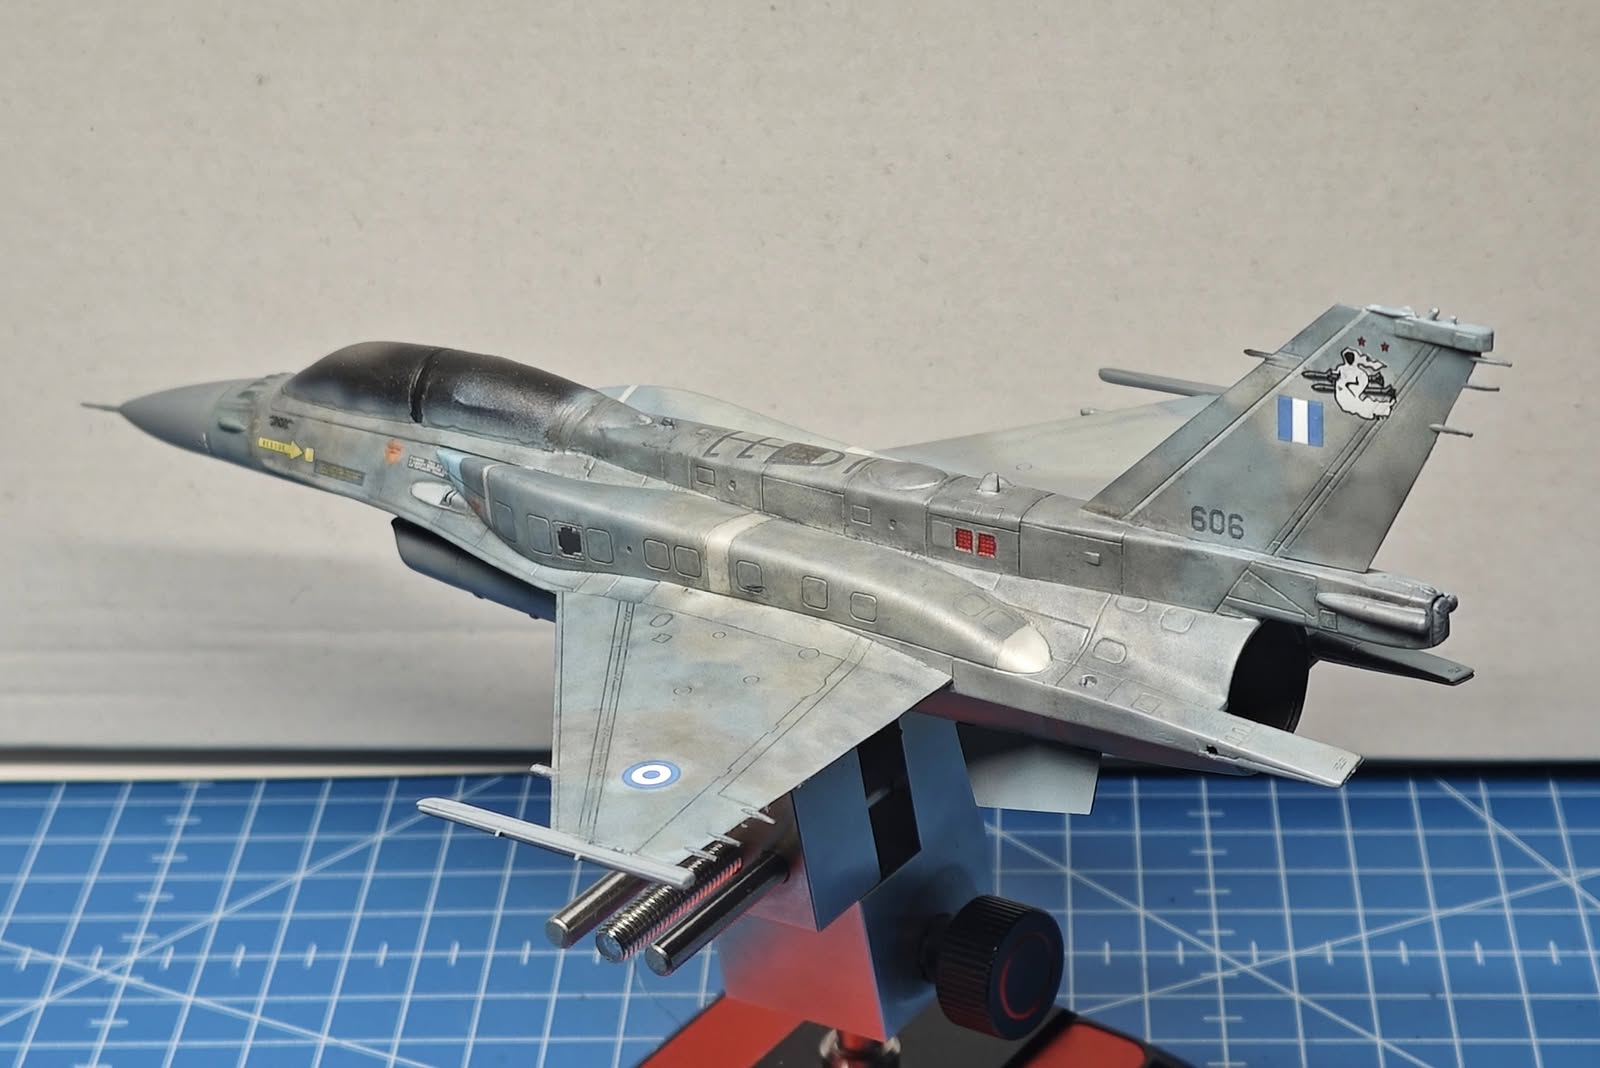
A few photos of the weathered surfaces. More weathering on the way! Check the tutorial in the menu above!
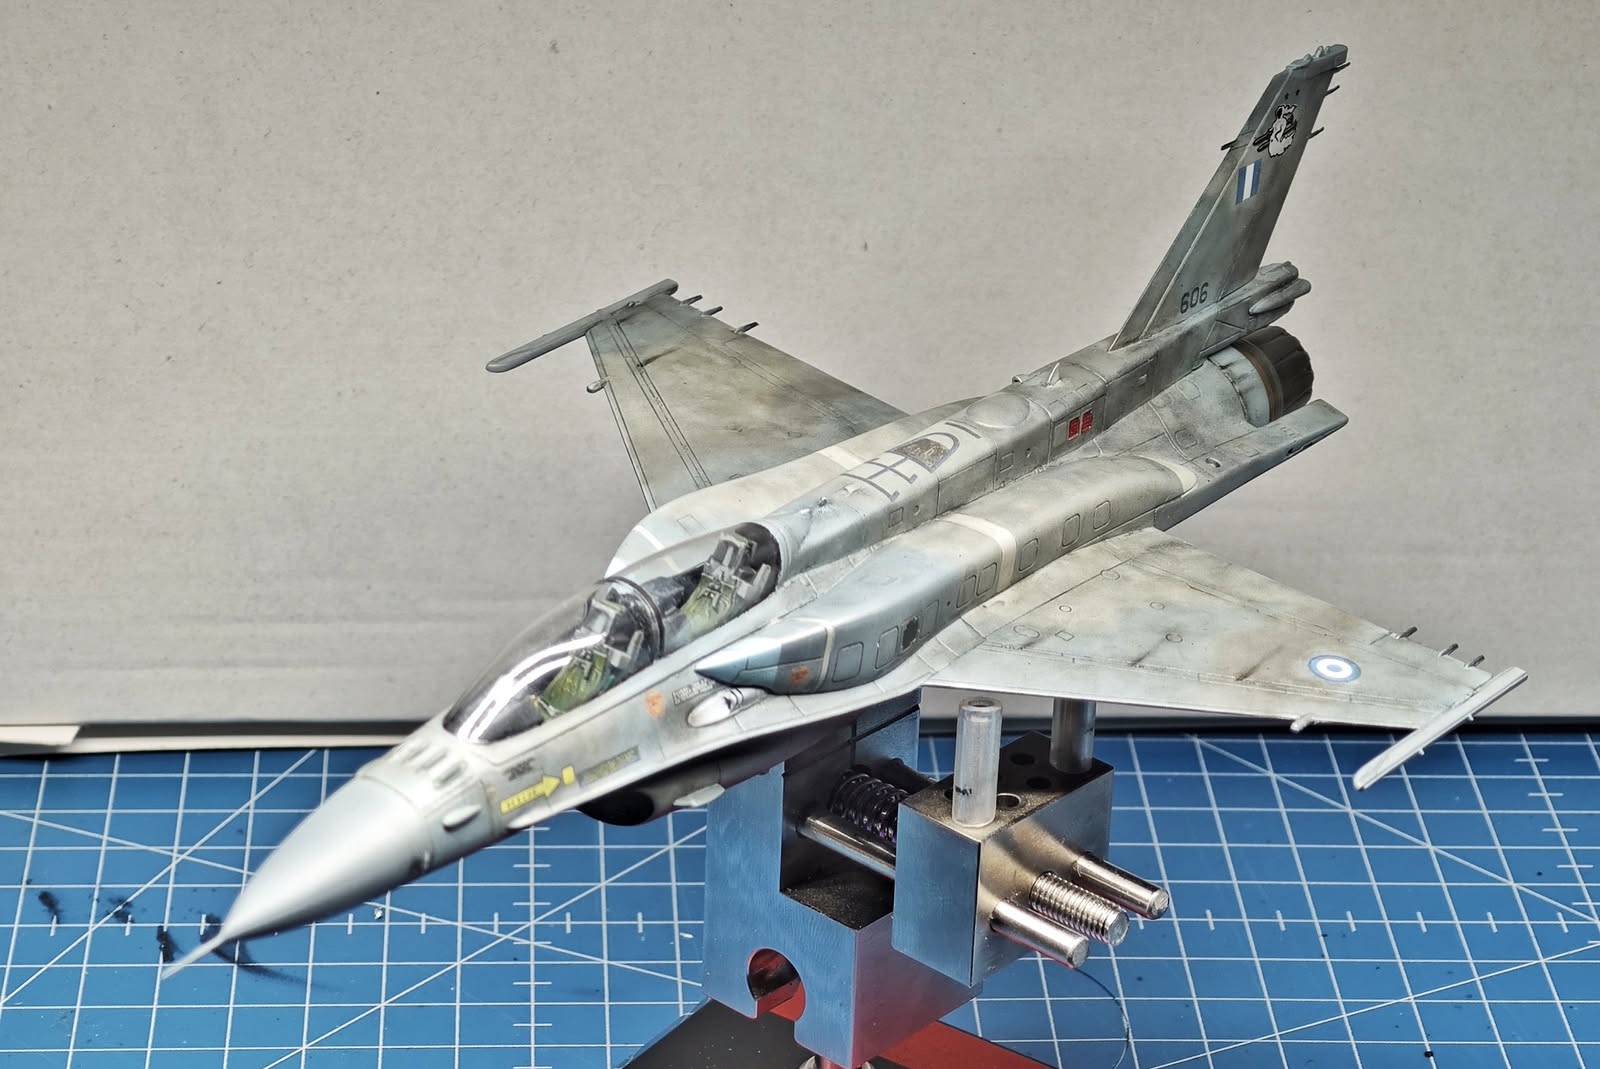
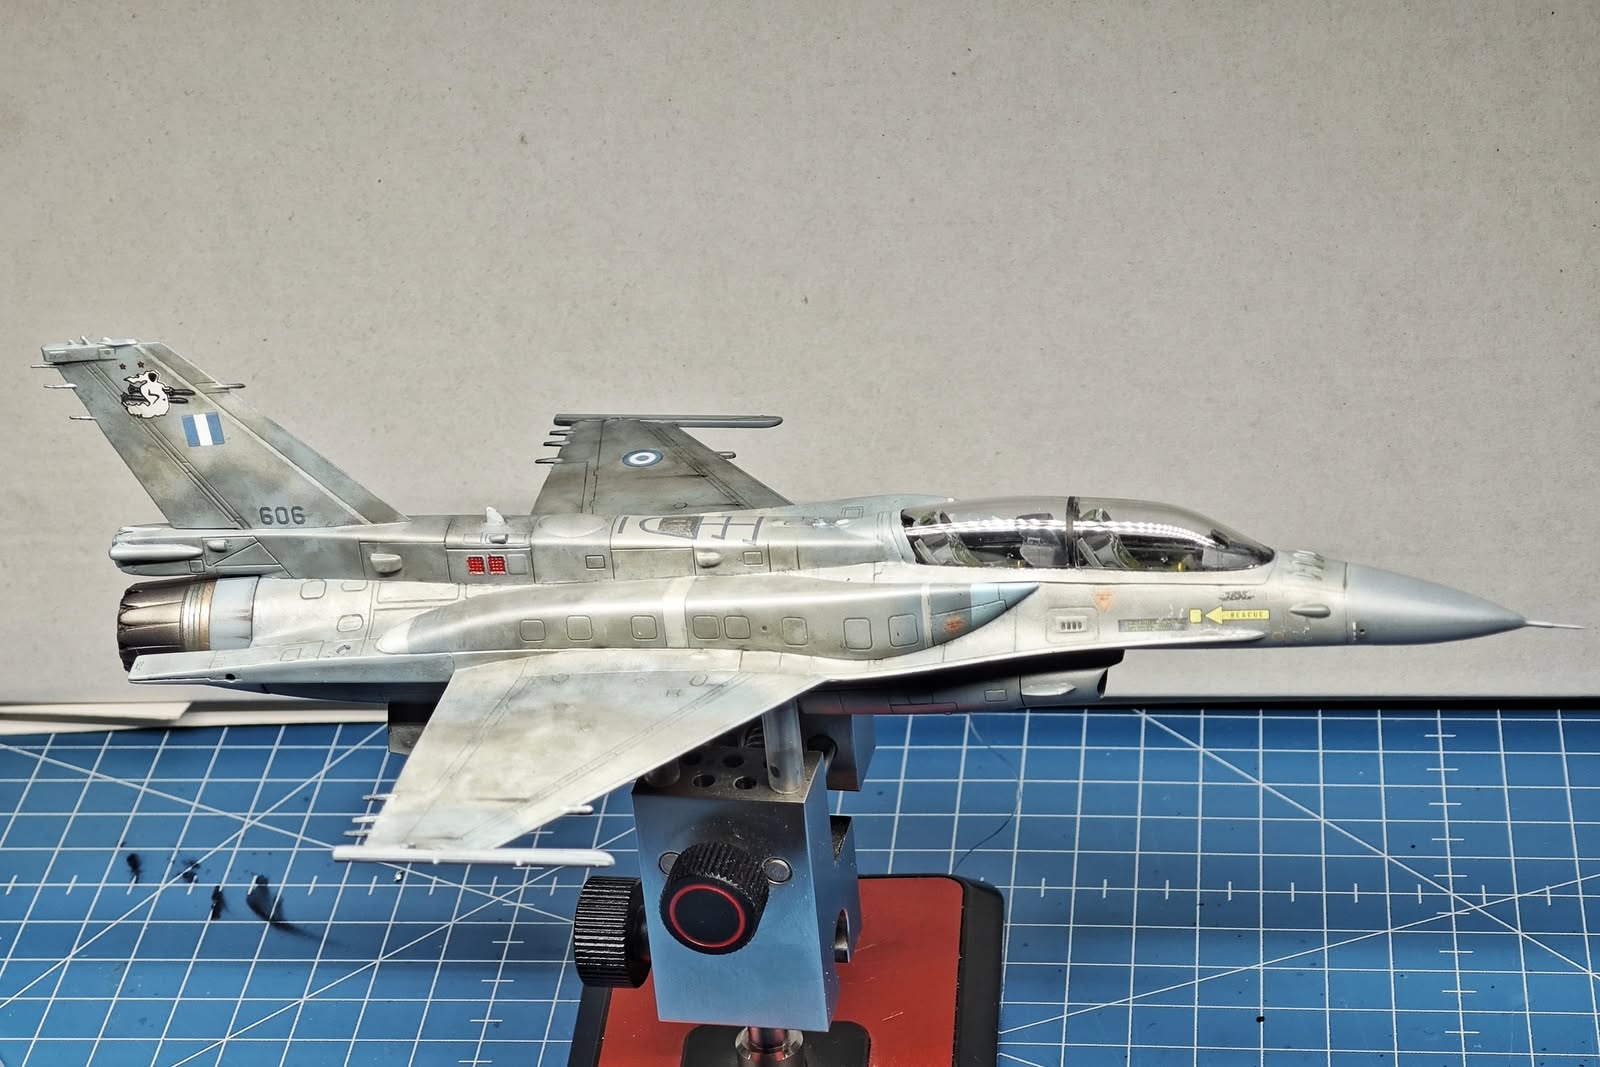
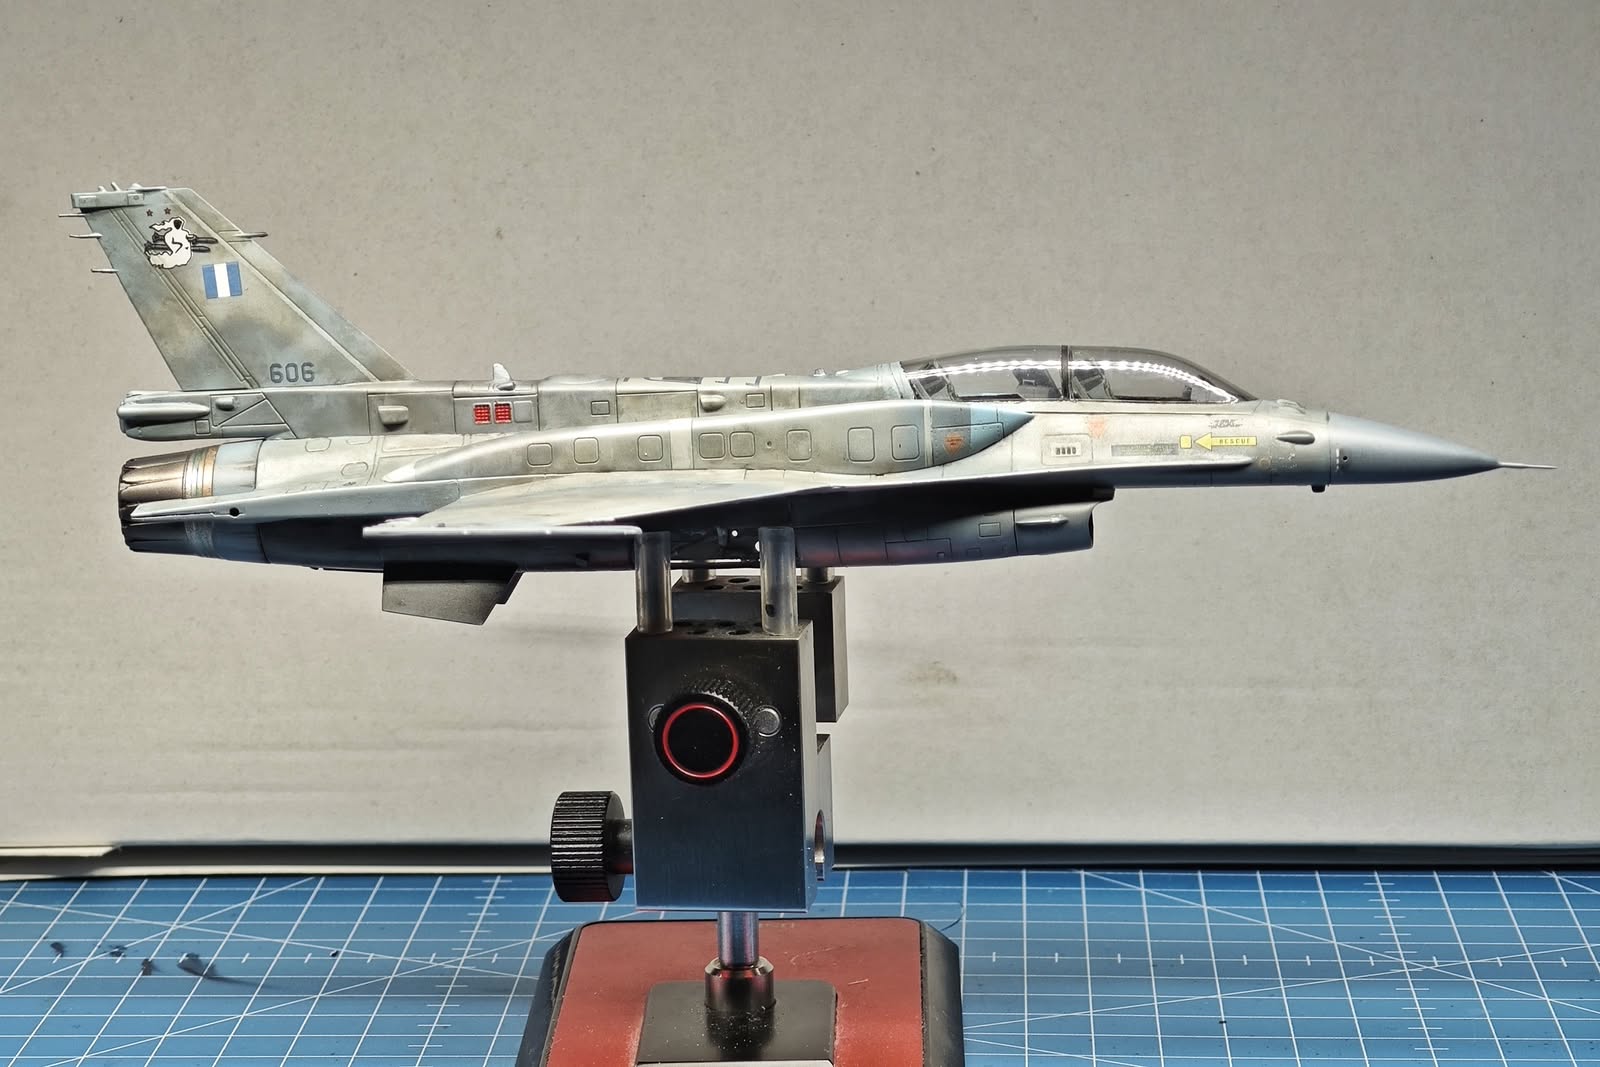
Canopy unmasked, exhaust added and some additional weathering applied.
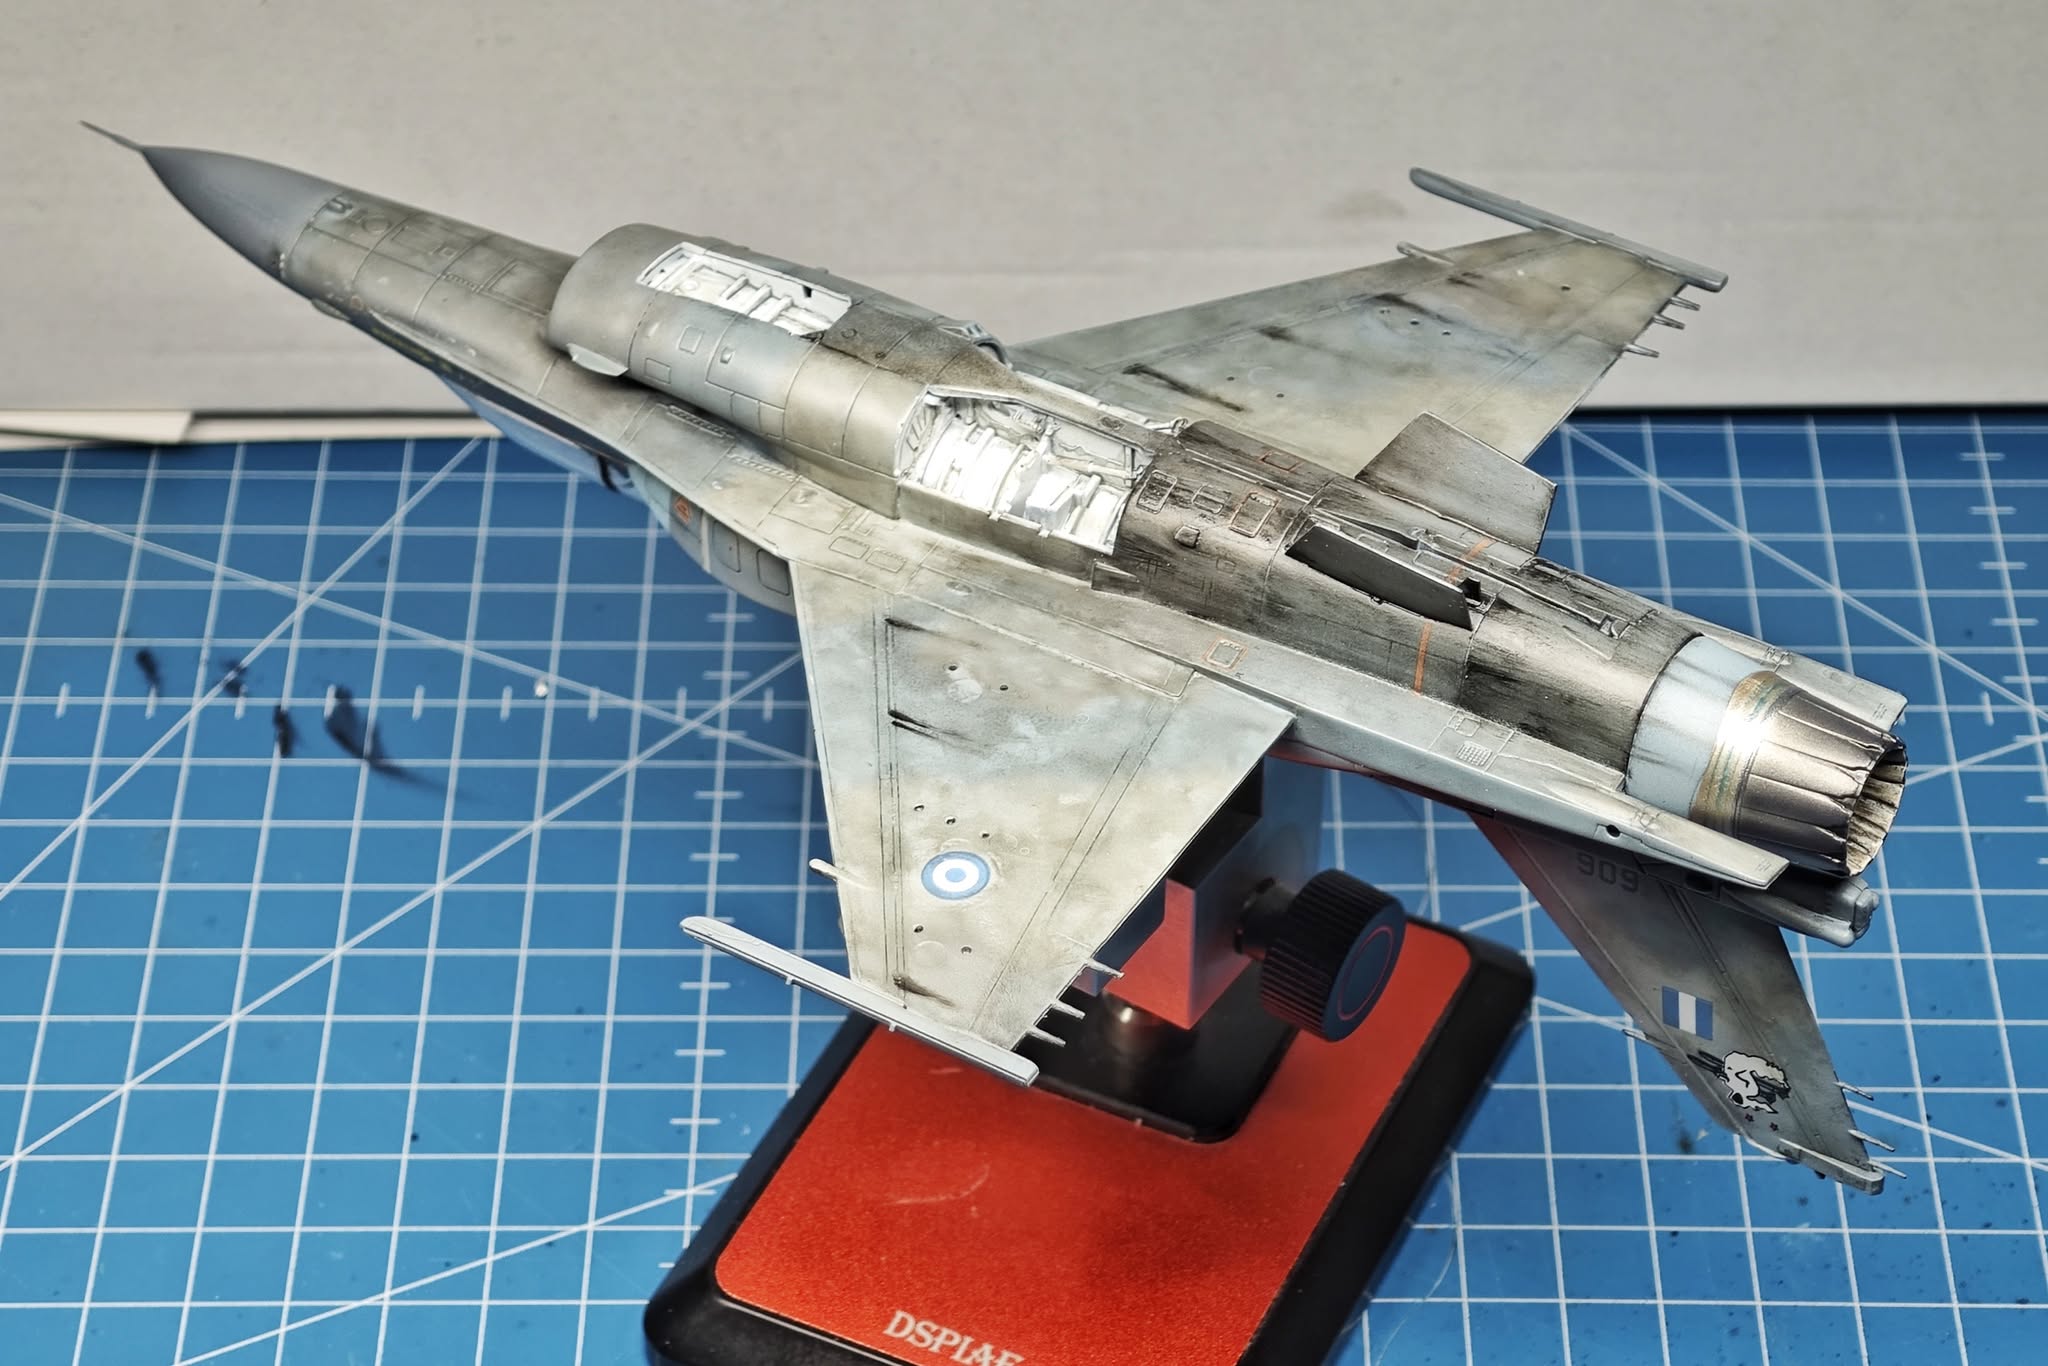
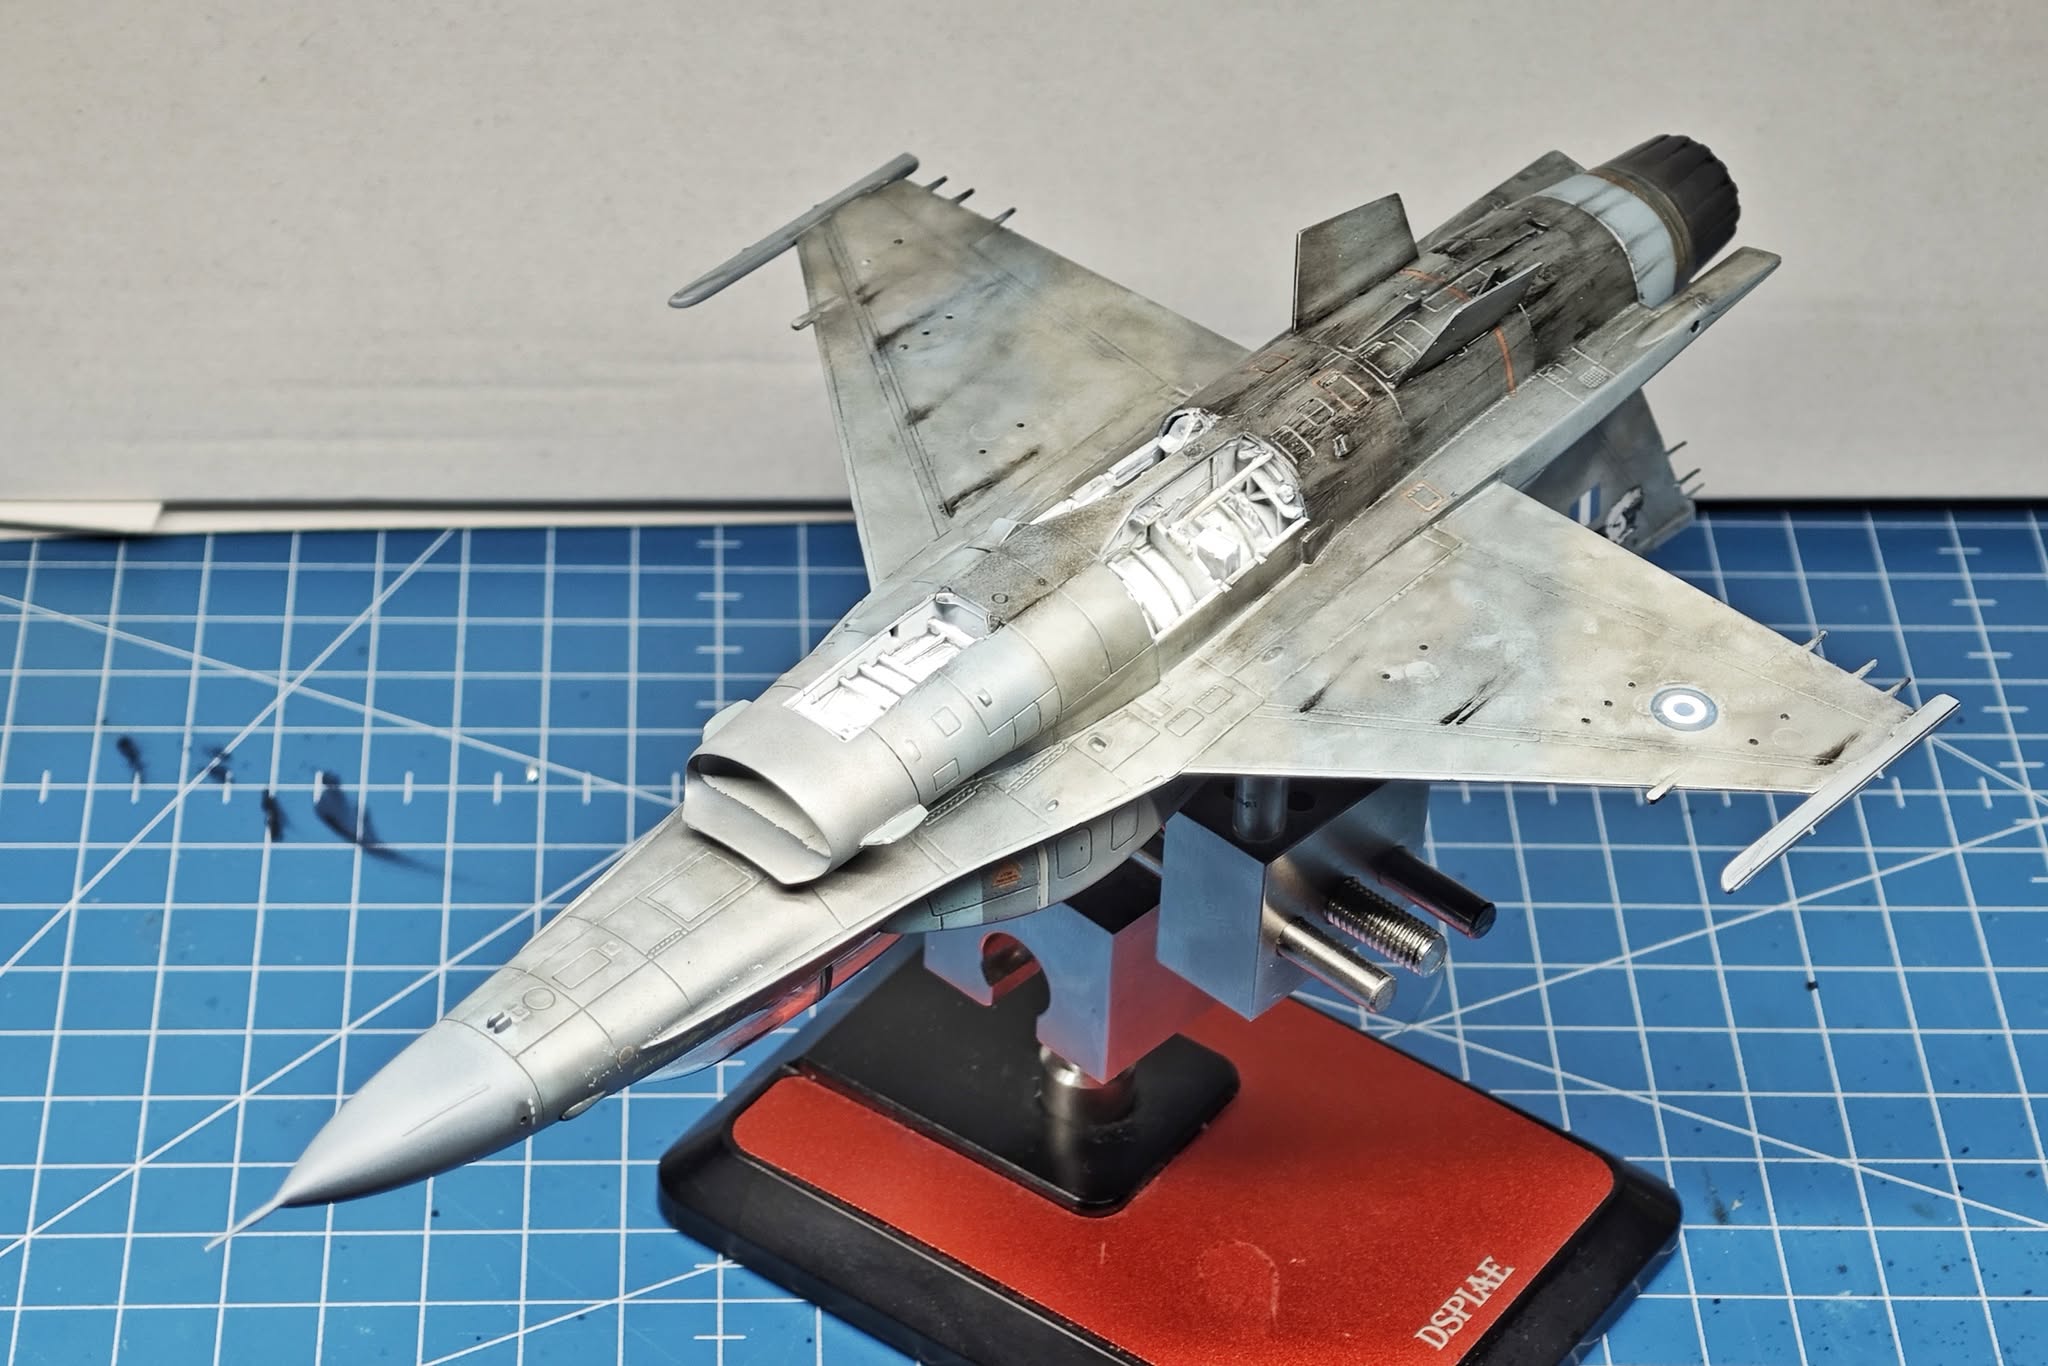
Lower parts weathering completed and there’s only time to assemble all the fiddly bits together, now.


Sjajan tvoj grk,taman da ide u svonu bazu Larisu..bravo za trud
Hvala ti puno!