
Recently I’ve read quite a lot about this weathering technique and I said I wanted to try it myself. There’s a few different approaches and here’s my way of doing it. I don’t say it’s the correct one – only that it is the easiest and most effective.
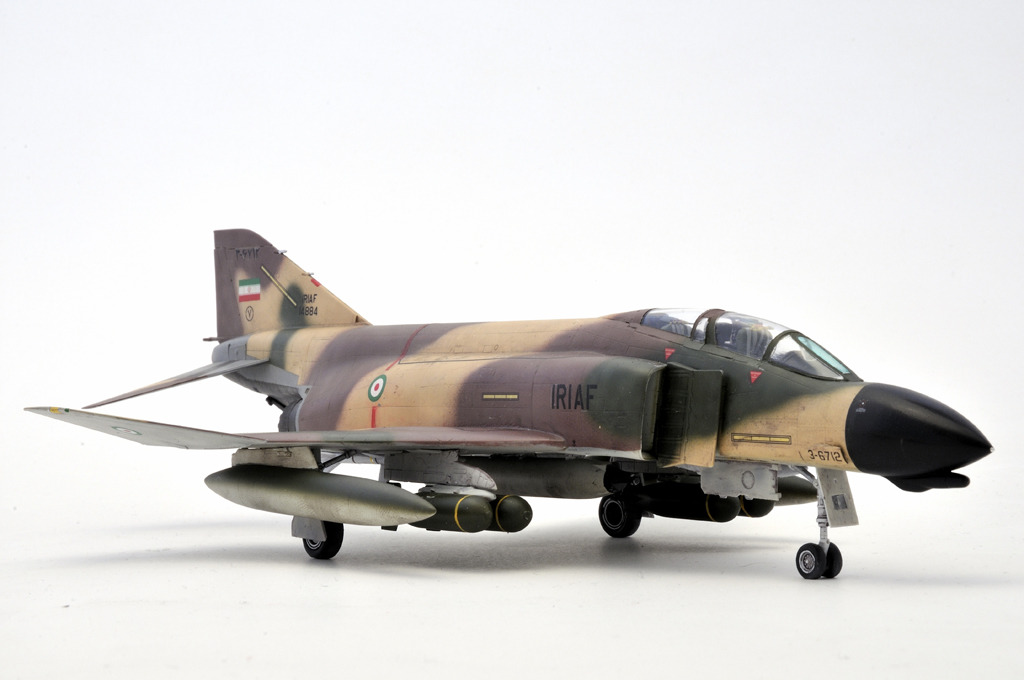
Test subject was Hasegawa 1:72 F-4D Phantom II in Iranian markings. I suspect desert camouflages are prone to some fading and the paint fading so it was a perfect test model to try the technique out.
First we need a good coat of acrylic gloss varnish on the model to protect the underlaying paint. You will need a few basic colours – luckily oil paints are not expencive and since you will be using only small amounts of them, they will last for years!

First step is to apply a number of little oil dots over the model of different colours – I tend to use darker tones on light coloured base and vice versa. Remember to work a piece at the time – wings separate, fuselage separate and so on.
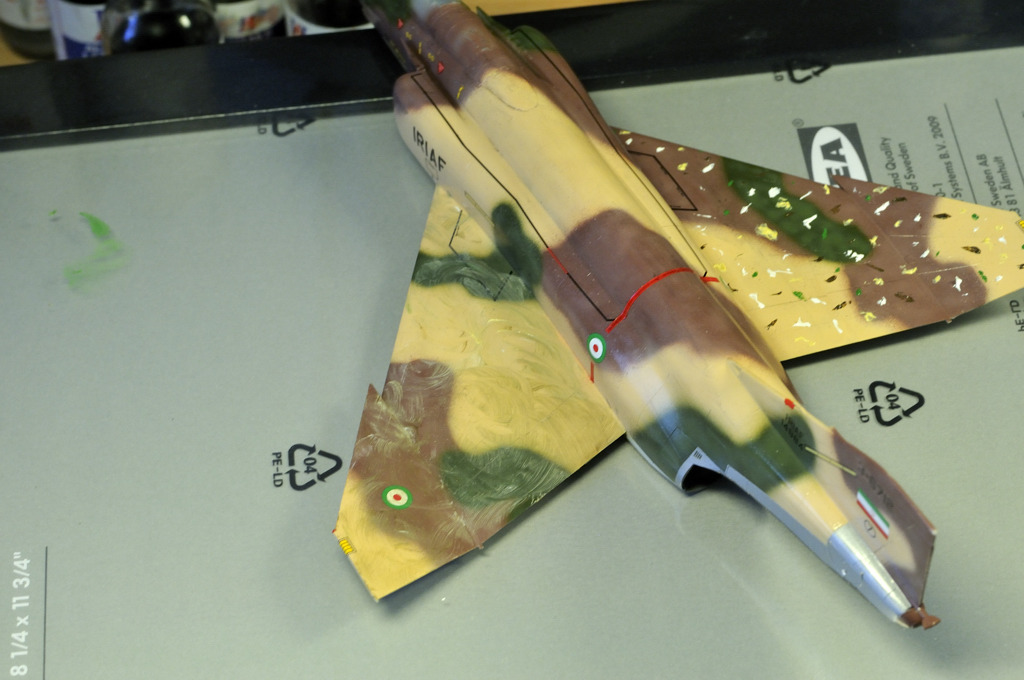
Next step is to blend the colours together. I use an old paintbrush for this step – when the paints are well blended, I start removing them, first by paper tissue to remove the majority of paint.
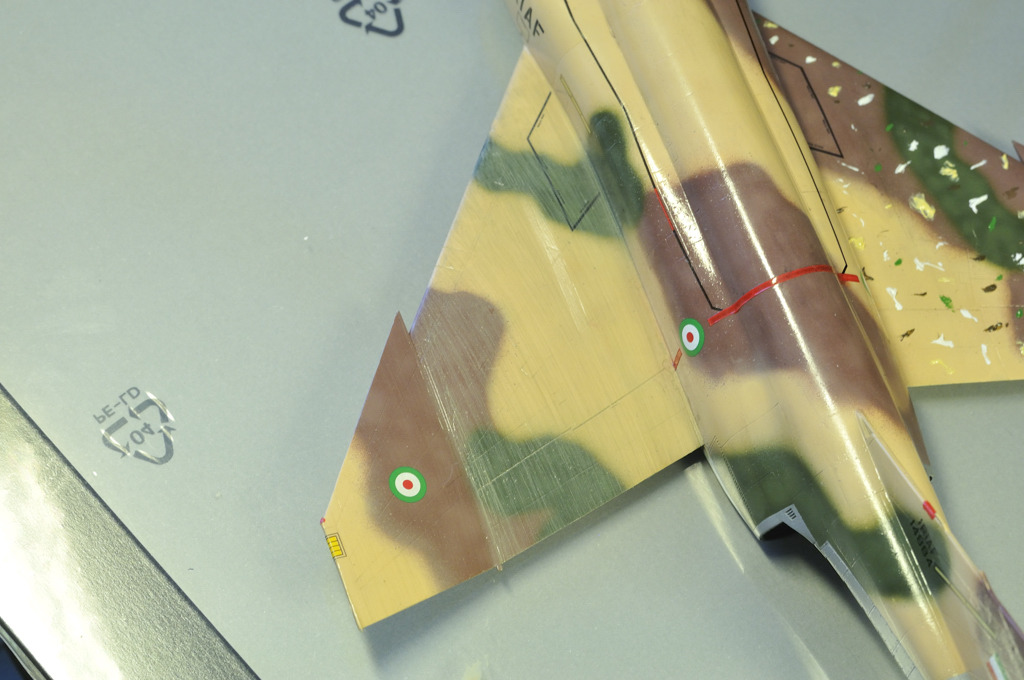
Next step is fine removal by paintbrush – it takes some time and if the result doesn’t show, damp your paintbrush with white spirit a bit and repeatedly clean it to remove the paint.

The end result is nicely faded paintjob and what I like the most – finely visible panel lines and rivets. I hate to see great looking models ruined by poor application of panel wash, especially if they use black for it. Here, due to the blending of different shades, you’ll get nice looking panel lines, that will show on lighter and darker patches of camouflage. Also the camouflage colours will be blended together and decals faded – look at the difference between wing and fuselage roundel in the last photo. Always remember to work front to back on the wings, simulating the airflow and top to bottom on the sides, simulating the rain streaks.
When I’m done with weathering, I leave the model to dry overnight and the next day correct any possible blemishes or add additional streaking. I usually then leave the model to dry for a couple more days before coating it with appopriate varnish.
Finished results:


i have been wanting to try this technique as well. It looks pretty simple to do and the results look fantastic! Nice job.
it really is simple… and even if you don’t like it, you can wipe it away with a cloth or paper tissue slightly damped with white spirit
Great tutorial Sebastijan!
Thanks, mate!
.. a very effective technique !