
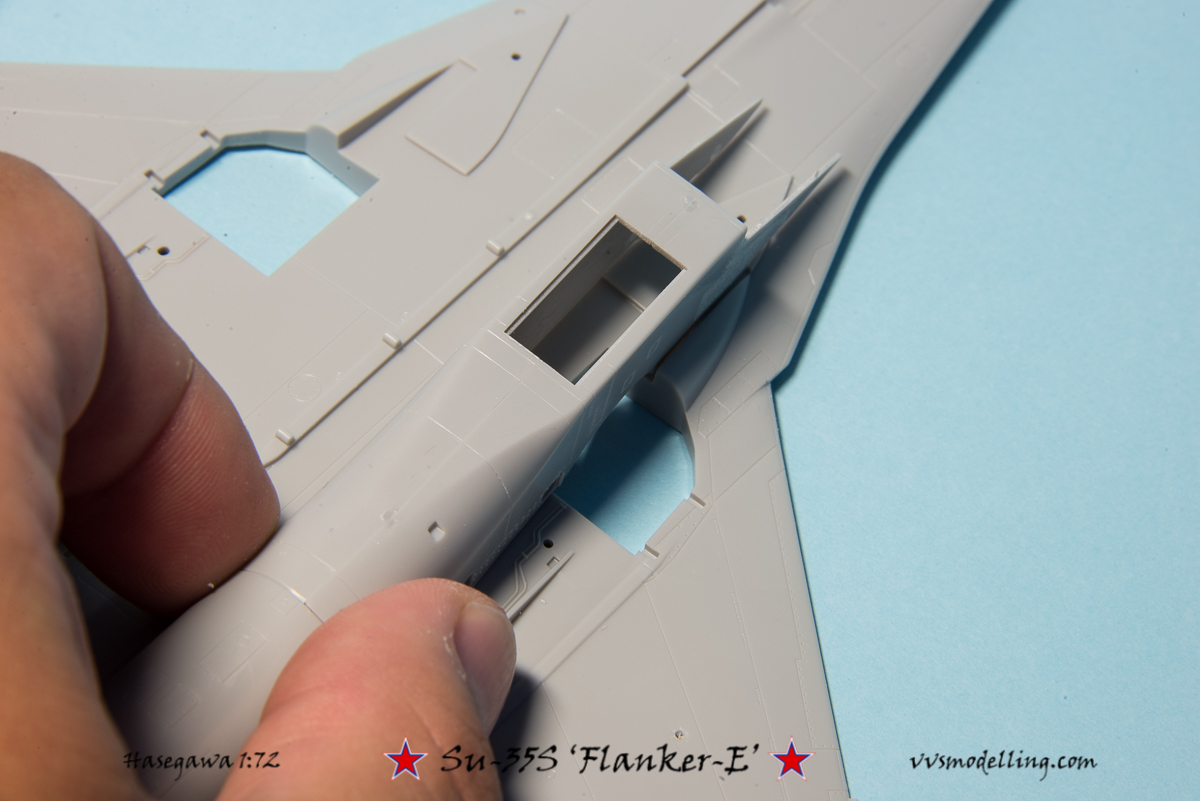
Sprue K indicates that we can expect a future release of a prototype Su-35S version – the area behind the cockpit is different, while the smooth insert at the top, was a strengthening plate on the prototype.
Insert in place – some Mr. Surfacer will be needed to smooth out the little gaps.
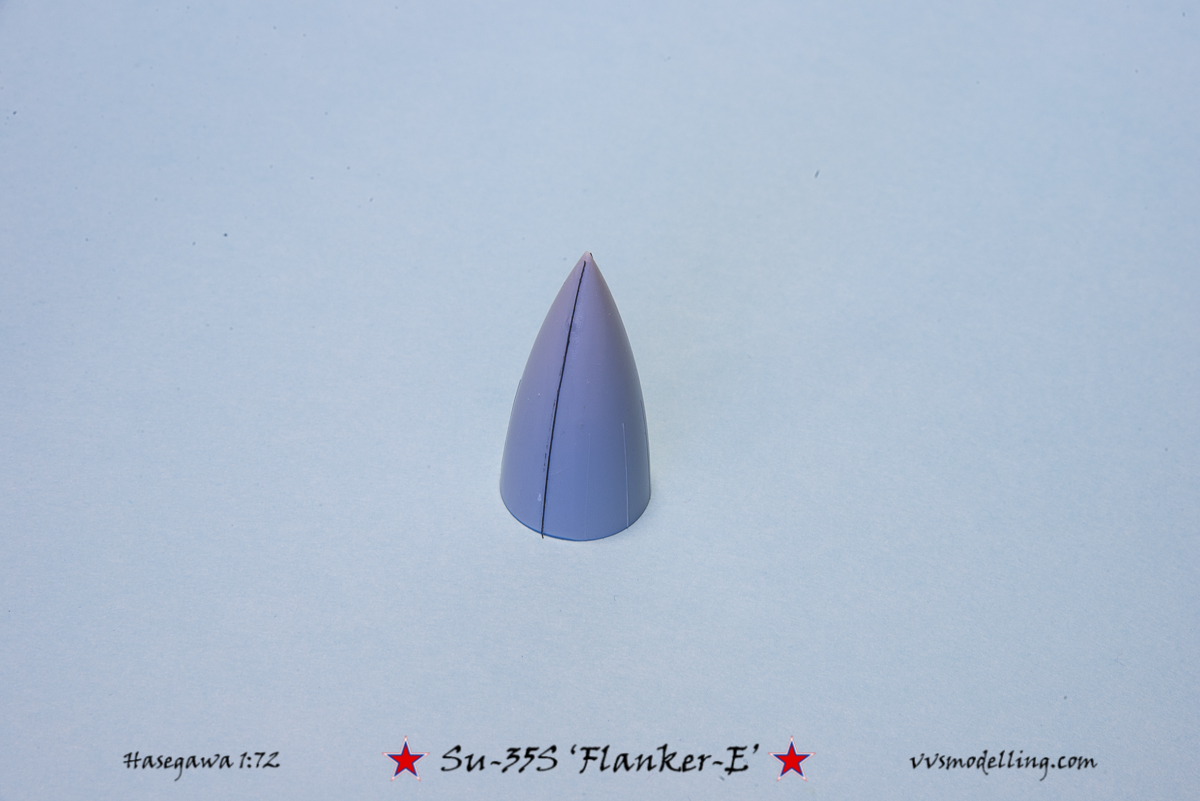
As with their Su-33, Hasegawa again moulded radome in two halves. It is a bit awkward solution and since there are small static dischargers (?) on it, extra care must be taken not to sand them away when fixing the seam. There are, however, two SD’s that run through the entire length of the radome, one on top and the other on the bottom. They were recreated with a thin stretched sprue – actually a leftover from a KC-135E project.
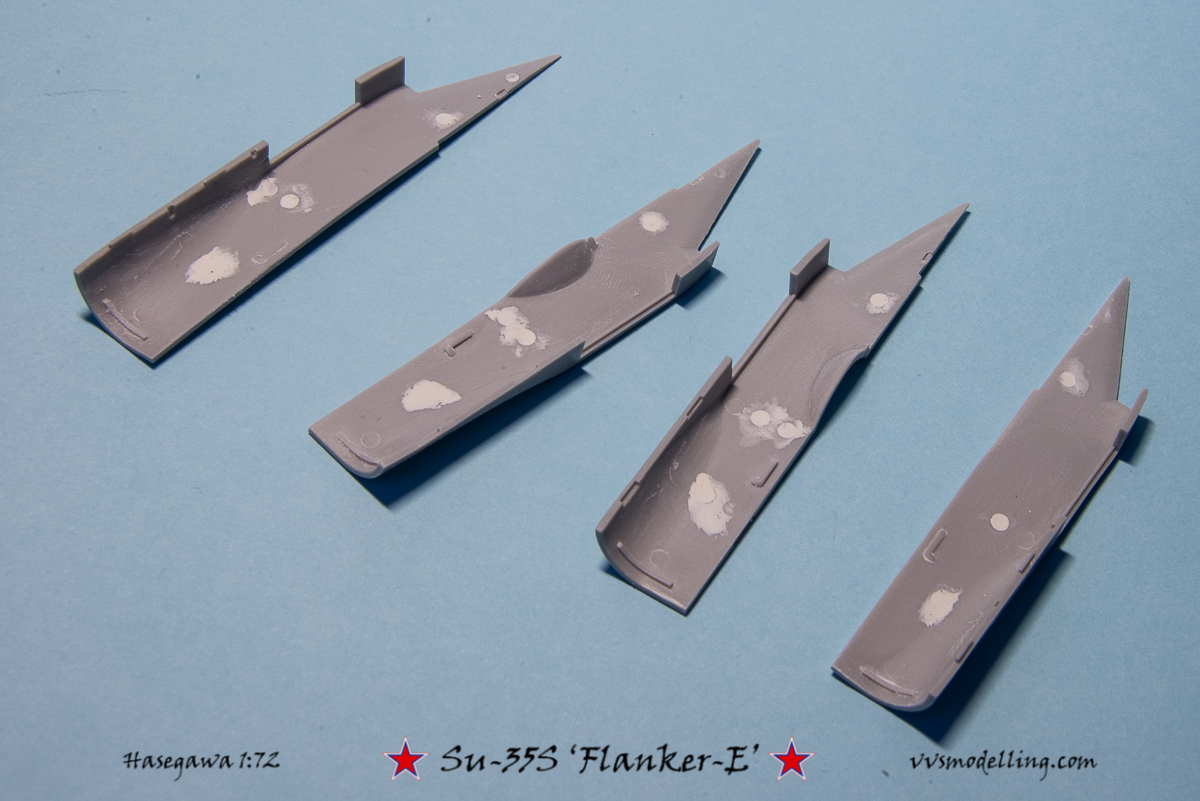
I hate these parts with Su-33 and I hate them again. Intakes are, as you can see, full of pin marks, some quite visible if you don’t fill and sand them. Construction of them can also be a core.
My method is to glue the intake halves together, and while the glue hasn’t set yet (the join is still soft), you dryfit the intake to the lower fuselage part and adjust the sides to a perfect fit. After that is done, insert auxiliary intakes at the bottom (closed if doing a bird on the ground, open (ribbed in this case) if doing her in flight), and paint the intakes with some neutral Grey colour.

Masking Flanker intakes can be problematic as well as they feature a thin edge of the outside colour on the inner sides of the intake lips. It will be easier if you mask most of them before installing the top and just mask the corners, after the top was attached.
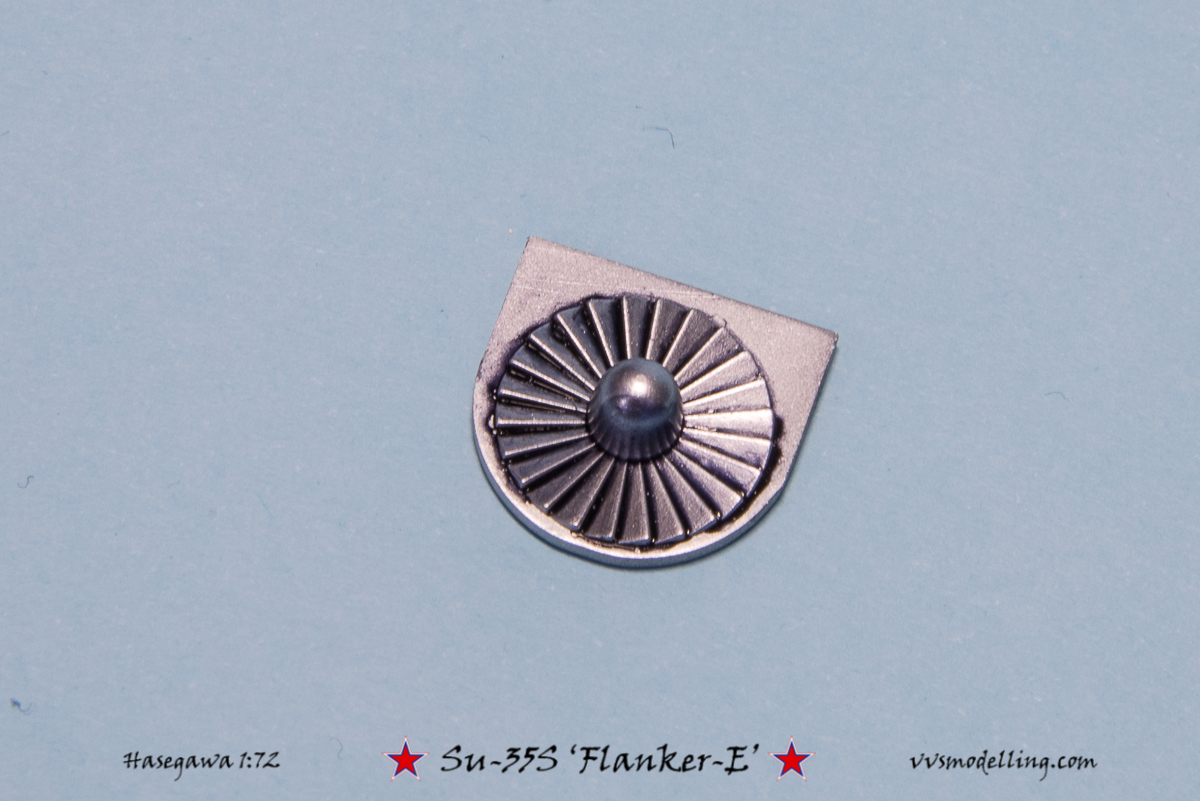
Intakes were painted with Alclad White Aluminium (notice the turbine blades reflection in the cone) and washed with The Detailers Black wash.

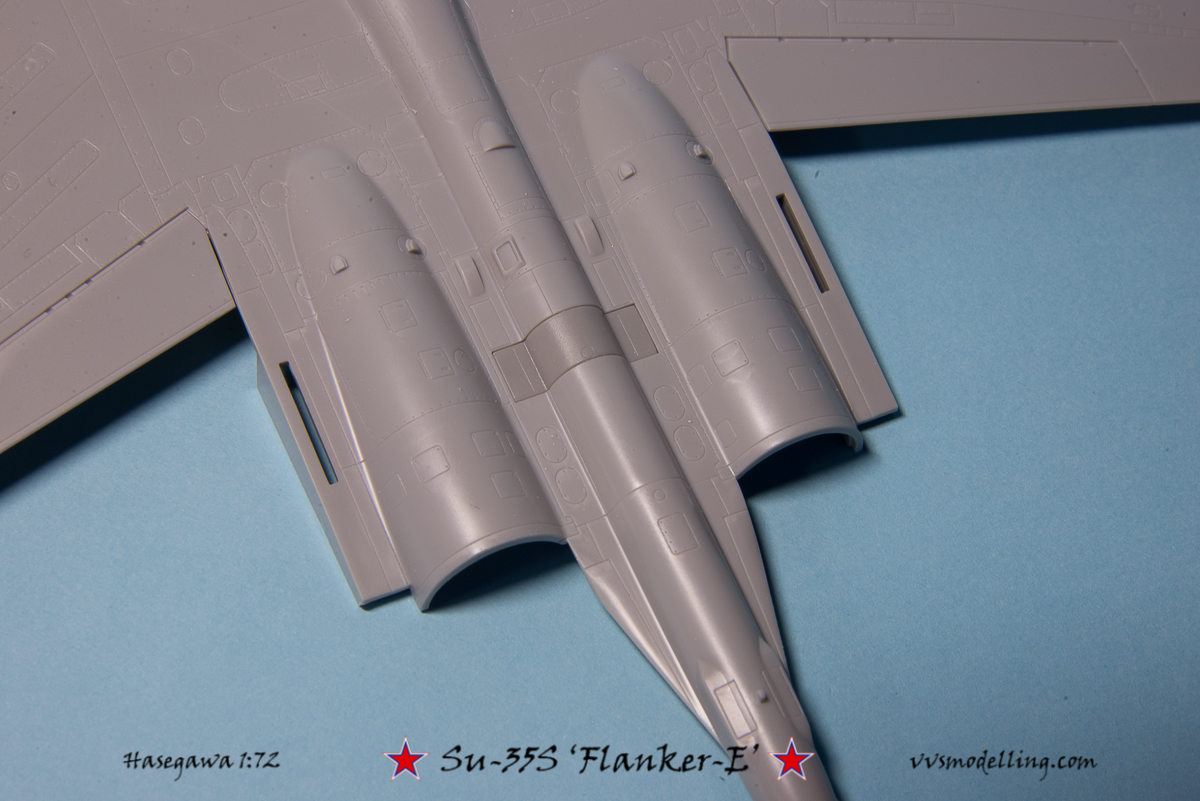
A view of the assembled intake just before installing it on the lower fuselage.
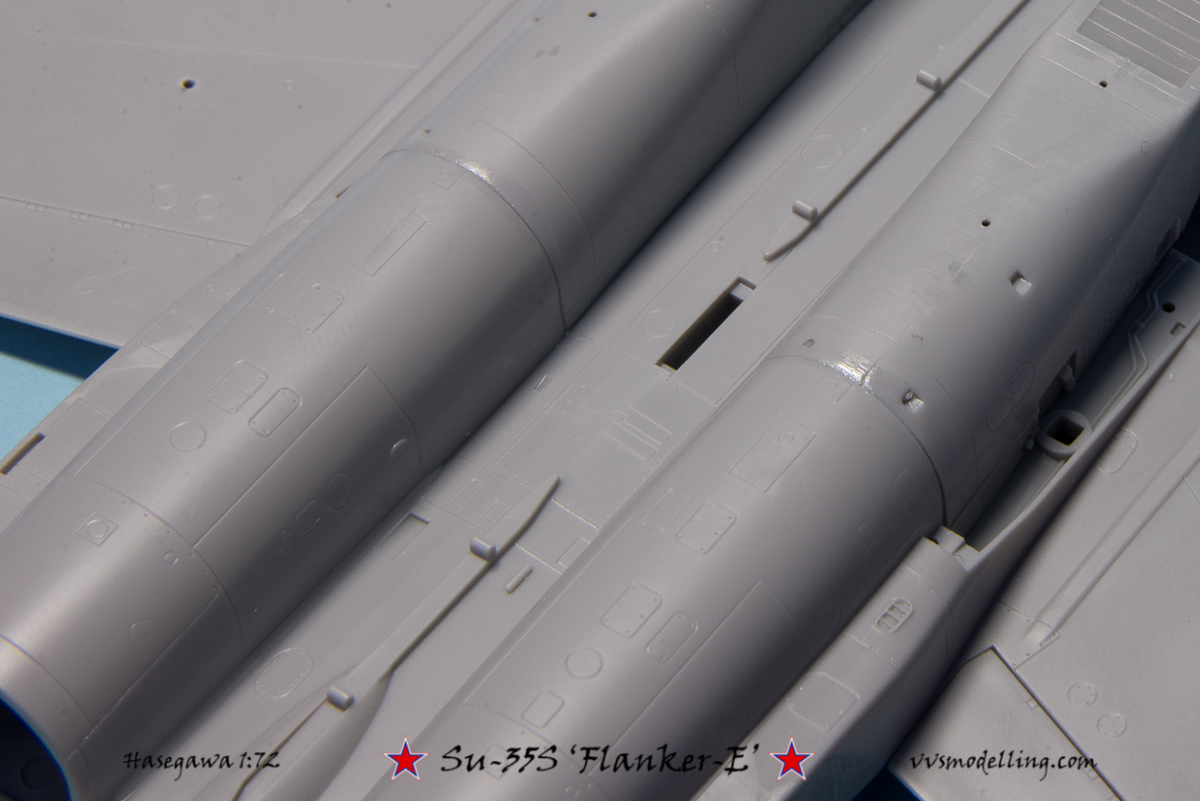
As you can see, the fit of the intakes is pretty good and just some small touch ups will be needed.
