
Hello everyone! I hope you have all survived the NY celebrations and that the return to daily routine was as smooth as possible. It has been for me, and I’ve managed to finish a big piece of plastic at the same time as well.
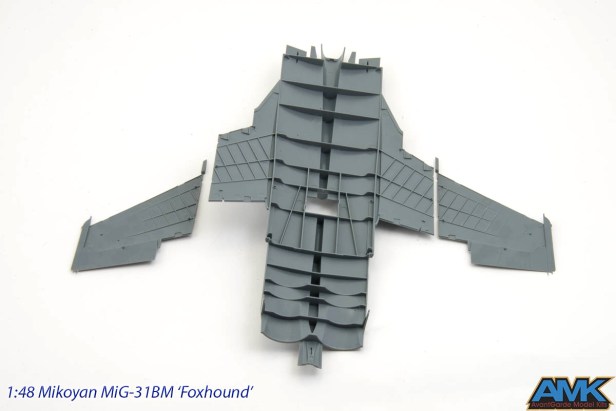
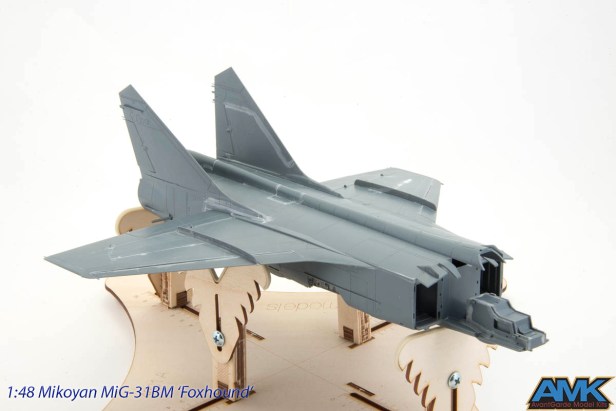
Upper part of the fuselage with wings – as you can see, AMK cleverly engineered these parts with support structure to ensure the proper thickness of the wings.
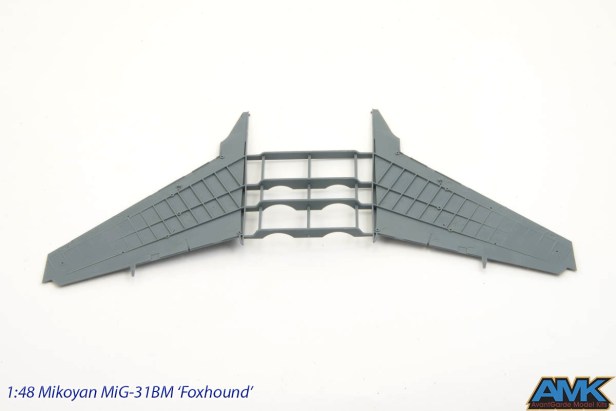
Same thing goes for the lower part of the wing.
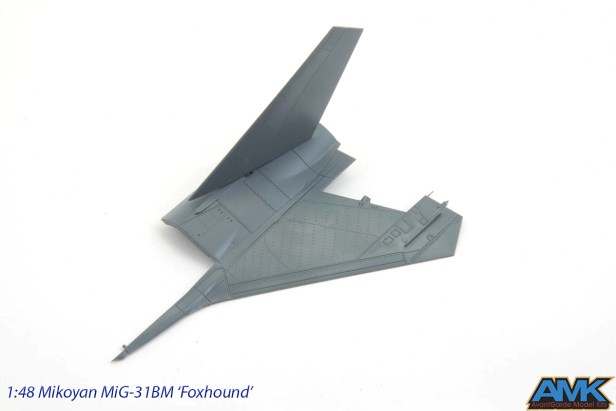
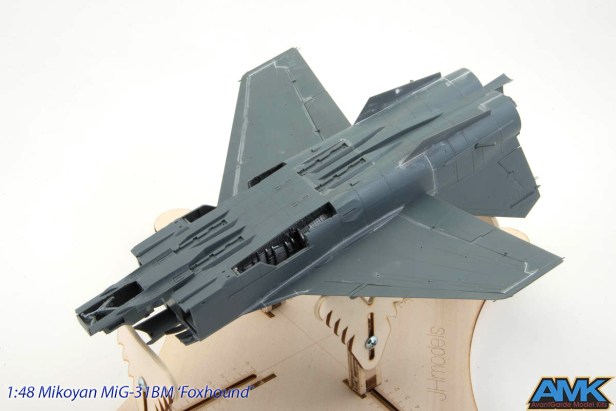
There are several optional configurations possible with the kit. One is the position of tailplanes – either neutral or dropped. Unfortunately, AMK designed them in a way, the leading edge drops. In reality, it is the exact opposite and you will only see this tailplane configuration when the pilot pulls the stick back.
But fear not, you’ve got two options to correct things. One is to leave them neutral. There are many photos that show rows of parked ‘Foxhounds’ with level tailplanes. The other is, to turn the parts around. Use the T-shaped part C10 for the right side and C14 for the left side. Cut a few milimeters of plastic on the top and bottom, to fit the part into the curved spot and glue.

And the result is a correctly dropped tailplane – trailing edge down.
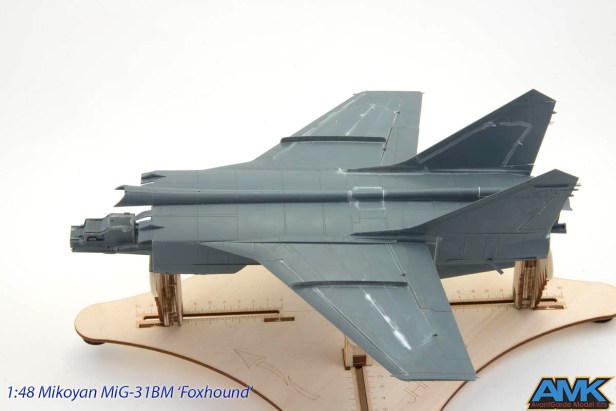
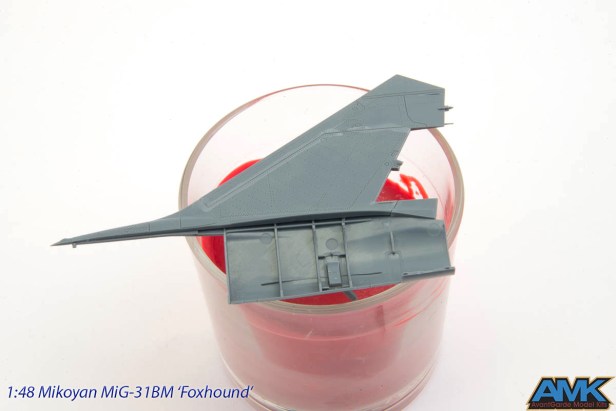
The main part of the fuselage with wings is complete. Puttying was minimal as expected and more or less just filling of some seams, that appeared a bit too wide for my taste. It is also interesting, that of all the kits that I’ve built so far, AMK’s plastic is the only one, that reacts to the glue I use (Deluxe Materials Plastic Magic), by turning it white. The surface is not damaged by it, but these photos show more mess than there actually is.

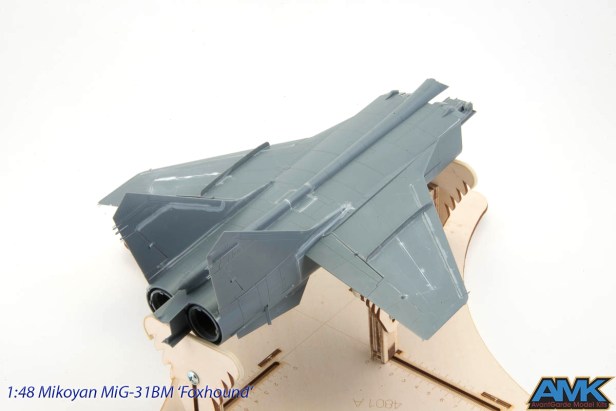
Lower view – again the fit was exemplary. Slight feeling of little gaps on the wing to fuselage joins and other little areas, which was done in a matter of minutes. There are however, pin marks on the inner sides of the ventral fins that need to be filled (note the white circle).
