
Progress shots
 Double S-curvature of the intakes (vertical and lateral) is faithfully reproduced along with the turbine blades. I have only filled the front – visible part of the seam.
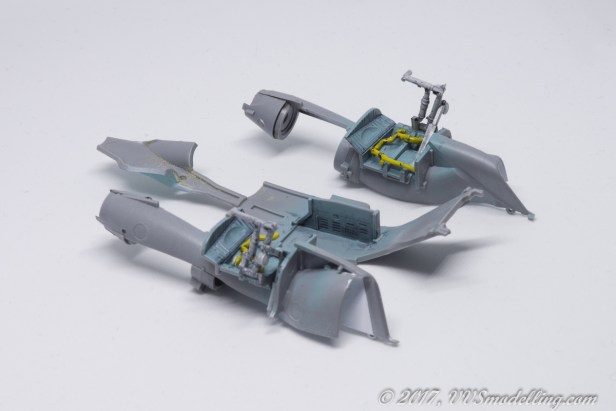 Lower part of the intakes serves also as the main landing gear wells. While nicely detailed, only little will be seen through small apertures. Unfortunately due to the design of the wheel well doors (most are closed and open only during the transition), main landing gear struts have to be attached before closing the fuselage sides.
 Although a complex multi-part breakdown of the rear fuselage, the fit is rather good but one mustn’t hurry and should check the dryfit before applying any glue.
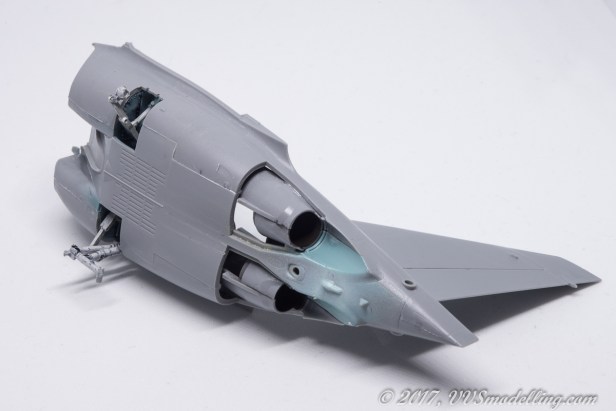 Lower part of the fuselage. Some seam needing clean up but just a few sweeps with sanding stick will solve those. Biggest problem is the exhaust area which is quite tiny and there are three seams to clean up inside of it.
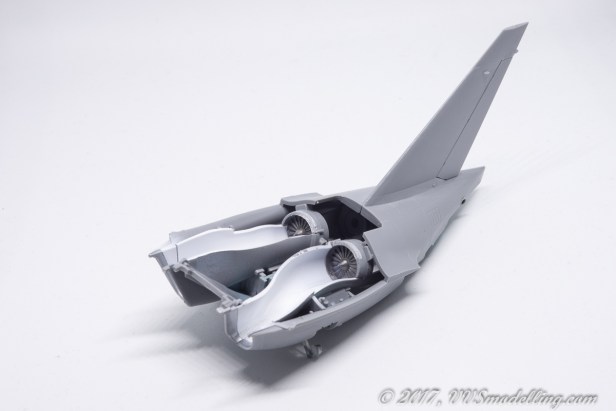
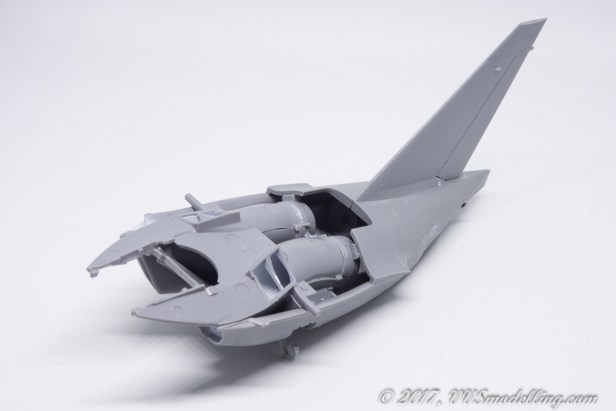 Upper piece of the intakes attached which also serves as top fuselage and wings support. Although not given an option, one can open up auxiliary intakes and pose the aircraft as with running engines with a little bit of scratchbuilding. Pilot figures are included!
 Full length intakes with fan clearly visible in the depths.
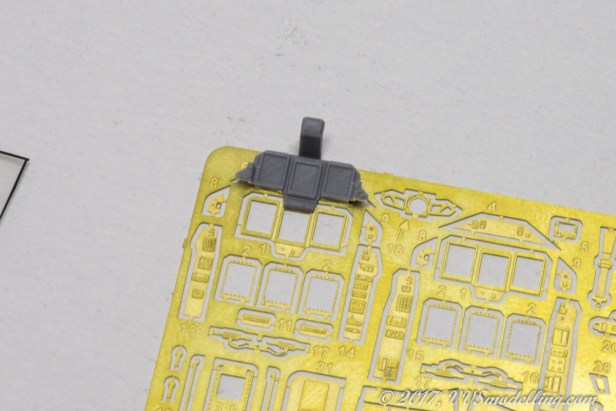 Soon after Zvezda released the Yak-130 kit, Russian photo-etch company Microdesign announced PE set for the said kit. It looked awesome, full of little details and it even had (most of it to be honest) parts, to pose the aircraft with engines running, meaning closed intakes and opened auxiliary intakes and even an open APU intake. There’s also a bunch of parts to equip the cockpit and the canopy. So, last night I went to dryfit the PE parts to the kit plastic parts and to my horror I realized that most of them are oversized. Instrument panels are too high and wide and so are the seatbelts. I was really excited not to use Eduard’s PE prepainted parts and trying to match the PE paint, which is a lot of times quite off. Oh well, I guess I am stuck with it now. At least Eduard gives you exhaust blast area which will neatly eliminate all the nasty seams in that narrow spot. Obviously too big PE part fort the front panel.
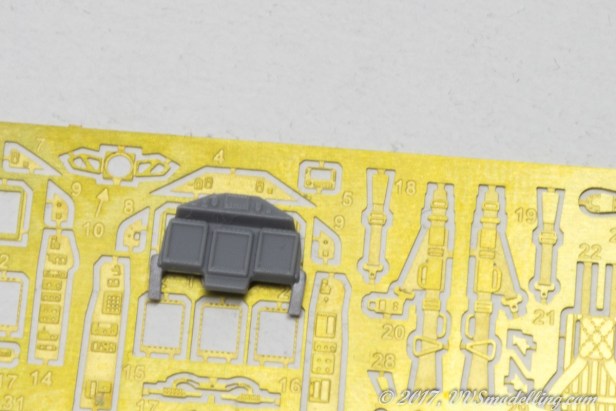 Rear IP suffering the same PE oversize fate. Notice also the trapezoid shaped upper panel (at least 1mm too wide) and on the right of it, “up front control” panel, which goes on the center of trapezoid, and wouldn’t even fit the plastic part.
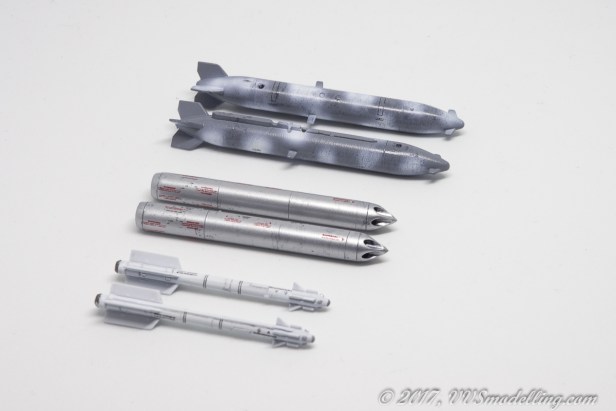 While I am waiting for my Eduard PE set to arrive, I killed some time by finishing the ordnance.
 Cockpit parts were primed with Black primer and then a coat of RLM76 was sprayed on. The decision for this paint was made, based on the colour of Eduard’s PE panels, which are wrong – they should be greenish-blue and slightly darker. So I went and searched through my stash for a paint that would be slightly paler than Eduard’s parts and RLM76 seemed like a good choice.

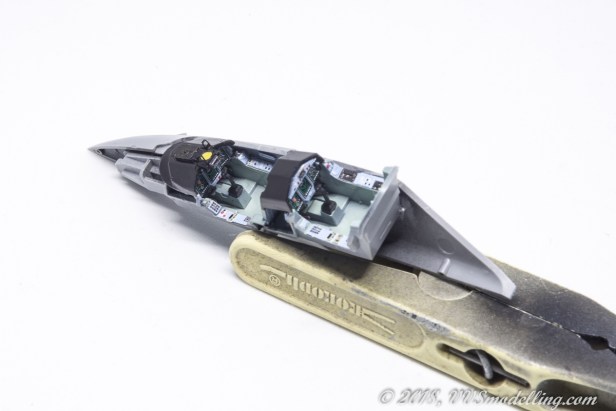 Cockpit more or less completed. I was thinking of adding a wash but decided against it – when the seats will be installed, not much will be seen anyway. Seats and HUD glass plates will be added later to avoid damage during construction before the windshield and canopy are installed.
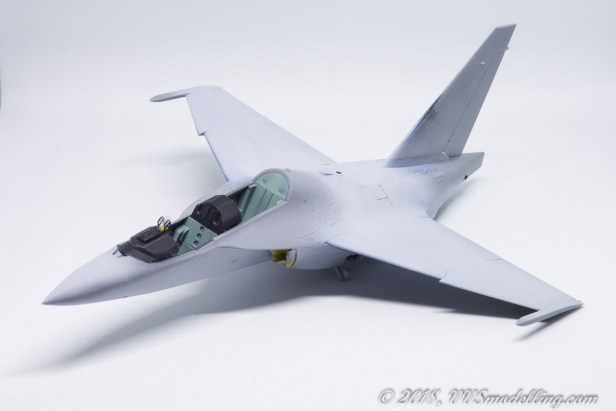 I love it when all the sub-assemblies come together and reveal the shape of the aircraft.
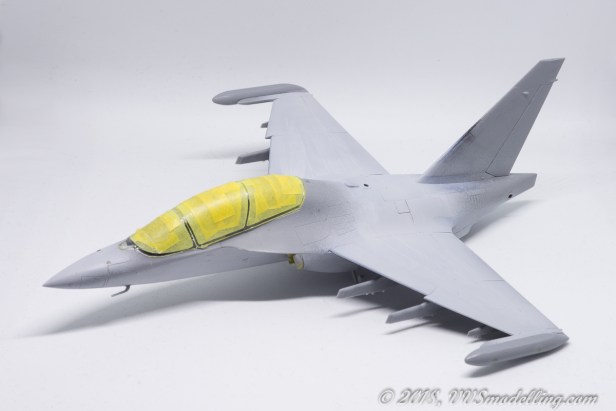
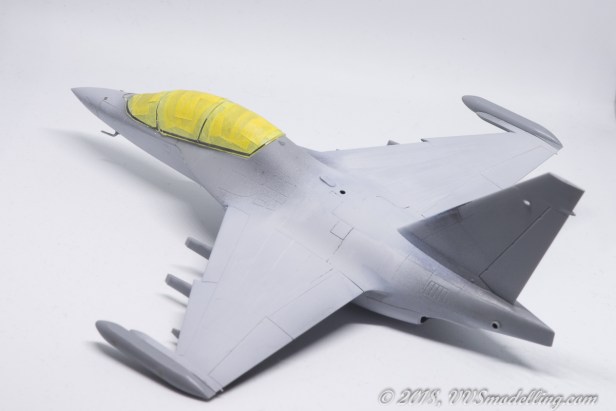 Time to put some primer on her!
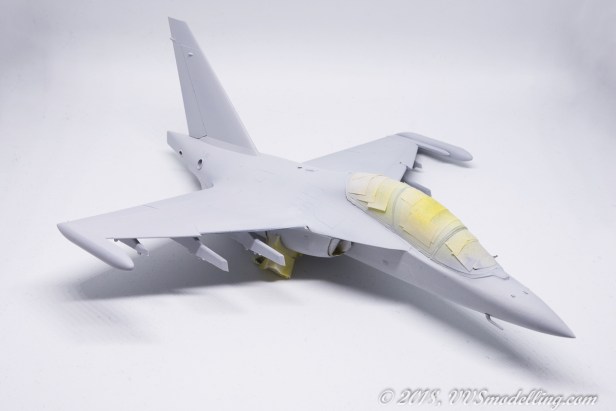 Nice coat of primer to bind everything together – nothing special but I kinda like the almost 3D render like photo 🙂
 I have recently acquired some Mr.Paint paints that are to be used on modern RuAF camo as seen on Yak-130, as well as Su-35S, Su-30SM and several other types.
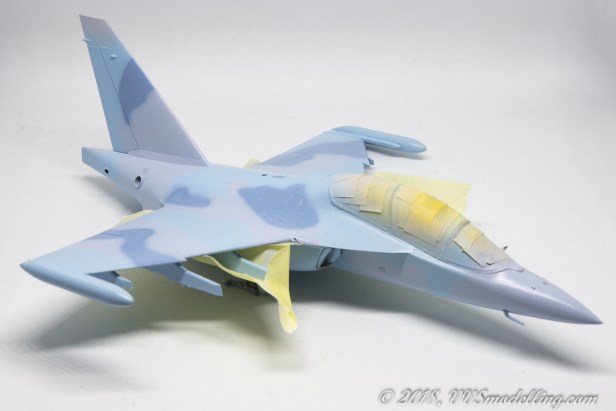
And I did a mistake – I haven’t checked the paints on a scrap piece of plastic first or something similar. And this was the result.
 As you can see the colours are totally off. I then went into research of what could possibly have gone wrong, how I was mislead so easily and how to correct the situation.First the misleading – aircraft are painted in a 3-tone light-blue, blue-gray and blue camo. The paints are labeled Light Blue (no brainer), Light Grey (I thought probably they meant blue-grey) and Blue (again no brainer).
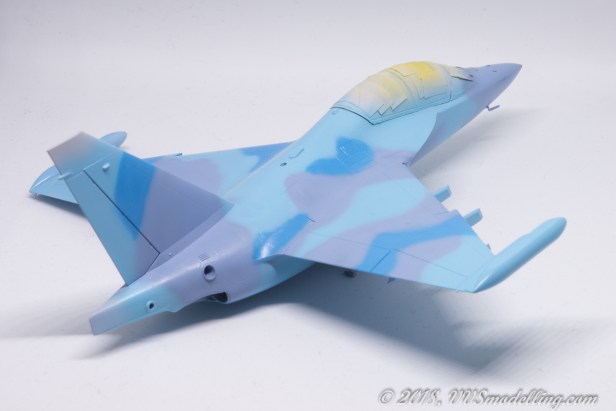
And as we can see, the ‘no brainers’ might have not been such no-brainers after all. Light Blue is ok, Blue is actually the Blue-Grey of the camo while the Light Grey doesn’t exists in the camo and we’re left without the Blue paint.
So what I did was reverse the Light Grey with Blue-Grey and use one of the Blues from my paint stash to see the difference.

 OK, the result is much better, but here my agony begins. What are the true colours actually. Checking hundreds of photos at russianplanes.net for a clue, I was left clueless. I even began to think, that maybe there are different batches of paint, one which is more pale and the other one more vivid. I prefer the look of the later one and I started to run in circles. Looking at the model in above colours, I felt that the contrast between light blue and blue-grey is too great for the pale version anyway, while the blue-grey might go better with the more vivid light blue, I went for the later look. For the Light Blue I made a mix of Su-33 mid-Blue with some other paints and used Blue-Grey out of the bottle. Blue was another paint from my stash of Blues… Anyhow, here’s how it turned out and I like it, even if it might not be totally accurate.

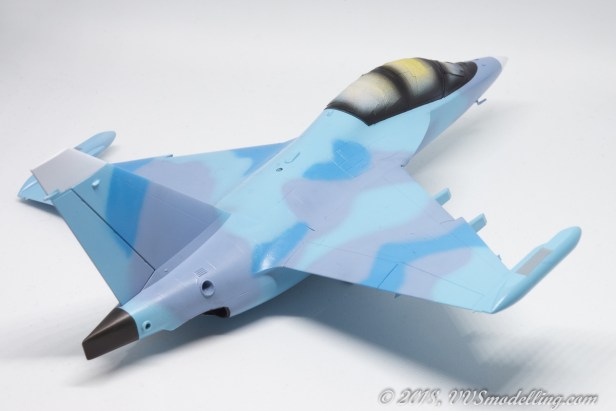 And here she is with other details painted.

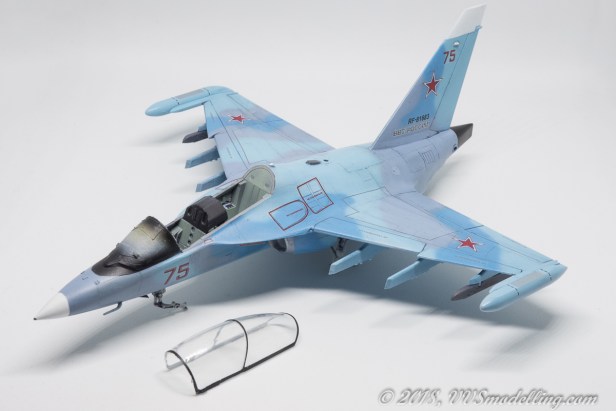
 After a loooong pause, some photos of the finished decal job. Decals are very thin which is good, but they have a tendency to fold onto themselves… the biggest pain in the fool was to apply the wingwalk lines on the wings (one piece decals).

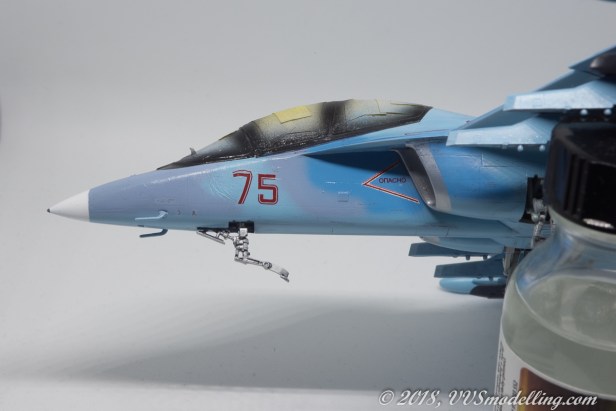 When I was applying gloss coat, I hold the model with my fingers on the front fuselage. Not realizing the gloss coat, despite being dry to the touch, wasn’t entirely cured yet, it left finger marks in the lacquer as well as smeared red bort numbers on the nose.
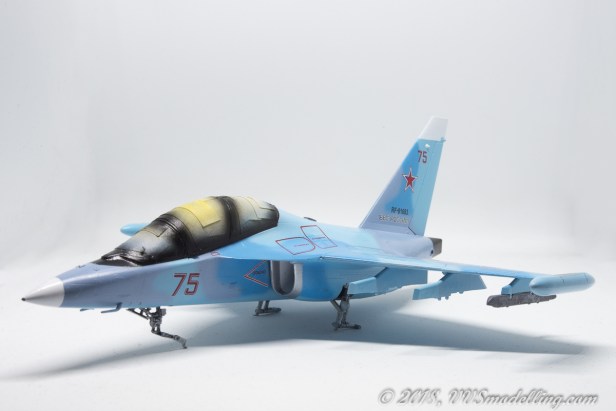
 Taking a few weeks off helped a bit and I am now more or less finished with weathering, final coat on and I’ve got a bunch of details to add to the model… But at least I finally see the light at the end of the tunnel!
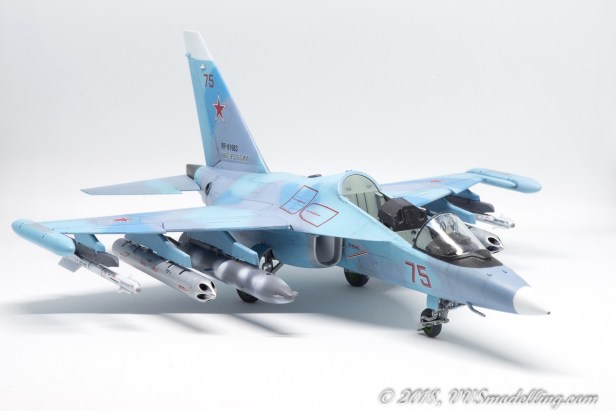 I’ve put the little Yak on her wheels today and armed her to teeth!
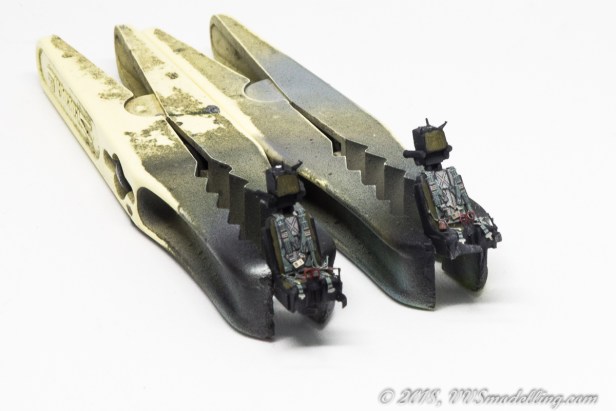 Finally finished the K-36L-3,5Ya seats today. Just a canopy left to detail and attach she’ll be finished…
