
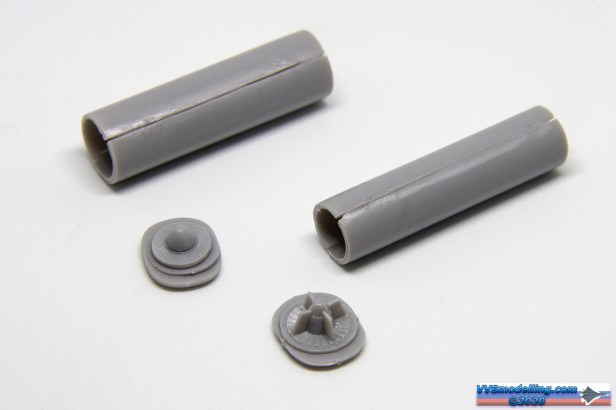
 While the turbine blades look convincing enough, I was less impressed by the intake itself. Composed of two halves, the plastic was too wide to fit around the curvature of the turbine. I ended up shaving away around 1mm of plastic on each mating surface to achieve a fit. However this worsens the seam itself which will have to be carefully puttied and sanded from the inside. A job I am not really looking forward.
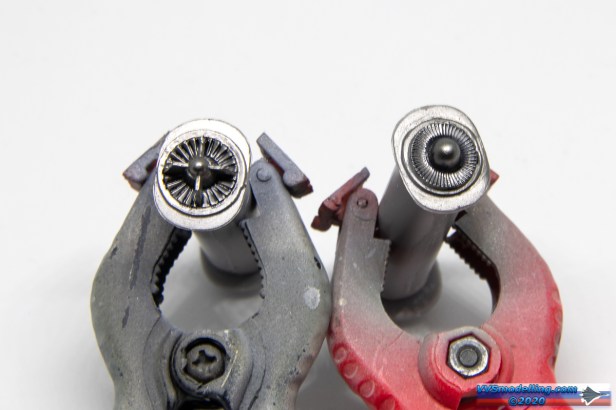 While turbine blades are normally of a darker metallic colour, I normally paint them in a much brighter aluminum and put on a black wash to accentuate the shadows. The reason is, that these parts are sitting deep in the intakes where little light reaches them and are thus more visible.
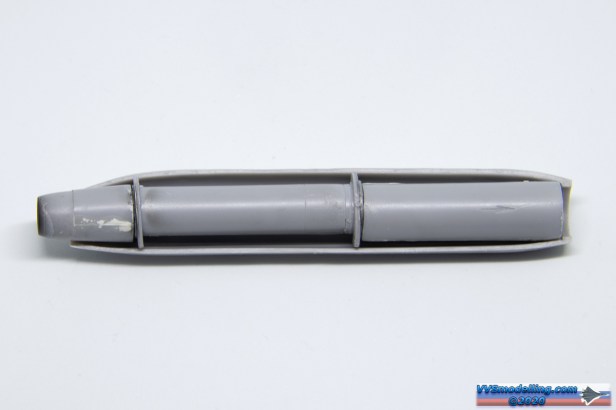 The whole engine assembly dryfitted to the interior of the engine nacelle half. While the intake parts itself had a more serious fitting issue, the middle connecting tube and the exhaust itself were much better fit. Especially the latter with a single piece outside part helps to hide any seams on the inside.
 Il-102 main landing gear was stowed in such gondolas. Multipiece affair but it goes together rather well and fits perfectly into the wings. Also nicely detailed with combination of raised rivets, engraved lines and delicate interior frame work.
 You have an option to either build the aircraft with closed or open bomb bays. If you choose the later, you have to install the bomb bay sidewalls onto the inner side of upper wing half. Again like MLG gondola, nice interior detail and perfect fit.
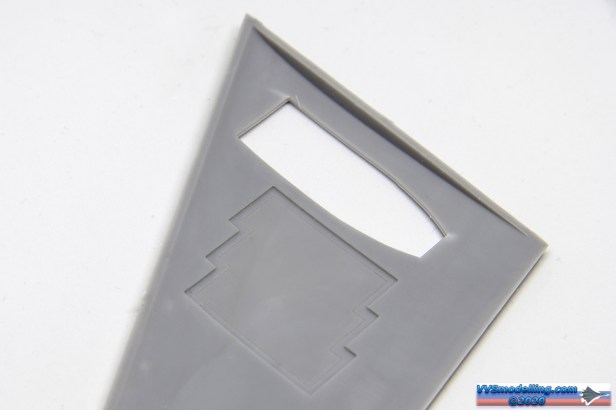 So, if you wish to pose open bomb bays, you have to cut the doors out of the lower wing half; Just carefully follow the engraved line with a scriber and you’ll be fine.
 The result of the cut bomb bay doors. Pretty neat result with the help of that engraved line on the inner side.

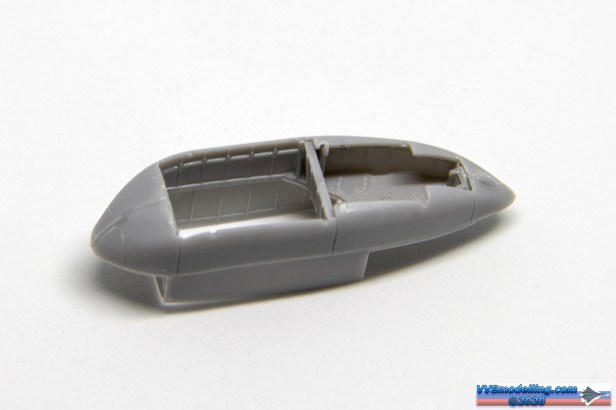
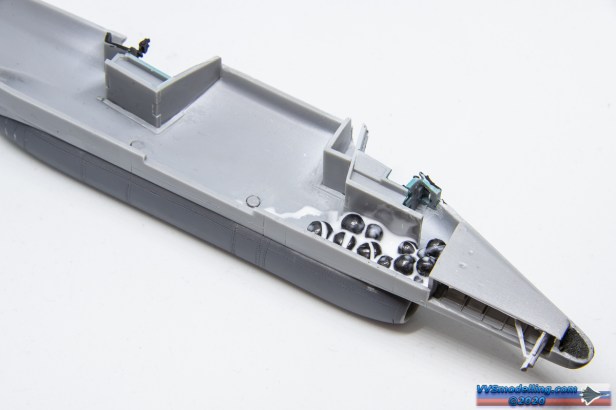
 Basic but busy enough looking cockpit and gunner positions.
 Rear gun painted and ready for installation.
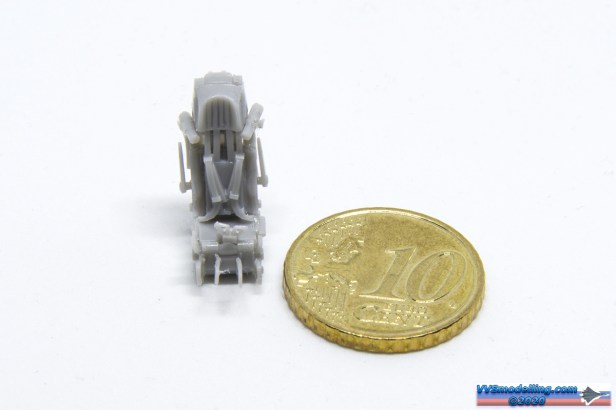 One of the K-36 ejection seats built from 23!! parts
 One seat completed and one to go. And yes, that whole sprue is just for one seat!
 K-36s painted up and ready for installation.
 Il-102s heavy wings and tail design scream of a tailseater. Combination of lead fishing weights and Uschi van der Rosten Three Green in the nose will hopefully do the trick.
 Instead of adding engine pods after the fuselage is closed, I’d rather install them before that, thus easily pressing them together against the fuselage surface and minimize the possible gaps.
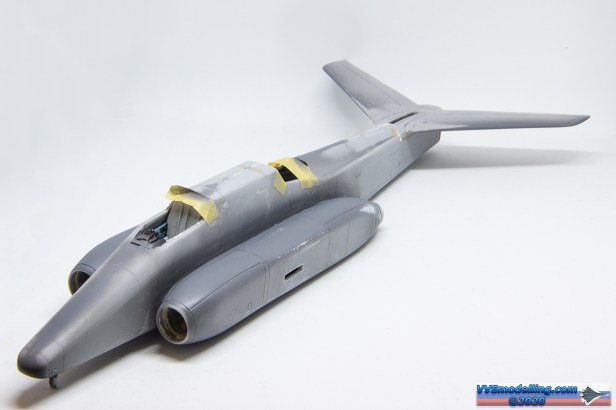 The fuselage is together and cleaned, and I am now working on smoothing out the tail connection to the fuselage.

 Model is now primed and almost ready for painting. Why almost? Because during the photo shoot, I noticed a small crack appeared in the nose, which I have to fix first!
 The aircraft is a real behemoth. Compared to the MiG-21, it looks like it’s a bigger scale. I imagine its size wouldn’t be an advantage over the battlefield either.
 Armament to be mounted on the aircraft.


 After several hours of tedious freehand airbrushing, the paint job is done and all I have to do now is to glue all the little bits and pieces to the airfame and put a coat of final varnish on it.

What a beast! Beautiful model, congratulations!
Thank you! Stay tuned for finished article tomorrow!