
Using drybrush technique, detailing instrument panels is easy as long as they have some raised details. Just dip a flat paintbrush in white colour, then wipe it on a clean piece of paper tissue until it stops leaving paint marks and slightly brush the raised panels. Same way you can simulate tear and wear using other colours on various parts and also prnonounce the highlights on object edges while the wash emphisazes the shadows.
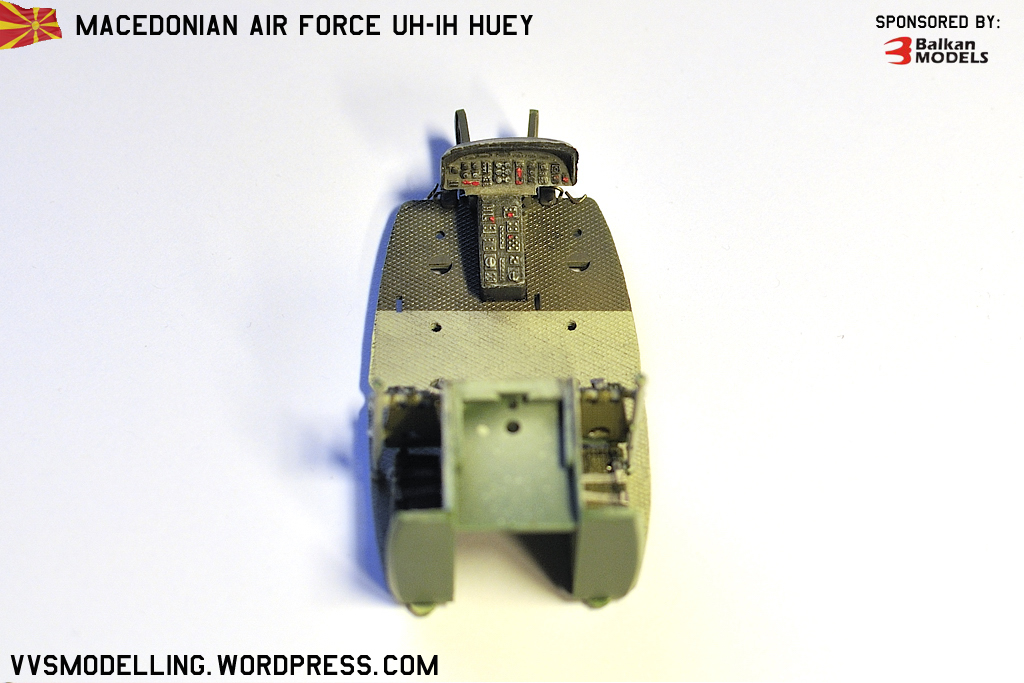
Some wiring was added to the back of the control panel that can be seen from the forward lower windows using 0.3mm soldering wire and 0.18mm copper wire
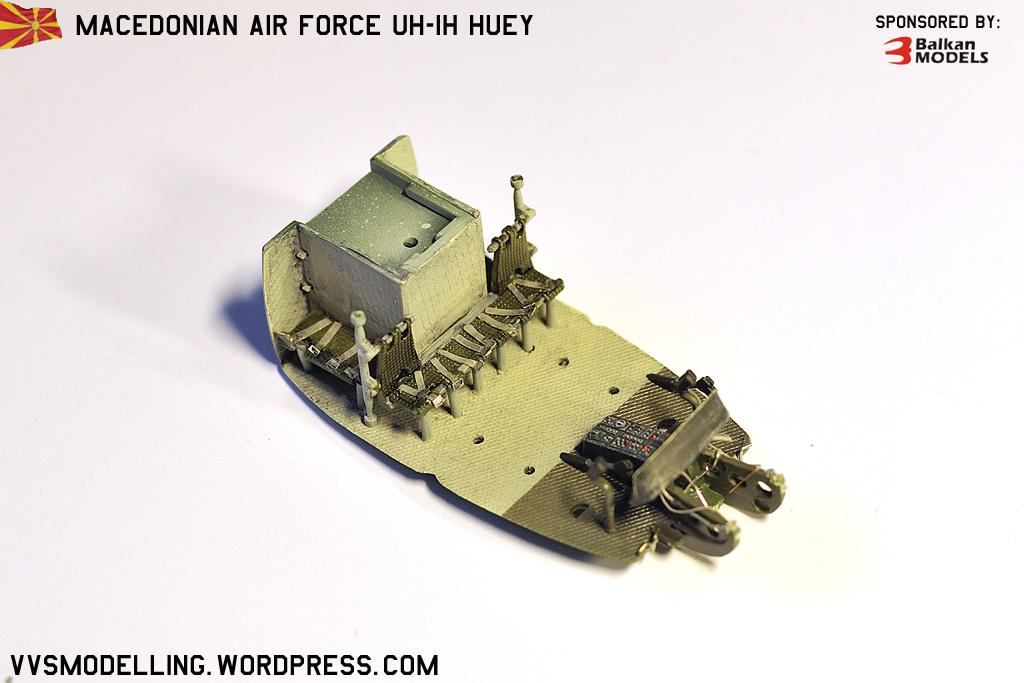
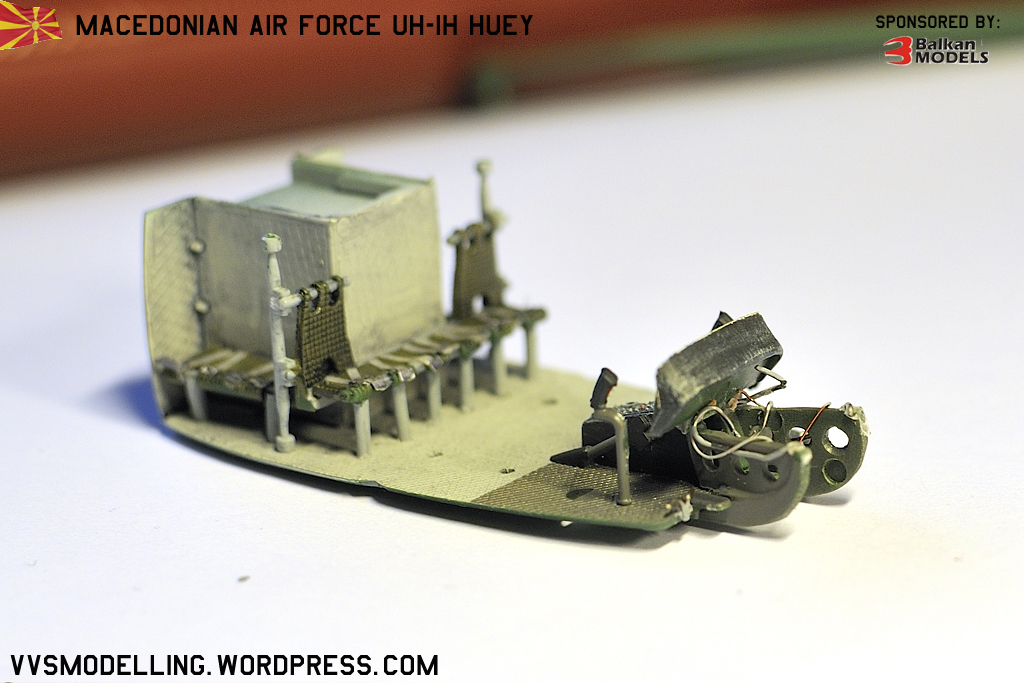
Using Tamiya masking tape, cut in thin strips and aluminium foil for buckles, all the seating positions were equipped with seatbelts. Dark wash further enhances the looks.
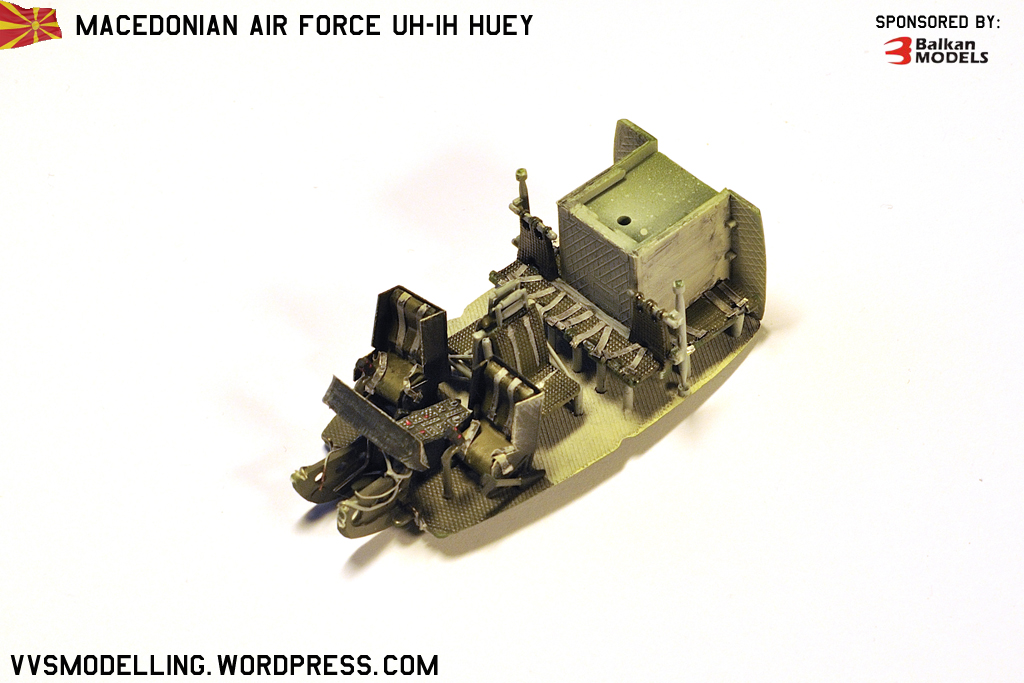
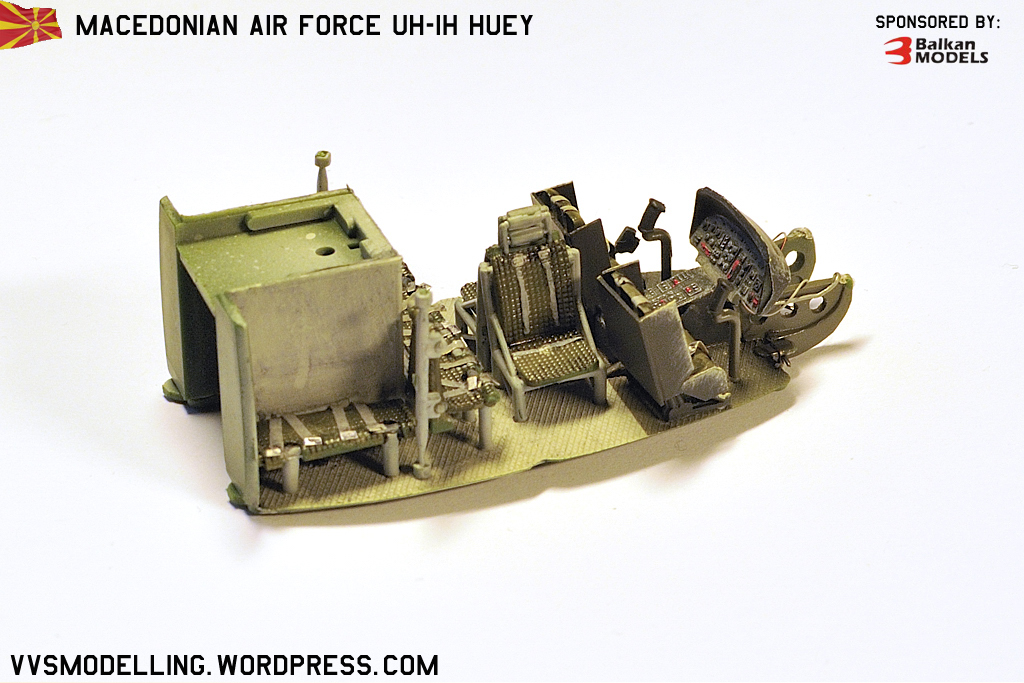
And the cabin with cockpit is finished. Combination of drybrushing, washes, wiring and scratcbuilt armor seats make a lively working space.
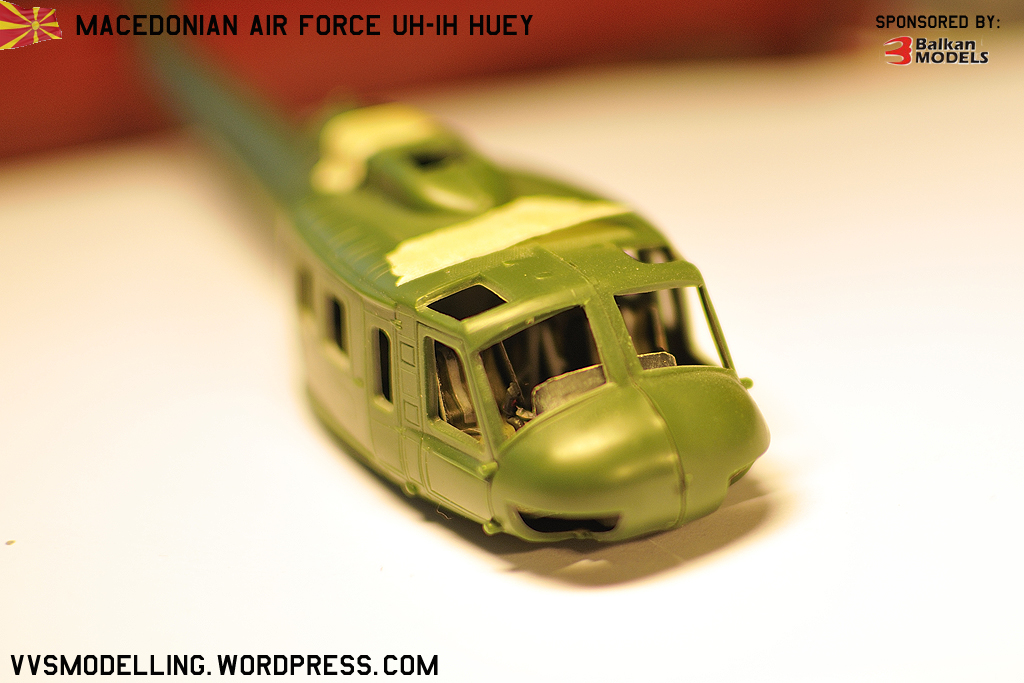
Unfortunately when the fuselage halves are closed, little can be seen of the work done.
And last but not least, a song that kept me motivated today while modelling 😉
